Adding images in the thank you page in Voice of Customer in Microsoft Dynamics 365 for Customer Engagement
Introduction:
Microsoft’s Voice of the Customer (VoC) application, part of Dynamics 365 for Customer Engagement, empowers users to create surveys without the need of a third-party product.
Some elements of the experience can be configured in VoC like logos and custom images. The theming layer allow users to edit a survey’s look and feel with custom colors and other details using CSS to align with the organization’s brand.
In this article, we’ll take a look at how to customize a response page and setup a redirection link to the thank you page.
The problem: Customizing a thank you GIF image:
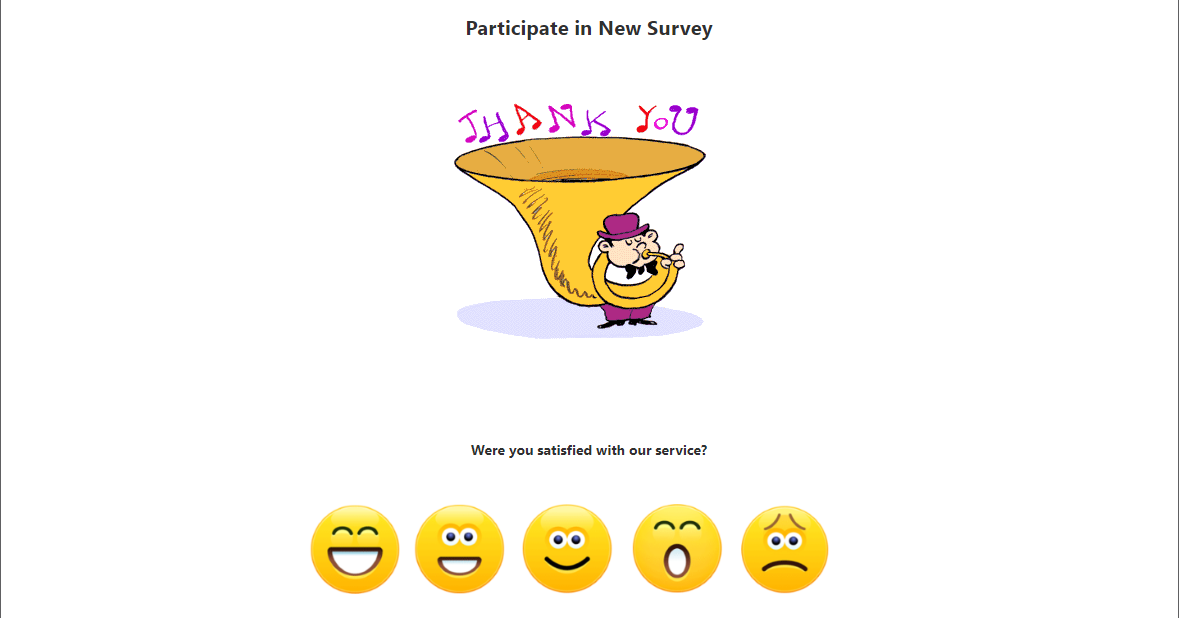
One of our retail industry clients had a requirement of adding a “thank you” GIF image and another linked image to their survey thank you page. When clicked, the linked image would take the survey respondent back to the first page of survey. But VoC has no such default customization functionality on its thank you page.
Solution:
Since it is not possible to meet this requirement using VoC alone, we tricked the program with CSS. Here’s what we did:
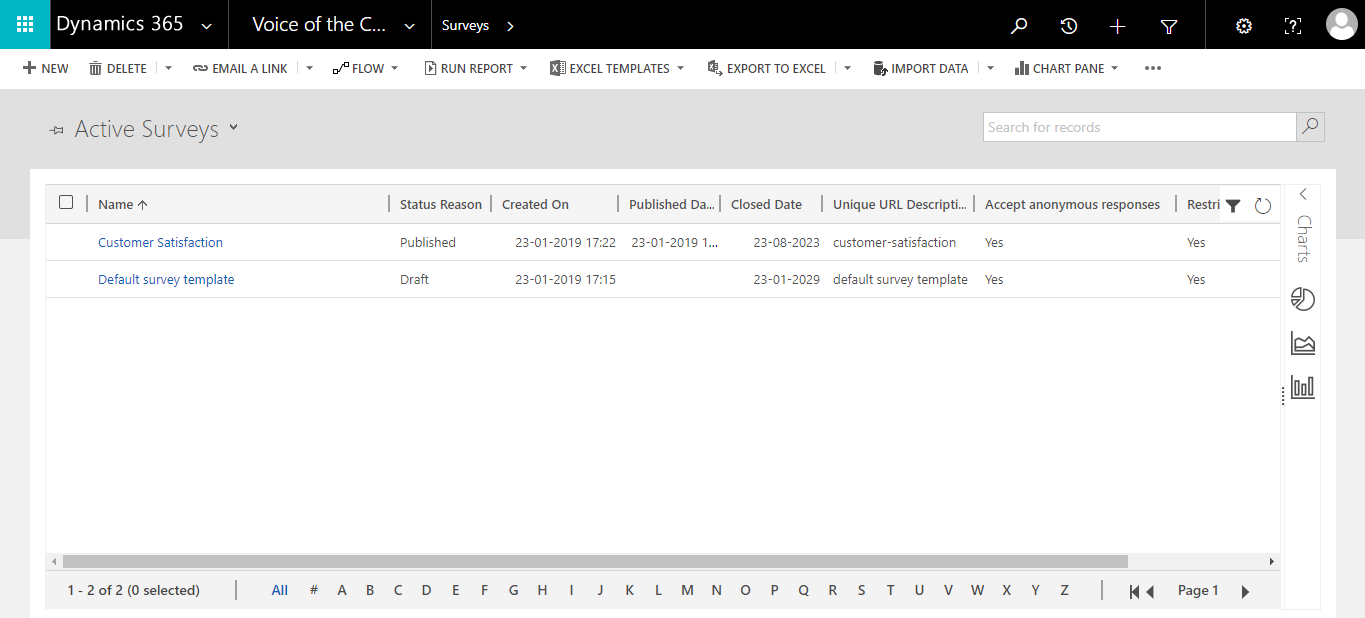
1. Go to active surveys and click the survey that you want to modify.
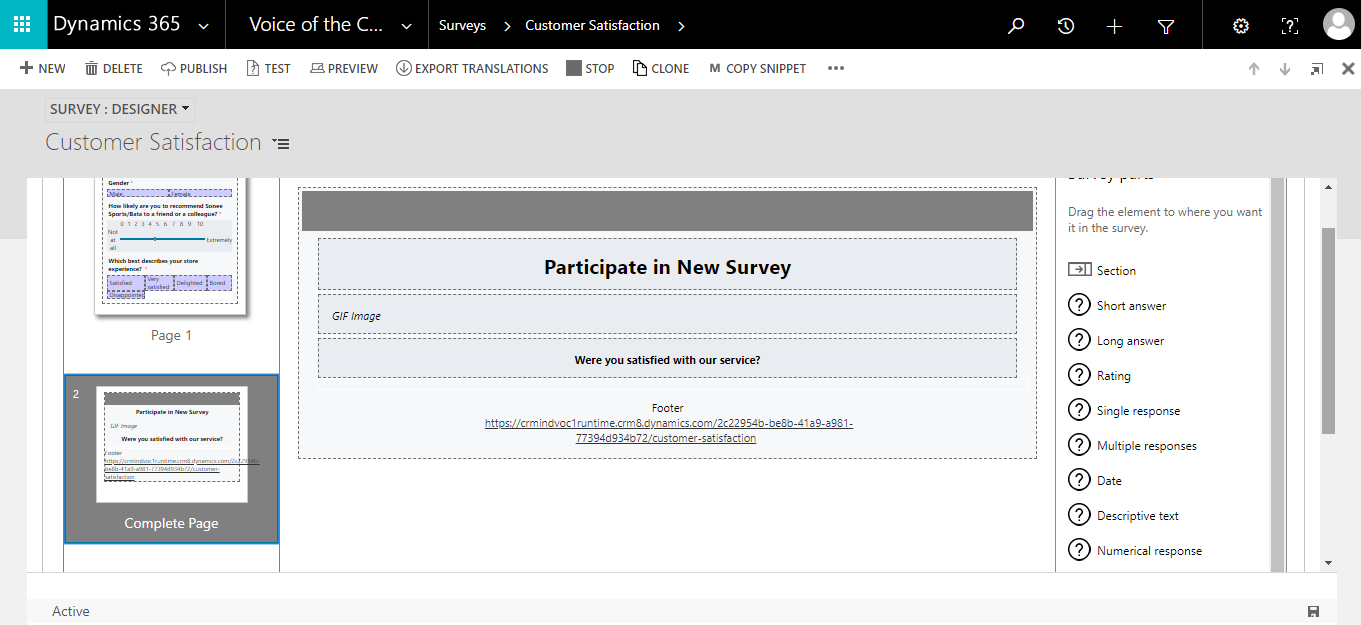
 2. Go to survey designer and select “Complete Page,” which is the page seen upon completion of the survey. The survey designer section shows your complete survey, with all elements. You can design your survey here with desired questions, their types, and can even add pages to your survey. The thank you page, or complete page, is the last page of the survey and the one in need of customization, per the customer’s requirements. I added some “descriptive text” here. Text in the footer is the redirection link, and I marked it as a footer to separate it from the main section here. I used CSS to hide the text “footer” and add an image which will be clickable to the first page in the next steps.
 3. Here is the survey’s first page:

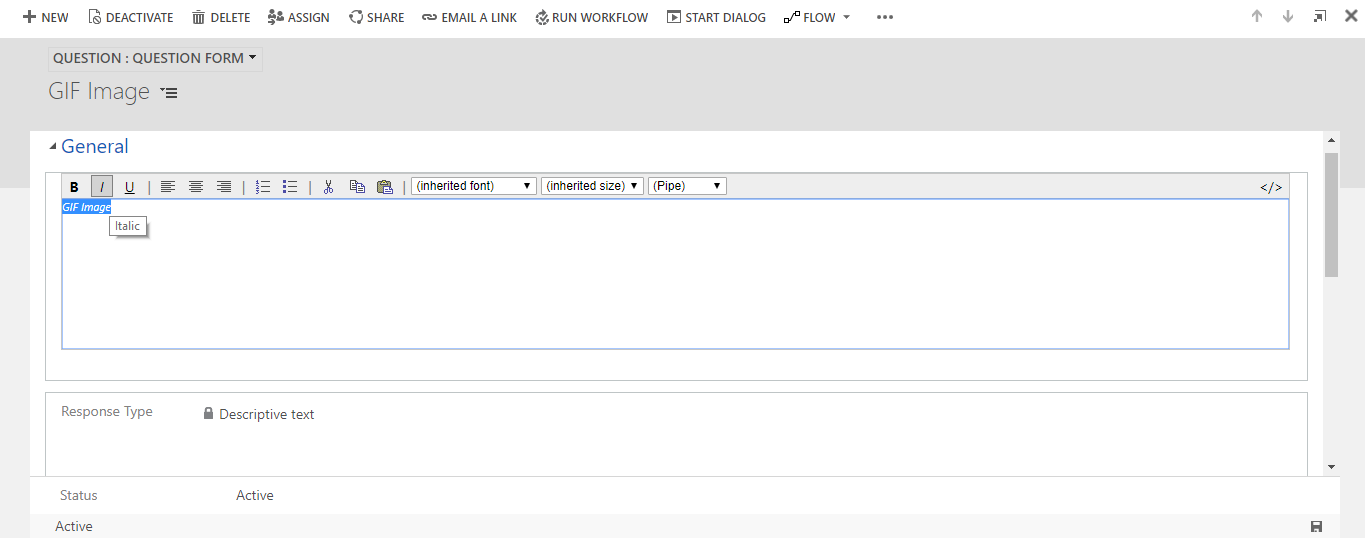
4. Now, here you can add text. I added text but in italics to differentiate it. Giving CSS properties to the<i> tag (italic content) means it will be applied only here and nowhere else. You can use any other tag, too. If you want multiple images, you can add multiple tags and then style them accordingly in custom CSS.
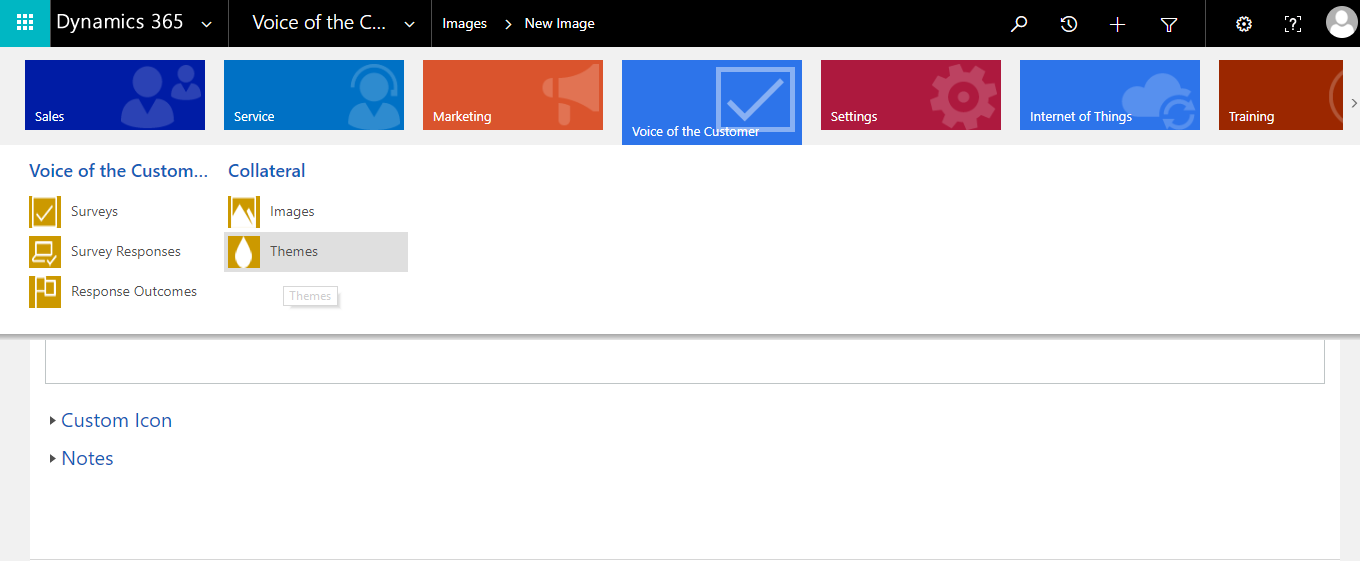
 5. Upload the images that you want to use here (under the custom icon).
![]() 6. Click on themes. You can do all customization under this page.
6. Click on themes. You can do all customization under this page.
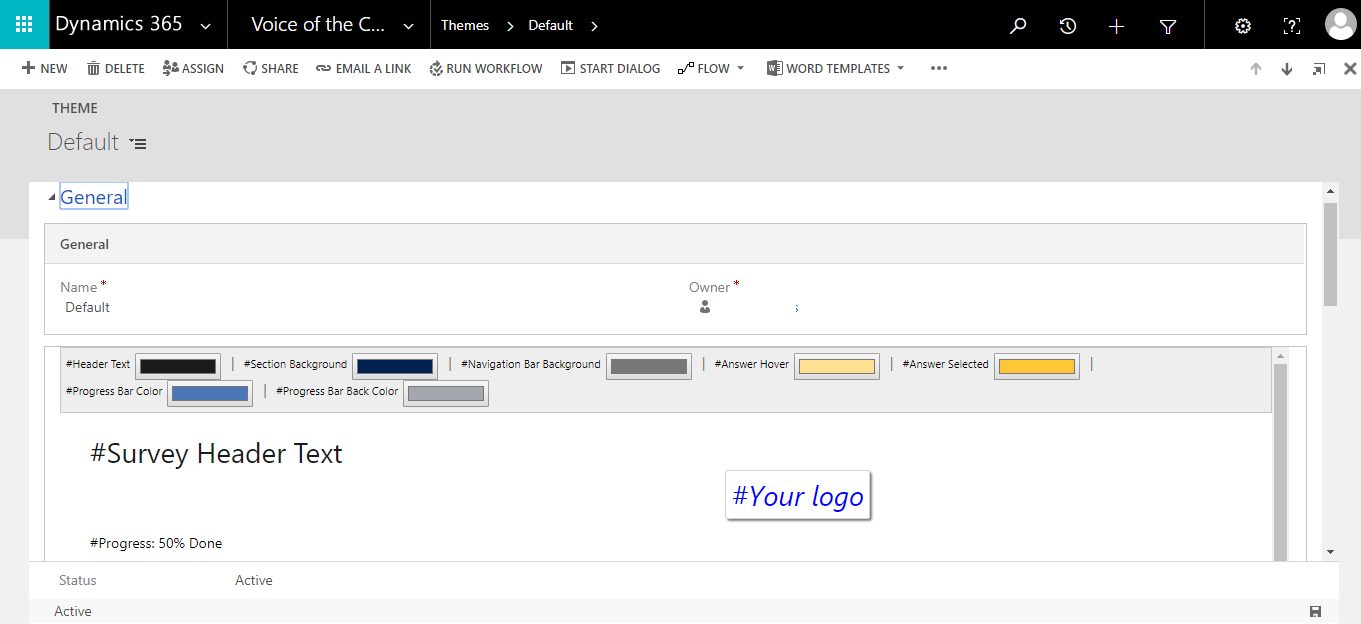
 7. Under theme, you can get options to provide color to different elements of your survey form.
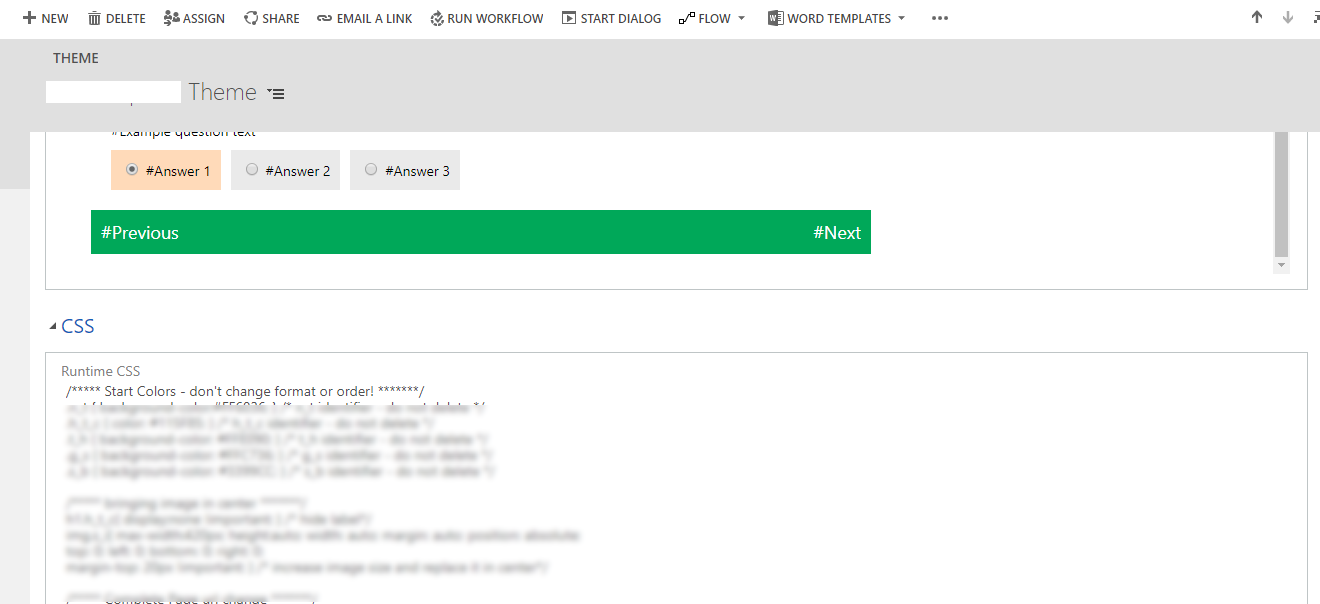
 8. Below this color section, you will find the CSS section, where you can add your custom CSS.
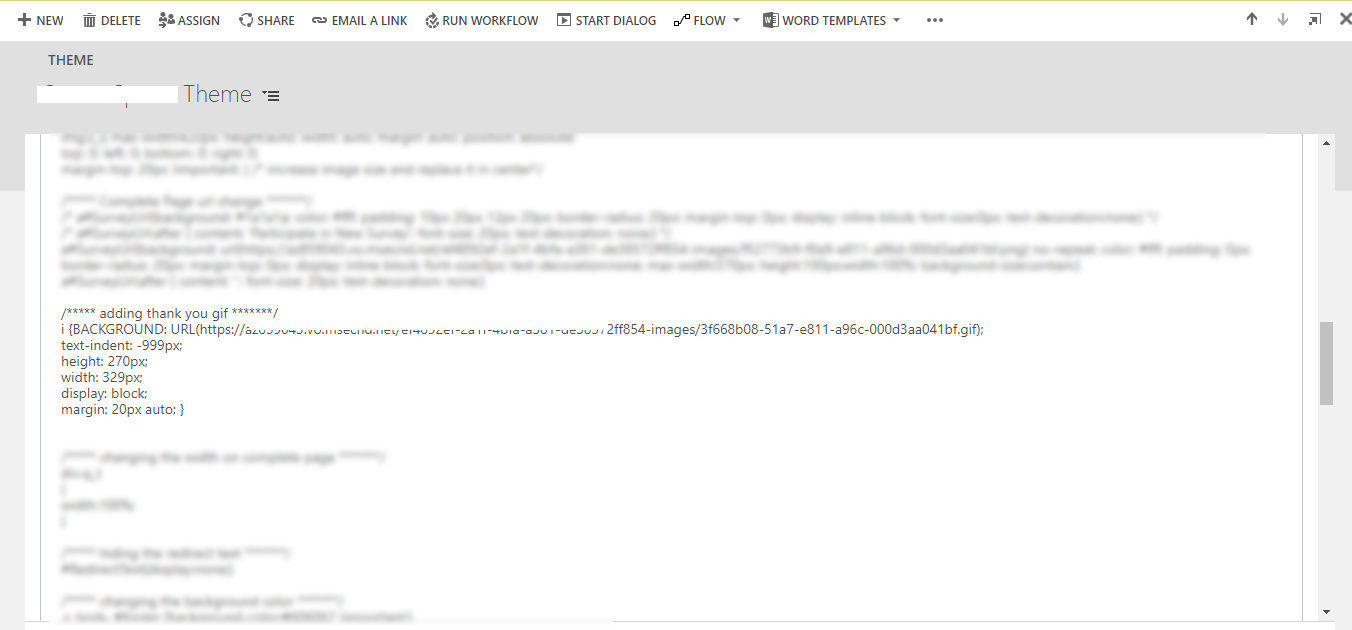
 9. In this step, I played with the HTML tags that I used on the thank you page. I gave them predefined height and width and set the required image as the background. Since it is just a tag and might contain text, I hid the text using CSS properties.
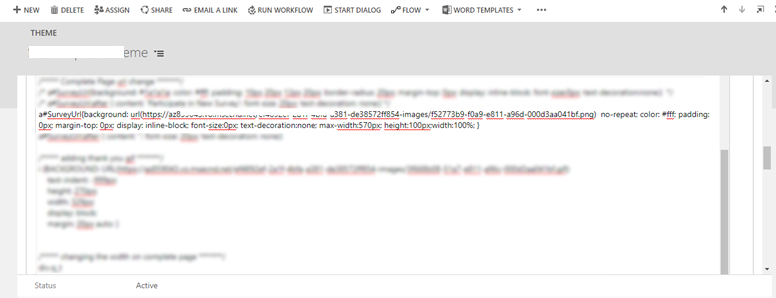
 10. In the same way, I added a background image to the survey complete link URL using the CSS property on the tag (classes are pre-defined by CRM), so that the user can click and go back to the required page.
11. The survey link now shows both images properly, with the lower image clickable to bring the user back to the first page of the survey.
Conclusion
Although this is not a part of default customization of VoC, it is a very useful trick which I followed to improve customization of the VoC thank you to meet our client’s requirements
