Inventory Adjustments in Business central using Inventory Documents
Introduction:
To adjust your inventory there is another ability provided by Business central using Inventory Documents.
We can do positive and negative adjustments using Inventory Receipts and Inventory shipments respectively.
Steps to achieve the goal:
- First, we need to set up the number series for Inventory Receipts and Inventory Shipments and Posted Inventory Receipts and Posted Inventory Shipments on Inventory setup.

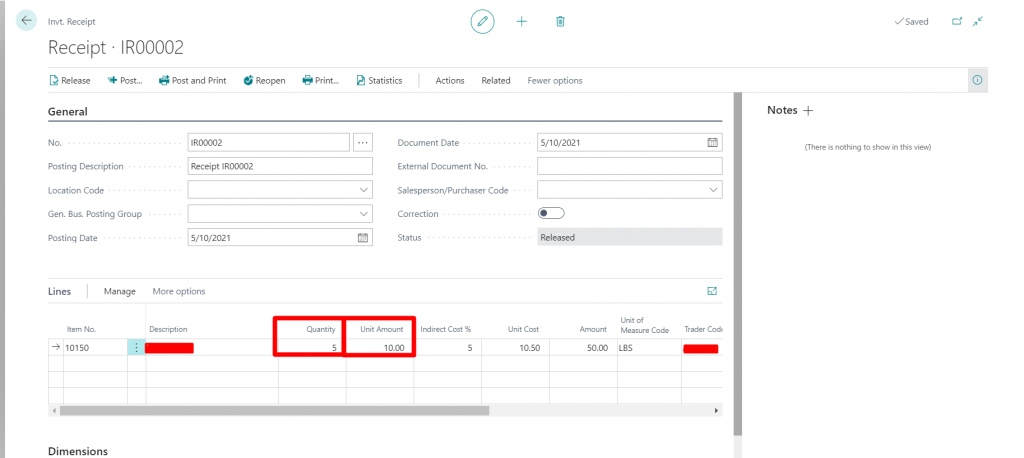
2. Go to Purchase Receipts and assign the Item in line, fill all the required details.

- You can reopen and release documents, but it is not required.
- Once you have filled in the necessary information you can post the Inventory Receipts.
- The item will be adjusted and you can see it in Item ledger entries.

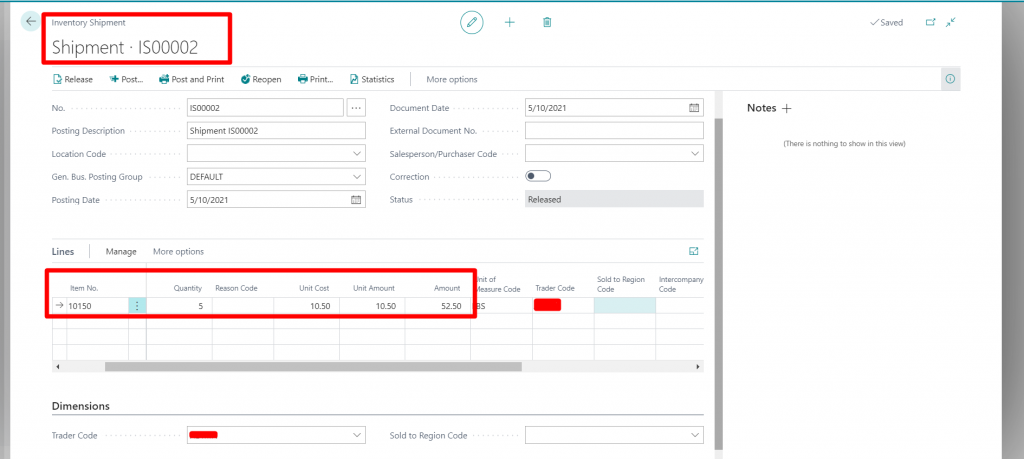
- Same we can do it by Inventory Shipments when the item is damaged or needs to be return
- Fill in the necessary details in Inventory Shipments and post them.

- You can also print the Inventory Receipts, Inventory Shipments, and Posted Inventory Receipts and Posted Inventory Shipments. But the base application doesn’t include any layouts. So you can create your own report and assign it in Report Selections-Inventory according to usage.
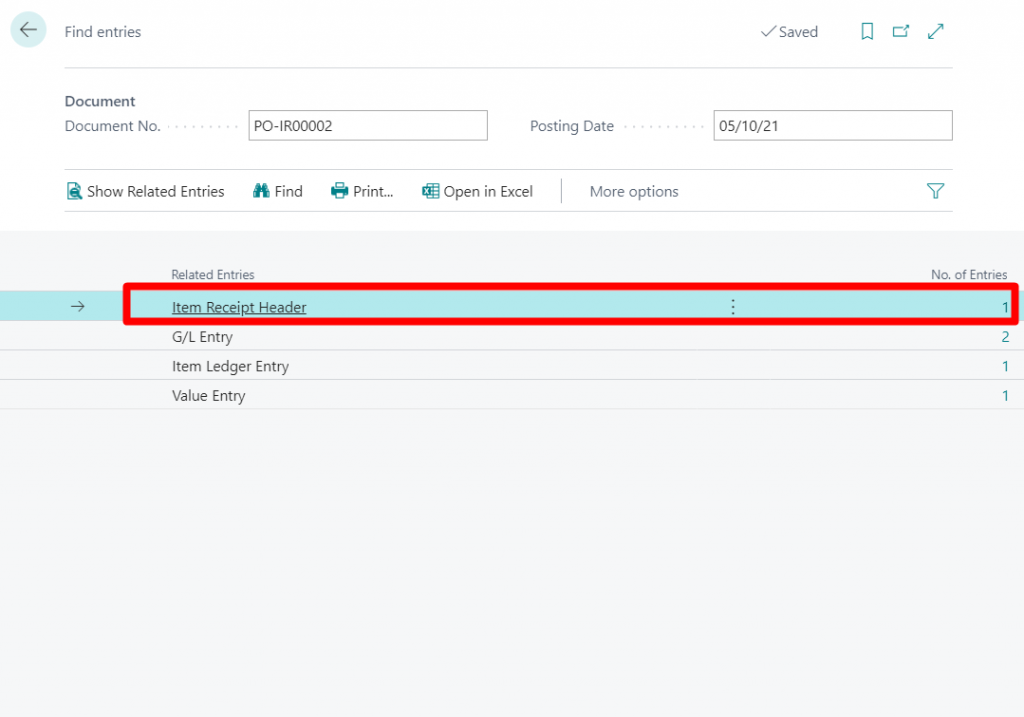
- Posted Inventory Receipts and Posted Inventory Shipments are nonsearchable in order to print the posted documents you need to visit Item Ledger entries -> Document type=Inventory Receipts -> Find entries-> Item Receipt Header and then you can print the Posted Inventory Receipts.

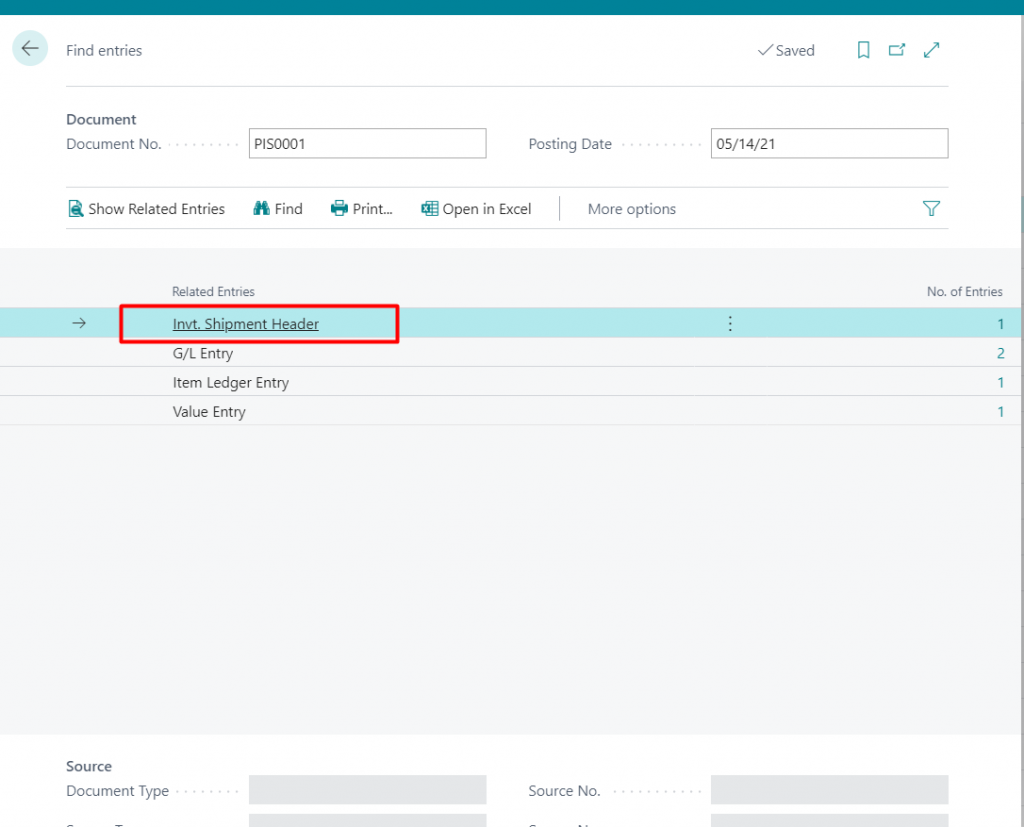
10. Same for the Posted Inventory Shipments go to Item Ledger entries-> Document Type= Inventory Shipments-> Find entries-> Inventory Shipment Header and then you can print the Posted Inventory Shipments.

Conclusion:
Thus we saw how we adjust the Inventory using Inventory documents.
Thank you very much for reading my work. Hope you enjoyed the article!


