How to create Virtual Machine on Azure Portal?
Introduction:
A virtual machine (VM) is like a computer within a computer. It’s software that emulates a physical computer, allowing you to run multiple operating systems and applications on a single physical machine. VMs are useful for testing software, running different operating systems simultaneously, isolating applications, and consolidating hardware resources. They provide flexibility, scalability, and cost savings by reducing the need for physical hardware and allowing for more efficient resource utilization.
Pre-requisites:
- Azure Portal
Configuration:
To create a Virtual Machine using Azure Portal
Go to Azure Portal and sign in with your credentials.
Once you are signed in, you will see the Azure Portal dashboard. This dashboard is customizable and can be tailored to your needs.
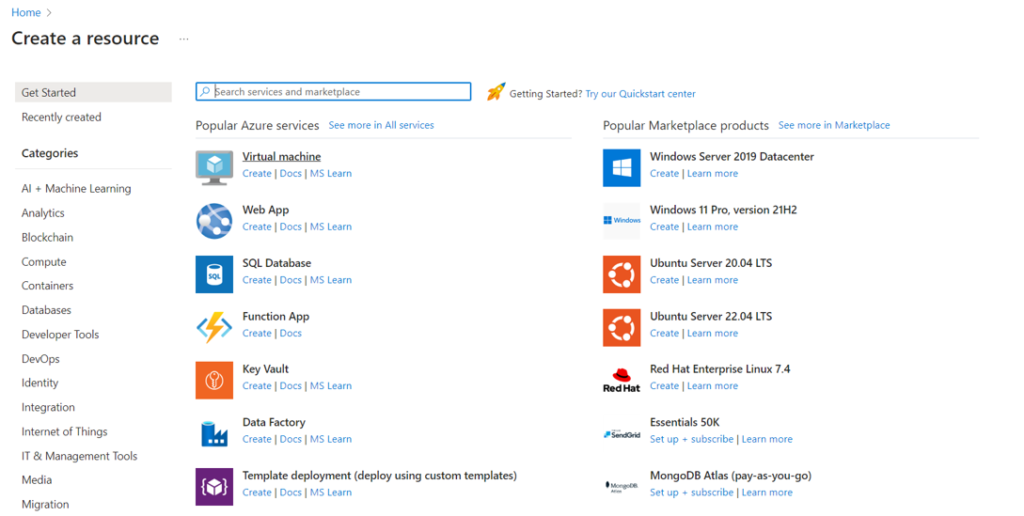
To create a new resource, click on the Create a resource button on the left-hand side of the dashboard.

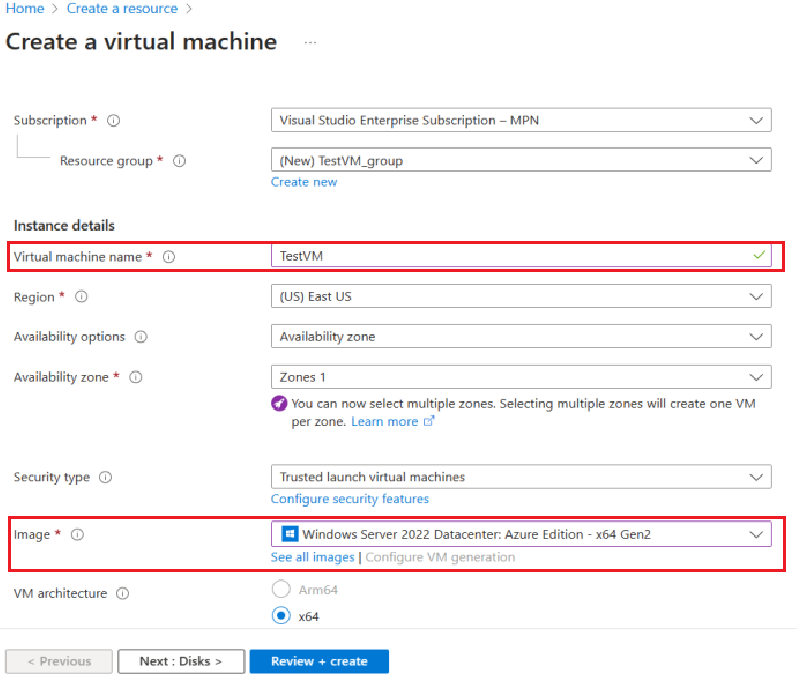
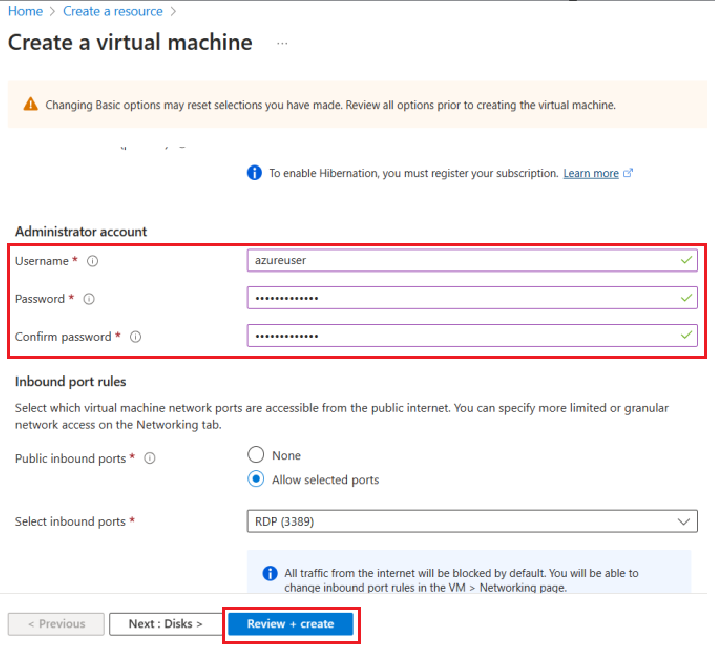
You will be taken to this page where you can select the type of resource you want to create. Choose the appropriate resource type and follow the prompts to create it. To create a Virtual Machine, select that and enter required credentials.
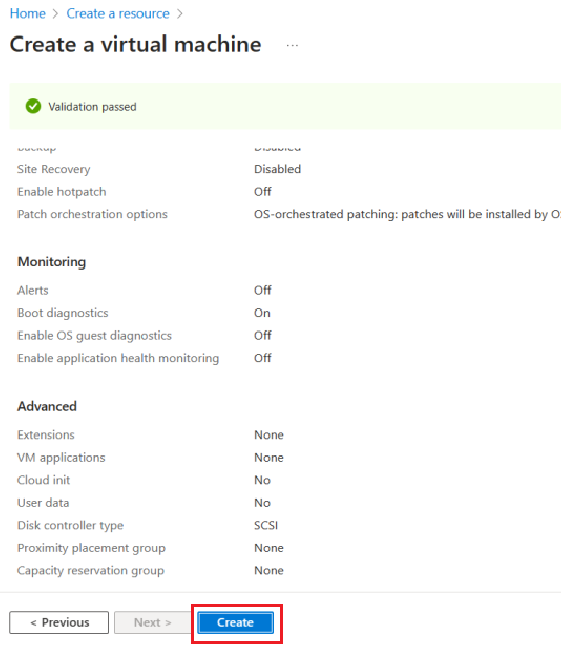
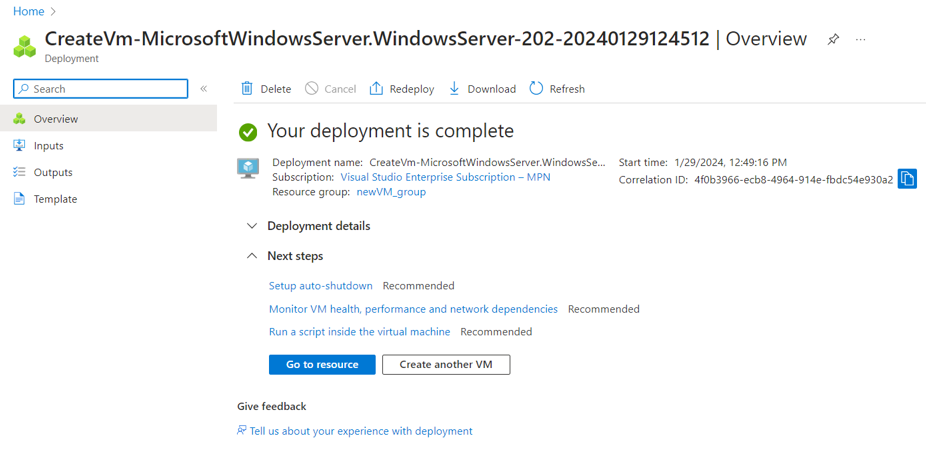
After the deployment is complete click on “Go to resource”.
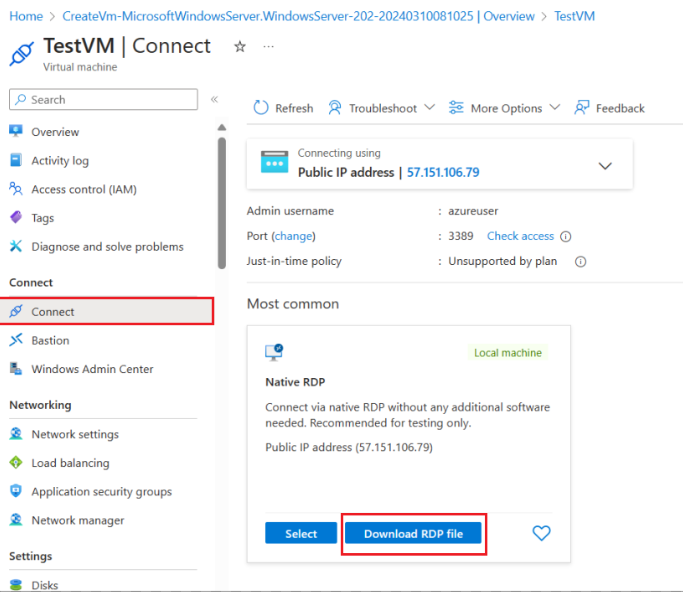
Click on Connect and download the RDP File.
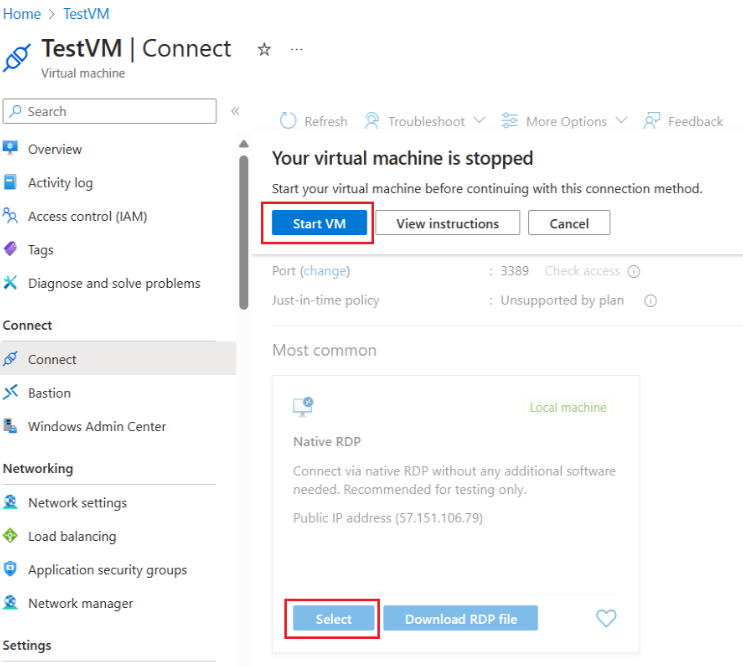
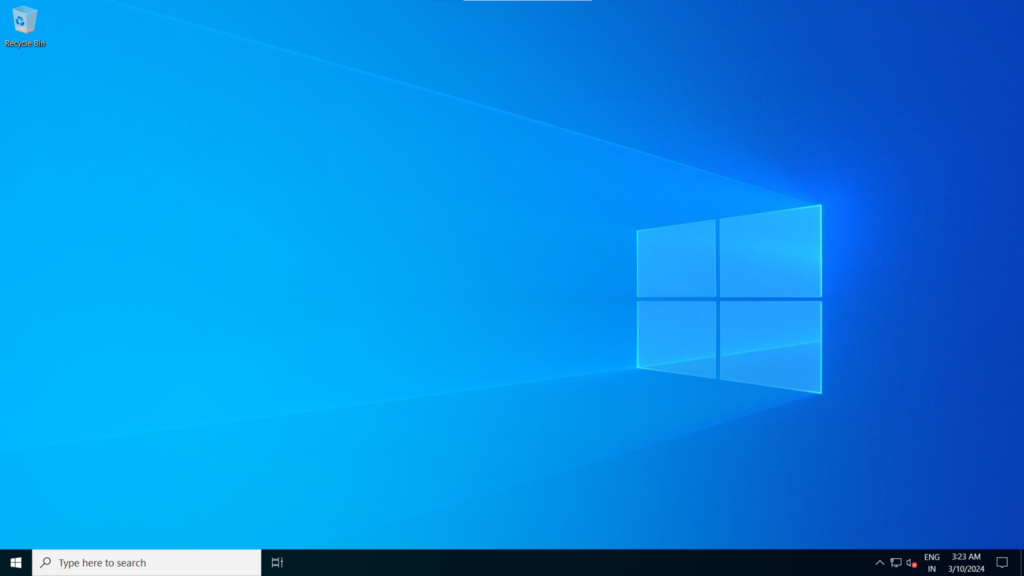
Now the Virtual Machine is created. To start the Virtual Machine, Click on Select > Start VM
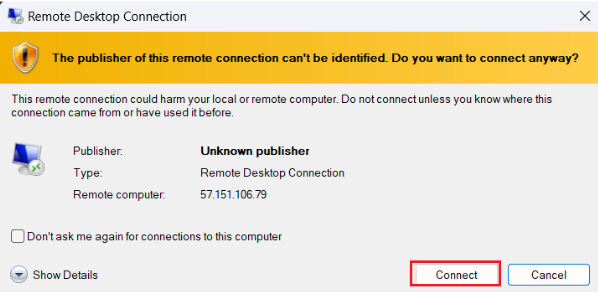
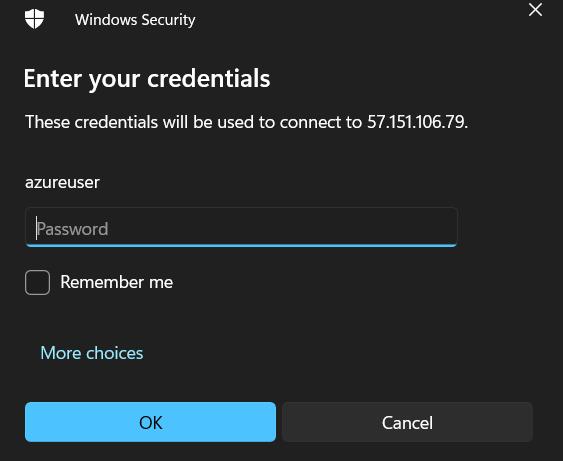
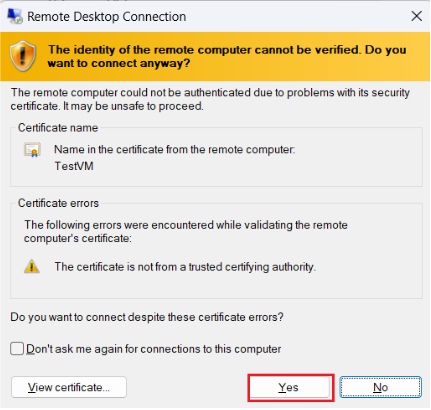
Then go to downloads and click on the downloaded RDP File > Connect.

Enter the password which you had entered while the creation of Virtual Machine.
Conclusion
Thus, in this blog we saw how to create virtual machine and how to setup Business Central on Virtual Machine.
Thank you!
