Power BI report using BYOD (Bring your Own Device)
In this blog, we will learn how to create an Azure SQL database in Azure portal and export Finance and operation data into it.
Steps:
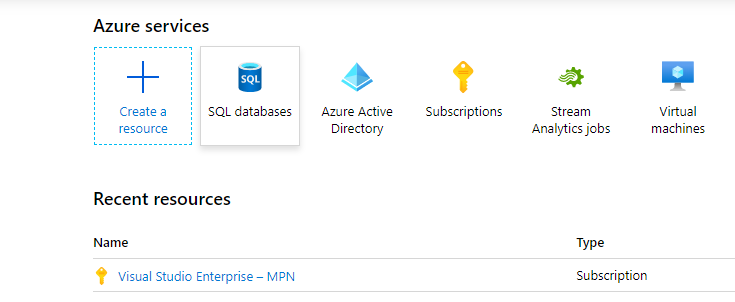
- Go to www.portal.azure.com and create a new resource of SQL Database.
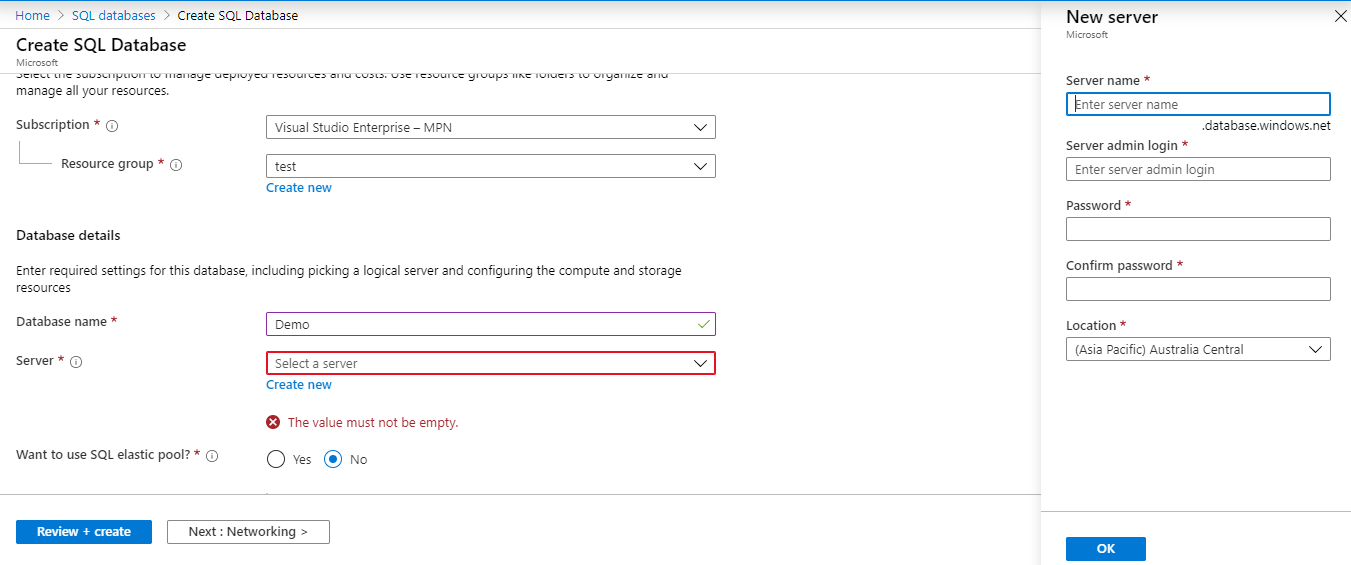
- Create New database, click on a new server and fill the necessary details, the login id and password will be the same that you will use to authenticate the database.
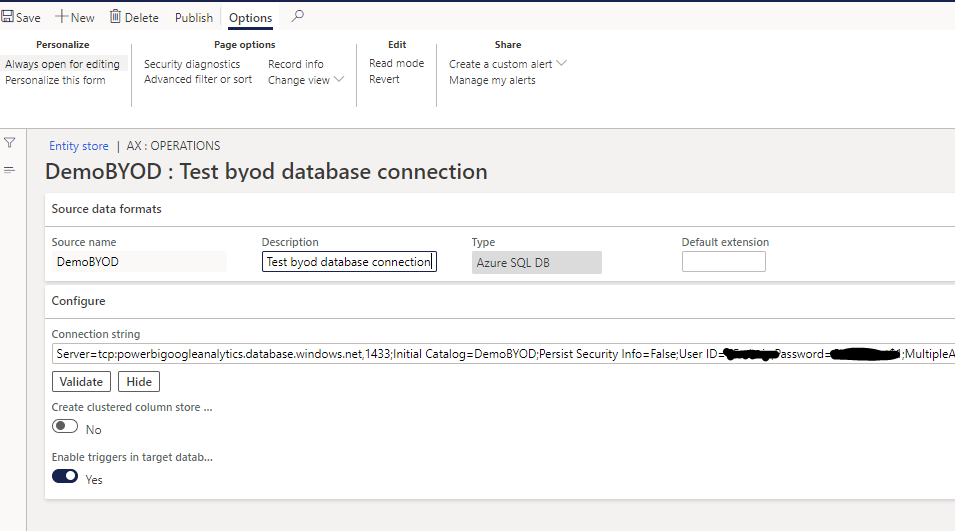
- Now the database is ready! You can click on Basic pricing tire to change the pricing of the database. Now copy the connecting string by clicking on Show database connection strings.
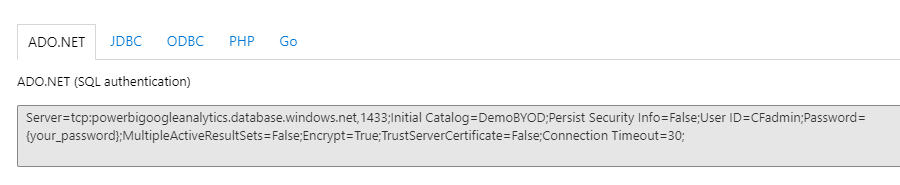 Edit the string and add your id and password in it.
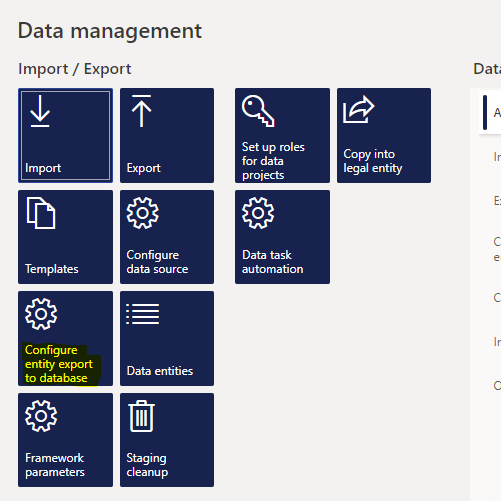
 - Now go to finance and operations and open data management studio, click on Configure entity.
- Click on new and fill the required details. Name and description can be anything of your choice. Paste the connection string and click on validate. Once validated turn on the Enable triggers in target database toggle to ON.
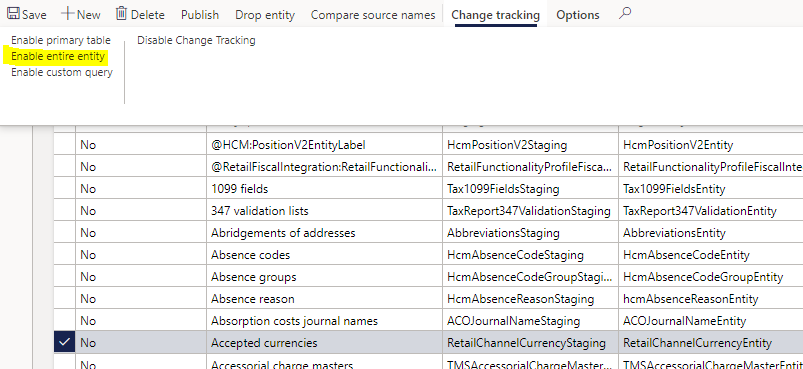
- Now click on publish and select the entity that you want to export into your database. Click on change tracking and select enable entire entity. Now click on publish to publish the entity.
This will detect the new added records in the table and export them to the database. On publishing, only the schema is exported to the database with entity name as a table name. - Now again go to data management workspace and click on the export tab. Fill the name and description fields according to your wish and click on add entity.
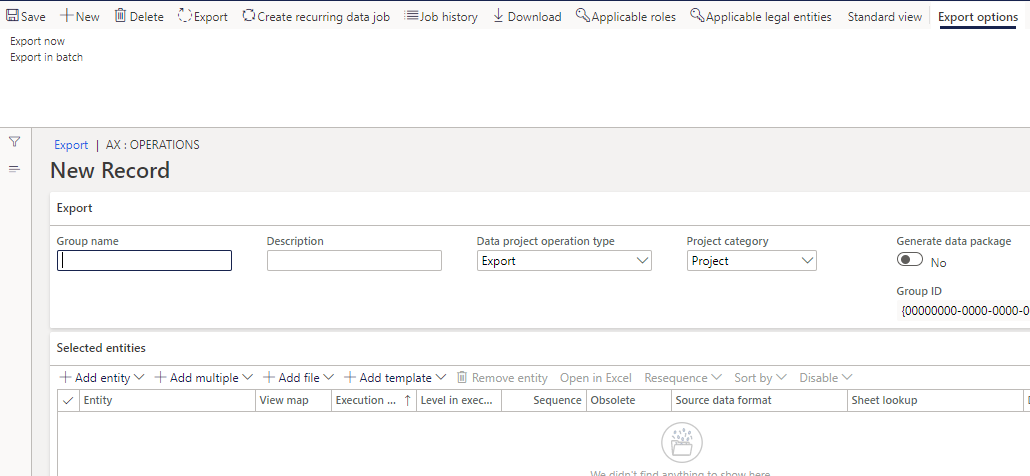
- In add entity section enter the name of the entity that you have published earlier and selected the target entity, in our case it is the DemoBYOD. The refresh type should be incremental push only.

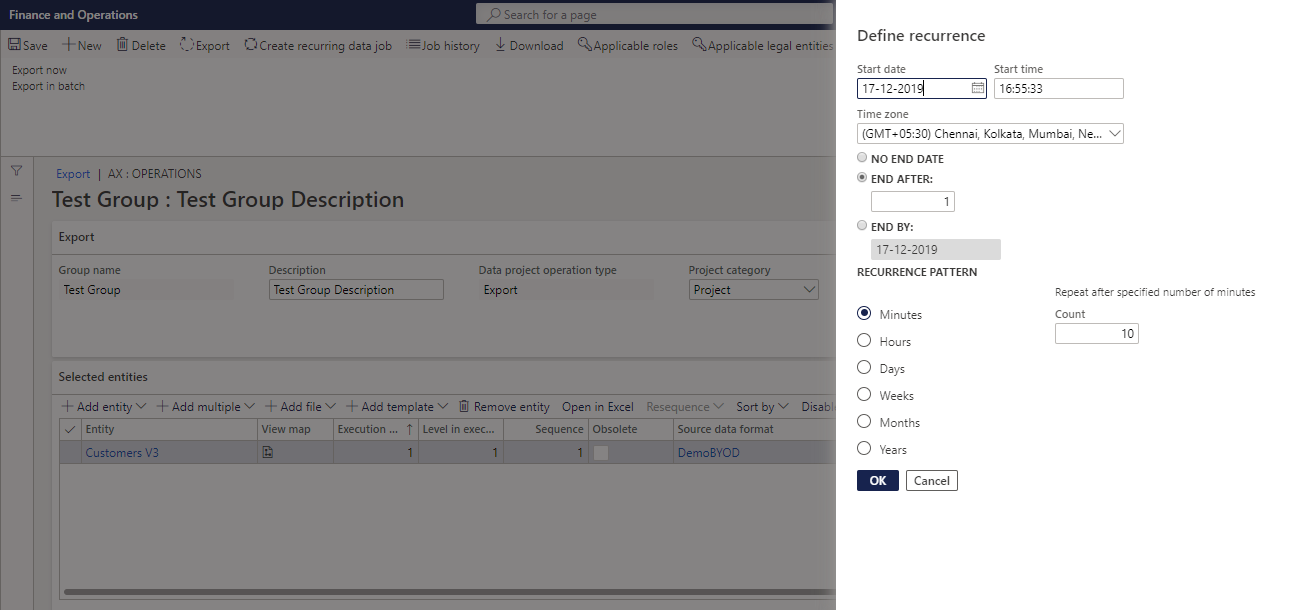
- Now the entity is added let’s export it. For that click on export in batch and set the recurrence according to your requirement. Set end date to no end date for the job to run for an infinite time.
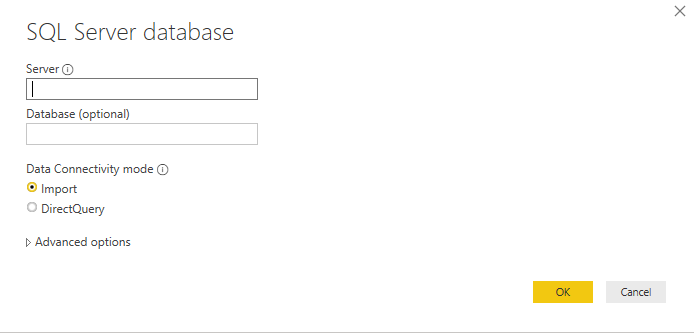
- So the database is ready now let’s connect the database to Power BI! Open Power BI Desktop and click on get, select SQL Server database option. You already have the server name and database name with you!
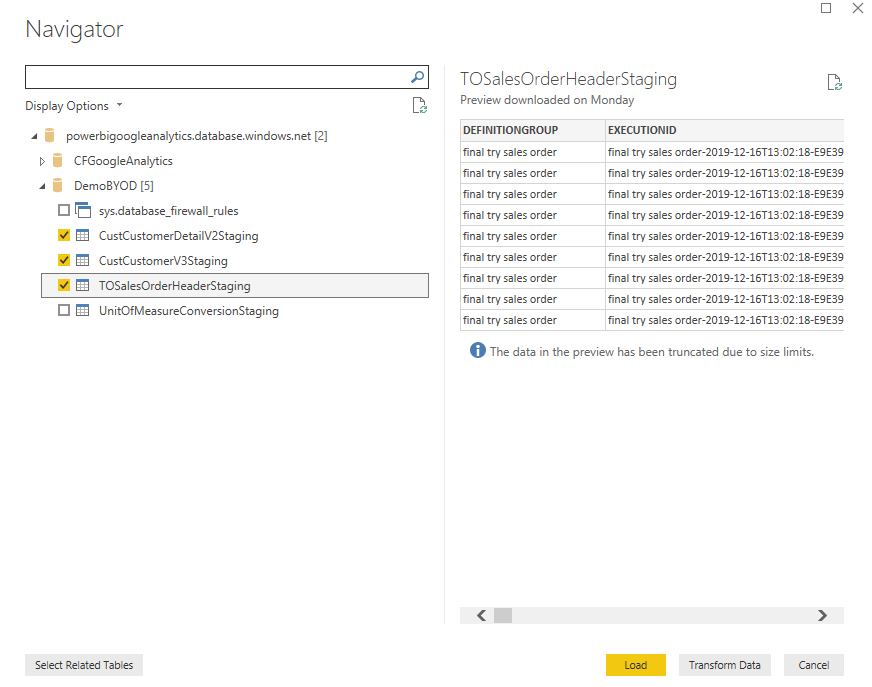
- Select the required tables and load the data. All set you can start building your report!
Hope this helps!
