Converting a Database from NAV 2016 to NAV 2017 in Microsoft Dynamics NAV
Introduction:
To upgrade the database to NAV 2017, following main steps must be completed.
- Convert the database
- Upgrade the Application code
- Upgrade the Data
This blog gives a steps wise procedure to covert the database from NAV 2016 to NAV 2017
Pre-requisites:
- Microsoft Dynamics NAV 2016
- Microsoft Dynamics NAV 2017
- Microsoft SQL Server Management Studio(SSMS)
Steps
- Backup NAV 2016 Database
- Open SSMS and connect to the SQL server.
- Expand the Database to NAV 2016 Database i.e ‘Demo Database (9-0)’.
- Navigate to Task > Back up.
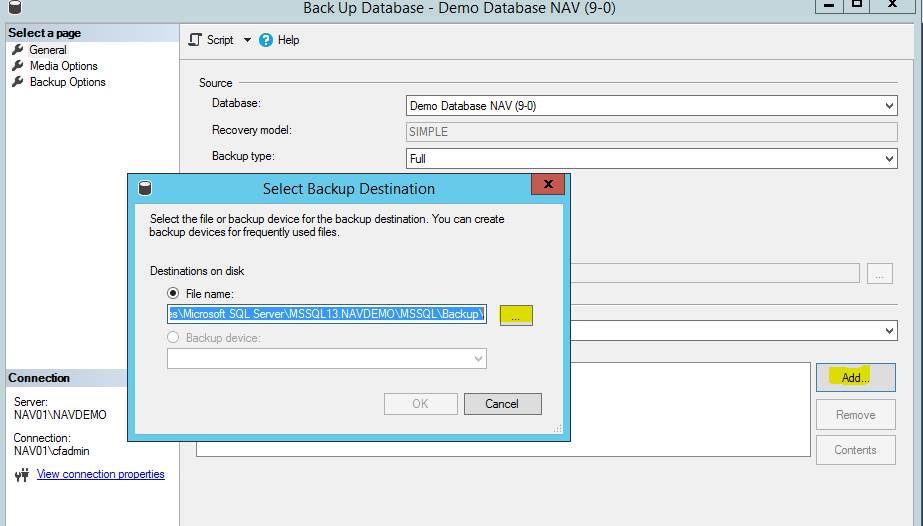
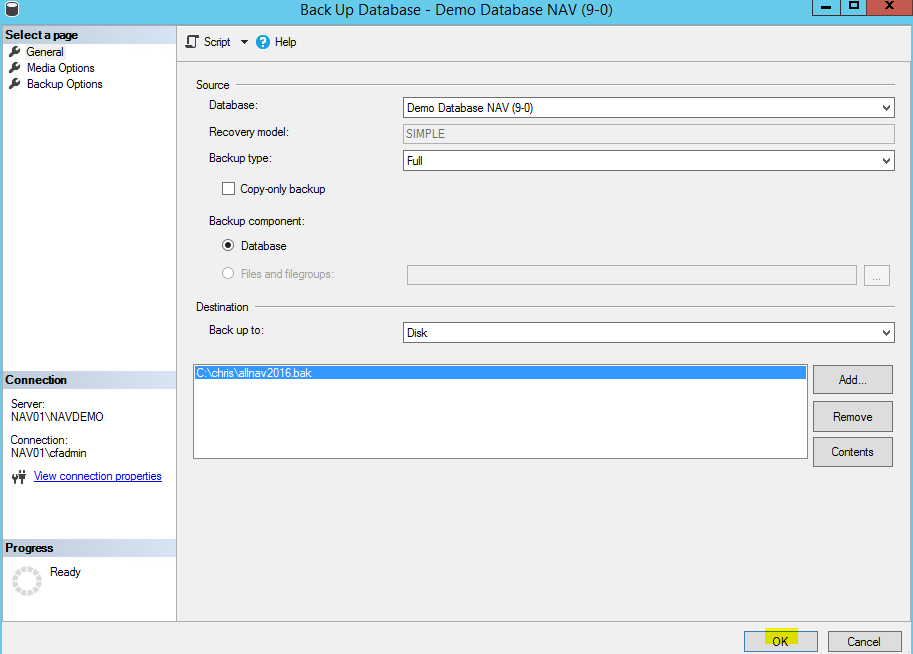
- Click on Add then Navigate the path where you want to store the back up(.bak) file by clicking on the Assit edit button.
- Specify the file name then click on OK.
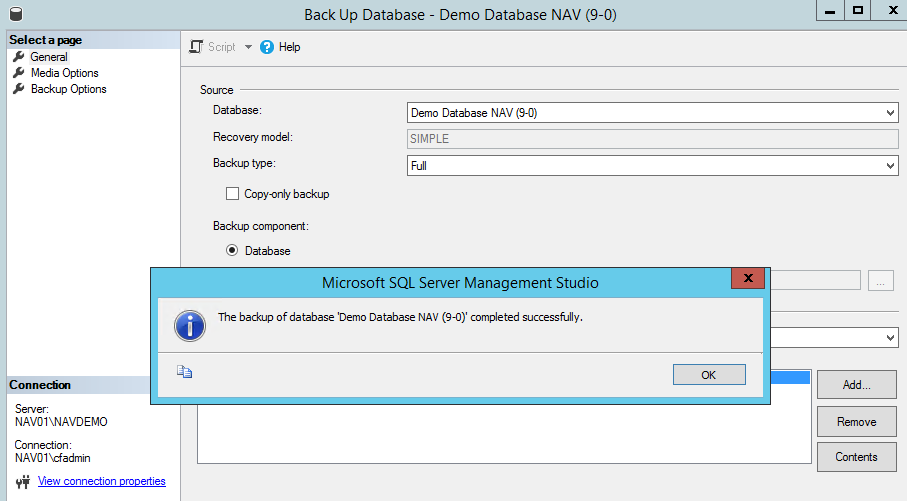
- A pop up displays after the back up of NAV 2016 database is taken.
- Clear all Microsoft Dynamics NAV Server instance records from the dbo.ServerInstance table in the database on SQL Server.You can do this by using SQL Server Management Studio to open and clear the table.

- Upload 2017 Licence file in NAV 2016 Database ‘Demo Database (9-0)’
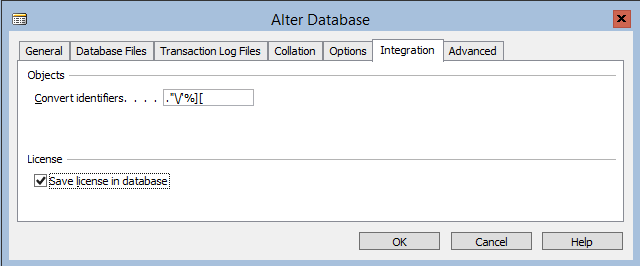
- Navigate to File > Database > Alter.
- In the Integration tab, Enable Save licence file and select the licence file of NAV 2017 then click on OK.
- Alternatively, Select the Tools menu > Licence Information then Upload.
- Restart the NAV Server Instance in the Microsoft Dynamics NAV admin.
- Open Microsoft Dynamics NAV 2017 Development Environment, select the NAV 2016 database i.e ‘Demo Database (9-0) and click on OK.
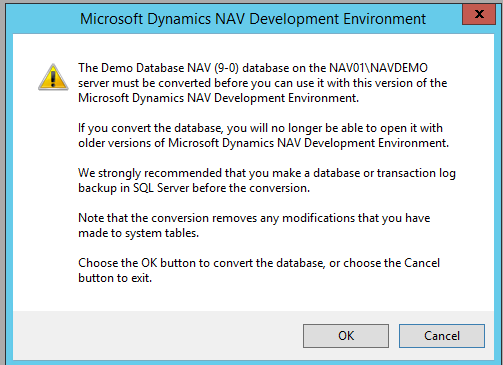
- Till will prompt to convert the database dialogue box.
- Click on OK. A confirmation dialogue box pops up.
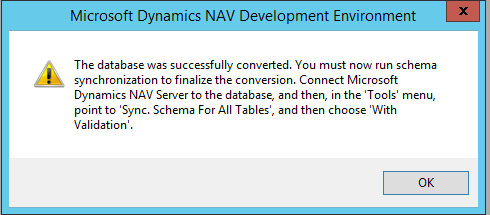
- Click on OK. This will take few minutes. A message pops up once the database is converted.


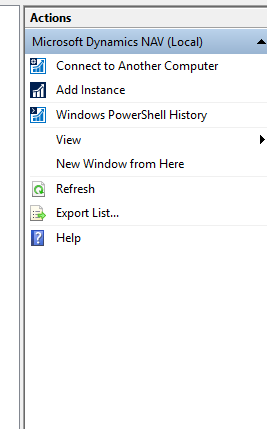
- Open Microsoft Dynamics NAV Administration, Click on Add Instance.
- Specify a Server name and unique port numbers then click on OK.
- An instance is created, open the instance, click on edit, expand the Database tab.
- In the Database Name specify the converted database name then Restart the instance. In the below screenshot NAV90 is the server instance name for the converted database.
- Open the converted database in the NAV 2017 Development Environment. Navigate to the Tools menu > Options.
- Specify the Server Instance name, Server Port and the Management port.
- Click on OK.
- Make sure the user login has access to the Converted database.
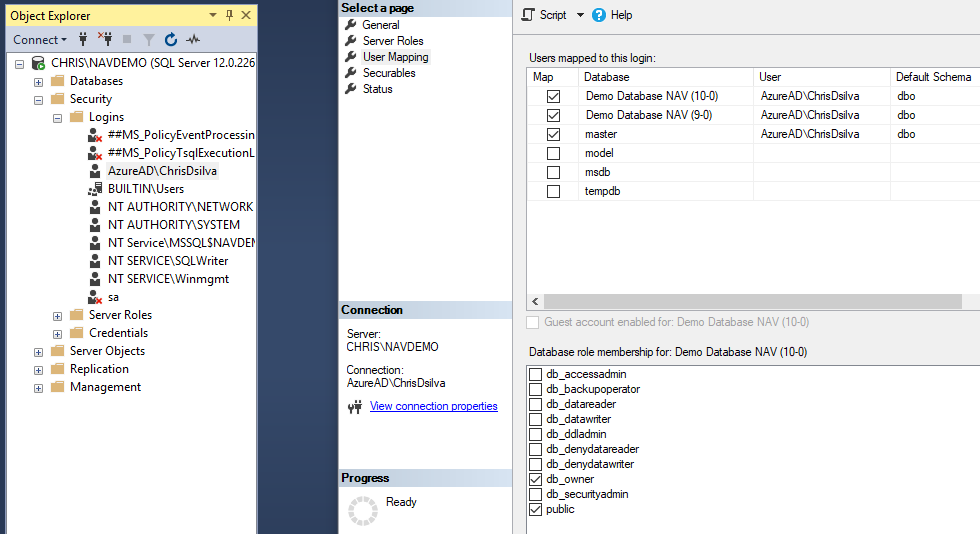
- Open SSMS, expand Logins and select the user.
- Under the ‘Select a page’ tab, Select User Mapping, enable map for the converted database and master database and enable db_owner then click on OK
- Under master database, expand the Tables, select the Dbo.$ndo$srvproperty then properties.
- elect the Permissions then select the user and grant Select permission to the user.
- Restart the Server instance after applying the above permissions.


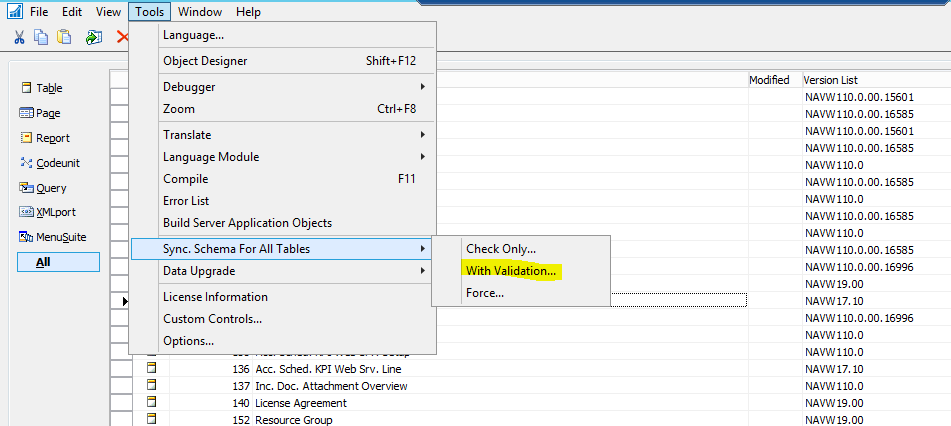
- Open the Microsoft Dynamics NAV 2017 Development Environment, navigate to Tools menu then click on Sync. Schema For All Tables > With Validation.
- This will pop up a dialogue box, click on Yes.
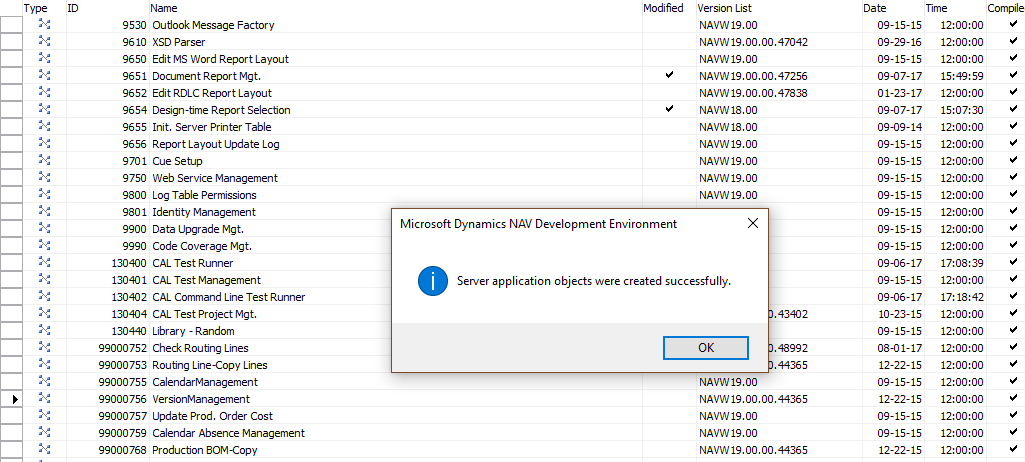
- After synchronizations, navigate to Tools menu > Build Server Application Objects.
Building the application makes sure that the database is also synchronized in the SQL server and compiled. - Building the application may lead to compilation errors which needs to be fixed.
Follow the below link to fix .NET variable errors refer this link - Build the Application again until the Build is successful.

Conclusion:
The database is successfully converted to NAV 2017. The next step is Upgrade the Application code for which you can refer this link
