Creating a new database in NAV 2017
Companies that want to become efficient should choose to adopt an ERP solution into their systems. Only then they can provide the best customer experience to their valuable clients. Microsoft Dynamics NAV is an enterprise resource planning application that helps companies to not only become efficient but to successfully mitigate losses. Once, you select the package, the ERP system providers will come and install the software and provide the necessary training to your staff so that they work efficiently.
New users will take some time before they get used to the system. Doing certain tasks might seem to be difficult in the beginning. For example, creating a new database in NAV 2017 might seem like a mammoth task. Here are details of how you can do it.
Introduction:
Generally, when we install NAV, a default Demo database is always created in the Microsoft Dynamics NAV Development environment. In this blog, a new database is created thus, the developer can use two or more databases in a single NAV Development environment.
Pre-requisites
1. Microsoft Dynamics NAV Development Environment
2. Microsoft SQL Server Management Studio.
Steps
-
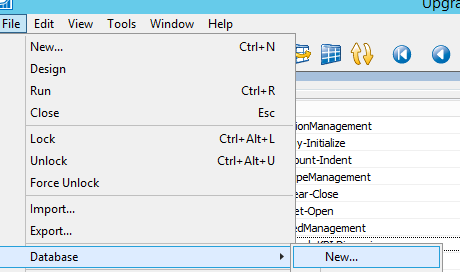
- In the Microsoft Dynamics NAV Development environment, Click on file then database and New. A new window opens, enter the database name of your choice and then click on OK.
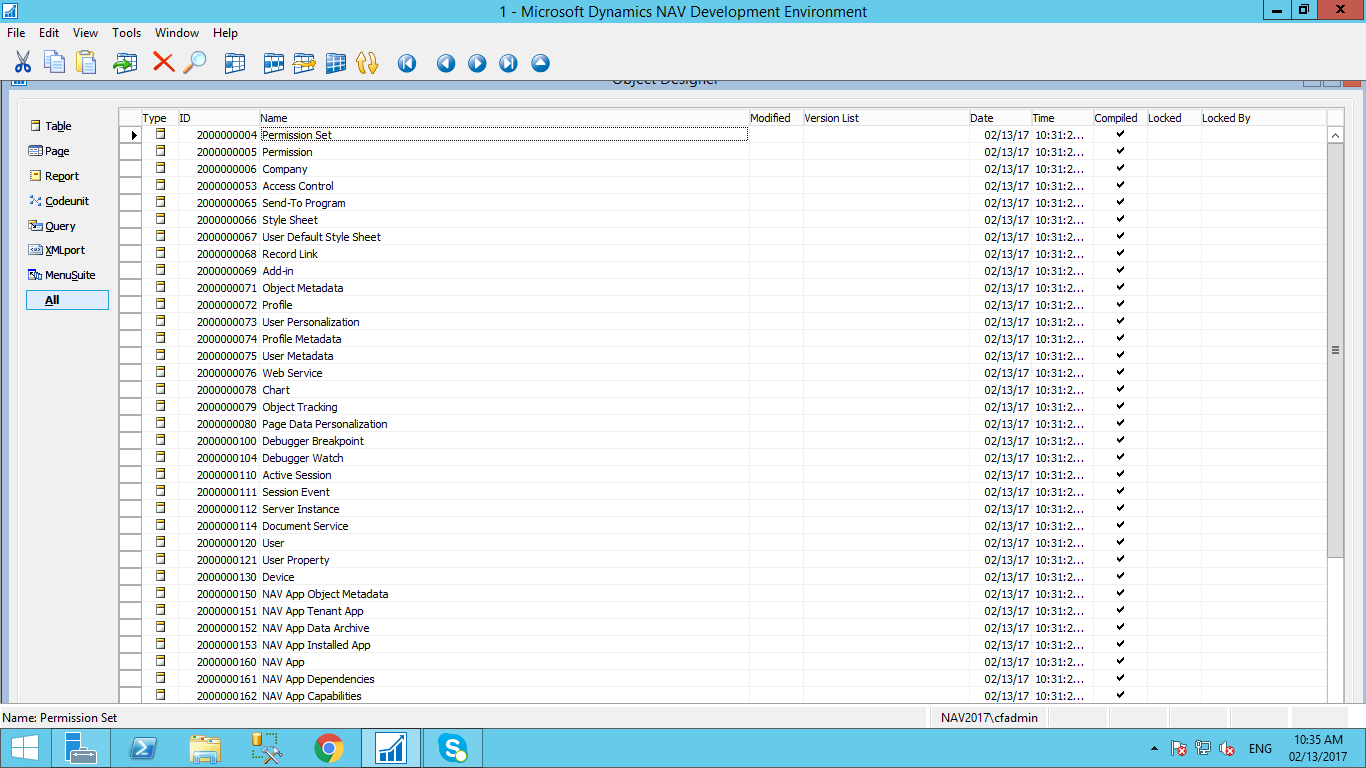
- This creates a database with limited number of table objects starting from number 2000000004 i.e Permission set.
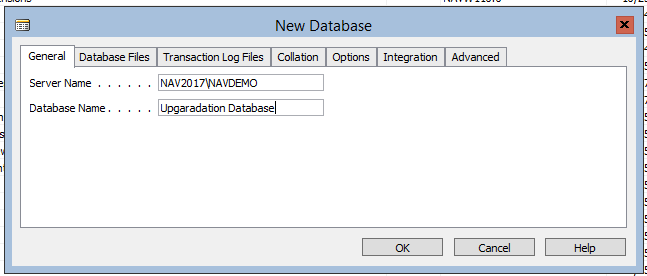
Here Upgradation Database is the name of the Database
-
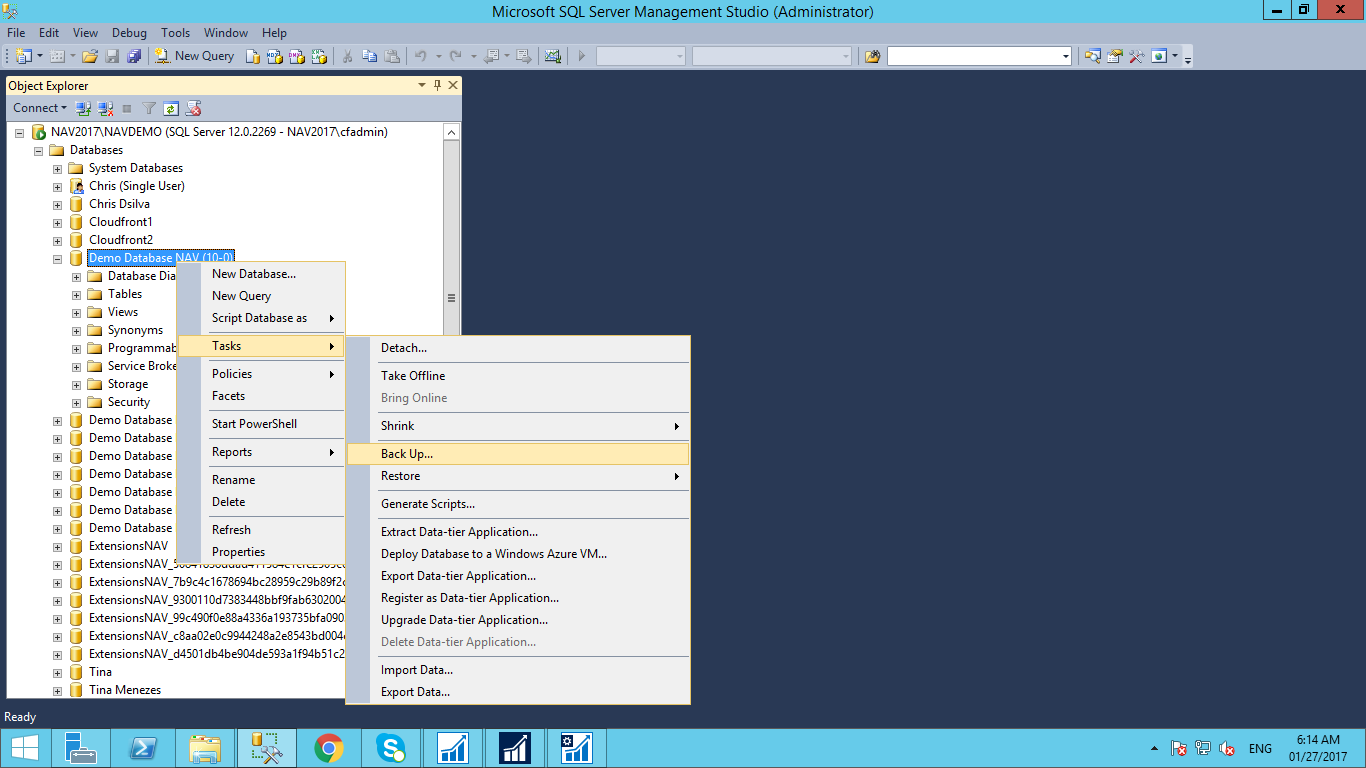
- Open the Microsoft SQL Server Management Studio as Administrator, navigate to the Demo datebase then navigate to Tasks and select Backup
-
- A new window opens, and click on Add button to specify the backup path
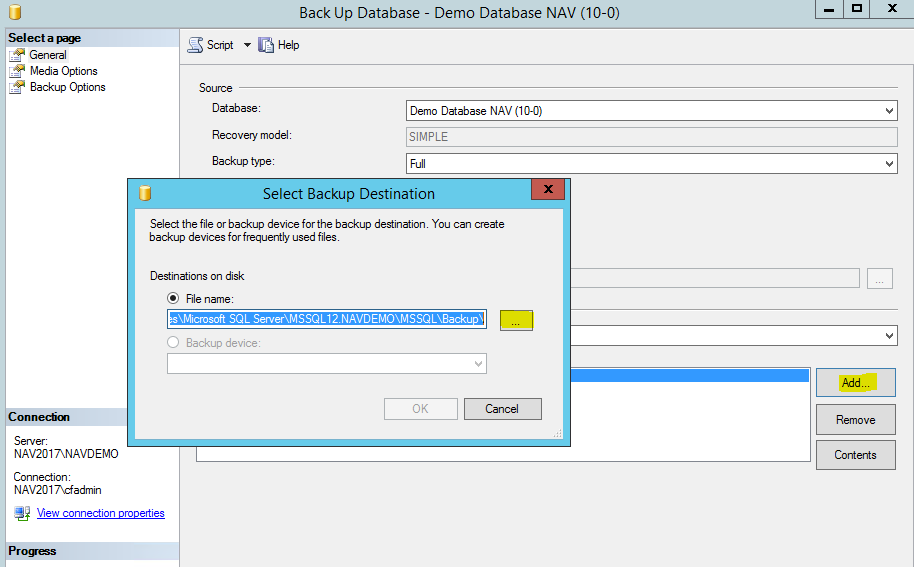
-
- Click on the button highlighted in the above screenshot, a new window opens, locate the database file and specify the file name and then ok. This will take the backup of the specified database.

-
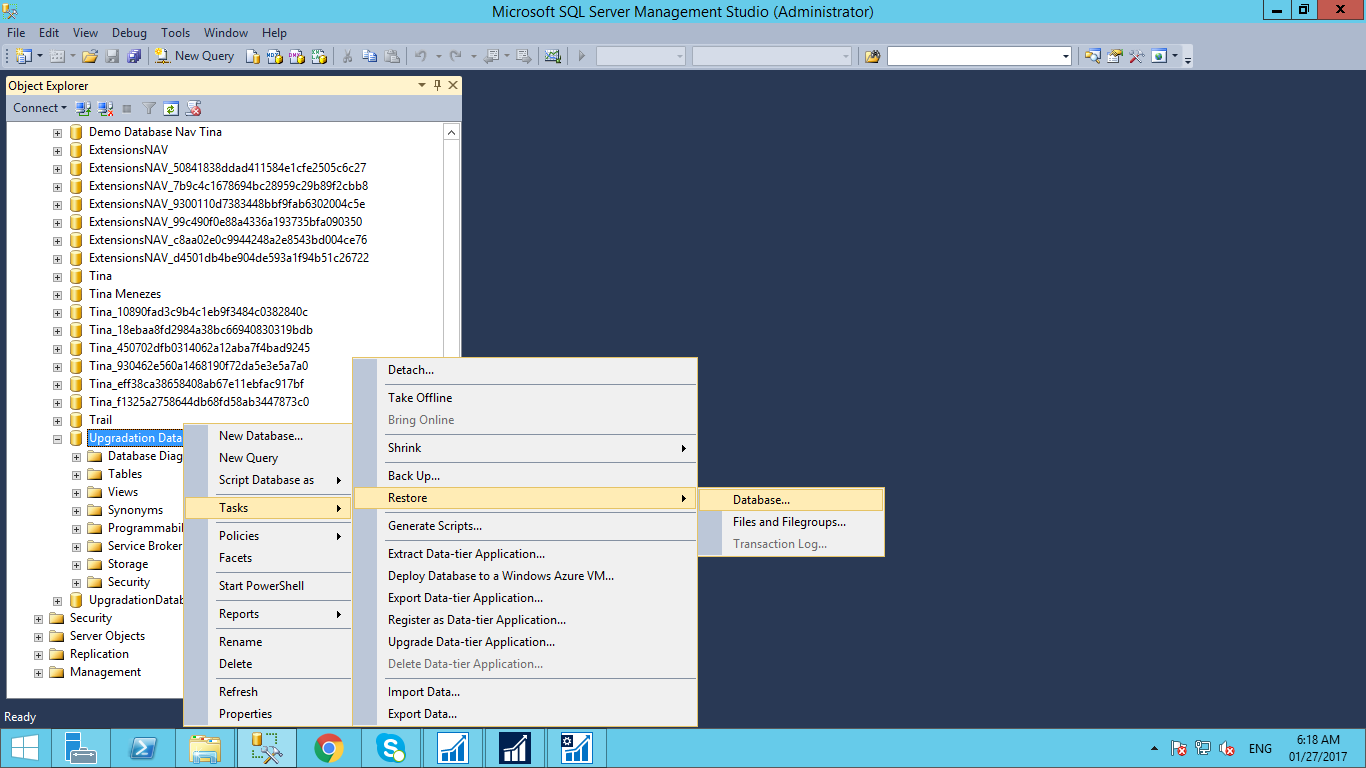
- Now go to the new database created, in this example the database name is ‘Upgradation Database’. Navigate to task then restore then database.
-
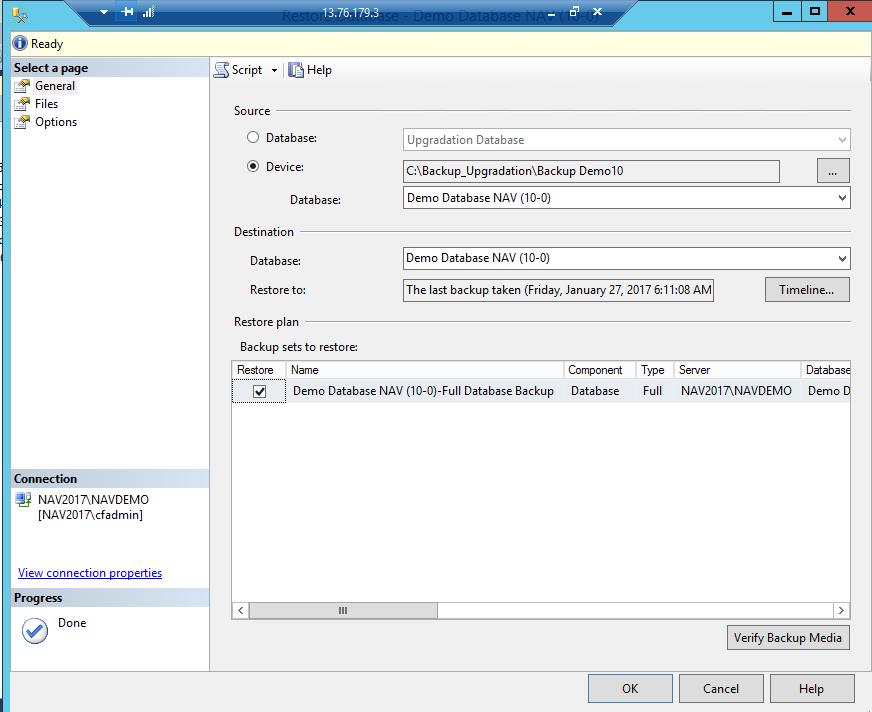
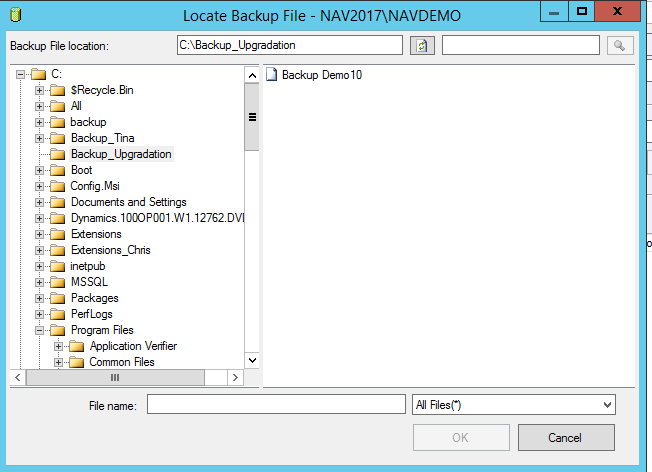
- Now select device radio button in the source, click on the Assit edit button. Select the folder and select type as All Files.
-
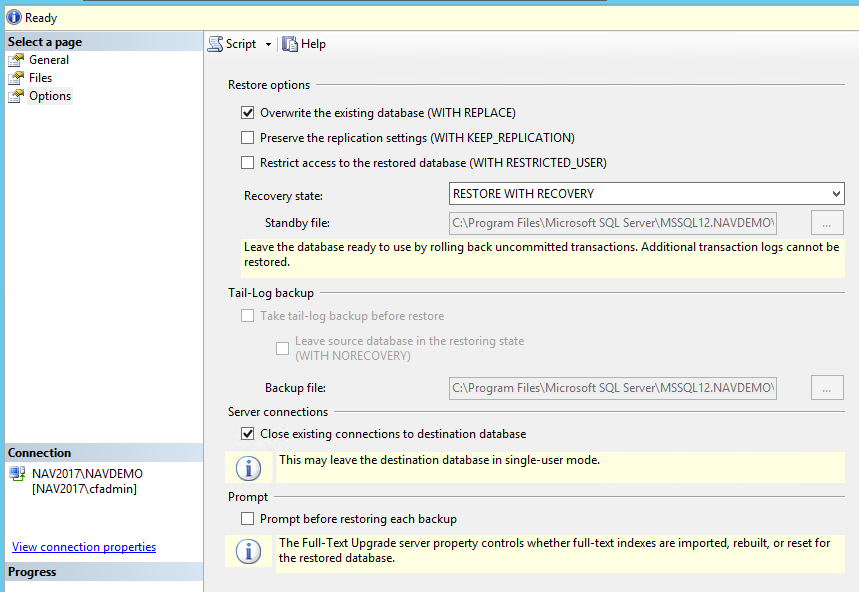
- Select the Option and check the overwrite and close existing connection to destination database and then click on OK.
-
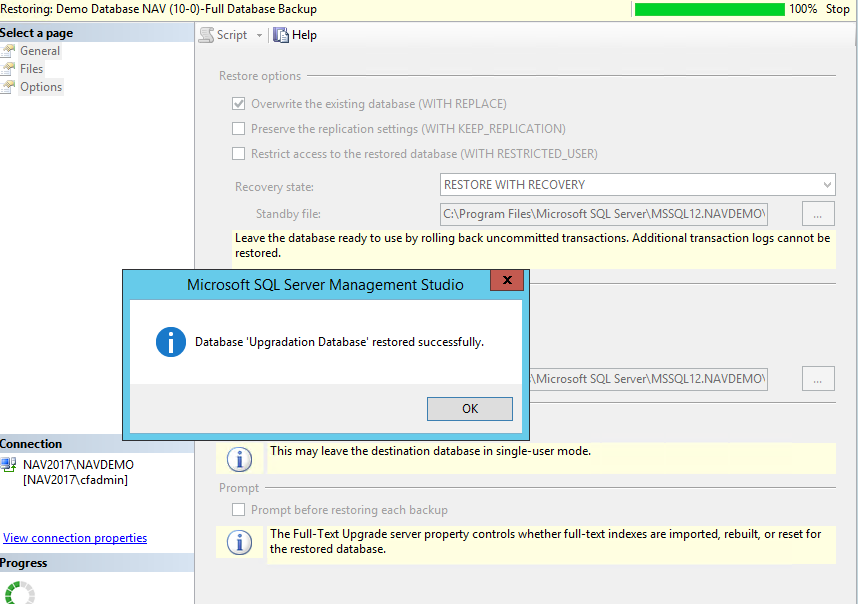
- Thus, using the above given steps a new database is created with all the standard objects.

-
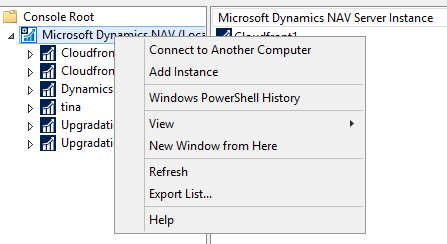
- To access this database from the front end we need to create a server instance in Dynamics NAV Administrator and link it to the newly created database.
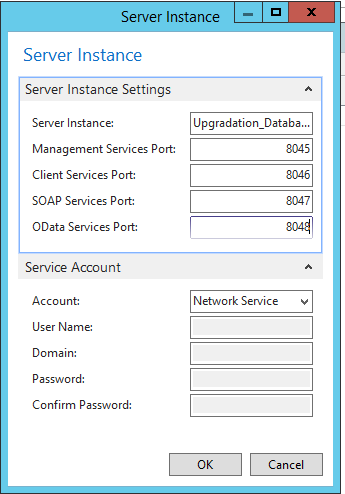
- In the Microsoft dynamics NAV Administrator, right click on the Microsoft dynamics NAV(Local) and select Add Instance. Here Specify the Server Instance name and enter the unique port numbers and click on OK. This creates the server instance.
-
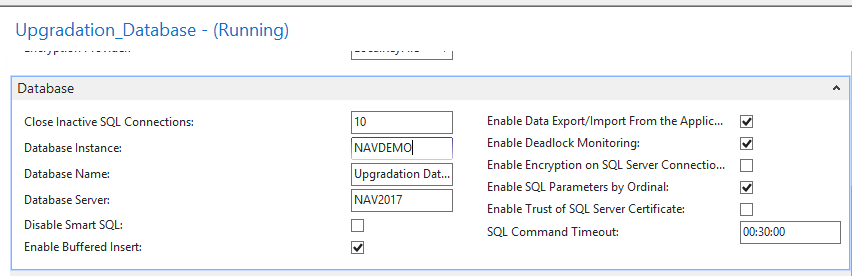
- Now to link it to the database, click on the server instance, click on the edit button and scroll to Database fast tab. Specify the Database name and click on save.
-
- Now Click on stop and start the services for the Microsoft Dynamics NAV server instance.
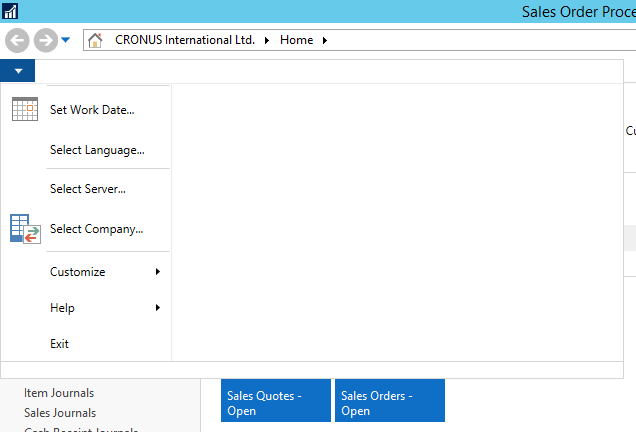
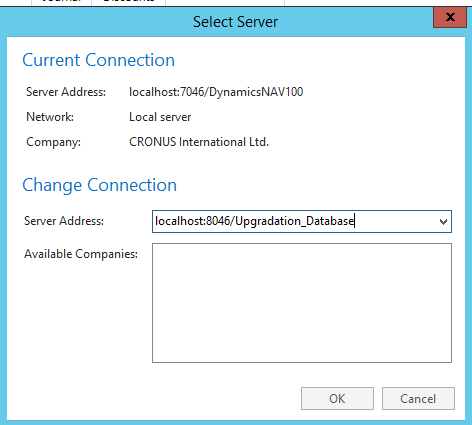
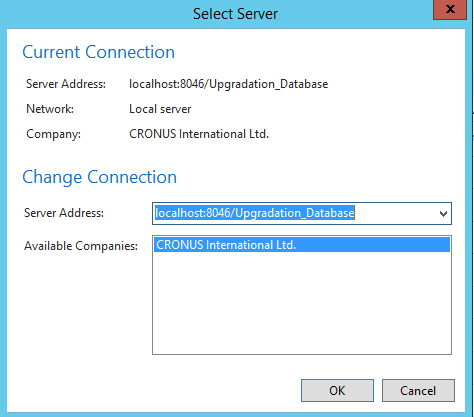
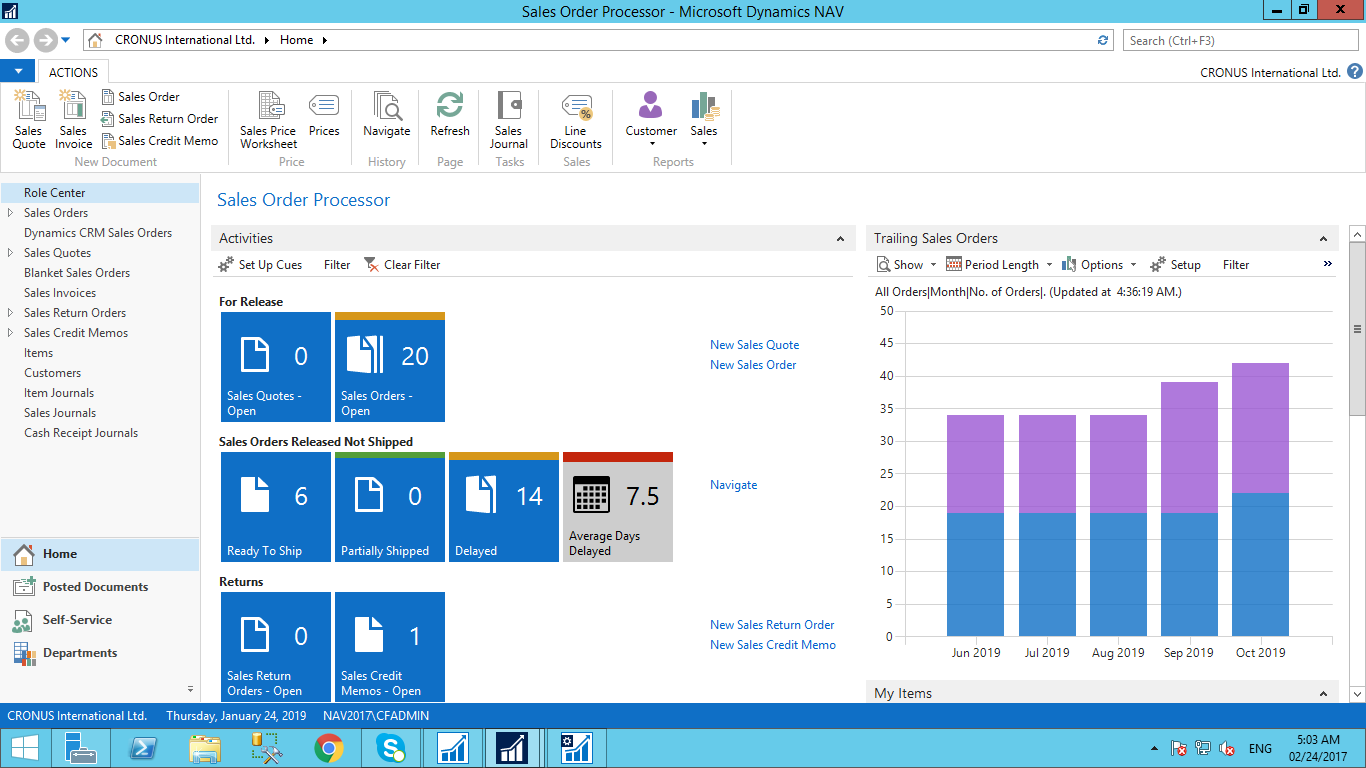
- Open Microsoft Dynamics NAV 2017 front end and click on select server and specify the server instance address and click on tab, the available companies will be displayed then click on OK.