Opportunity to Sales cycle – Part 2
Introduction:
A Step-by-Step Guide to Creating Opportunities and Processing Sales in Business Central
Pre-requisites for creating Sales Opportunities:
- Sales opportunity cycle and stages
Create Sales Opportunities
You can create opportunities from the Opportunity List page. Typically opportunities are created from a specific contact or salespeople.
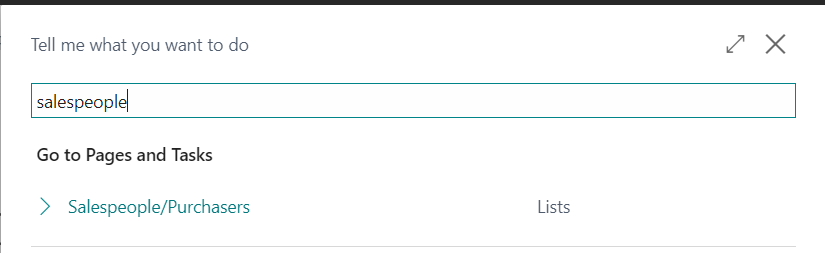
- To create an opportunity from a salesperson.
Globally search “Salesperson” and select related link.
Select the salesperson from the list for whom you want to create an opportunity.
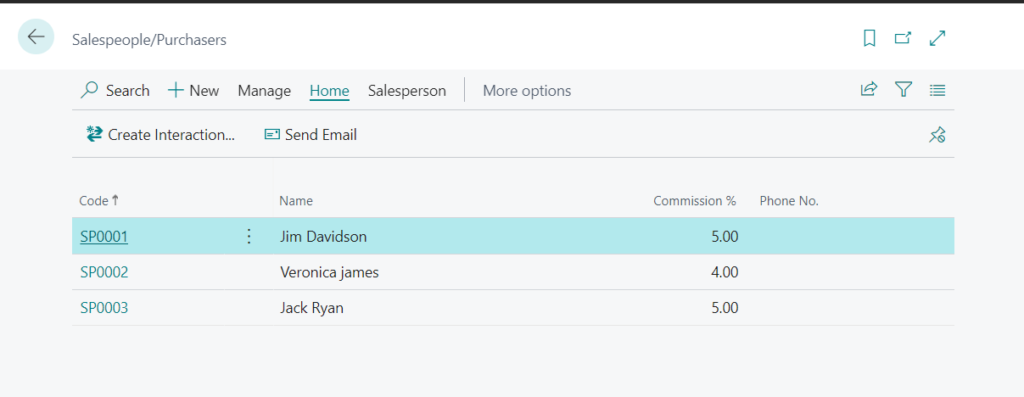
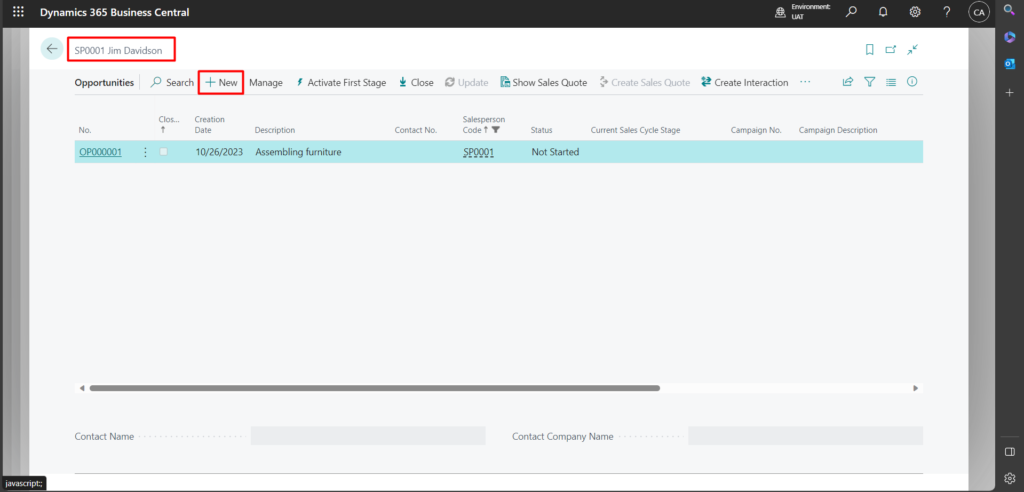
On the salespeople card page, select opportunities action –> selected salesperson opportunities page will open up –> user can create new by clicking on New action.
If opportunity is created through salespeople then salesperson code is automatically generated.
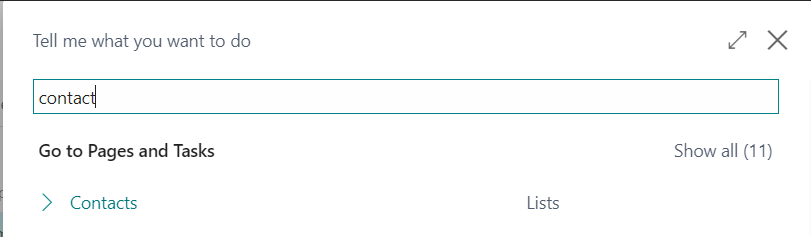
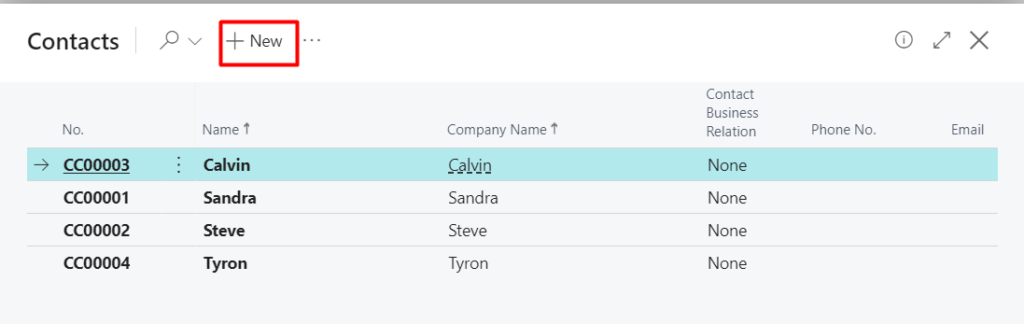
- To create an opportunity from a contact.
Globally search “Contact” and select related link.
Contacts list page will open up, user can select the contact for which opportunity has to be created.
Click on Home –>Create Opportunity for new opportunity.
Click on Contact–> Open Opportunity (To view existing opportunity of selected contact)
If opportunity is created through contact then contact name is automatically generated.
- Opportunity Card Page
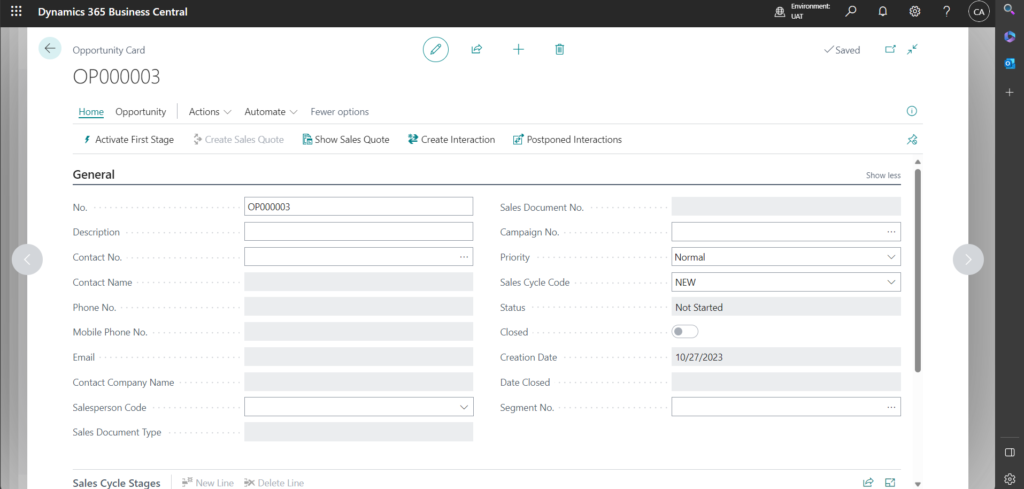
No. – This field is auto generated based on the set no. series.
Description – Description of the opportunity.
Contact no. – User can select existing contact or create new.
Contact name: Contact name is auto generated based on contact no.
Phone/mobile/email: Auto generated from contact card page.
Contact company name: This field is auto generated from contact card page
Salesperson code: if opportunity is created through salesperson then this field is auto populated, if not then user can manually select the salesperson.
Campaign no. User can select specific campaign to link with the opportunity.
Priority: The default priority is set as normal. Other priorities are Low and High.
Sales Cycle code: This is a setup. (To know more refer part 1 of this blog)
Status: The status field is updating automatically.
Closed: Specifies if the opportunity is closed.
Creation date: Opportunity creation date
Date Closed: Specify the date the opportunity was closed.
Segment no.: User can link segment to the opportunity. (If any)
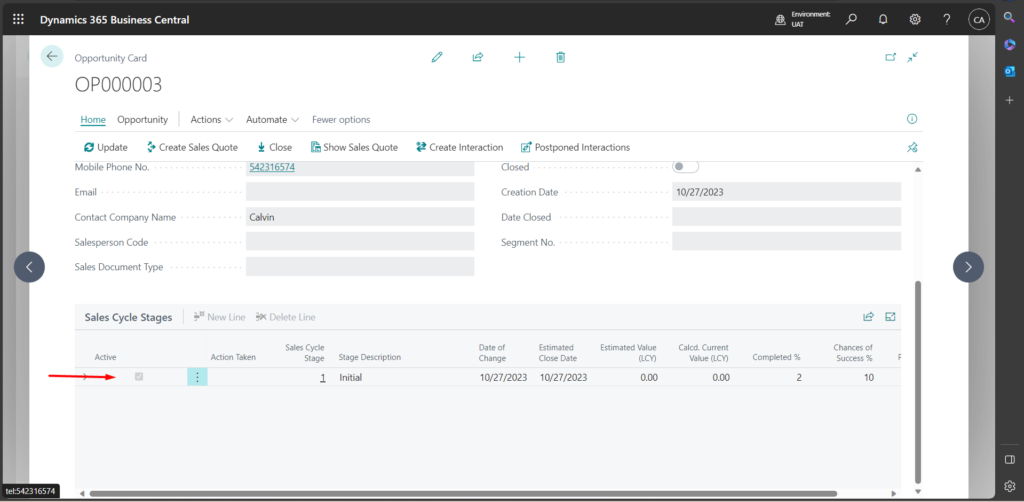
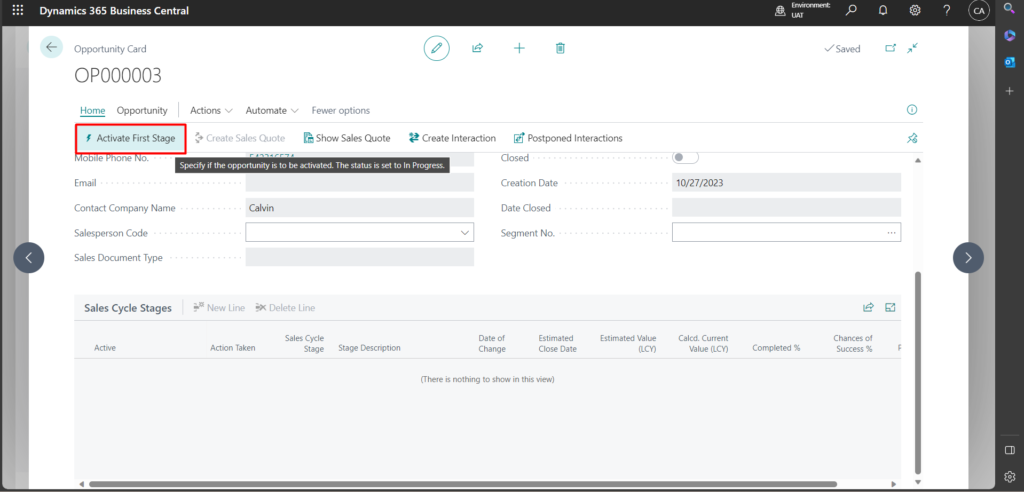
Sales cycle stages
To start the sales cycle, user can click on “Activate first stage”
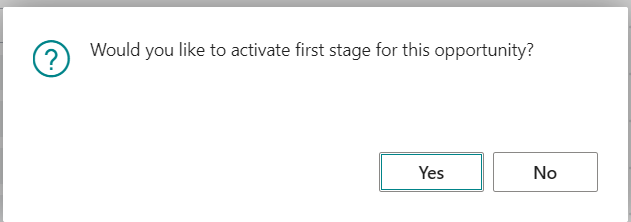
- A initial line is created in sales cycle stages as showed in above screenshot.
To move an opportunity through sales cycle stages:
- If an opportunity follows a sales cycle, you can move it forward or back through the different stages, such as moving the next or previous stage, and even skipping a stage.
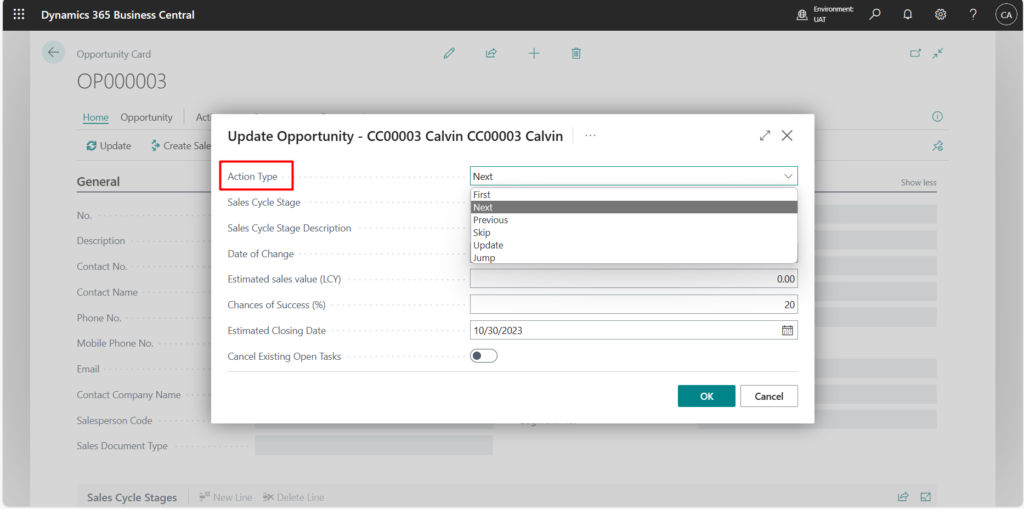
- On the Opportunity List page, choose the Update action. The Update Opportunity opens,
- Use the Action Type field to move the opportunity through the sales cycle stages:
- Next moves the opportunity forward one stage.
- Skip moves the opportunity forward one or several stages in the sales cycle, which you specify in the Presentation field. You can only skip stages that have been set up to allow skipping.
- Previous moves the opportunity back one stage.
- Jump moves the opportunity back one or several stages in the sales cycle, which you specify in the Presentation field.
- Update enables you to change information (such as to modify your evaluation of their chances of success and estimated values) without moving to another stage.
Sales cycle stage is automatically updated

Fill in the rest of the details as necessary.
To Close opportunity
When the negotiations are finished, you can close the opportunity. When closing an opportunity, you can specify whether it was won or lost, as well as why it was closed. To specify a reason, you must set up closed opportunity codes.
- Click the opportunity on the Opportunity List page, then click the Close action. The Opportunity close page appears.
- Fill in the necessary fields before clicking the OK button.
- Close Opportunity Code and Date Closed are essential fields that must be filled out before clicking the OK button.
- You can select one of the existing closure opportunity codes or enter a new one in the closure Opportunity Code area. To add a new code, from the drop-down list, choose Select from full list, and then choose new. Fill in the Code, Type, and Description fields on the new blank line, then click the OK button.
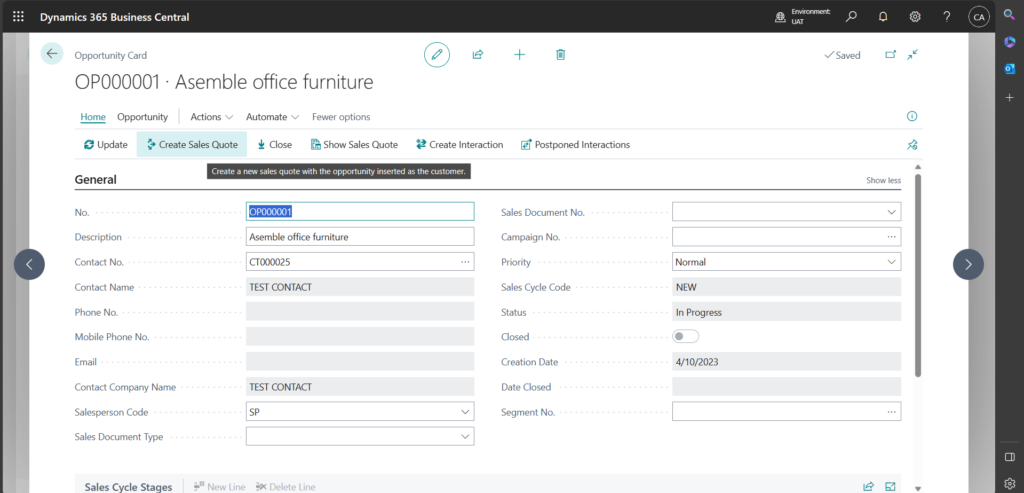
To Create Sales Quote
- Globally search for “Opportunities”. Select relevant link.
- Choose the opportunity to convert into sales quote.
- Click on “Create sales Quote” on action bar as shown below.
To Create Sales Order
- Open the opportunities page, Select the opportunity that you have created sales quote for.
- Click on “Show Sales Quote”. The sales quote page opens up linked to the opportunity.
- Fill in additional details, if any and click on “Make order” to create sales invoice.
To Delete Opportunities
- When the deal is concluded, you can delete the opportunity. However, you can only delete closed opportunities.
- There are two ways to delete closed opportunities:
- You can delete individual closed opportunities from the Opportunity List page.
- Search for the opportunity list page, select the opportunity and then choose delete action.
- You can run the Delete Closed Opportunities batch job to delete multiple opportunities based on a specified criteria.
- Globally search for “Job Queue entries”
- Create new job queue entry (Report -5182)

After you have deleted an opportunity, it is removed it from the Opportunity List page.
Conclusion
Microsoft Dynamics 365 Business Central provides a robust framework for creating opportunities and processing sales seamlessly. By following this step-by-step guide, you can harness the full potential of Business Central to optimize your sales processes, enhance customer relationships, and drive business growth.
Hope this helps!
