Getting Started with Microsoft Forms
Introduction:
Microsoft Forms is a simple app, which allows you to create customizable forms or quizzes and can be used for survey, quiz and poll purpose. It is included in Office 365 work and school accounts.
In educational institutions, it can be used to create quizzes, collect feedback from parents and teachers, plan staff activities. In business organisations it can be used to collect customer feedback, measure employee satisfaction, improve product or business.
Microsoft Forms is generally available in all Office 365 educational suite licensing: office 365 Education, office 365 Education plus, Office 365 education E5.
Microsoft Forms is available in Preview in the following Office 365 commercial suites: Microsoft 365 Business Basic, Microsoft 365 Business Standard, and Office 365 Enterprise E1, E3, and E5 plans. This preview for commercial subscribers comes with same features as it is currently delivered to Office 365 Education subscribers.
Get Started:
-
- Sign in into Microsoft Forms (https://forms.office.com) with Office 365 credentials.
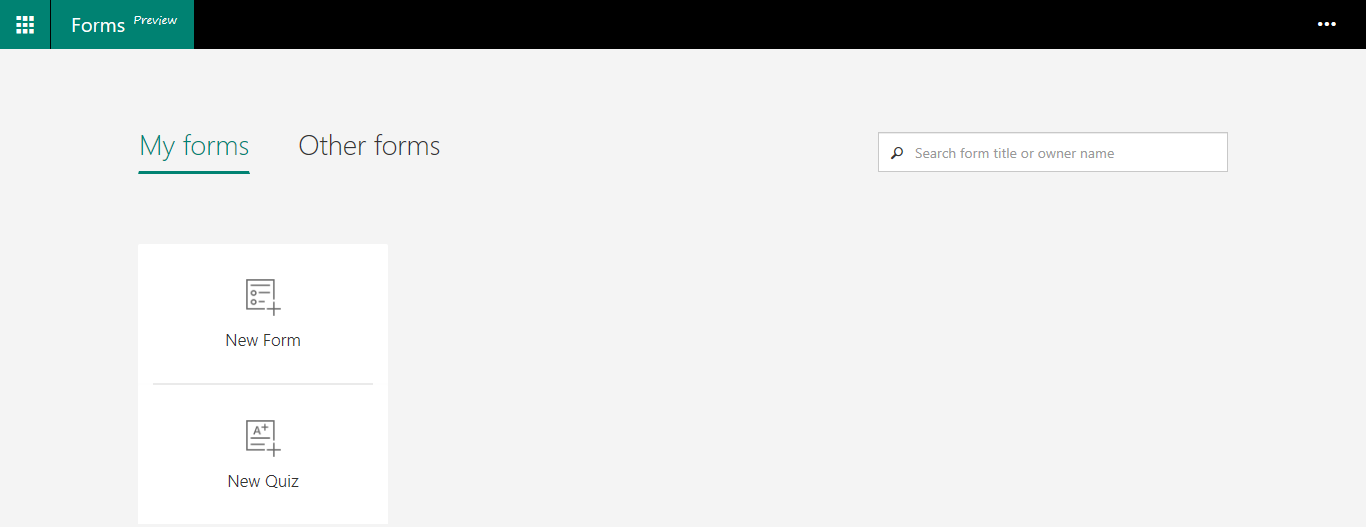
- My Forms – Forms which you have created and shared will be shown below My forms.
- Other Forms – Forms created by others and shared to you will be shown below Other Forms.
Create a new survey form or quiz form:
There are options given if you want to create a survey, click on New Form or if you want to create a quiz form click on new quiz.
In this case, we will see how to create a survey form (Customer Satisfaction Survey).
-
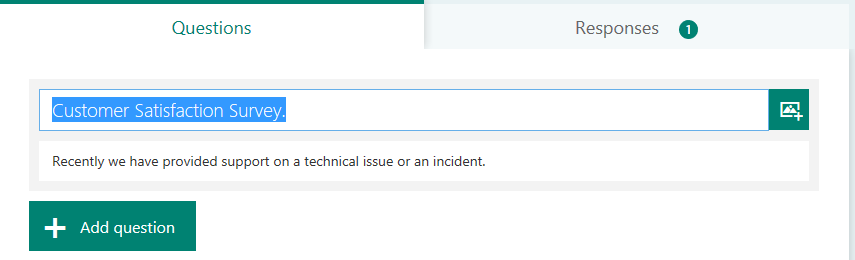
- Firstly, we need to click on New Form (Form will get opened as show in above image).
- We need to provide a title to the form as Customer Satisfaction Survey and we can also add a description to this form.
- Click to Add question.
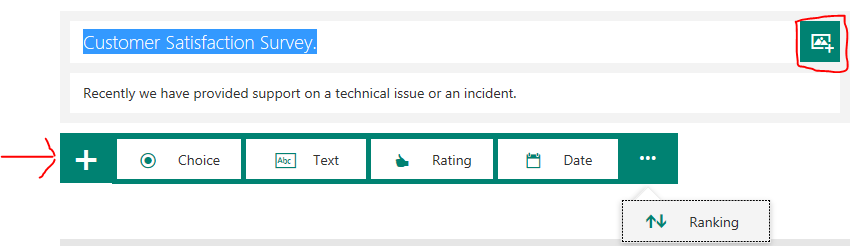
- After selecting Add Question, we will be provided with the options of whether it will be a multiple-choice question, Rating question, auto graded quiz question or Date question.
- Select the type of question that you want to create and can add a picture with the question by insert image option (shown in below image).
-
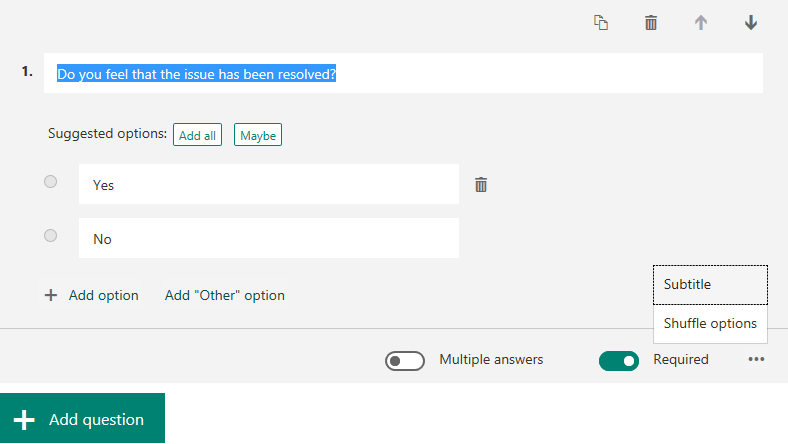
- An example of choice question (shown in below image). In choice question, we will be getting multiple choices, if the question is required to fill you can simply turn on the Required toggle switch. We can also add subtitle to the question or can insert image (as shown in above image). We can also shuffle options if it is supposing a quiz form.
-
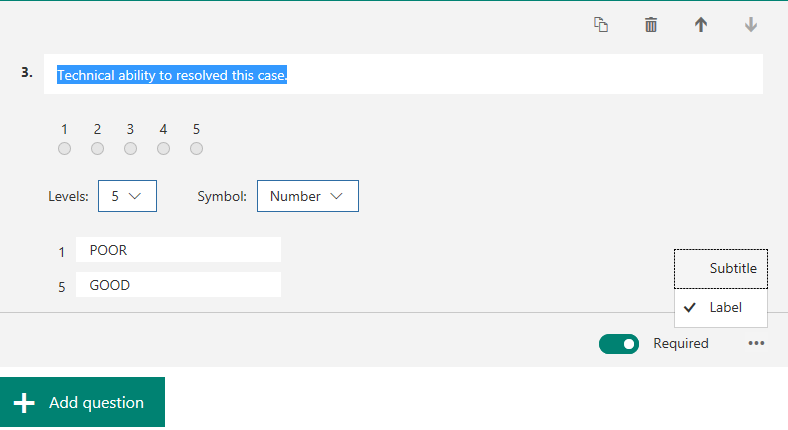
- An example of rating question (shown in below image). So, here in rating question levels are given from 1 to 10, we can label it accordingly. In our case I have given level 1 to 5 where 1 is POOR and 5 is GOOD.
-
- After creating a form, we can preview it by clicking Preview button at the top of window to see how form look like.

-
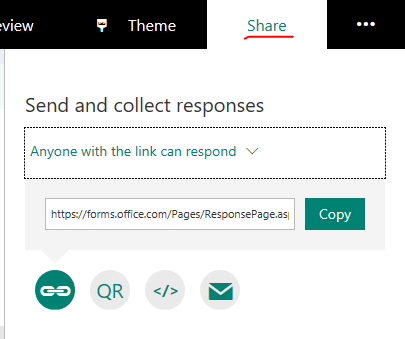
- Sharing the form – You can send the Forms or Quizzes either copying the link or through QR code, also you can embed it in website. We can select whom to send the form anyone with link or only people in my organization, if we have selected “Only people from my organization” and if other person outside of my organization tries to open a form he will be getting permission issues.
-
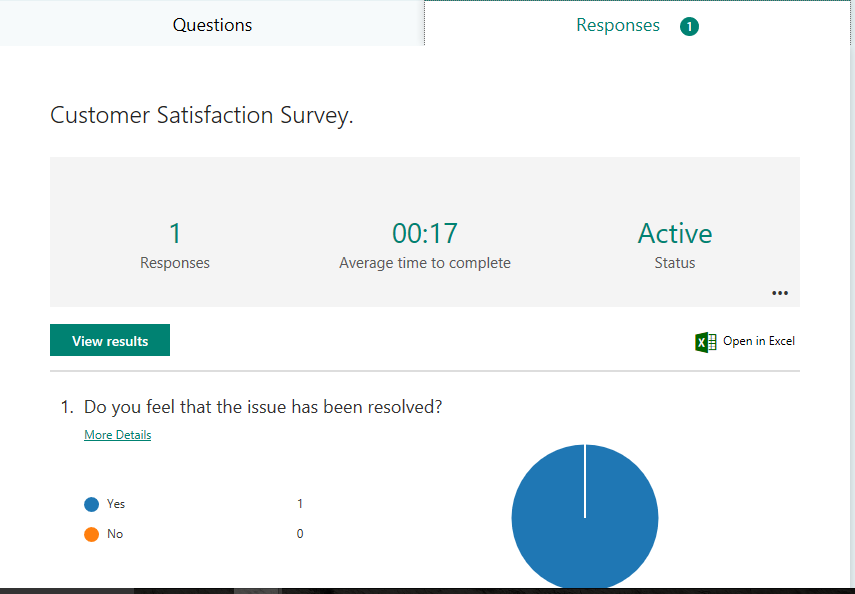
- Responses – It is a real-time process and if someone responds to the form, we will able to see the response below Response Tab. We can have maximum of 5000 responses and if we want more we can export the existing responses to excel and delete it from Forms.
-
- Opening Response in excel – Go to Responses Tab and click open in Excel, you can easily view all of the response data for you form or quiz form in Microsoft Excel.

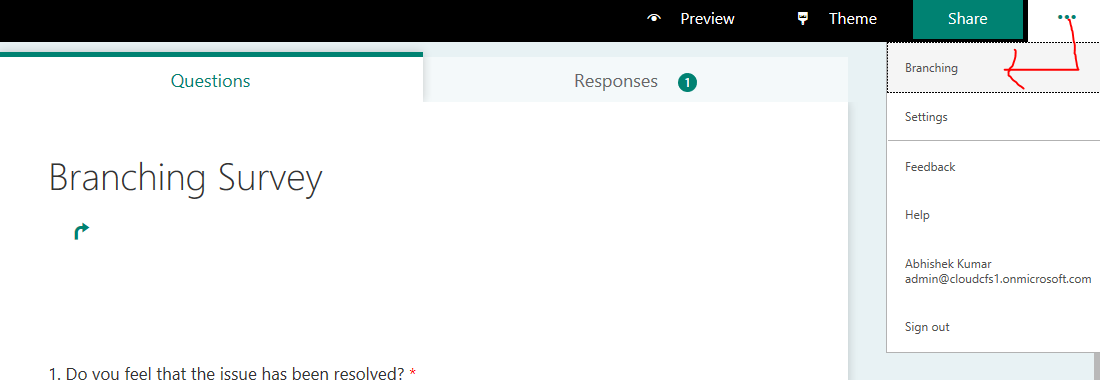
Branching:
You can add branching logic to a survey or quiz so that it changes according to the responses to specific questions.
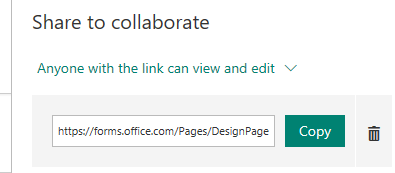
Share a form to collaborate:
When share a form to collaborate, you create special link which allows others to make changes of designs of a quiz or form started by you. Contributors will be able to view, edit and delete responses and can share with others by sending the collaborate link.
To share a Form to collaborate –
- Open the quiz or form you want to share to collaborate.
- Click Share.
- Click Get a link to view and edit.
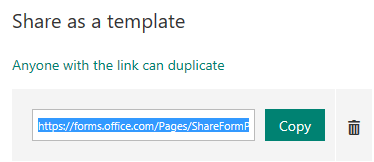
Share as a template:
You can easily share a Form or Quiz as a template so that your colleague can duplicate it and use it as their own.
-
- Open the quiz or form you want to share as a template.
- Click Share.
- Click Get a link to duplicate.
- Copy that link and send it to anyone.
-
- Another person navigates to that form URL and will be getting a link to duplicate it.

- By clicking on duplicate it, a copy of the Form or Quiz will be created in the profile of that person with whom you have shared.
Conclusion:
You can easily create customizable forms and quizzes using Microsoft Forms which can be used for surveys, quiz and polls.
