How to search for a Content in Office 365?
Introduction:
You can use the Content Search eDiscovery tool in the Office 365 Security & Compliance Center to search for items such as email, documents, and instant messaging conversations in your Office 365 organization.
You can search for –
- Exchange Online Mailboxes
- SharePoint Online and OneDrive for Business sites
- Microsoft Teams
- Office 365 Groups
Create a Search:
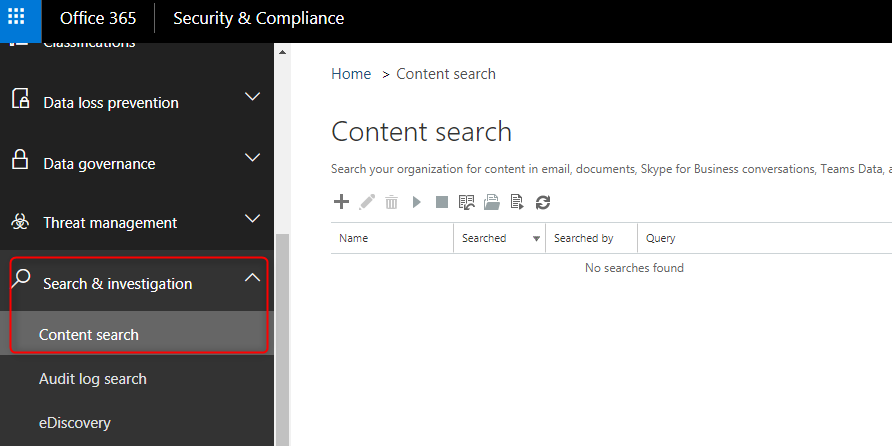
- Go to Office 365 Security & Compliance.
- In the left pane, click Search & Investigation > Content Search.
- Click New +, to create a new search.
- Provide a name for the Search (name must be unique).
- Choose the content locations that you need to search. You can search mailboxes, sites and public folders in the same search.
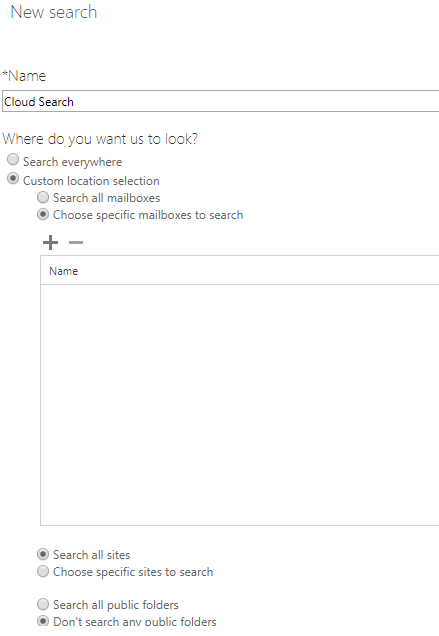
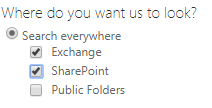
Search everywhere – Select this option to search content from all location in your Office 365 organization. You can choose all mailboxes (including mailboxes for all Office 365 Groups and MS Teams), all SharePoint and OneDrive for Business sites (this includes sites for all Office 365 Groups and MS Teams) and Public Folders.
Custom location search – Select this option to select mailboxes and sites that you want to search. - After choosing mailboxes and Sites, click Next.
- On the New Search page, you can add keywords and conditions to add a search query.

- You can specify keywords, message properties such as sent and received dates, or document properties such as file names or the date that a document was last changed. You can use a more complex query that use a Boolean operator, such as AND, OR, NOT, NEAR, or ONEAR. You can also search for sensitive information (such as social security numbers) in documents, or search for documents that have been shared externally.
- Under Conditions, add conditions to a search query to narrow a search and return a more refined set of results.
- Click Search to save the search settings and start the search.
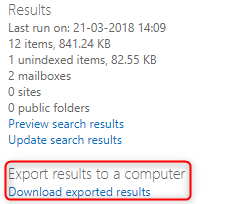
- After a search is successfully run, you can export the search results to a local computer. When you export email results, they’re downloaded to your computer as PST files.
- After generating the report, the report can be downloaded, click on Download exported results.
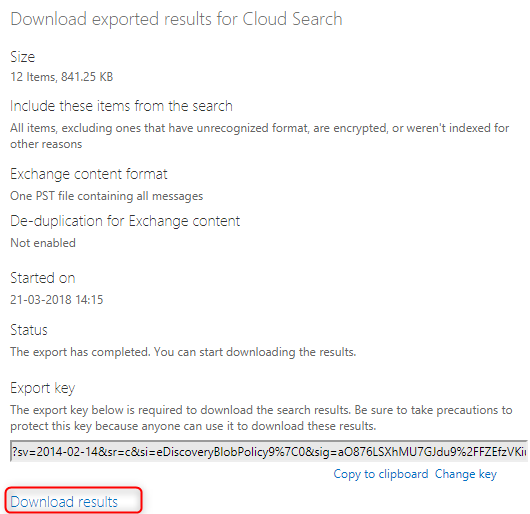
- A new window will open, click Download Results (see below image)
- If you are prompted to install the Microsoft O365 eDiscovery Export tool, click install. In the eDiscovery Export Tool, paste the export key from the download export results window. Click Browse to specify the location where you want to download the search result files.
- Click Start to download the search results to your computer.


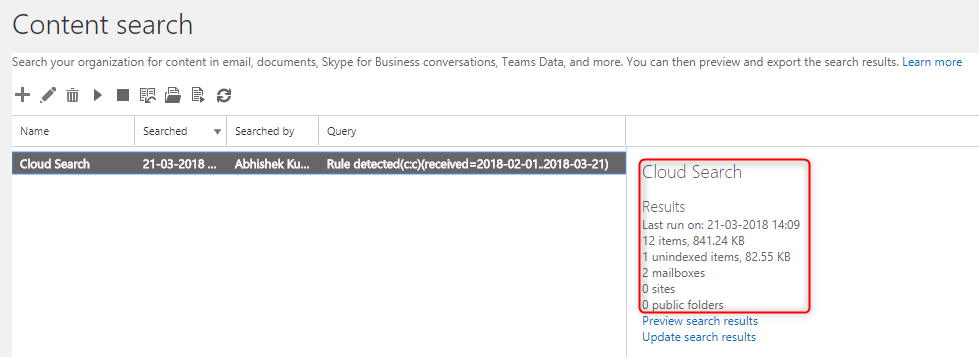
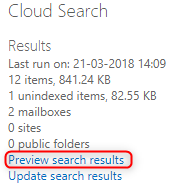
The search is started. When the search is completed, the following information is displayed in the details pane.
Preview Search Results –After a search is successfully run, you can preview search results by click Preview Search results (see below image).
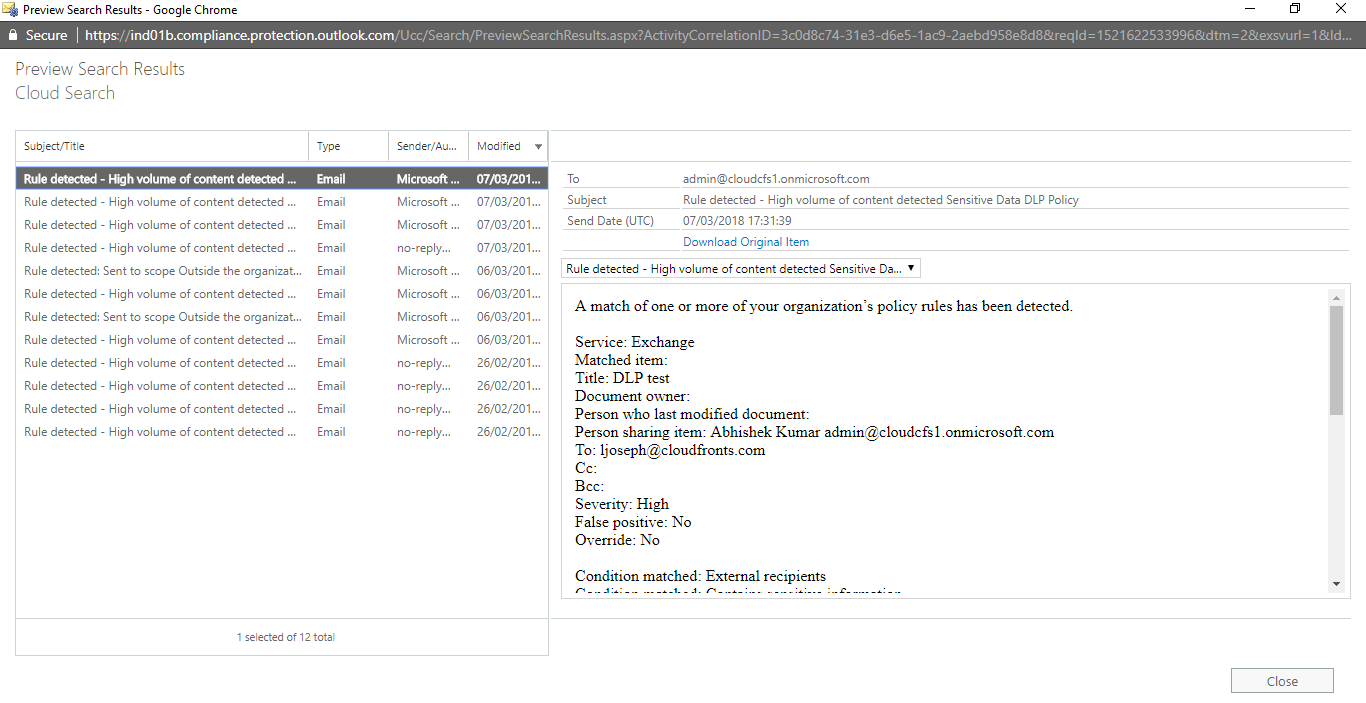
Result preview will look like this (see below image)
Export Search results –

Conclusion:
In this way, you can search for your contents in Office 365. You can quickly view the statistics. Preview the search results or download the results to a local computer.
