Ways to Import Export Data from Microsoft Dynamics NAV to Excel
Introduction:
In a scenario where a company uses Excel to keep the data and wants to move its ERP to Dynamics NAV. A lot of data needs to be added in NAV in order to get a full system working. Thus, copying each entry could be a time-consuming task. Microsoft Dynamics NAV is enabled with the feature to Import and Export Data to and from Excel.
Procedure:
Ways to Import Export Data from Microsoft Dynamics NAV to Excel
There are two ways to Import Export Data to and from NAV
- Using XMLPORT(Server Side)
- Using Configuration Packages(Client Side)
XMLPORT Method Steps:
1. Create a new XMLPORT in NAV Server Object Designer Window
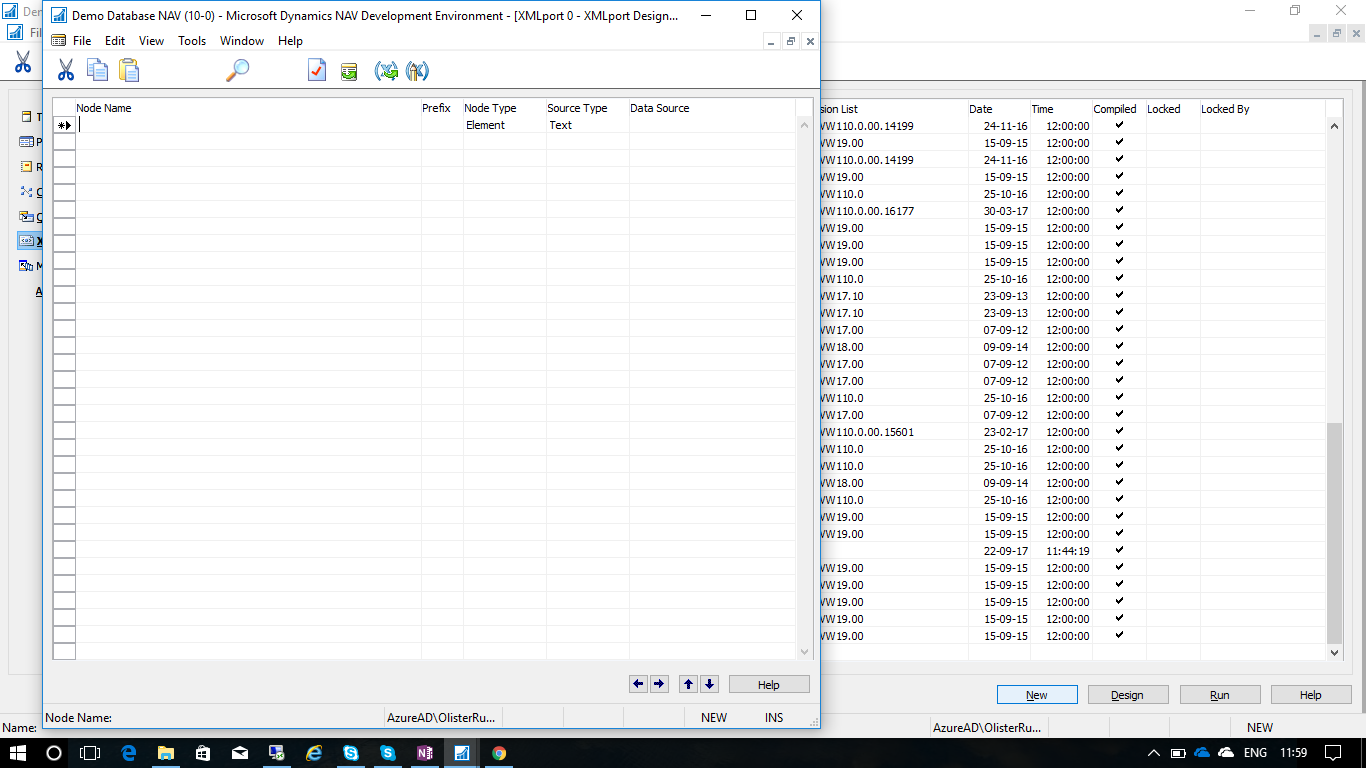
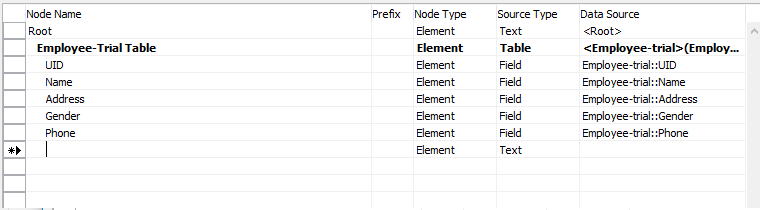
2. Adding Entries in the XML Port
- NodeName: Root > Node Type: Element > Source Type: Text > Data Source: <Root>(By Default)
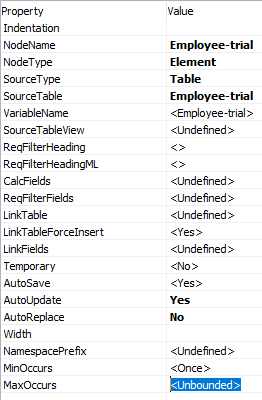
- NodeName: Table Name(Anyname is fine) > NodeType: Element > SourceType: Table > Data Source: Table(Select the Table click on the Rollup Button)
- NodeName:Field Name > NodeType: Element > SourceType: Field > Data Source: Field(Select from the Rollup)
3. Indent the Entries as
Root(Indent: 0) > Table(Indent: 1) > Fields(Indent :2)
4. Changing the properties of the XMLPORT
- Delimiter: <‘’>
- Separator: <TAB>
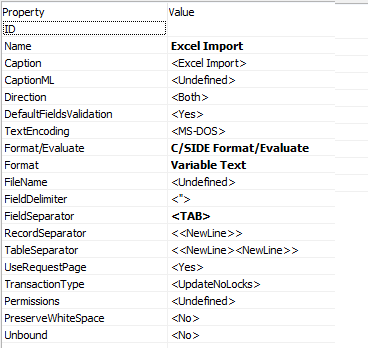
5. Change the Properties of the Table
- Format: Variable Text
- AutoUpdate: Yes
- AutoReplace: No
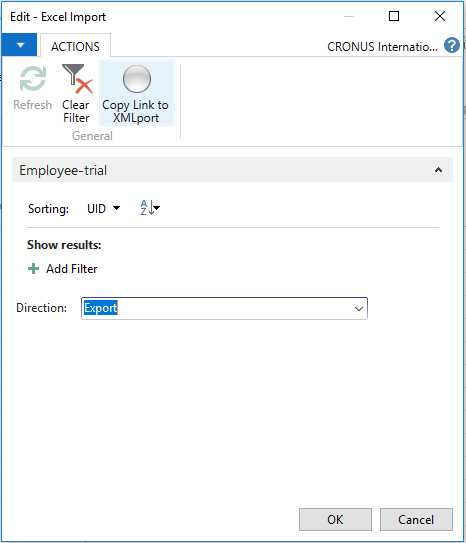
6. Save the XMLPORT and RUN
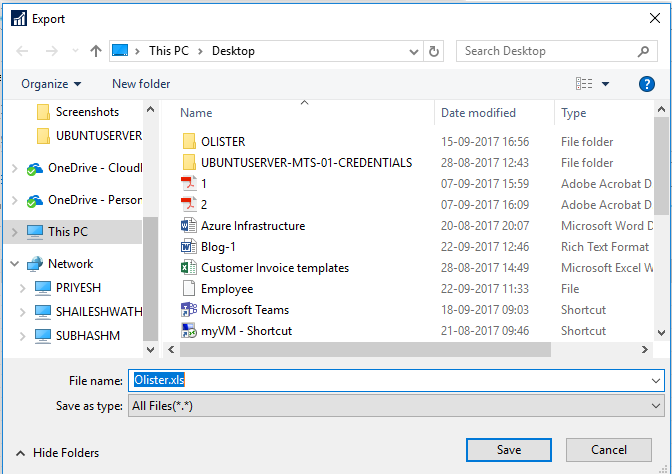
- For the first time Choose the Direction as ‘Export’ > Save > Filename.xls
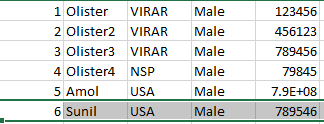
7. Open the file, make change the entries and close the file
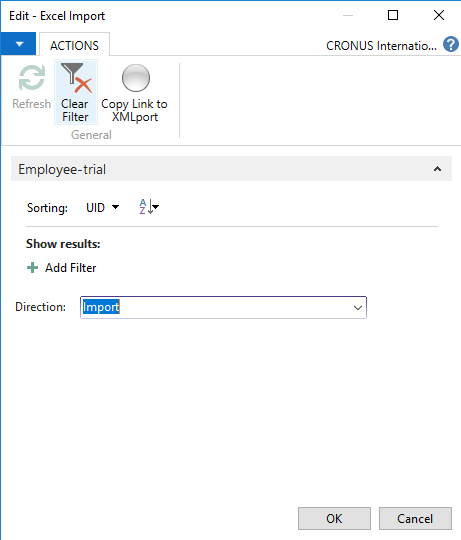
8. Run the XMLPORT and choose direction as ‘Import’ and select the file
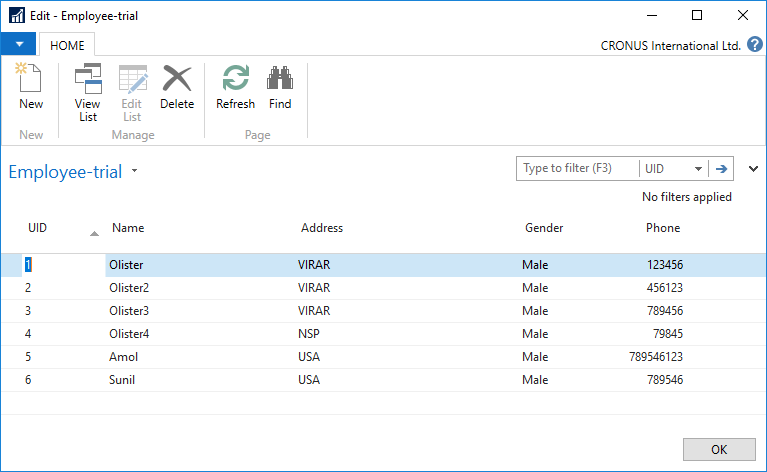
Verify whether the import is successful by checking the entries in the table.
IMPORT EXPORT using Configuration Packages
1. >Open the Microsoft Dynamics NAV (Client Application) and search Configuration Packages.
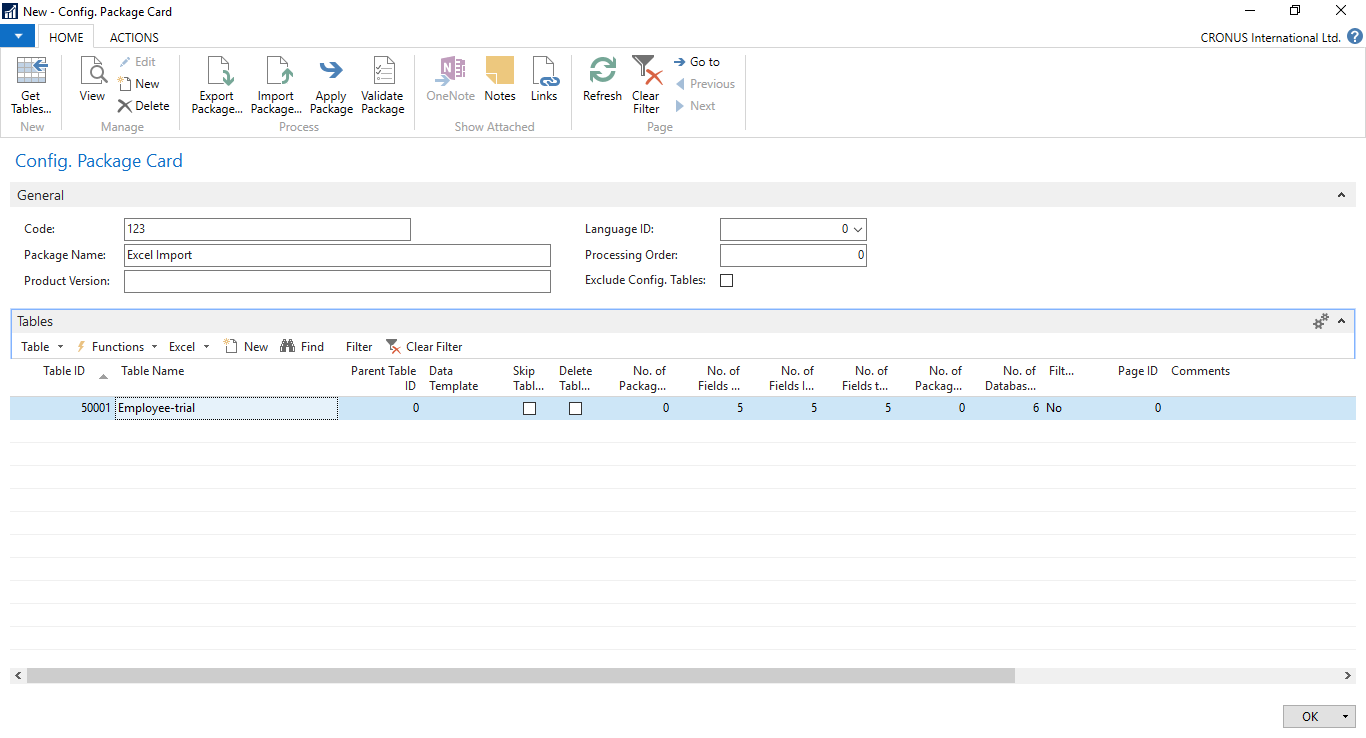
2. Create a New Configuration Packages > Enter the following values in required fields as Code: 123(Appropriate Number) and Package Name: Excel Import(Appropriate Name) > Select the Table ID:50001(Using Drop Down) and Table Details will be updated.
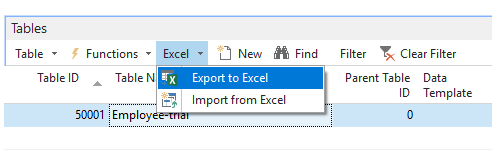
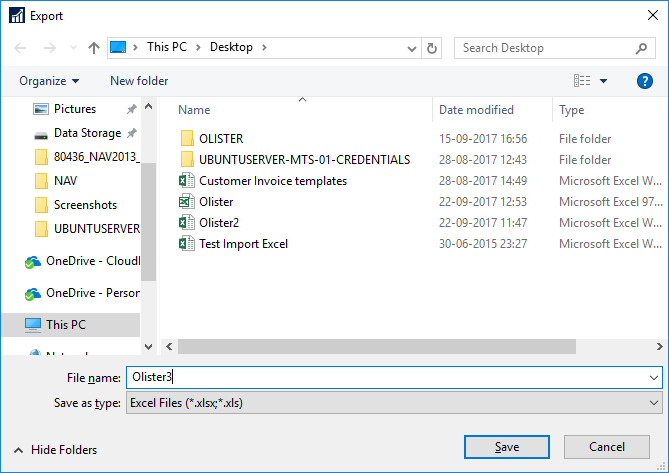
3. Under the ‘Tables’ ribbon click on Excel > Export to Excel > Save as appropriate file
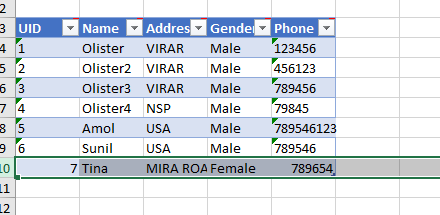
4. Open the Excel File and change the entries
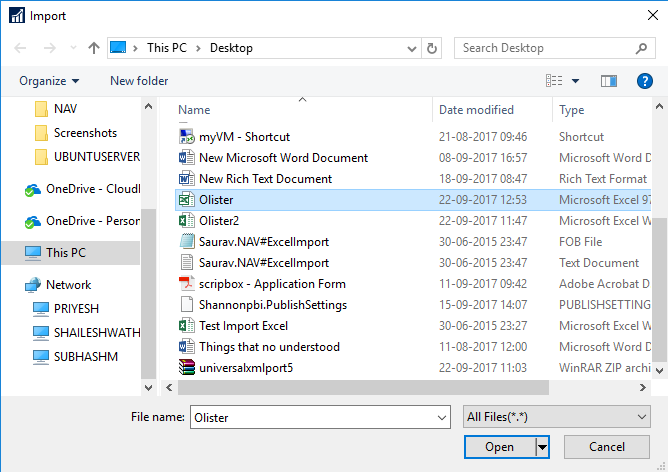
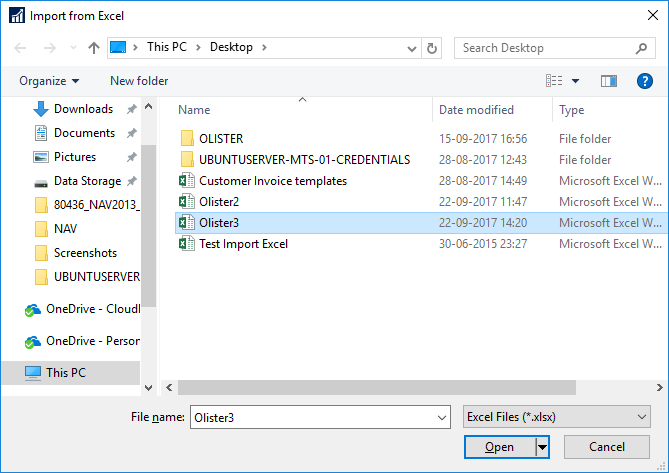
5. From the ‘Tables’ ribbon, select Import from Excel and Select the file
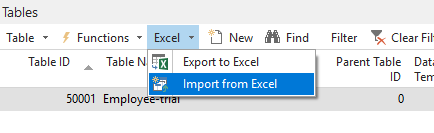
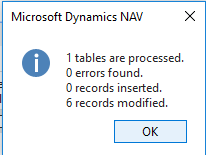
6. By this time the data is not written to the table just imported. Thus have to apply the data.
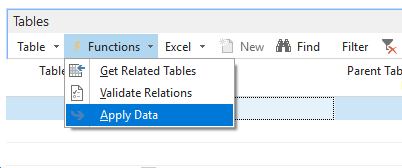
After applying, it gives the data inserted or modified or errors if any.
Conclusion:
The fields are mapped first, thus all the fields to be Imported and Exported are to be known first.
Only one excel file per table can be used. The file extension needs to be .xls and not .xlsx as it gives an encoding error while opening the file. Importing or Exporting computed fields cannot be done by this method.
