Advance warehouse management – Warehouses and Locations in Microsoft D365 F&O – Part 2
Hello everyone, in this series of Blog, we are going to learn about the Advance warehouse management in D365.
In this blog we will learn about the basic setups required for the Advanced Warehouse Management process. These setups may vary depending on the business scenarios. For a Warehouse to work in an Advance warehouse scenario, there are some prerequisites that we need to do first. The following are the setups that we need to configure:
- Warehouse
Path: Inventory Management Inventory Breakdown Warehouses.
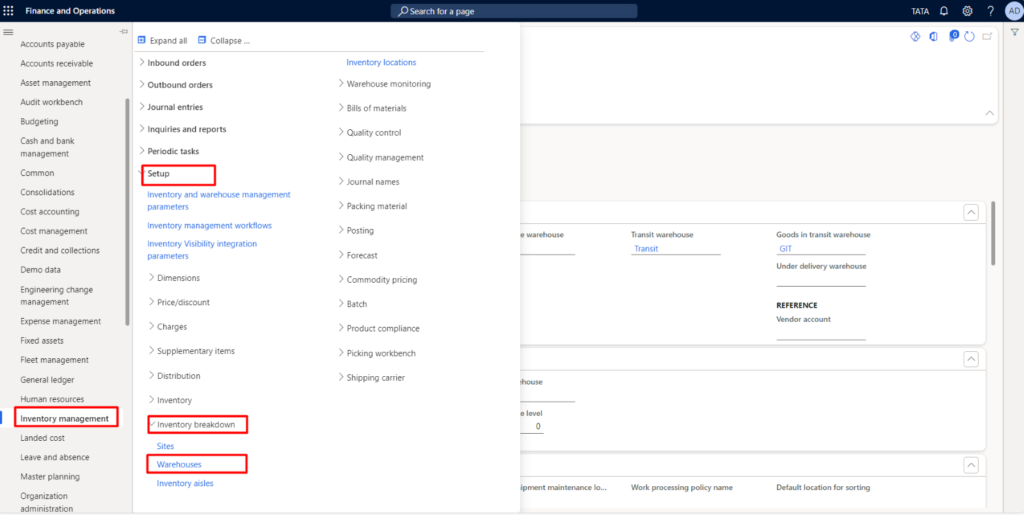
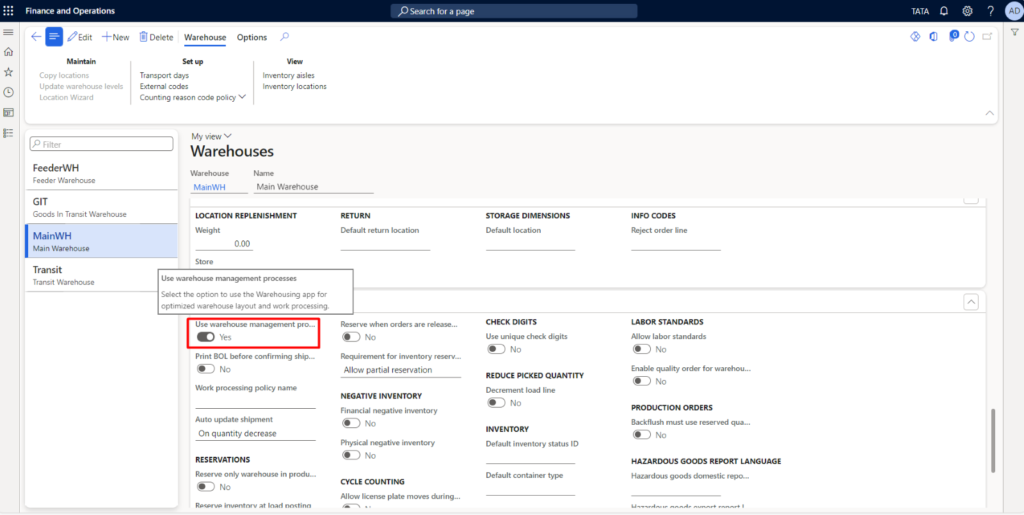
Click on New. Enter the warehouse and Warehouse name.
Most importantly, for warehouse to work in a advanced warehouse scenario, we have to enable the “Use warehouse management processes”.
- Locations
For advanced warehouse management, the location plays an important role for better inventory visibility and item tracking. For this, we need to do multiple setups as per below.
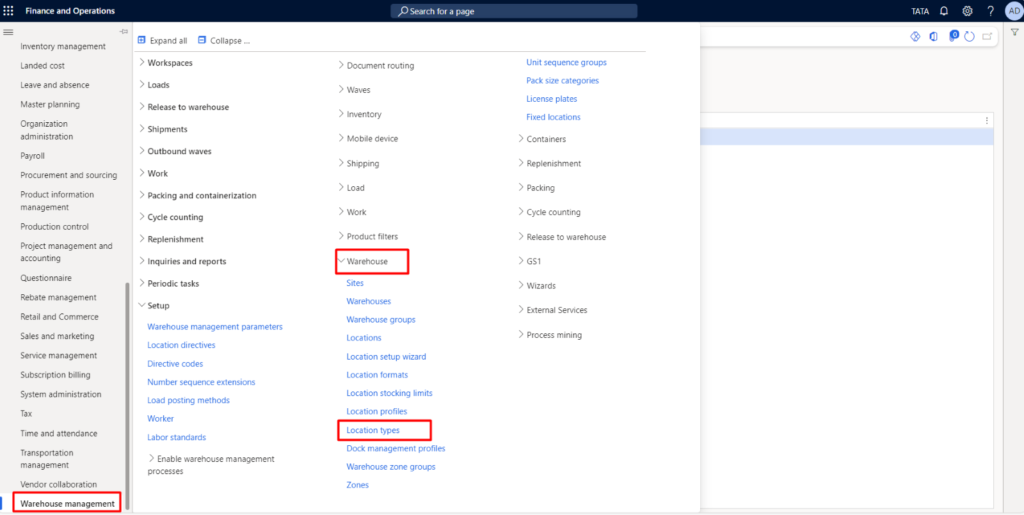
- Location types:
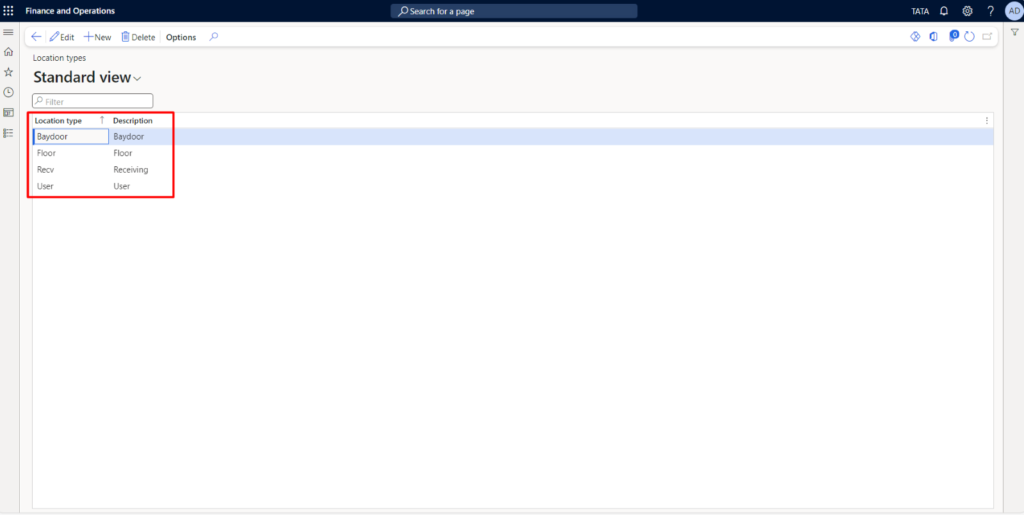
In the location type, I have mentioned four main locations. These are Baydoor, Floor, receiving and User.
These locations will increase or decrease as per business scenarios.
Recv: This location I am using primarily for entry of the goods/items in the warehouse.
Floor: This location I am using for storing the goods/items in the warehouse.
Baydoor: This location I am using for exit of the goods/items from the warehouse.
User: This location I am using for default. This user location will be used in the Warehouse management parameter, in User Location profile.
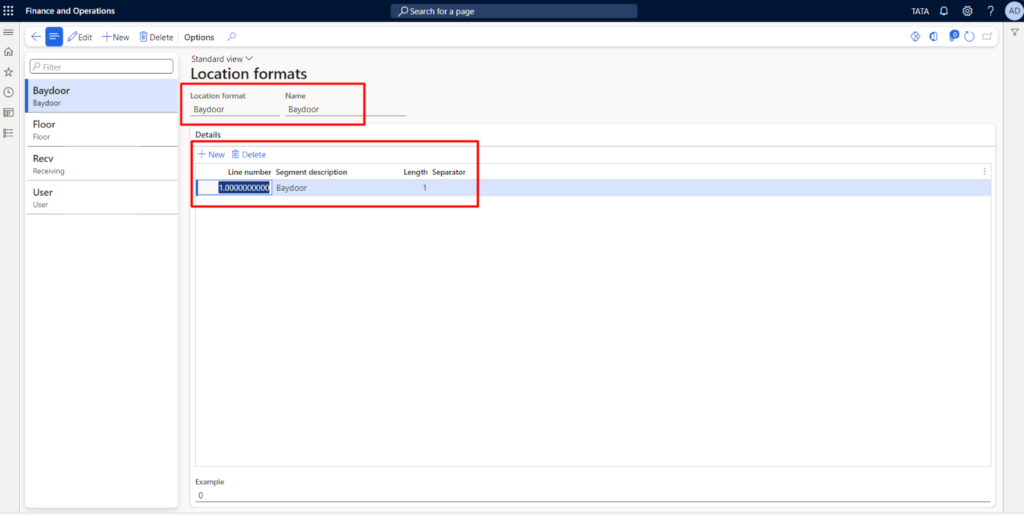
- Location formats:
Location formats are used as the naming system by which we can create the unique and consistent names for different locations within the warehouse.
Here, I have mentioned the length as 1.
- Location profiles:
The location profiles will be used for connection between location type, Location formats and the locations. The location profiles are very important setup because the location capacity can be mentioned here. Also, how the inventory is stored in the location, and how the inventory is getting accessed is also dependent on the location profiles.
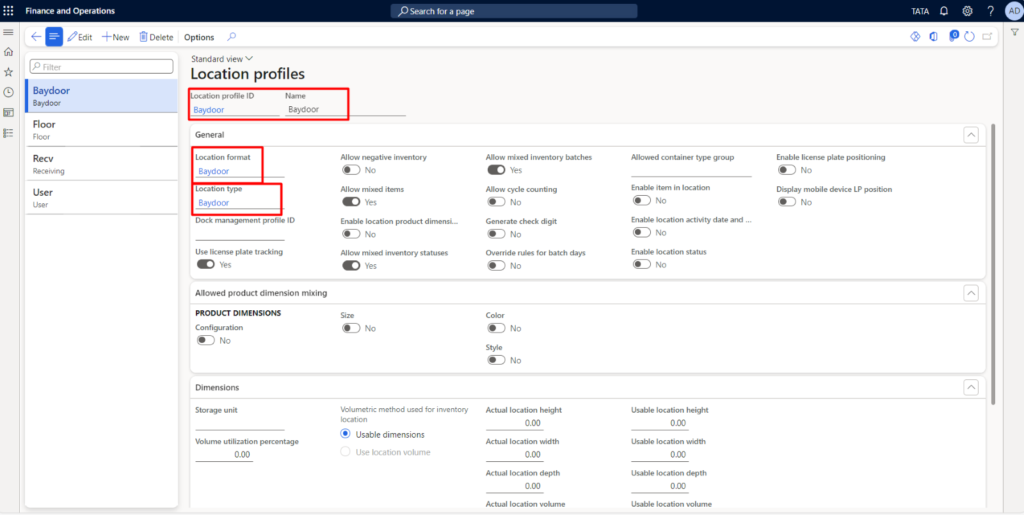
Here, I have enabled User license plate tracking, allow mixed items, Allow mixed inventory statuses, Allow mixed inventory batches.
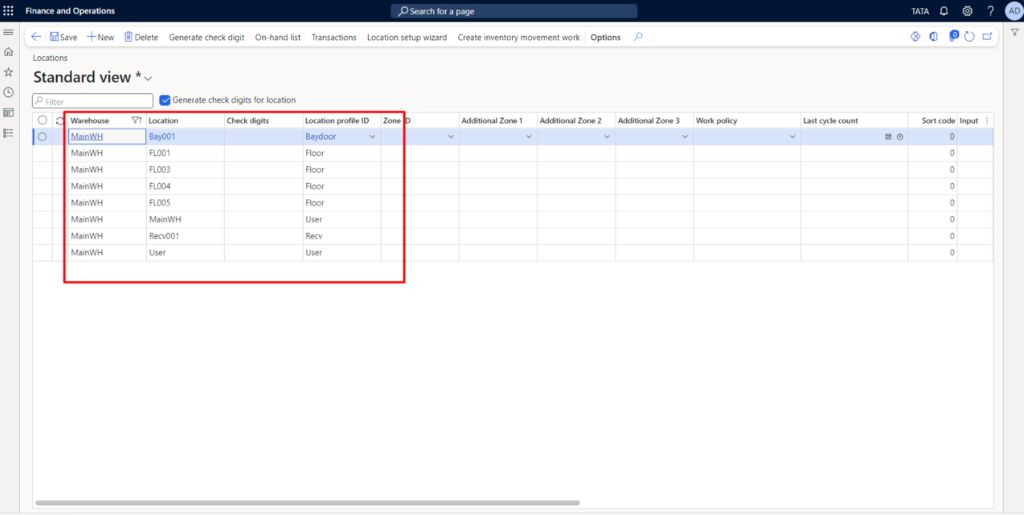
- Locations:
Click New. Select warehouse from the drop-down menu. Enter location name as per requirement. Select the Location profile ID from the drop-down menu.
We can add as many locations as we want.
Now, the warehouse and locations are ready to use in Advance Warehouse process.
That’s it for this blog!!
How to use these warehouses and locations in actual transaction will be discussed going forward in the blog series.
Keep learning!!!!!
