Setup UserName authentication in Dynamics NAV
Do you feel like the vast majority of your information lives in Excel spreadsheets? Joining deals with that, as well, Microsoft dynamics nav upgrade improves your operational productivity so you have all the more convenient information. This permits you to know things quicker like when to move stock from area to another, when to markdown items, and how to showcase in one district versus another. Coordination prompts snappier dynamics.
The present clients request a great deal from vendors. Having the option to settle on basic business choices at the ideal time depends on having perceivability into your tasks. Mix is regularly the way in to that kind of perceivability. It gives you a focal area to oversee and see all your information.
Introduction:
In this blog, we’ll see the ‘UserName’ authentication in Dynamics NAV. It is used when we want to use the existing Windows User and has a password associated with it. This method is preferred when two or more users use the same machine and require a simple password security so that only they can access their account.
Prerequisite:
Microsoft Dynamics NAV
Procedure:
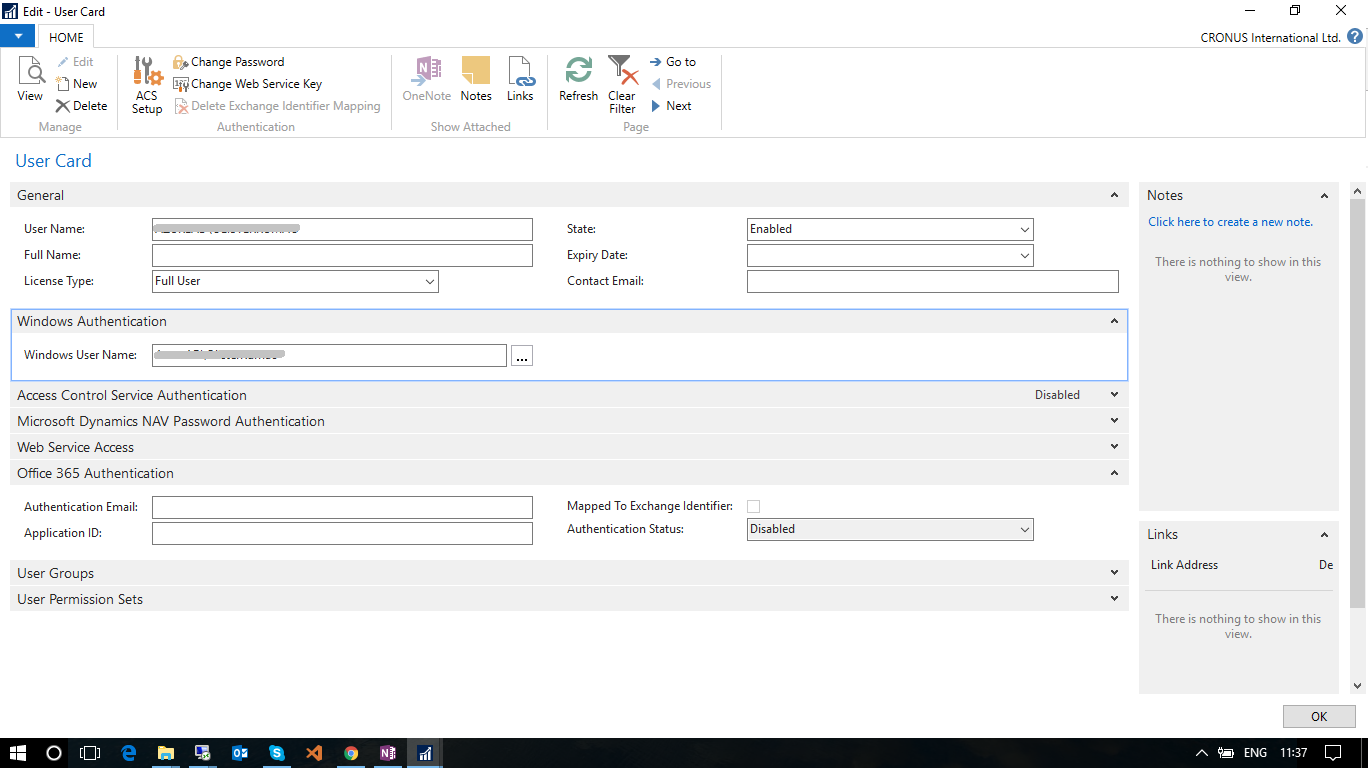
- Create a User in Windows Client by going to Administration > IT Administration > General or by typing Users in Search.
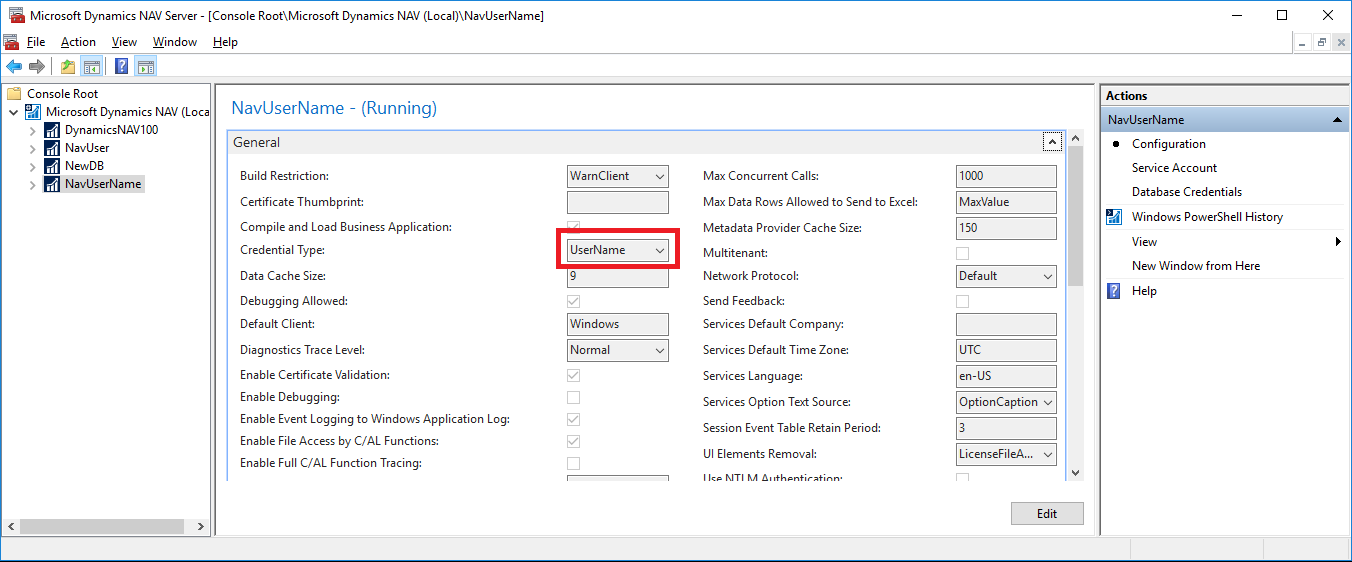
- Create a NAV Server Instance from Administration with Credential Type as ‘UserName’.
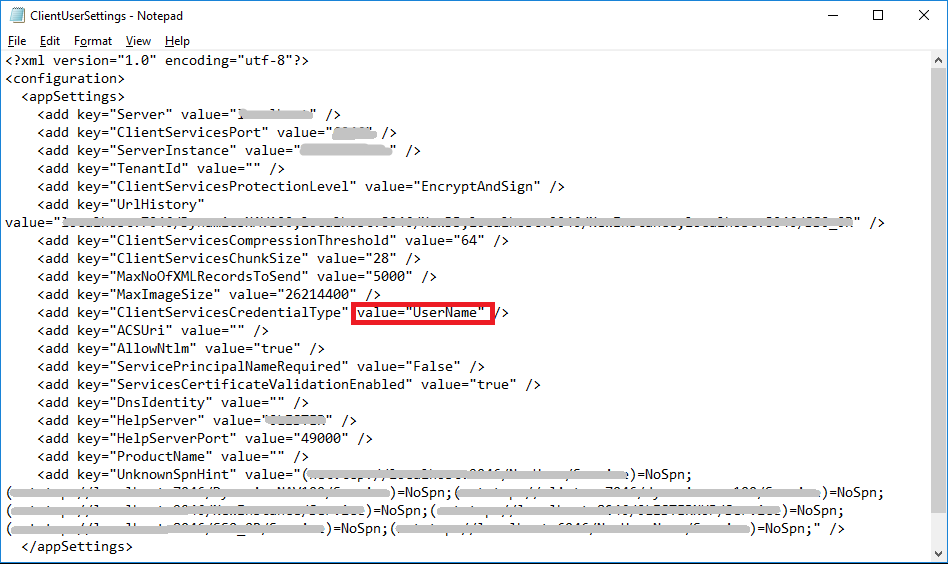
- Change the ClientUserSettings ‘C:\Users\<Username>\AppData\Roaming\Microsoft\Microsoft Dynamics NAV\100\ClientUserSettings ‘Give the Server, ClientServicesPort, Server Instance & ClientServicesCredentialType.
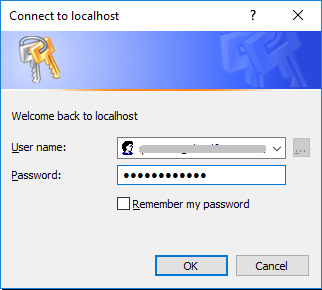
- Open the Windows Client and enter the credentials.
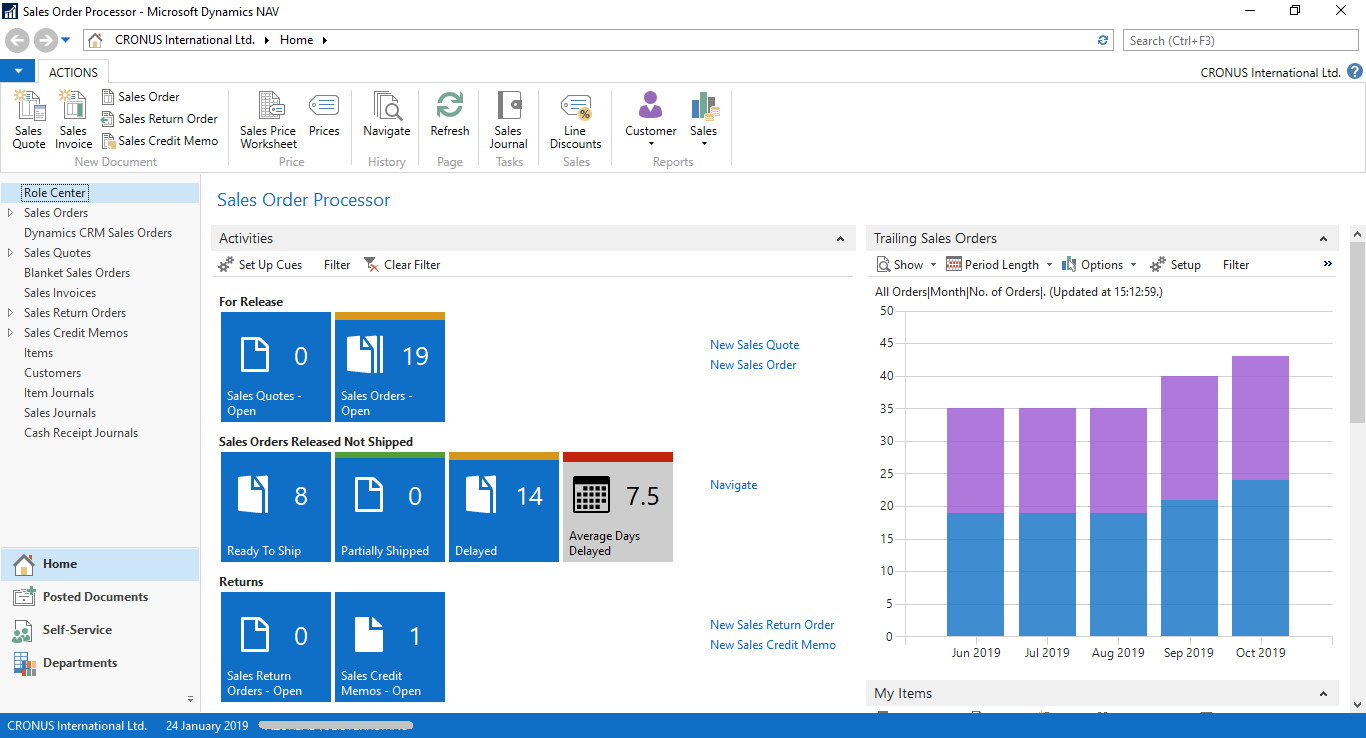
Windows Client HomePage:
Conclusion:
Thus, this method is preferred when two or more users use the same machine and require a simple password security so that only they can access their account.
