Voice of the Customer for Dynamics CRM 2016
Introduction
Voice of the Customer features creating and sending out surveys to gain valuable feedback from your customers about your products or services. Respondents can take your surveys on a phone, tablet, or computer. You can see your customer’s feedback history as you work a sale or resolve a service case.
In this blog we will have look on the limitations of Voice of Customer features before using it and the installation of VoC solution in CRM.
Purpose of VoC
Basically it is used for getting feedbacks from the customers about your products or services.
You can track how satisfied your customer is with the service they received and then we can analyse the results.
Availability of product
Voice of the Customer is available with Microsoft Dynamics CRM Online 2016 Update and later.
Before using Voice of the Customer have a look on Limitations
Voice of the Customer has the following limitations designed to optimize performance:
- You can publish a maximum of 200 surveys.
- You can include a maximum of 250 questions on a survey. If you’ve enabled feedback for a survey, you can include a maximum of 40 questions.
- You can create a maximum of 25 pages per survey.
- You can send a maximum of 10,000 email invitations that include piped data in a 24-hour period. Any emails that exceed that amount will remain pending during that time and will automatically start sending when the time limit is over.
- Voice of the Customer will pull a maximum of 2,400 survey responses per day.
- Voice of the Customer allows storage of a maximum of 1,000,000 survey responses.
Steps to use Voice of the Customer in CRM.
Install the Voice of the Customer surveys solution
- Sign in to https://portal.office.com with your Global administrator or CRM System Administrator credentials.
- Click Admin > CRM
- On the Manage all CRM Online instances page, select the instance to add the solution to.
- Click Solutions.
- Select the solution you want to install and click Install.
Proceed through Terms of service to accept the terms.The status for the solution changes to Installation pending.
The status for the solution will change to Installed when the solution is ready.
- After you installed the solution, you need to accept the terms and conditions to configure it in CRM.
Go to Settings -> Customizations
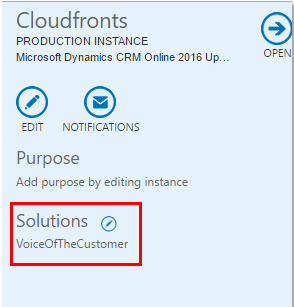
Click Solutions
Select Voice of the Customer solution
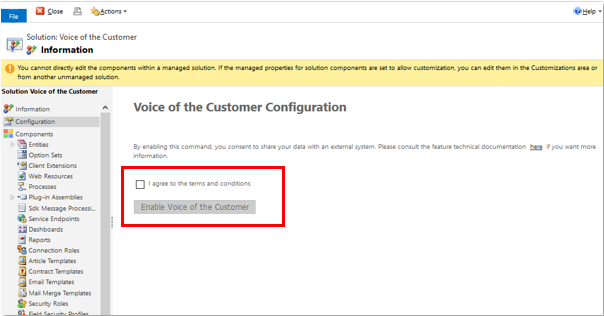
In the Voice of the Customer Configuration screen, select I agree to the terms and conditions and click Enable Voice of the Customer.
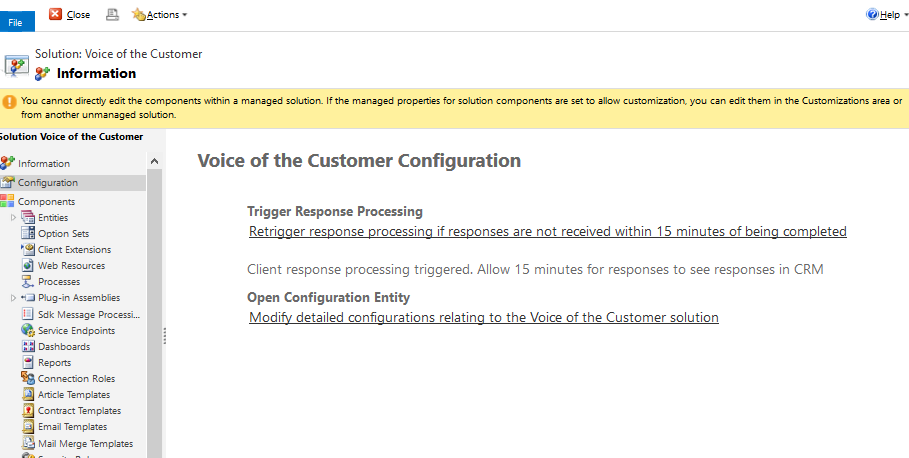
If you do not receive response you can click on “Retrigger response processing”

Customize Voice of the Customer survey settings
No much customization is needed if you satisfied with default configuration. If you have specific customizations you would like to make, change the HTML or XML of the elements.
You can also import XML from an existing survey.
Voice of Customer will be available in the Navigation bar. Click on Voice of the Customer and you can create your surveys and make respective changes.

So this is how you can add Voice of customer solution and start creating surveys. To see how to create surveys refer our blog article Create surveys in Voice of Customer.