Customization in Microsoft Dynamics AX 7
In past few days, we have explored more about AX 7 and came up with this blog in which we will tell you how to customize standard element in AX 7. In previous versions of AX customizing was as easy as clicking on standard element of AOT and customizing it. AX 7 is different; it allows customization in a lengthy process but is more organized. We will show you steps through which you can easily customize AX 7 elements.
Here, we will customize CustTable Table by adding new field.
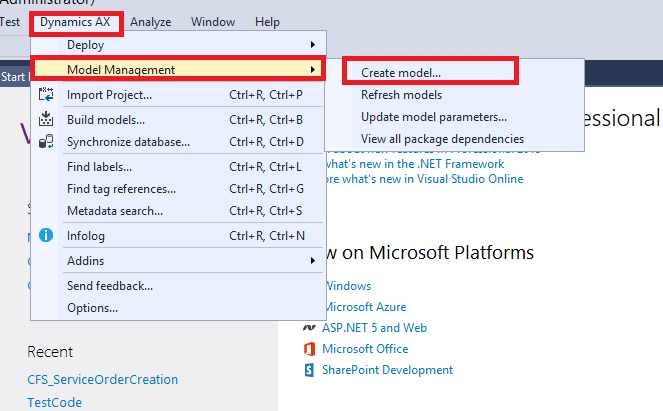
- Create a model in which you can customize CustTable element.
Go to Dynamics AX menu -> Model Management -> Create Model
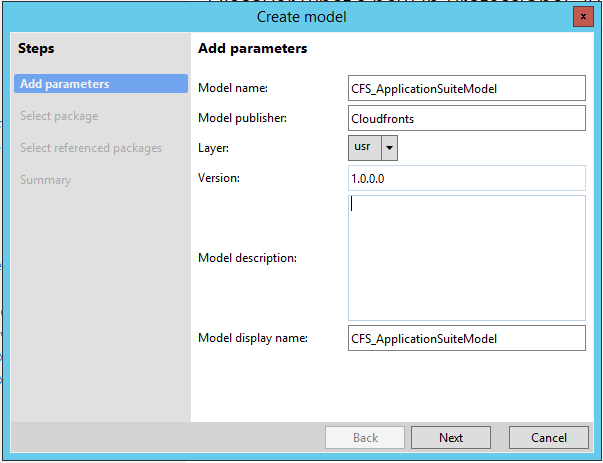
- Fill the details and click Next.
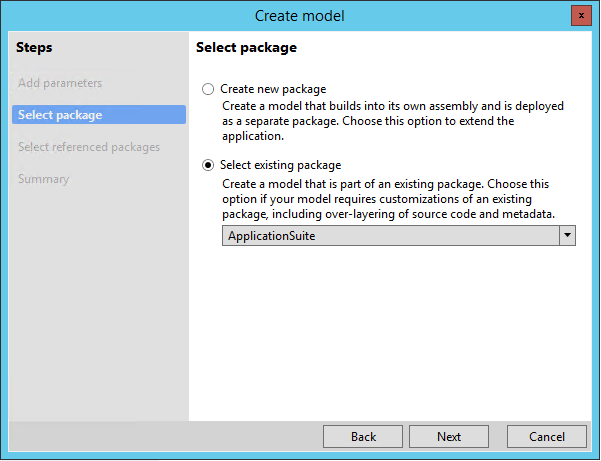
- Select ‘Select Existing Package’ option. Choose the package which contains the element you want to customize. Click Next.
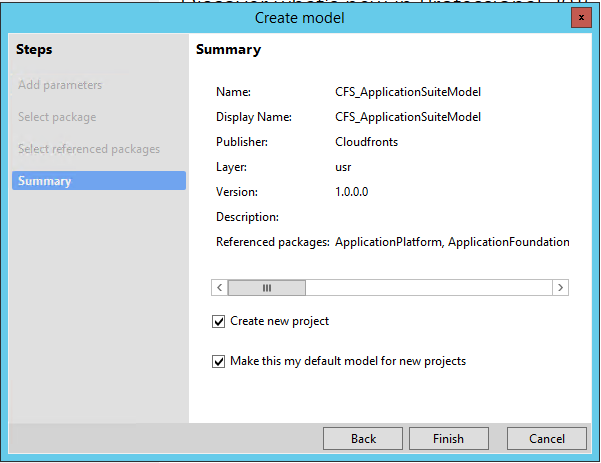
- Verify details. Click Finish.
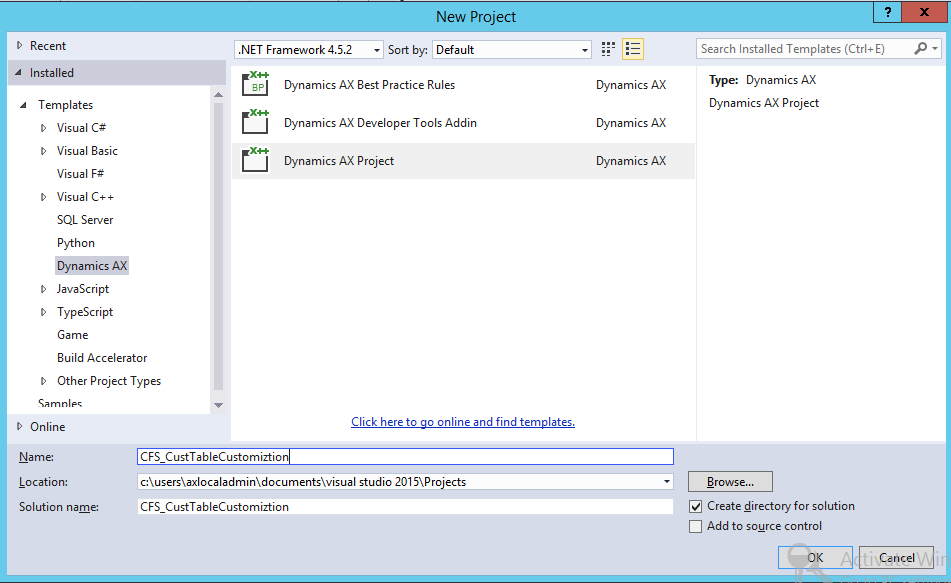
- This will open a new project dialog. Select ‘Dynamics AX Project’ and name it.
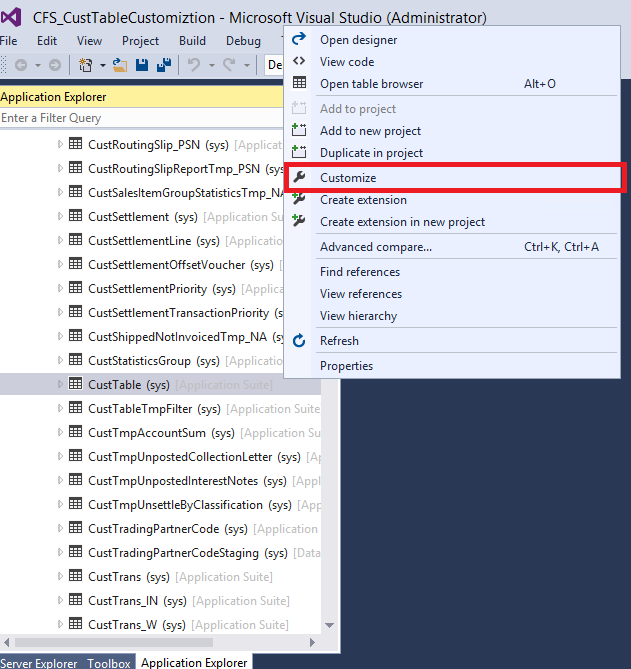
- Now, add the CustTable to newly created project.
Go to AOT -> Data Model -> Tables -> CustTable
Right click CustTable -> Select Customize
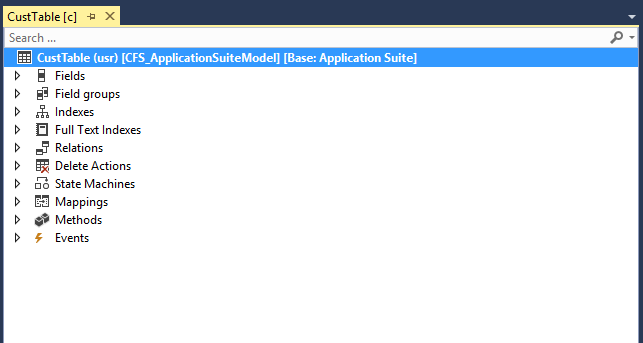
- CustTable will be added to project and will open Designer view of CustTable.

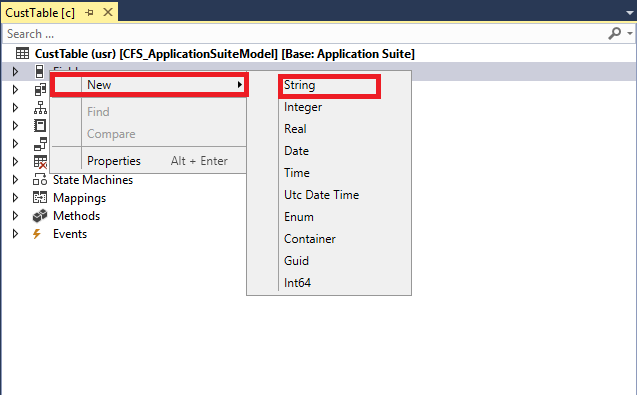
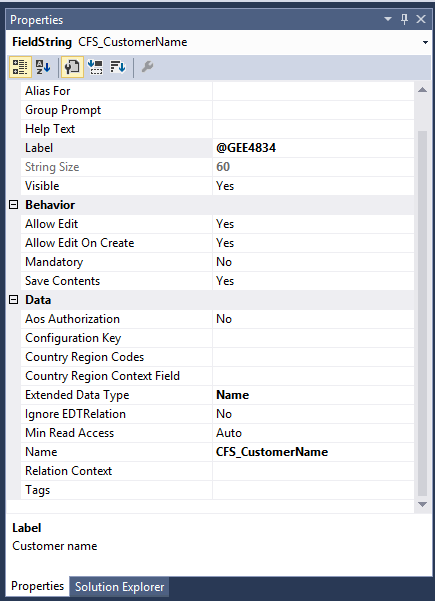
- Add new field. Right Click on Field -> New -> String
- Change the Properties.
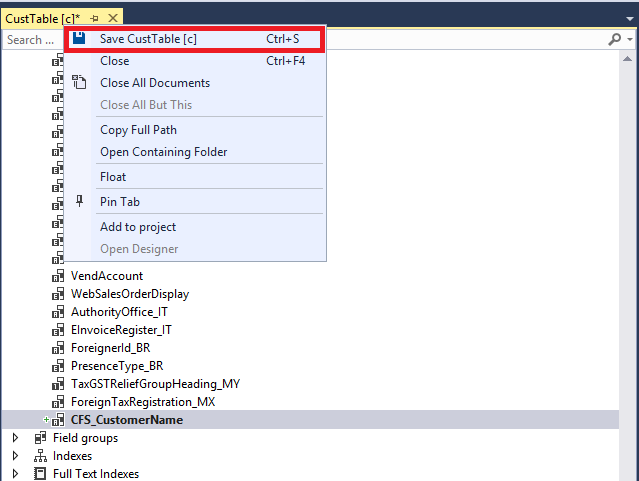
- Save the changes. Right Click CustTable object browser -> Select ‘Save CustTable’.
So, this is how we can customize AX 7 elements in a more organized manner.
Let us know your reviews. We will soon come with more articles, as we further explore AX 7.
