Configuring Text file as a Source in TIBCO Cloud Integration
In this article, we are going to see how to configure CSV file as source in TIBCO Cloud Integration.
Prerequisite:
- TIBCO Cloud Integration Subscription.
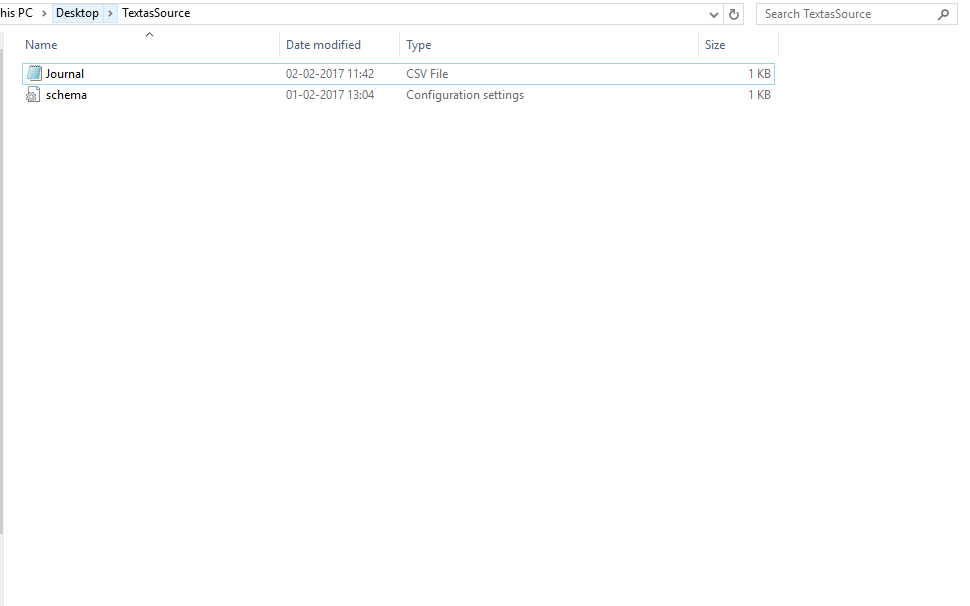
- CSV file (Here, Journal.csv)
Steps:
-
- Provide access to your Text files.
-
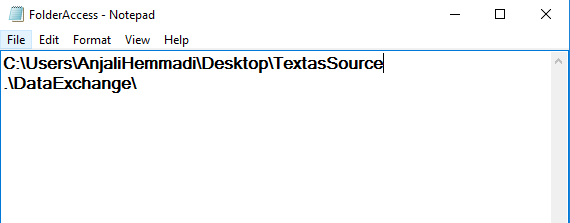
- The FolderAccess.txt file controls access to the files that can be opened by TIBCO Cloud Integration or processing.
- Open the FolderAccess.txt file in Notepad.
Location for FolderAccess.txt: Here: C:\Program Files (x86)\Scribe Software\TIBCO Cloud IntegrationAgent\Connectors\Scribe.Connector.Text - Add a line in the FolderAccess.txt file for each directory path that contains text files.
-
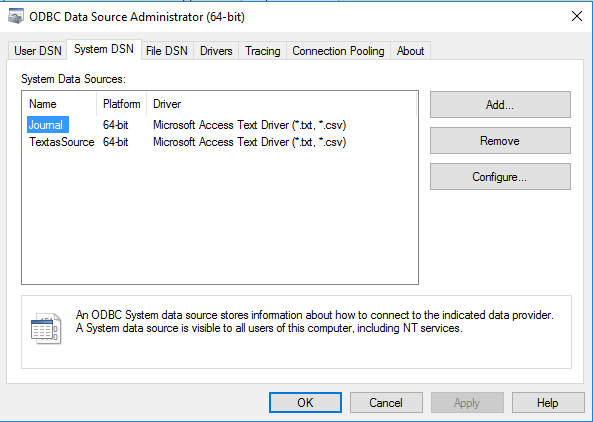
- Open ODBC Data Source Administrator.
-
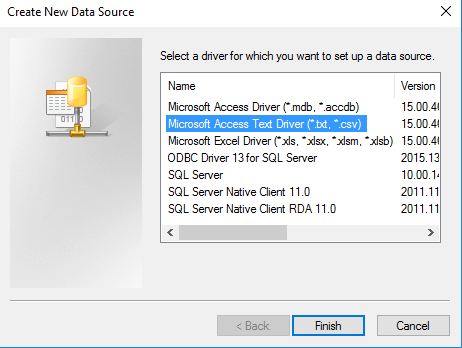
- In the System DSN tab, add a driver of Microsoft Access Text driver
-
- Add Data Source name and description.
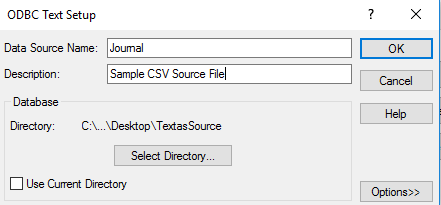
- Select directory where your CSV file is stored.
-
- ‘Save as ‘the .CSV file as schema.ini file.
- Provide access to your Text files.
- Login to TIBCO Cloud Integration URL: https://app.scribesoft.com/
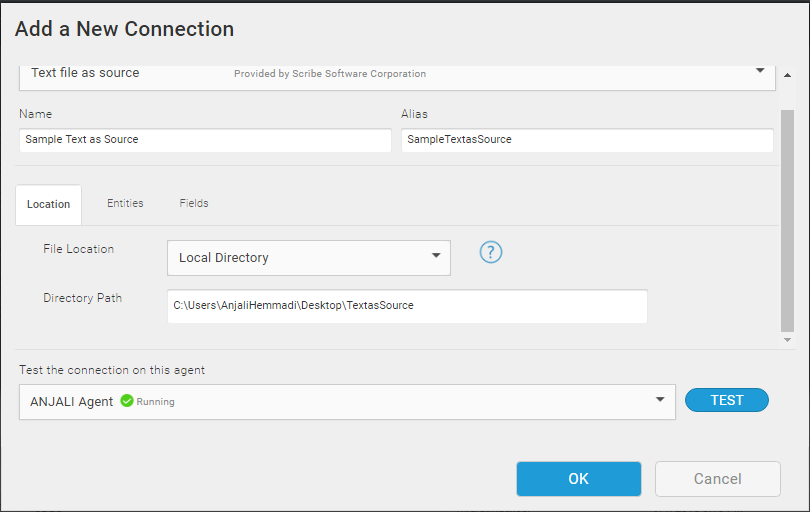
- Create a new connection by selecting the connector type as Text as Source.
- Fill in the required details.
-
- In the Location Tab, paste the path where your .csv file is stored.
-
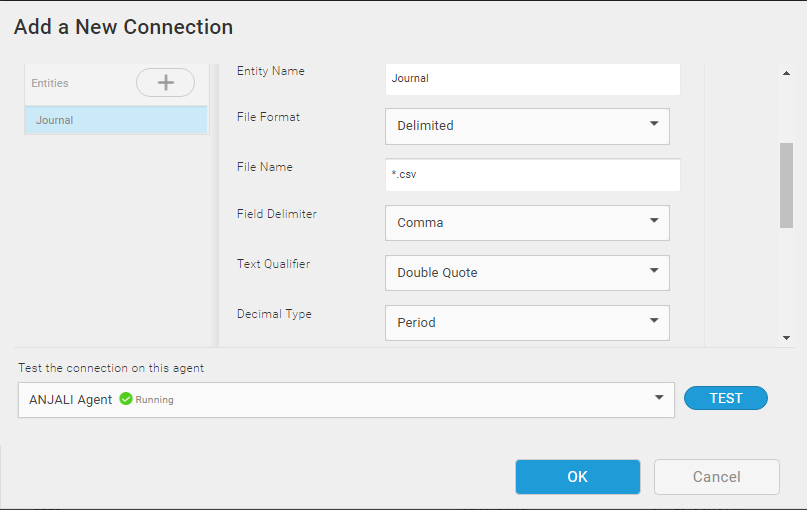
- In the Entities tab, give the entity name and fill the details.
-
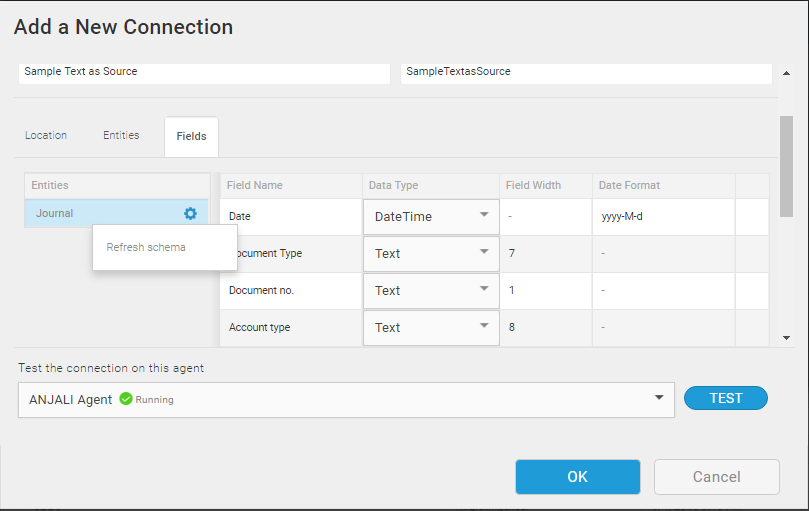
- In the Fields tab, click on settings icon and Refresh schema. All the fields in the CSV file will appear. The data type of all fields are by default ‘Text’, you can change the datatype of the fields.
-
- Test the Connection and press ‘OK’ to save the connection.
