How to create Date tables in Power BI. Why are they remarkably important in data models?
In this blog I am going to explain you how to create a Date table in Power BI desktop. A date table is a table that contains one column of DateTime type with unique values.
- It’s also called CALENDAR table
- A data model typically contains a date table
- A date table is designed to slice dates
- It should contain all dates included in the period to analyse
- It should contain one column of DateTime type
- Each day should be represented by a single a row
- There should be no gaps in the data
- It should be marked as a date table
- Using a date table with only the relevant year is best practise
- It’s recommended to have a rich set of additional columns
- Give the data model the flexibility to perform time intelligence calculations by using specific DAX functions
- Slice data by using one of its columns
- Create relationships between a date table and other tables in the data model
- Filter and group data across multiple tables
Types of Date tables
There are two ways to create a table
- Automatic Date Tables
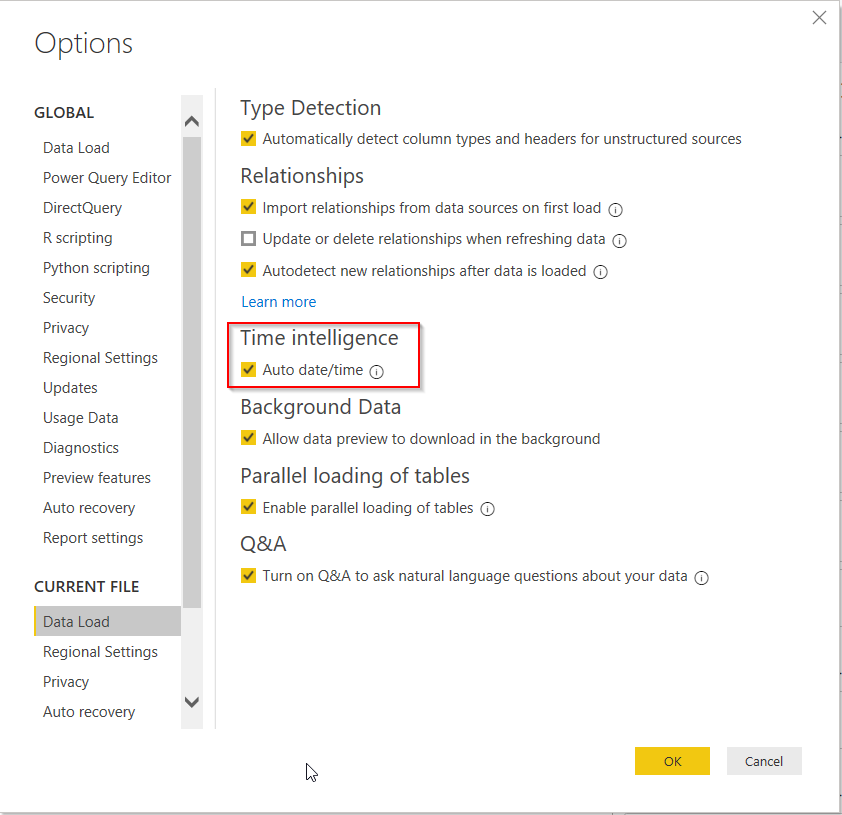
Power BI automatically creates a date table for each Date or DateTime column in the model. This makes it possible to slice each date by year, quarter, month and day.

- Calculated Date Tables
It can be done by using two DAX functions: CALENDAR and CALENDARAUTO
Syntax:
Dates = CALENDAR(<StartDate>,<EndDate>)
Dates = CALENDAR
( FIRSTDATE(Table[column]), LASTDATE(Table[column]) )
Calendar functions return a table with a single column named “Date” and a list of values for the dates. Calendar requires the boundaries of the set of dates.
CalendarAuto searches among all the dates in the data model and automatically finds the first and last year referenced within the model.
Dates = CALENDARAUTO()
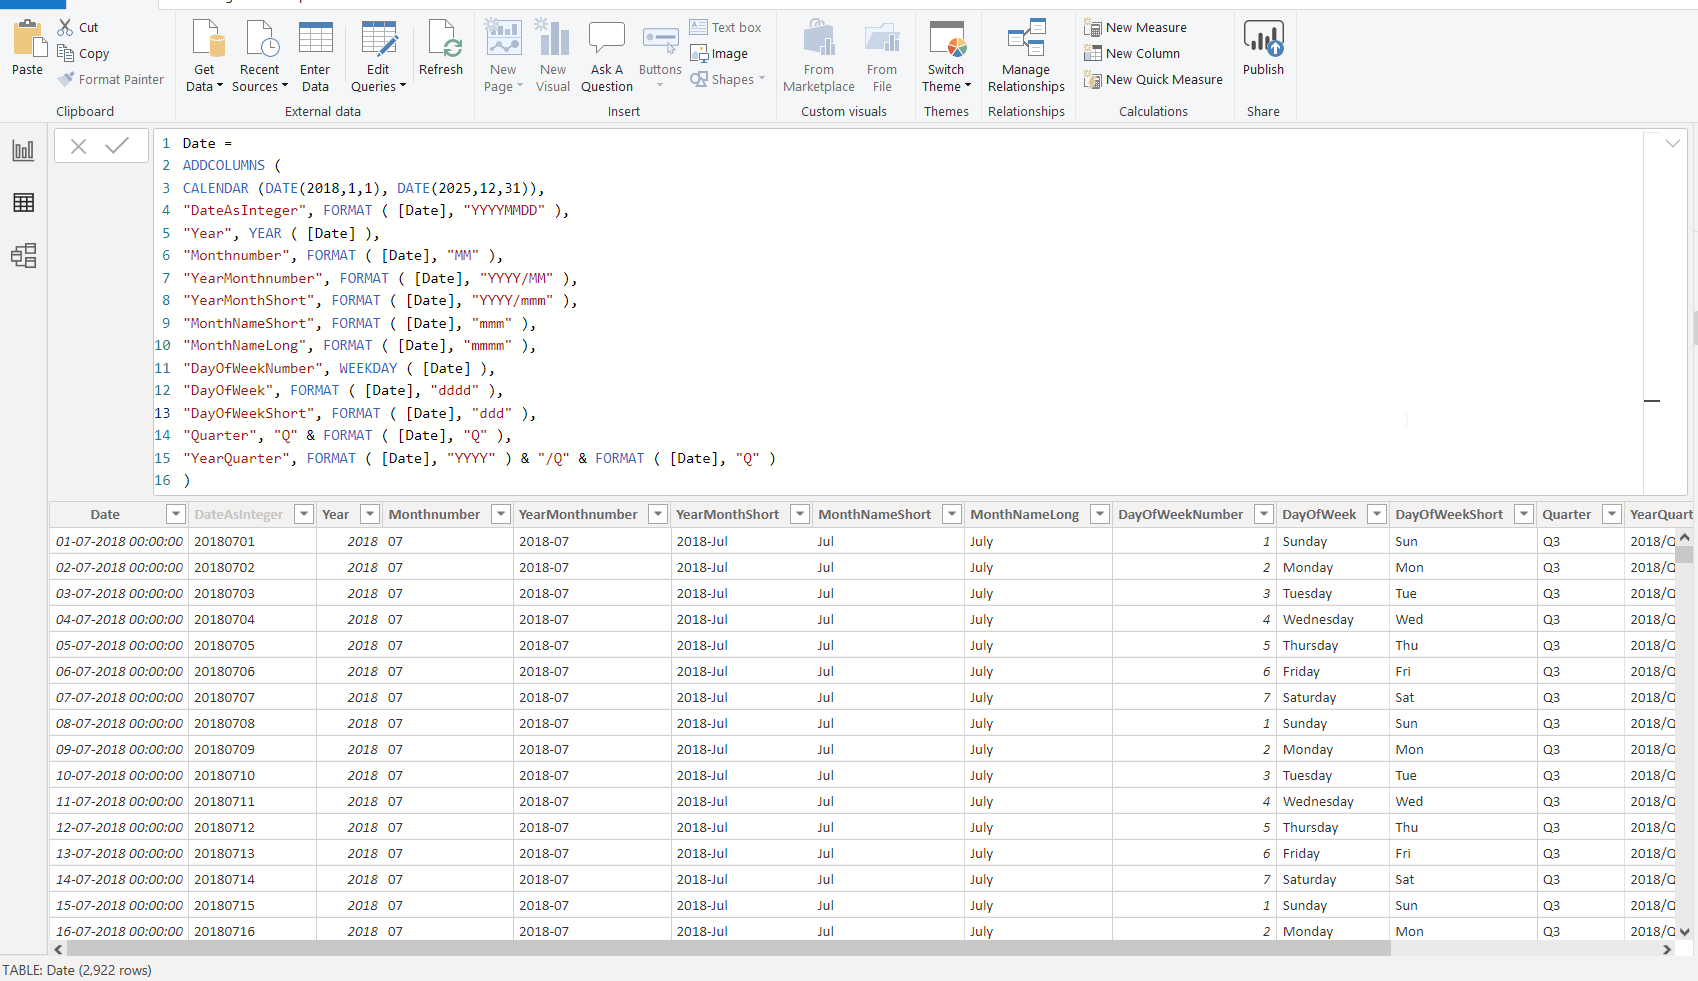
The final formula for the calculated table should look something like this:
Date =
ADDCOLUMNS (
CALENDAR (DATE(2018,1,1), DATE(2025,12,31)),
“DateAsInteger”, FORMAT ([Date], “YYYYMMDD”),
“Year”, YEAR ([Date]),
“Monthnumber”, FORMAT ([Date], “MM”),
“YearMonthnumber”, FORMAT ([Date], “YYYY/MM”),
“YearMonthShort”, FORMAT ([Date], “YYYY/mmm”),
“MonthNameShort”, FORMAT ([Date], “mmm”),
“MonthNameLong”, FORMAT ([Date], “mmmm”),
“DayOfWeekNumber”, WEEKDAY ([Date]),
“DayOfWeek”, FORMAT ([Date], “dddd”),
“DayOfWeekShort”, FORMAT ([Date], “ddd”),
“Quarter”, “Q” & FORMAT ([Date], “Q”),
“YearQuarter”, FORMAT ([Date], “YYYY”) & “/Q” & FORMAT ([Date], “Q”)
)

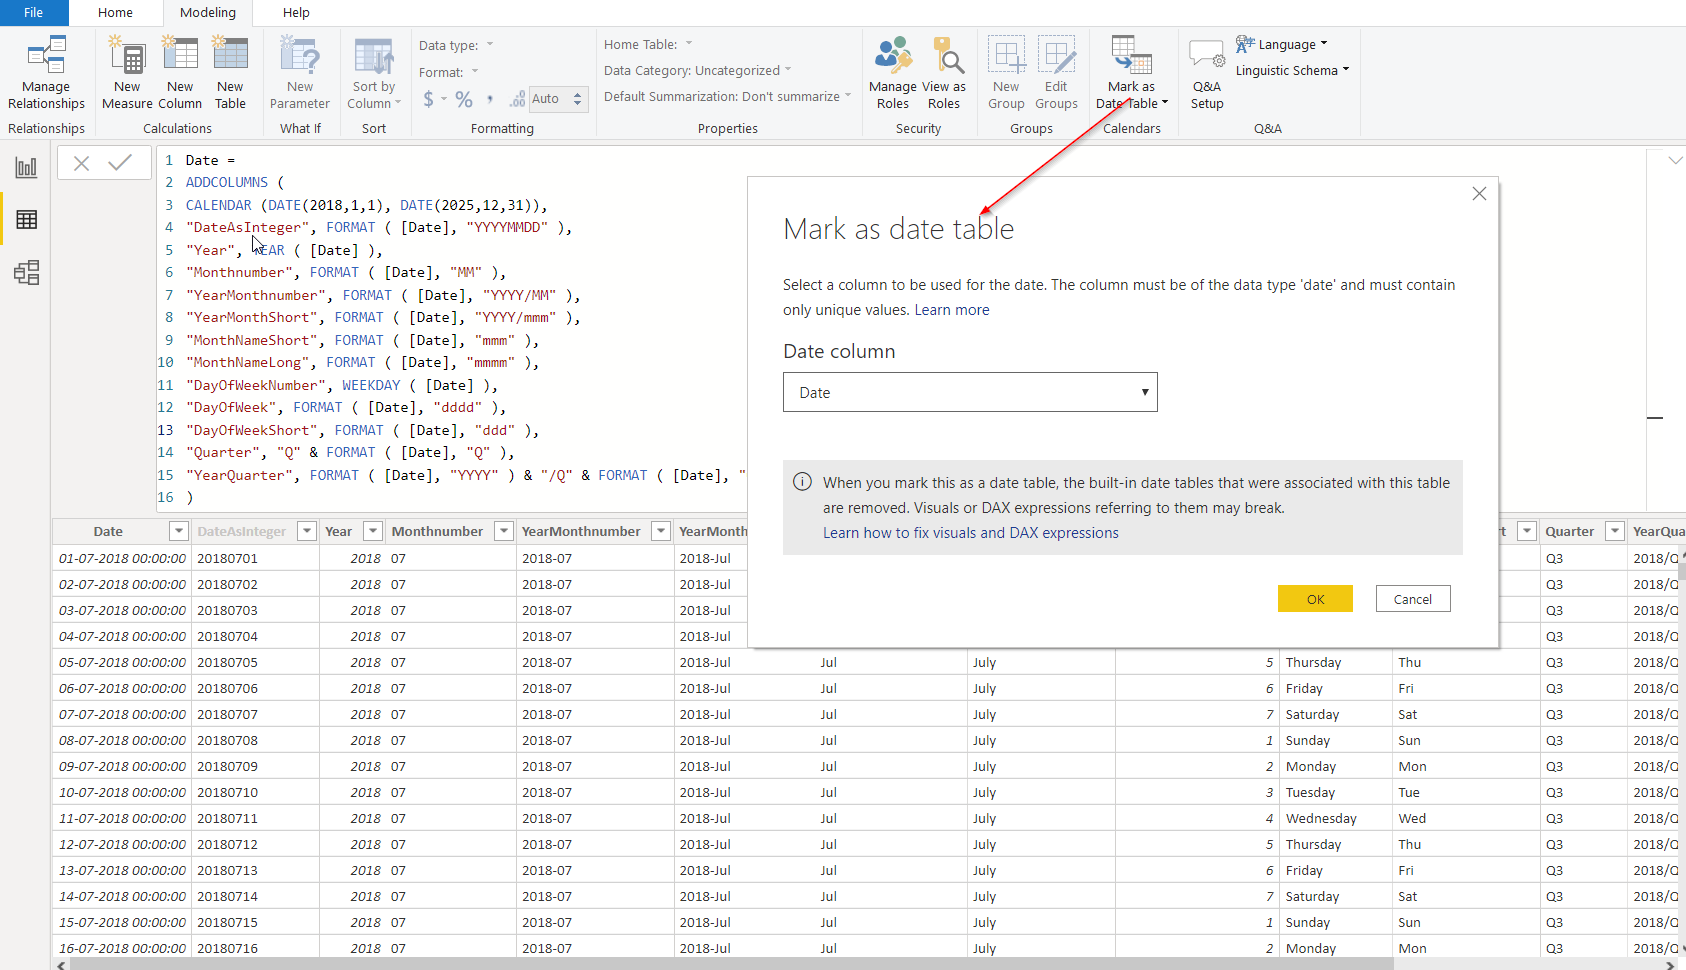
Once the date table is in place, it is a good idea to mark it as a date table as shown here:

This both simplifies the code to author time intelligence calculations and automatically disables the auto Date/Time feature.
I hope this will help you.
