Moving Data from SQL Server to Excel Using SSIS
In this blog article, we will explain how to move data from SQL server to Excel file using SQL Server Integration Services (SSIS).
For moving data from SQL Server to Excel you need to create package, to import data from SQL Server to Excel.
Step 1: – Create a Project
You need to create a project for moving data from SQL Server to Excel. For this go to visual studio-> File-> New-> Project
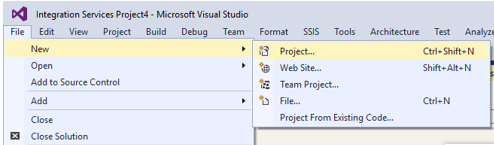
Once you click on project then choose a business intelligence option to create SSIS project. Then select Integration Services.
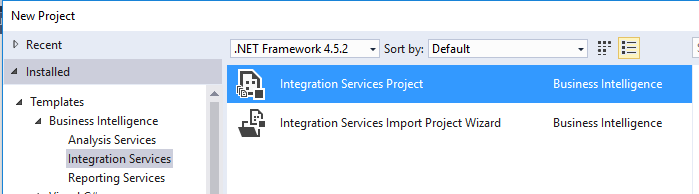
And then Click on Integration Server Project. Specify name to the project and then click on OK.

Step 2: – Create a Data Flow Task
We need to add a data Flow task to control flow tab of your package.
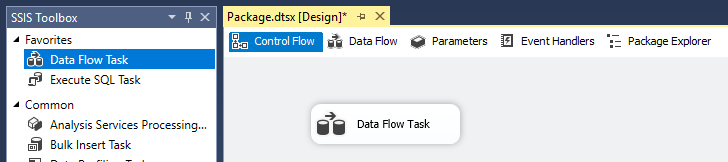
After adding the data Flow task double click on it will open the Data flow tab.
Step 3: – Creating the SQL Server Source
Our aim is to move data from SQL Server to Excel. So here our source is SQL Server and Destination is Excel
So, drag and drop the OLE DB Source component from the Source then right click on that component then click on edit. Below window will open.
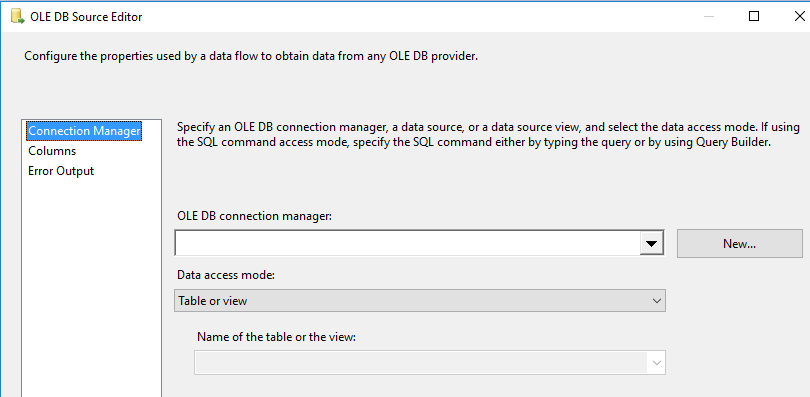
Then click on new
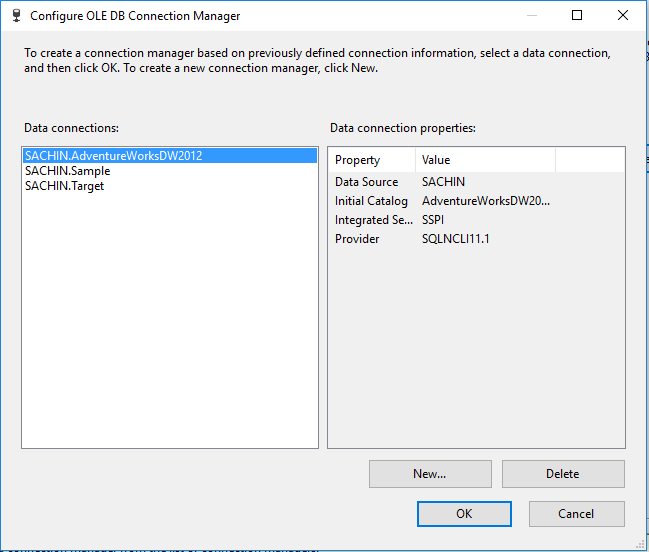
Click on new
Then select your Server name, Authentication type.
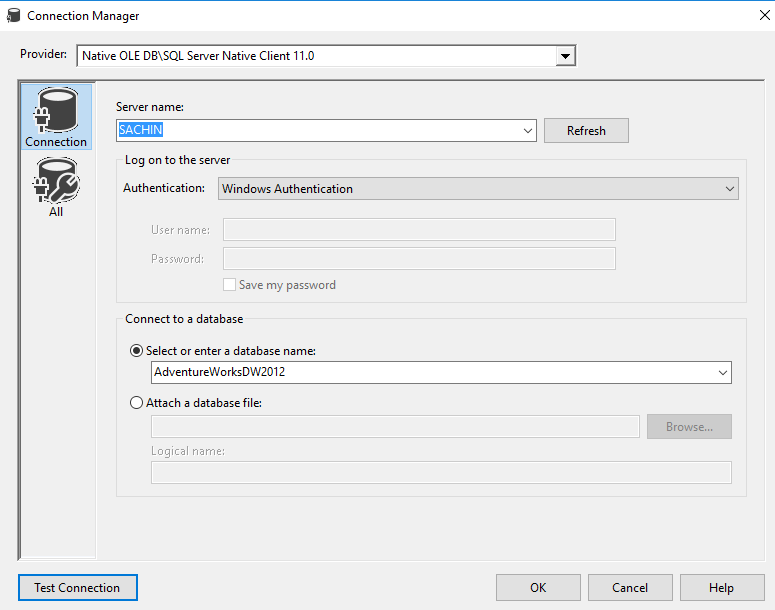
Select your database name means from which database you retrieving the data.
Then click on Test connection to verify that our connection is right or not.
And then click on OK. Again, click on OK.
Then select the table from Specified database.
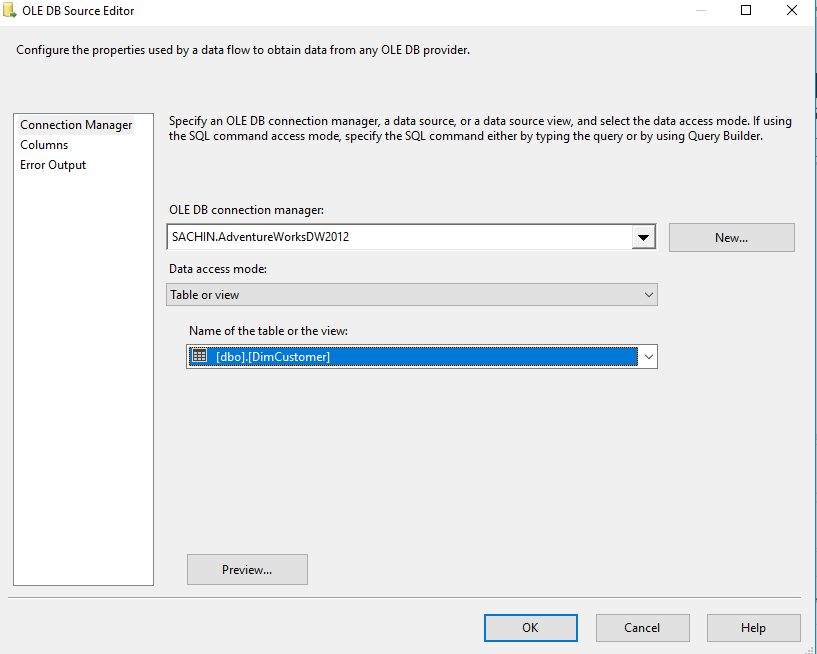
You can also verify data by clicking on preview button then click on OK.
Step 4: – Creating the Excel Destination
Our destination is to put the data in excel file.
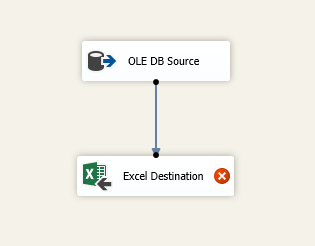
So, drag and drop the Excel destination component from the Destination.
Then click on OLE DB Source component and then drag blue line and drop on Excel destination.
then right click on that component then click on edit. Below window will open.

Then click on new then set the path where you want to create an excel file.
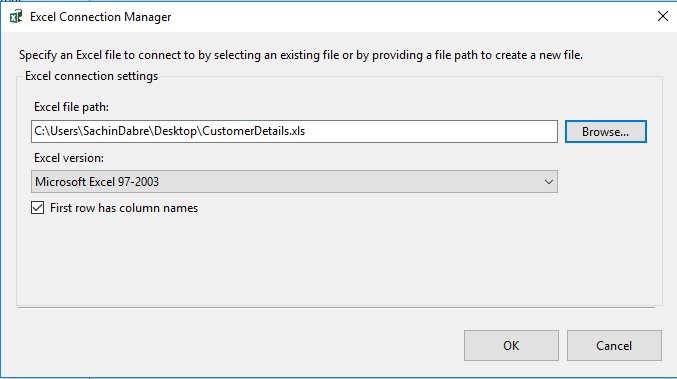
Click on OK.
Then click on another new button to select the excel sheet name.
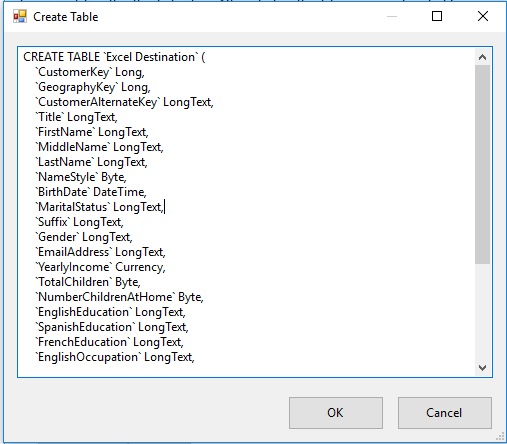
Click on ok -> ok

Then click on drop down bar choose excel file then click on mapping.
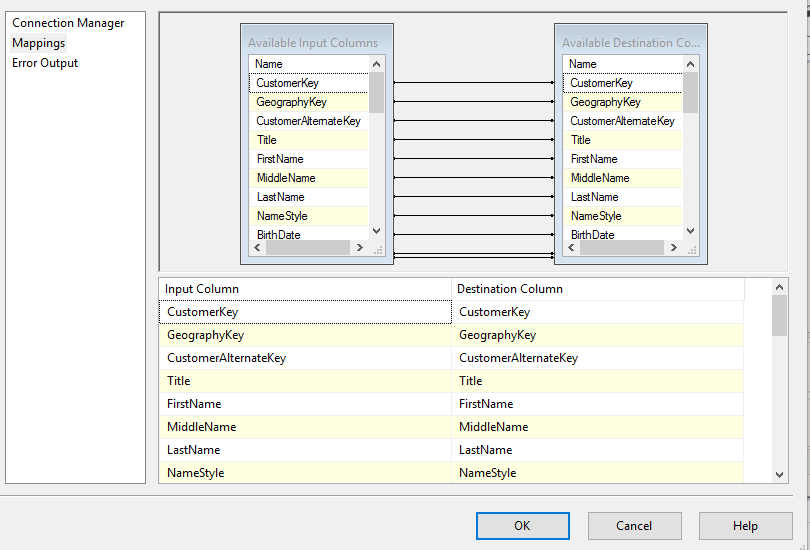
and then OK.
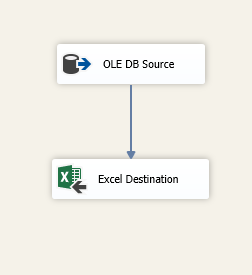
Here, your package is ready execute. Before executing the package verify the source and destination. In destination, there created one excel file with name that you specified in earlier in excel destination with no data.
For execute a package, go to Solution explorer ->under the project name -> SSIS Packages -> Package.dtsx.
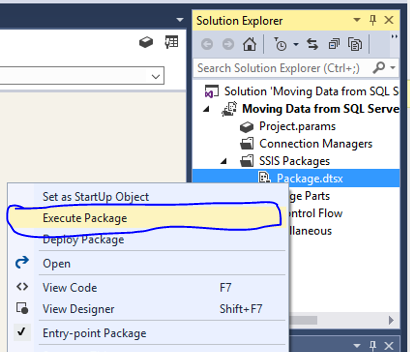
Then right click on that .dtsx and the execute package.
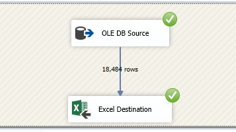
it will show the number of rows inserted in Destination i.e. in excel file. And then check the destination. All the data is integrated in destination.
