How to set up a mobile POS in Microsoft Dynamics 365 for Retail
A mobile POS is a smartphone, tablet, or dedicated wireless device that performs the functions of a cash register or electronic point of sale terminal (ePOS). Mobile point-of-sale technology has moved the point of sale from a brick-and-mortar location to wherever you need to complete a sale. mPOS solutions let you harness the power of a smartphone or tablet to accept payments on the spot.
In my work with CloudFronts Technologies, I had a chance to put the process of mobile POS setup with Dynamics 365 Finance and Operations for Retail to the test, working with House of Sonee Sports, the largest sporting goods retailers in Maldives.
CloudFronts consulted and deployed the D365 platform across 15 stores across the Maldives and integrated their ‘BigCommerce platform’ with D365. Apart from this, the project also included migration from their existing AX 2012 R3 platform to D365FO and Retail on the Microsoft cloud for increasing operational efficiency. Sonee Sports wanted to drive the customer journey from online to in-store and hence they sought to leverage D365 for this digital transformation. This is among the first major retailers in Asia to get equipped with integrated mobile POS solutions. It allowed Sonee Sports to drive a 22.5 percent ROI and receive real time data to improve their efficiency.
In this article, I’ll explain the process so that you can do it too.
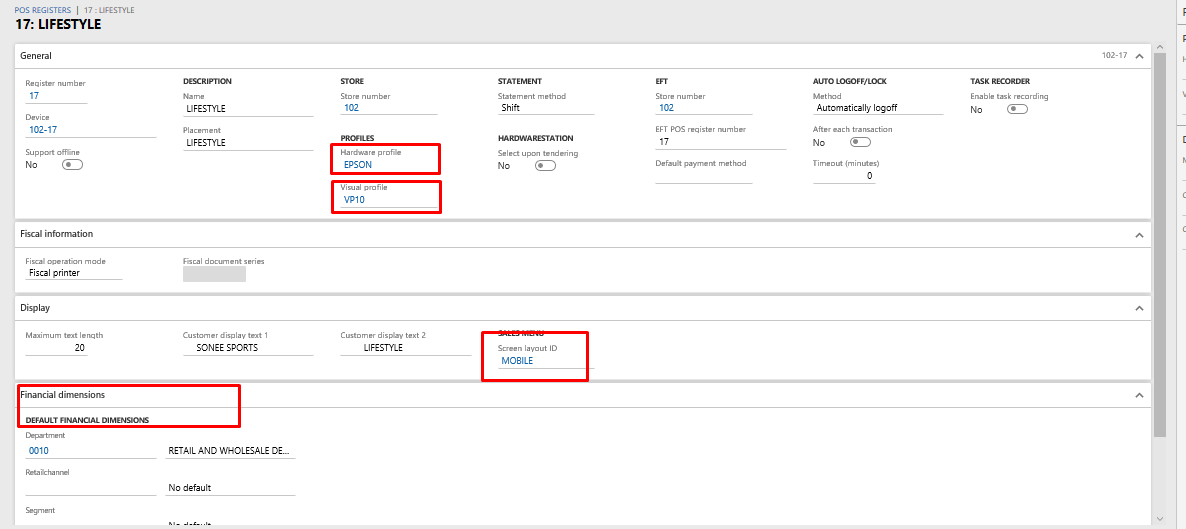
Step 1: Create a new Register.
Step 2: Set up the following configurations:
- Hardware profile
- Visual profile
- Financial dimensions
- Screen layout
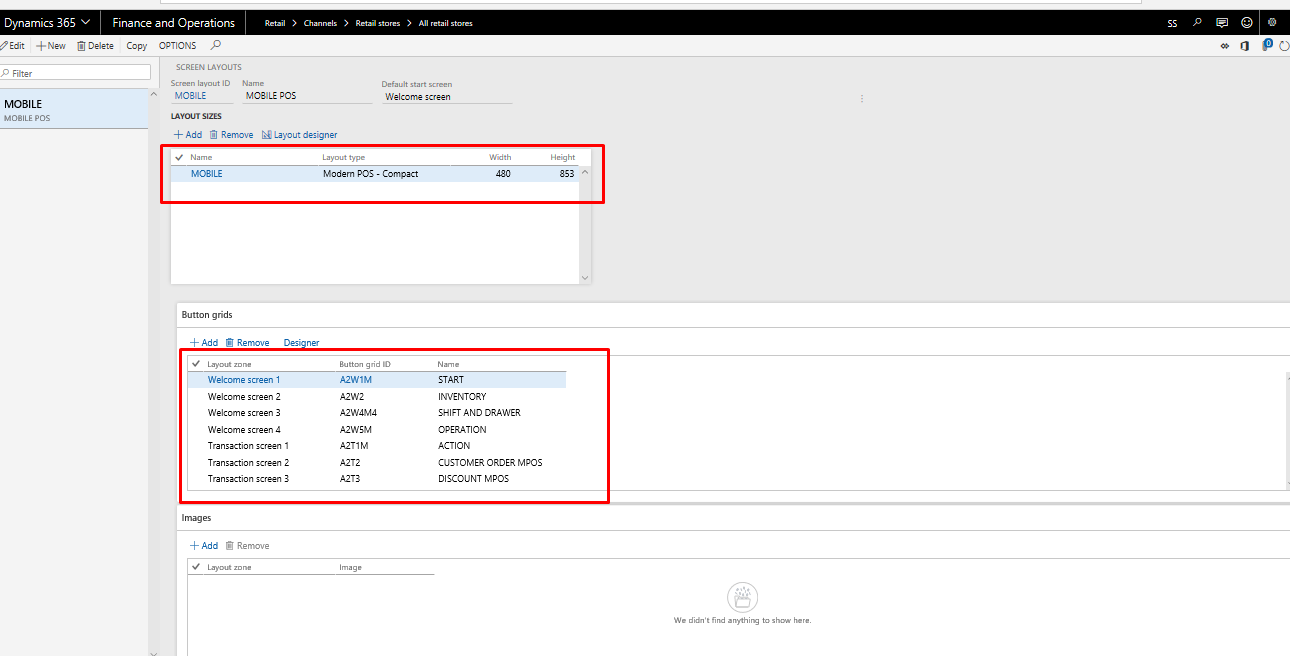
Step 3: Screen layout
- Create a new screen layout
- The type for the screen layout will be Modern POS – Compact
- Width and height should be set as 480×850 pixels
- Button grids can be set based on requirements
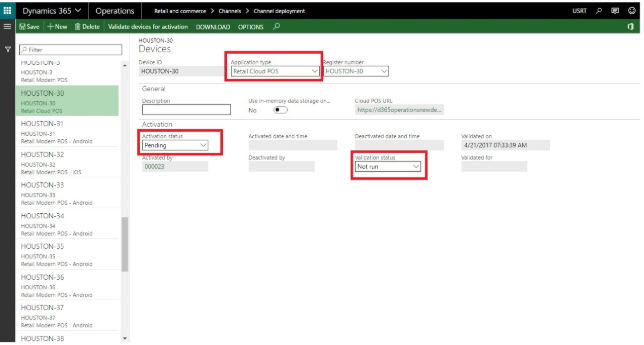
Step 4: Create device
- Select the application type for the device as Retail Cloud POS
- Mention the register number
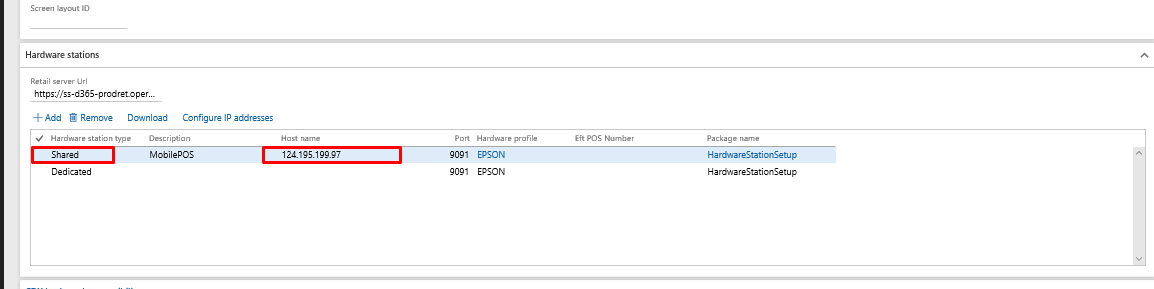
Step 5: Configure the hardware station inside the store setup
- Add a new line for mobile device
- Select the hardware station type as shared
- The host name will be the static IP address of the system
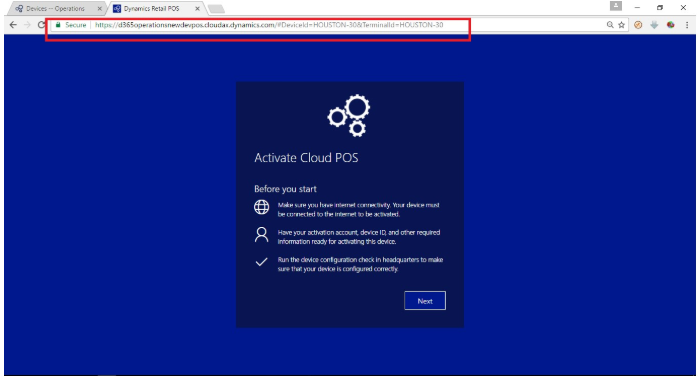
Step 6: Activation of POS
- The steps are the same as activating Cloud POS
- On the register page click on device select. The application type of this device is “Retail Cloud POS.” This means it is CPOS, a browser-based POS. It requires internet connectivity throughout. Activation status is pending, and validation status is not run.
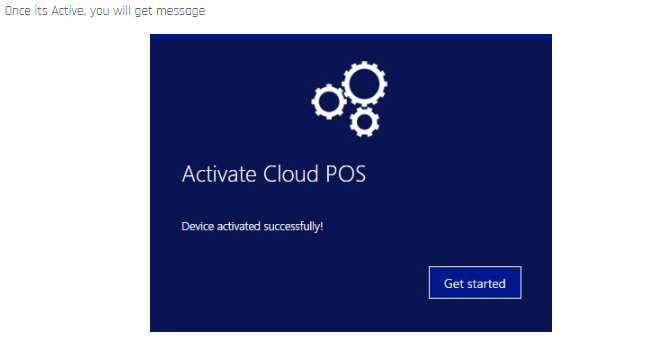
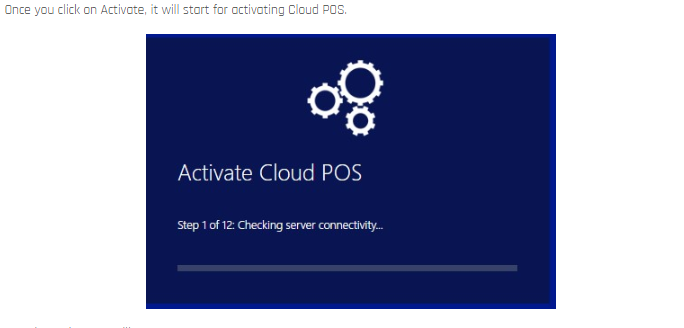
- Change the activation status from pending to activated and click on validate devices for activation.
Step 7: Installation of the hardware station
- Enable IIS on the system.
- Create an SSL certificate
- Download the hardware station setup in the system
- Resolve the prerequisites
- Select the SSL certificate that you created and test the connection
