Transfer Order – Dynamics 365 Business central
Transfer order mainly use for Transfer inventory from one location to another location.
Below are the steps to create transfer Order
- In the Search box, enter Transfer Orders, and select the link
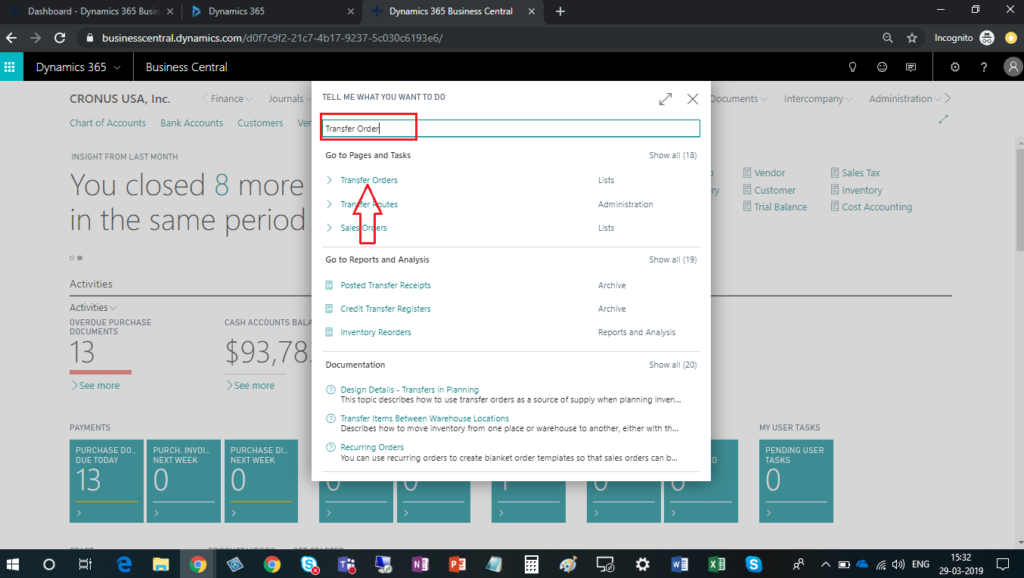
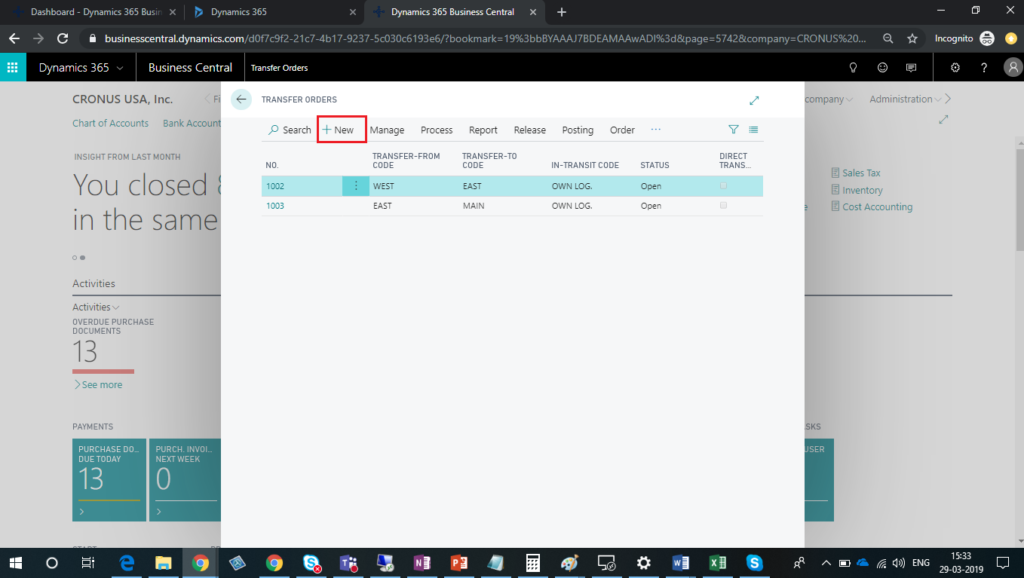
- Click on New button to create new transfer order.
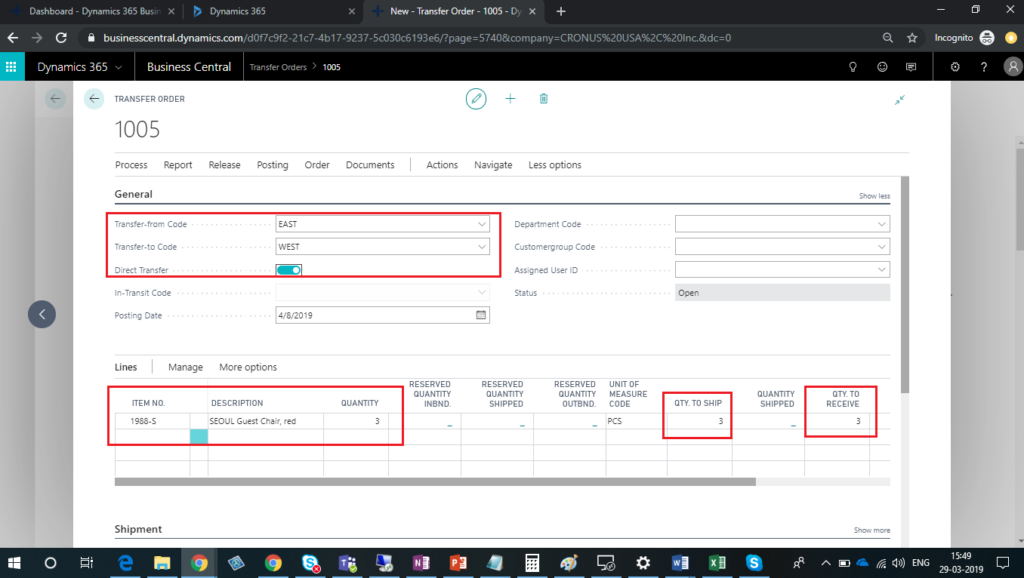
- Select the Location in Transfer from Code field from where you want to ship the Inventory
- Select the Location in Transfer to Code field from where you want to receive the Inventory.
- Direct Transfer: If select yes then the transfer does not use as in-transit location. When you transfer directly, the Qty. to receive field will be locked with the same value as the quantity to ship.
- Select the Item, quantity on Transfer order lines.
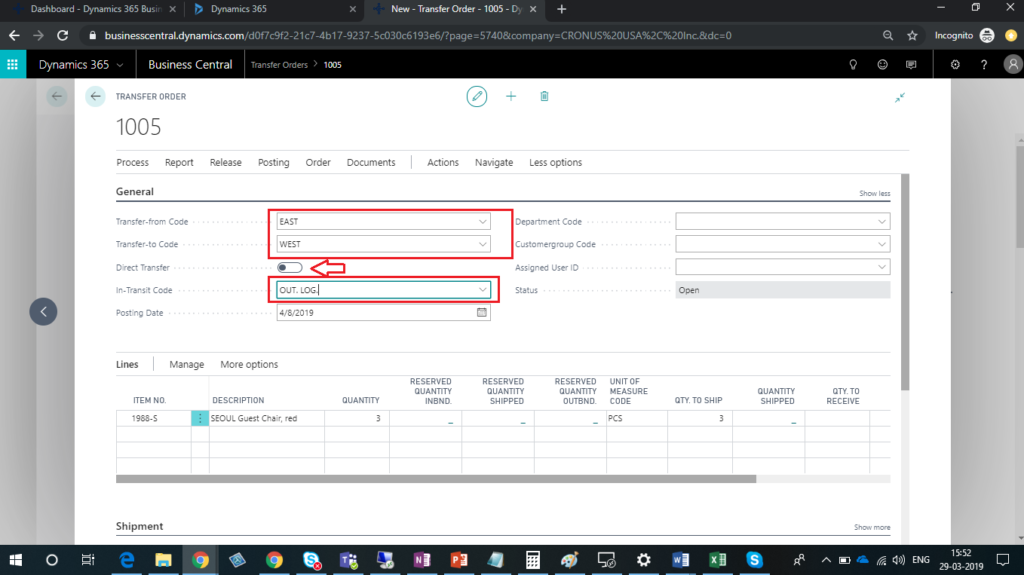
- If Direct transfer is no then Select the Location in In-Transit Code field which is used for mainly material is shipped from one location but not received in another location.
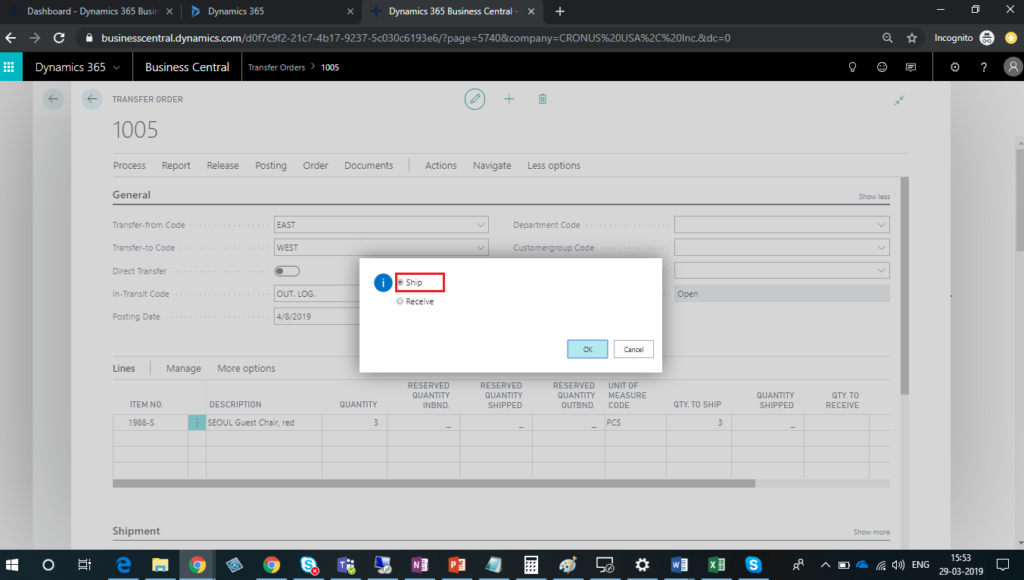
- On Action tab, click on post button to ship the Inventory from one location. Select ship in message Box and click on OK.
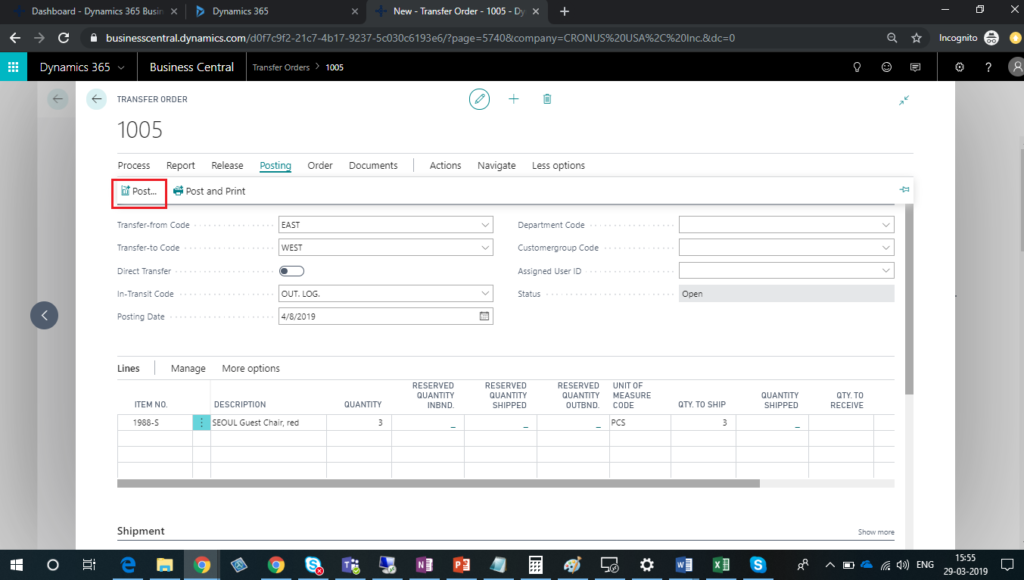
- You can check Quantity which are shipped in Quantity Shipped field.
- Then again click on Post button to receive the inventory in another location. Select Receive in message box and click on OK.

- You can check transferred shipment in Posted Transfer Shipments.
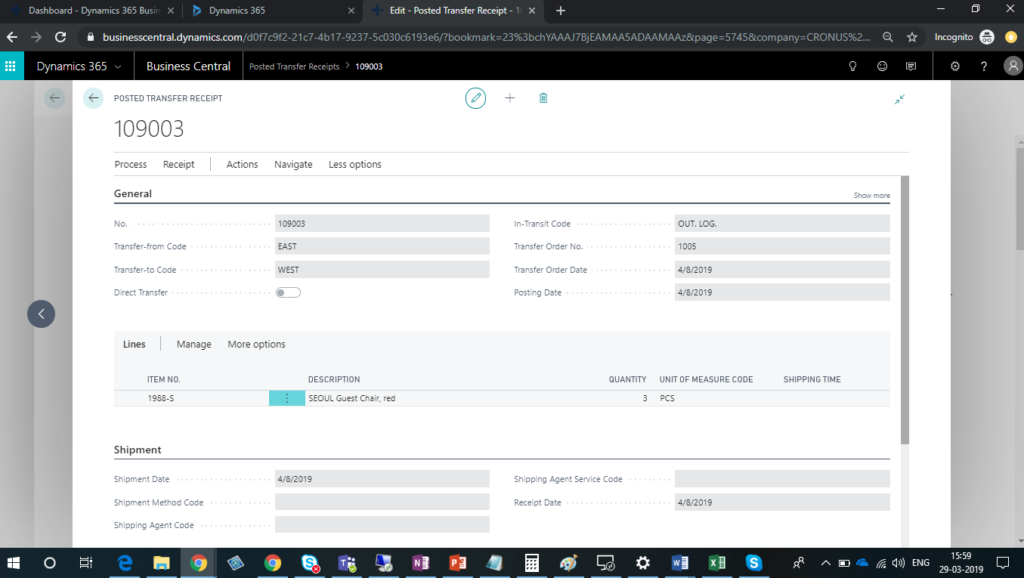
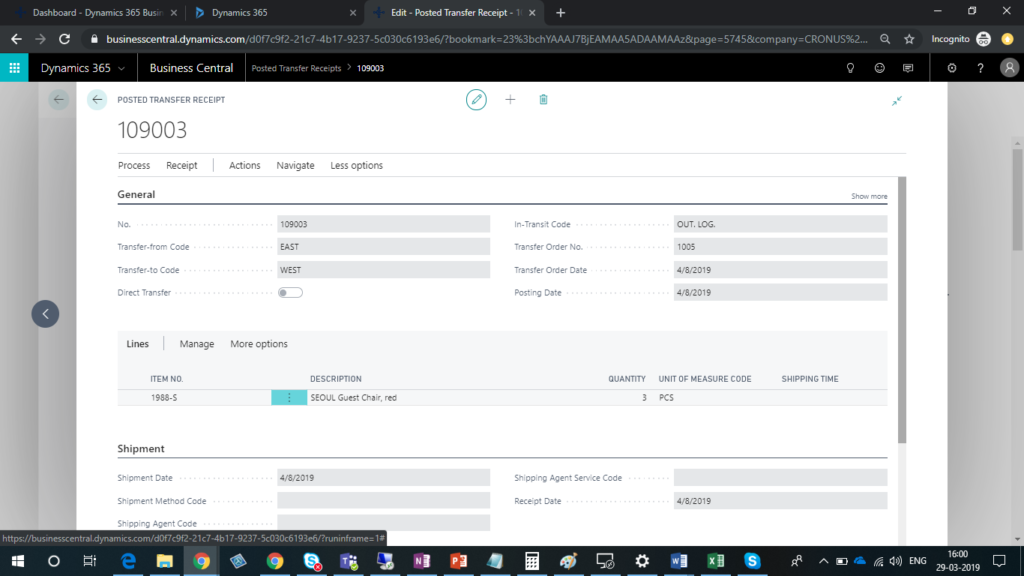
- You can check transferred receipts in Posted Transfer Receipts.
Conclusion: Transfer orders involve posting items as shipped from one location and posting them as received at the other location.
