Let’s get started with Azure Function for Dynamics 365 CRM: Part 2 [Cloud Deployment]
In the previous blog, we have learned how to create an azure function to connect with Dynamics 365 CRM and create an account record whenever an azure function is triggered by the HTTP request. [Link]. In this blog, we will learn how to deploy the Azure Function App to Azure Cloud so that we can trigger that function anywhere.
Prerequisite
1. Microsoft Azure Account
2. Active Subscription [Create a Free trial or Pay-as-you-Go Subscription]
If you are creating an azure function for learning purposes, then go with Free Trial but if you are working on the development for your organization or client then go for a Pay-as-you-Go subscription.
Step 1: Create a resource on Azure Portal for Azure Function Deployment.
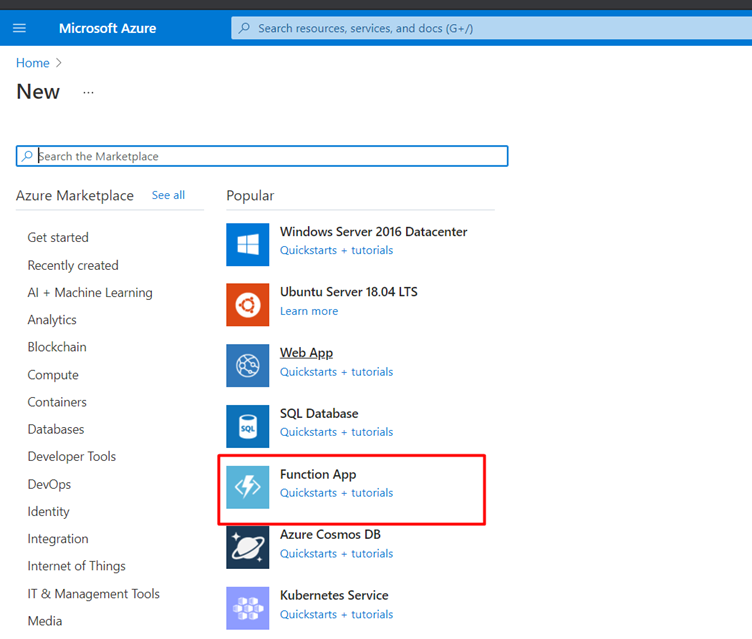
Login to the portal.azure.com with your account and click on Create a resource:

Create a resource for Function App as mentioned below screenshot:
Here we will create a new resource group but If you don’t have any existing resources.
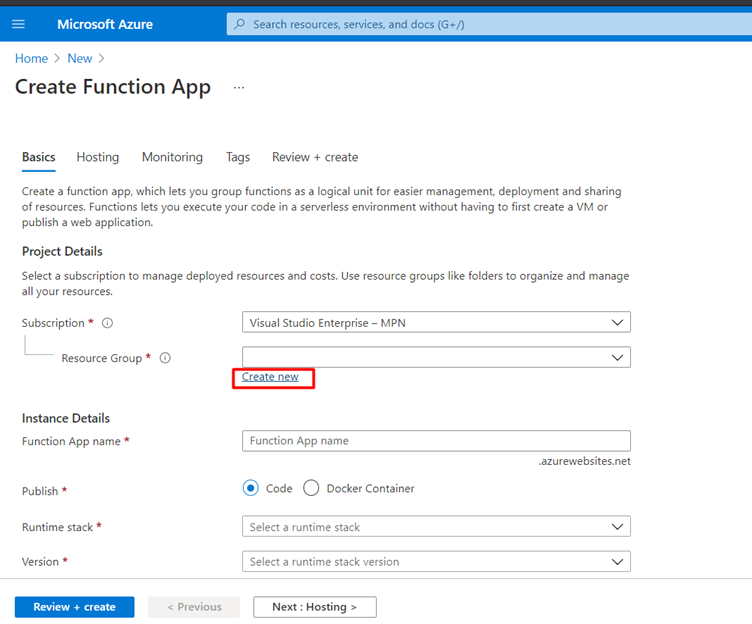
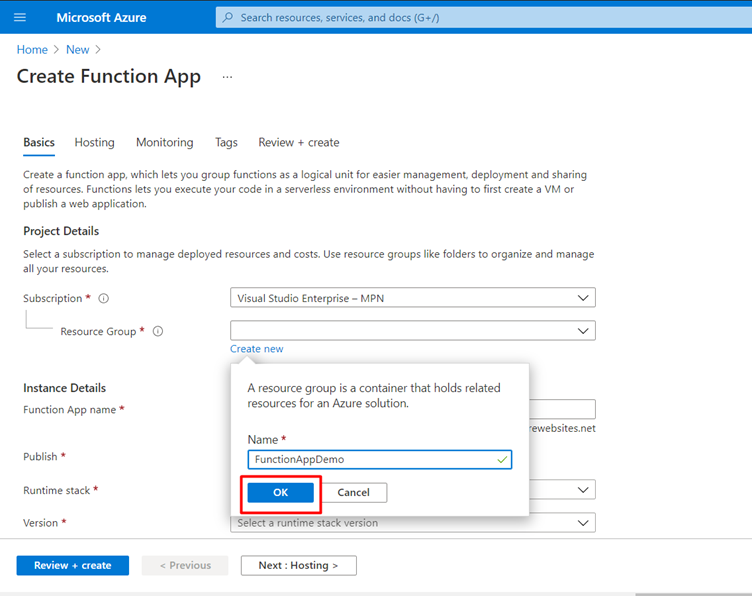
Following are configuration details that you need to fill during the creation of the resource.
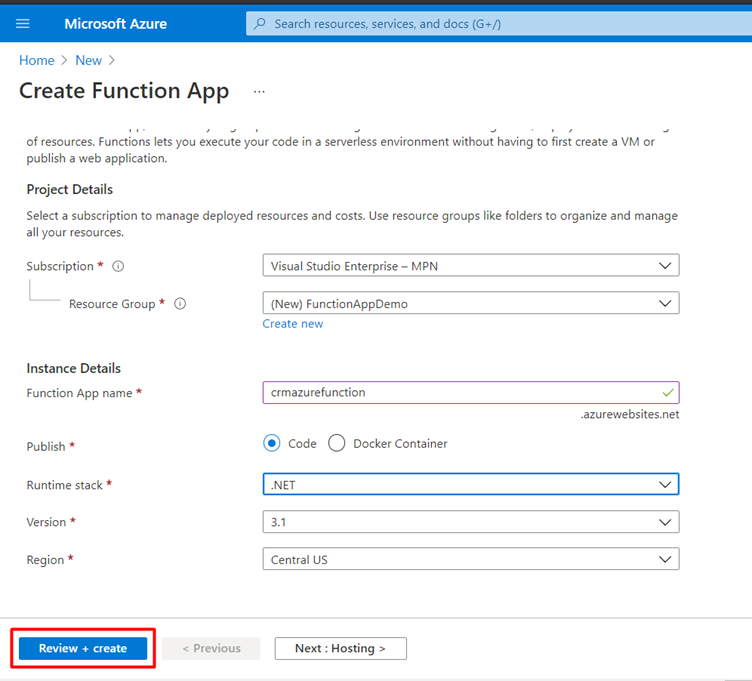
Function Name: It is a global URL to access the Azure Function App and it must be unique.
Publish: You can directly publish your code or use Docker Container for publishing your Azure function
Runtime stack: Here we are building the .net application so we will choose .Net as our Runtime stack to support Azure Function. We have multiple options we can create an azure function for Nodejs, Python, Java, Powershell core or you can use customer handler.
After configuration are you ready to click on “Review and Create”
It will take a few minutes to create and deploy the Azure Function App in the cloud.
Step 2: Publishing the Azure Function from Visual Studio:
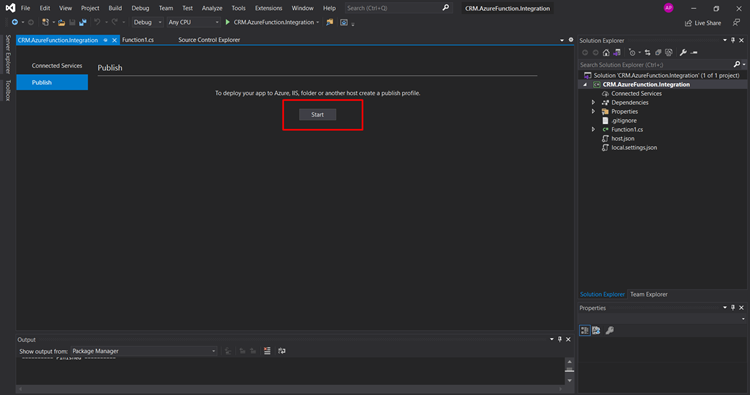
Open the Azure Function project in Visual studio. Right-click on the Project and click on the Azure.

You will get the below screen on that we need to click on the Start.
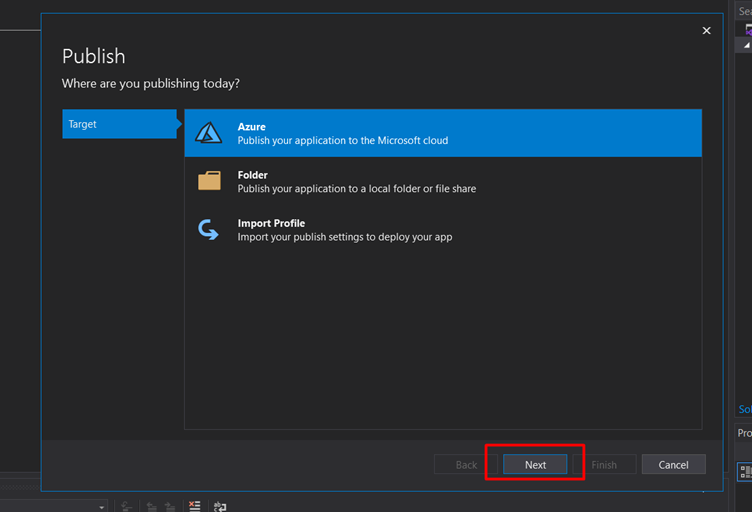
Now we will choose Azure as we are deploying the Azure Function on the Azure Cloud and click on Next:
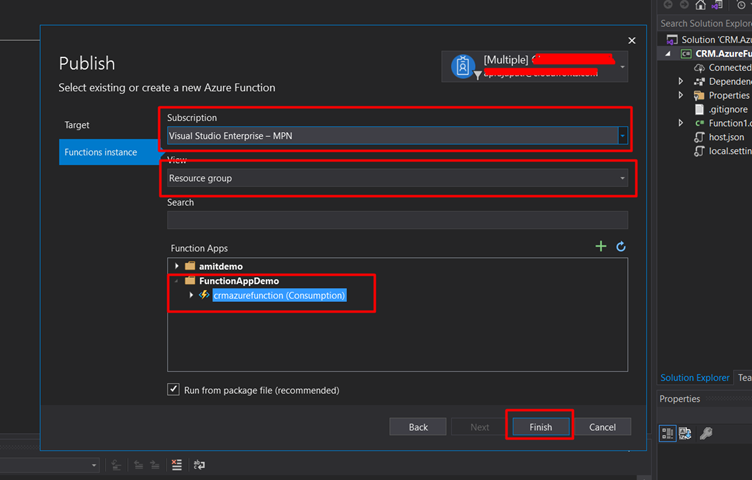
Once you select the azure then it will open the configuration screen. In the configuration window, you need to log in with Azure Account with Active Subscription. Select the resource group and select the function app as mentioned below screenshot.
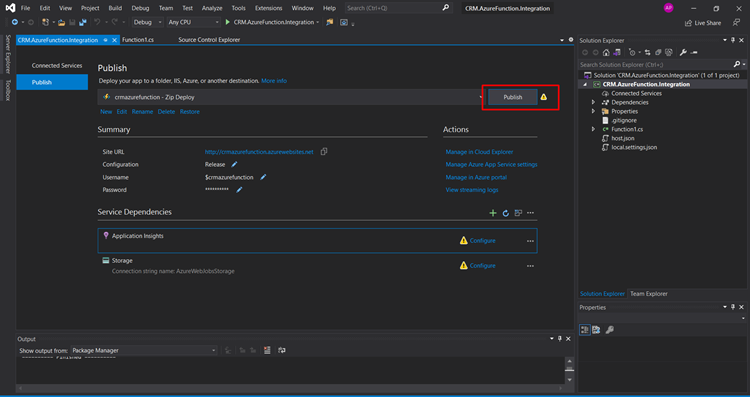
After the configuration is finished click on Publish. It will take a few minutes to deploy the application to the cloud.
Step 3: Get Azure Function URL from Azure Portal.
Open newly create Function App in the Azure portal app and click on the Function App:
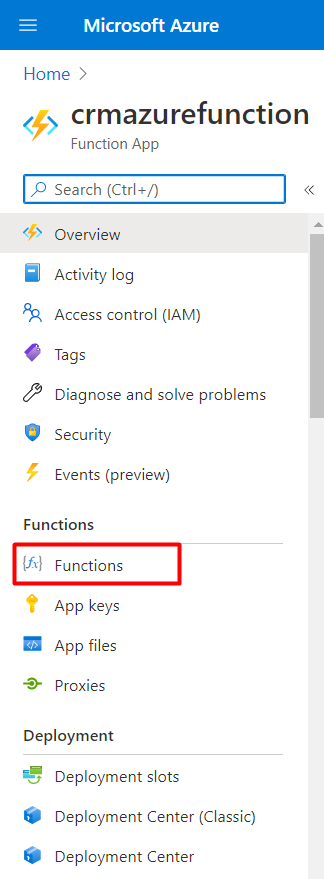
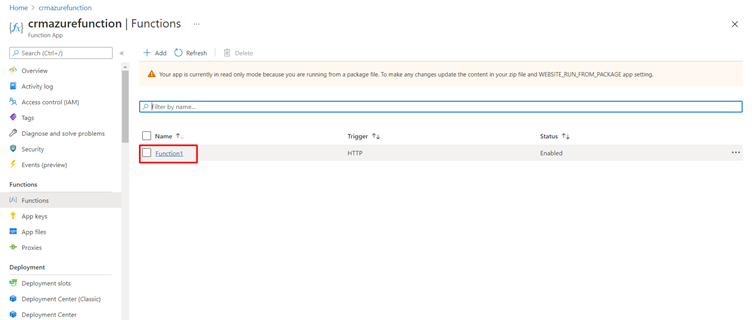
You will find the function1 has been deployed. Click on that function to open it.
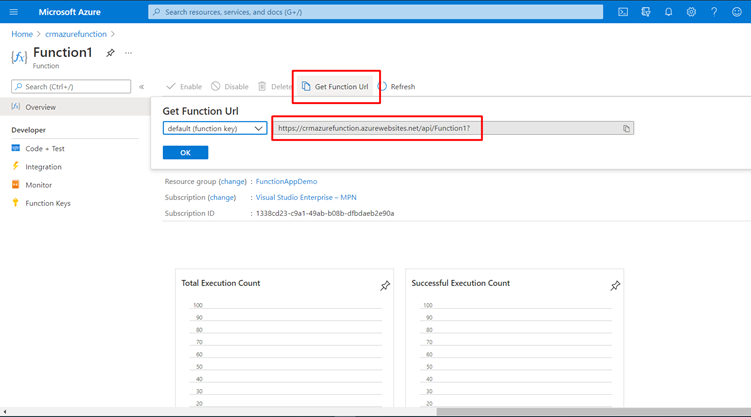
To Get the Function URL click on the Get Function URL and copy the URL.
Testing
We will require the API testing tool, here I am using Postman and the following is the link to download “Postman”. https://www.postman.com/downloads/
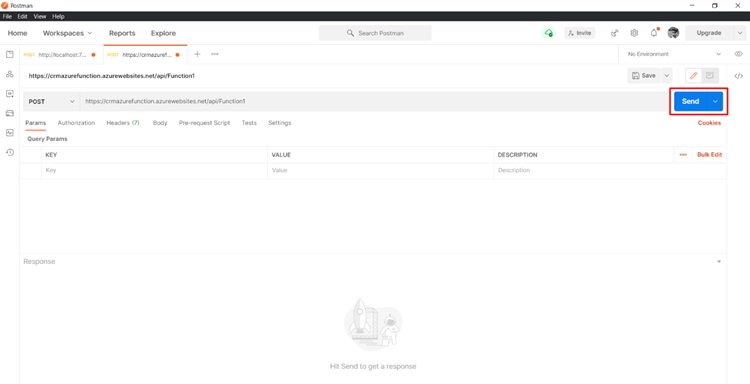
Open the Postman and click on the create a new tab. Select request as POST and paste the URL:
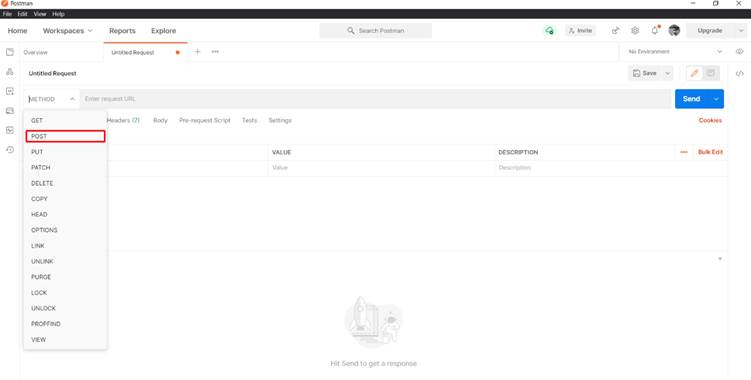
After pasting the URL, click on Send:
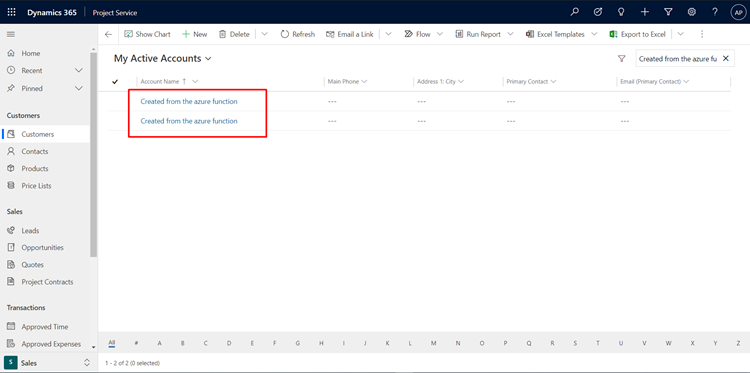
Now, we will take look at Dynamics 365 CRM environment and check whether the account is created or not.
Before

After:
Stay Tuned for the next Blog.
In the next blog, we will create a Contact Us form in HTML and post data using Azure Function Dynamics 365 CRM to store the responses from your website.
External Links:
Azure Function Pricing: https://azure.microsoft.com/en-in/pricing/details/functions/
