Create your first Azure Function using the Azure Portal
Learning serverless Azure Functions and deploying them, might sound like a daunting task. Azure functions are one of the most essential features of Microsoft Azure. In this article, we will see how we can create and deploy our first function using Azure Portal itself.
In the next blog, I will also demonstrate how we can publish functions using visual studio.
To start, login into your Azure Portal.
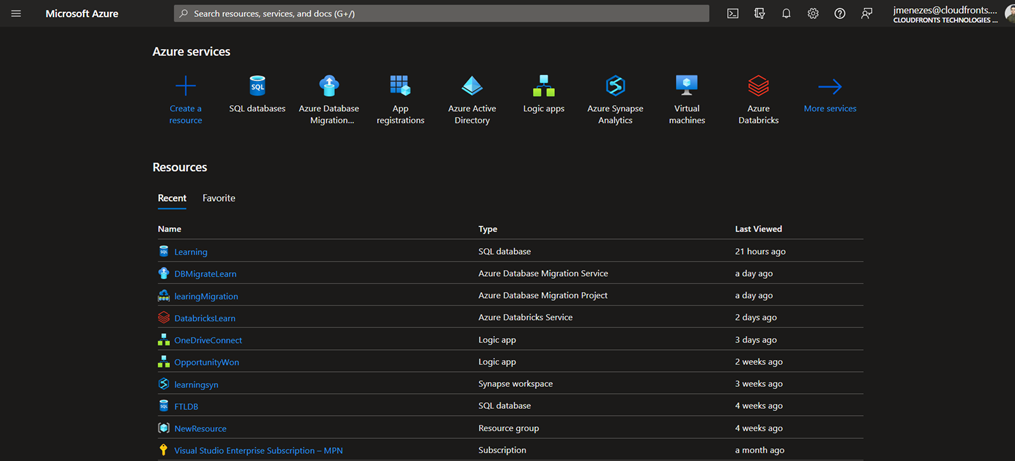
Search for the Function app and click on create.

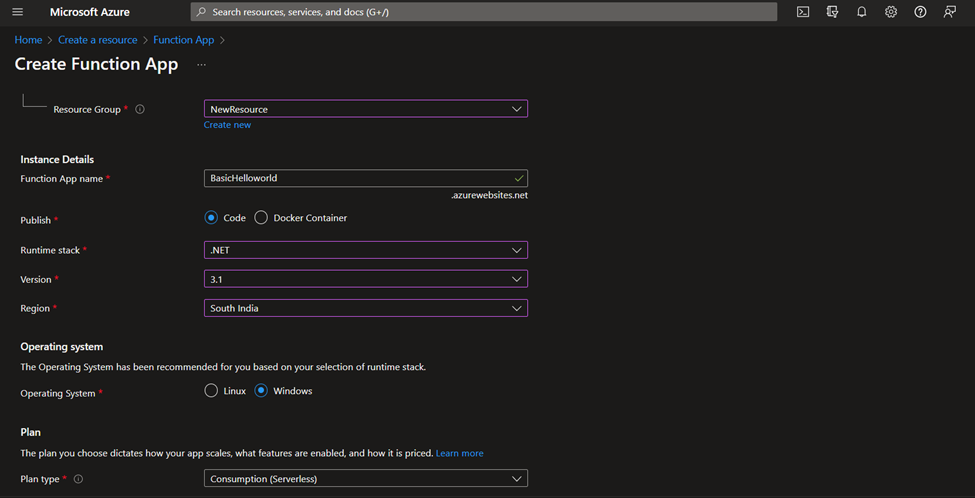
Select desired resource group, give your function app a unique name, and fill in the rest of the options as required.
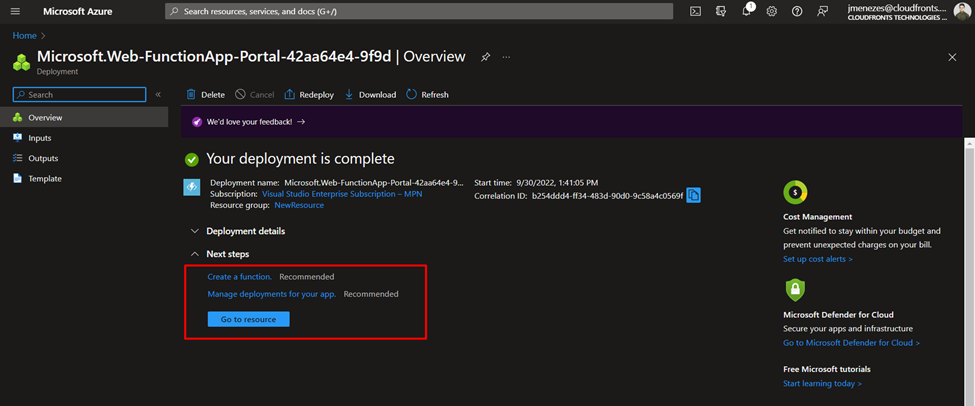
After the deployment completes, open the resource.
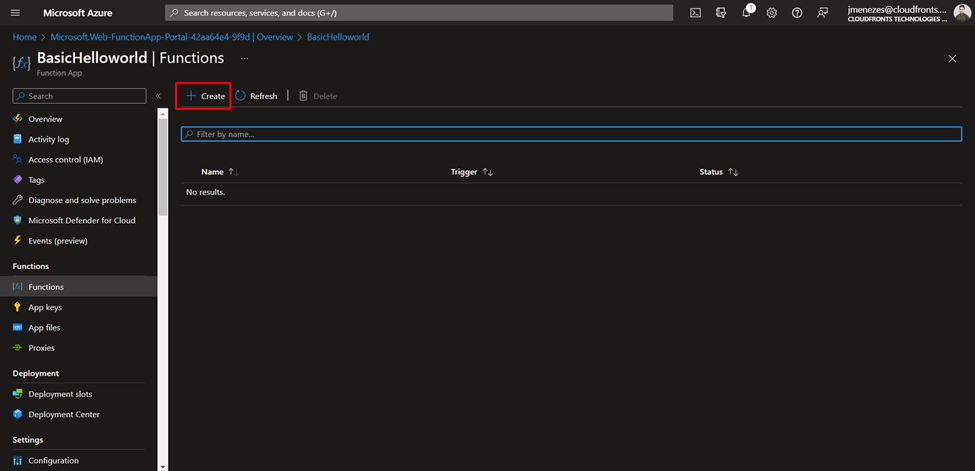
Go to the functions section on the left-hand pane.
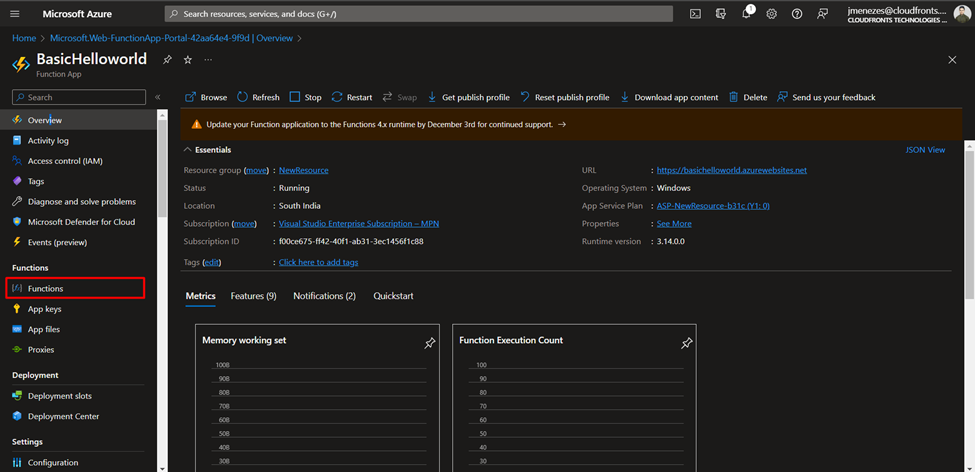
Click on the Create button.
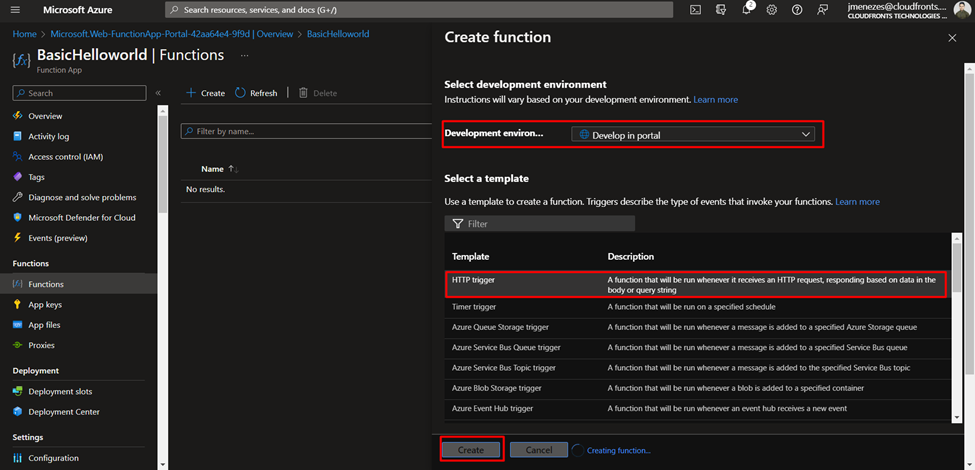
Select the “Develop in Portal” option as we are using Azure Portal to create our function. And select “HTTP trigger” now as we want to trigger the function using its API.
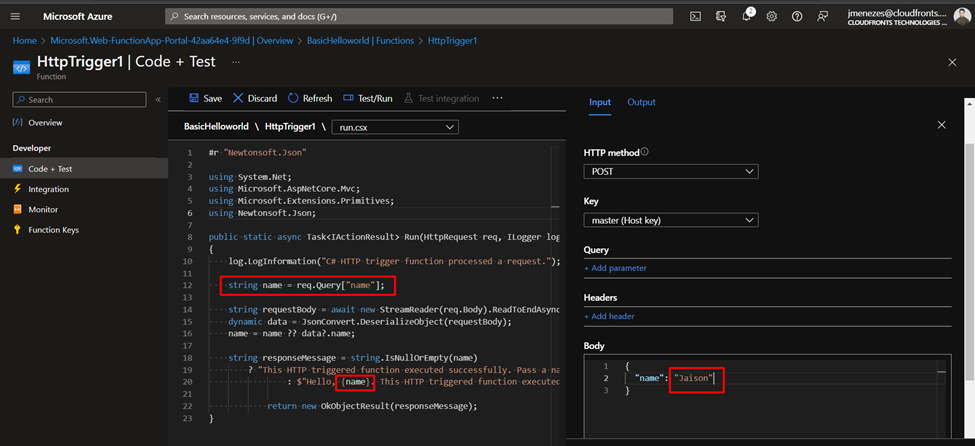
Go to the “Code+Test” option, you’ll find a sample code. Change values in it for a personal response. You can also change the logic of the code from default. Here I am passing my name as Body in the request (input) section.
As you can see based on the request body I have received a personified response.
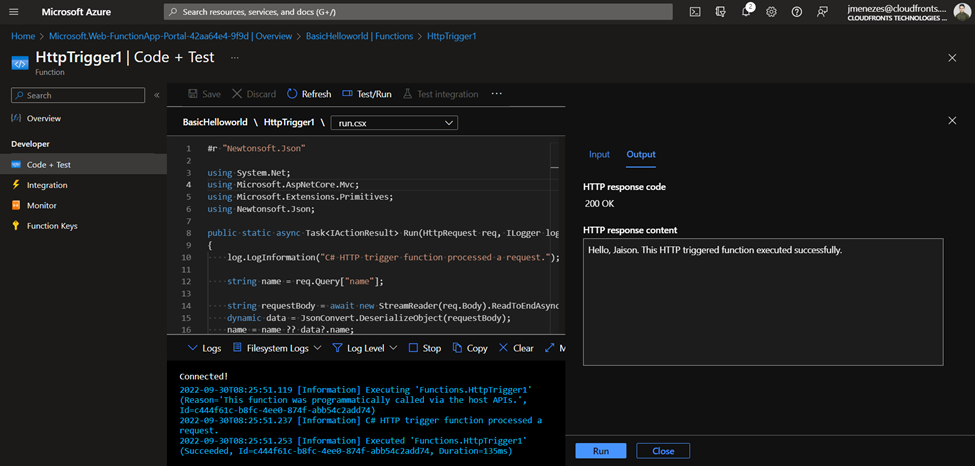
You can use the get function URL option and display desired output on hitting the URL. The output section in the default code is the last line “return new OKobjectResult(youroutput);”

Hope you learned to deploy a function using the portal from this blog. Have a great day!