Labels in Office 365
Introduction:
Across your organization, you probably have different types of content that require different actions taken on them to comply with industry regulations and internal policies. Labels in Office 365 can help you take the right actions on the right content. With labels, you can classify data across your organization for governance, and enforce retention rules based on that classification.
With labels, you can:
- Enable people in your organization to apply a label manuallyto content in Outlook, OneDrive, SharePoint, and Office 365 groups. Users often know what type of content they’re working with, so they can classify it and have the proper policy applied.
- Apply labels to content automatically if it matches specific conditions, such as when the content contains:
- Specific types of sensitive information. This is available for content in SharePoint and OneDrive.
- Specific keywords that match a query you create. This is available for content in Exchange, SharePoint, OneDrive, and Office 365 groups.
The ability to apply labels to content automatically is important because:
- You don’t need to train your users on all your classifications.
- You don’t need to rely on users to classify all content correctly.
- Users no longer need to know about data governance policies – they can instead focus on their work.
Note that auto-apply labels require an Office 365 Enterprise E5 subscription.
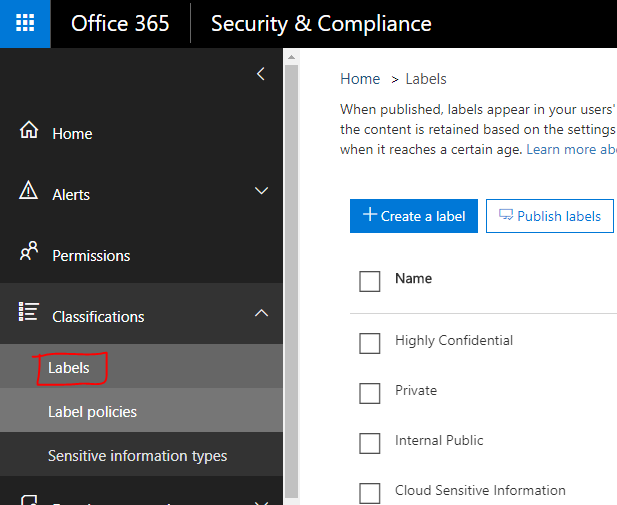
You create and manage labels on the Labels page in the Office 365 Security & Compliance Center.
Create a Label.
- Sign in to Office 365.
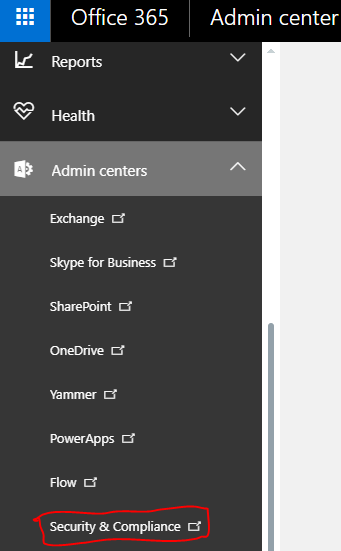
- In Office 365 Admin Center, go to Admin Centers > Security & Compliance.
- In Security & Compliance, go to Classifications > Labels.
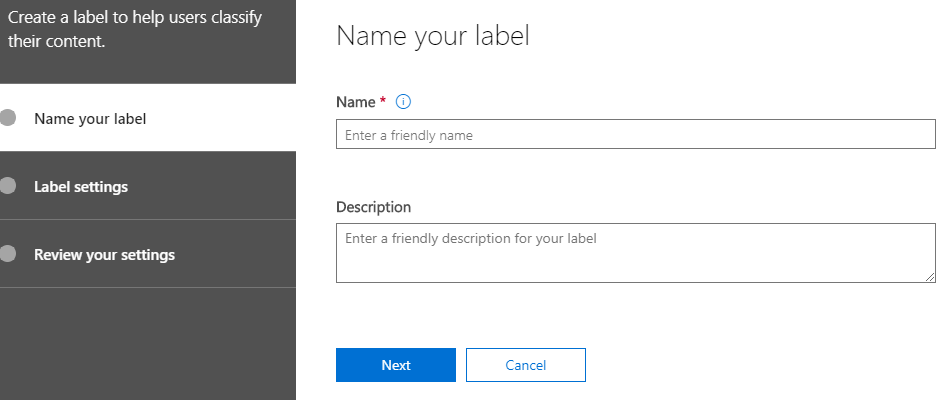
- Click on Create a label.
- Provide a name for Label and description.
- In Label settings, there is Retention option apart from Retention policy. You can turn this on if you want to apply retention settings to that label and if not, you can simply click on Next.
- If you turn this On, a various parameter will be shown (as shown in below image).
- Retain the content – Select the retention period that for how the data will be preserved.
- What do you want to do after this time – Here we need to select the action which will be taken after the retention age has reached.
- Label classification – If this is selected, users won’t be able to edit or delete the content or change or remove the label.
- After providing Label settings, click Next.
- Review your settings and click on Create this label.


Publish labels in Office 365.
The primary purpose of the label policy is to group a set of labels and specify the locations where you want those labels to appear.
- Sign in to Office 365.
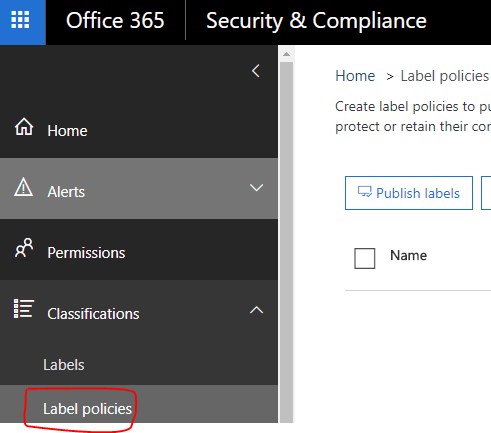
- In O365 Admin Center, go to Admin Centers > Security & Compliance > Classification > Label Policies.
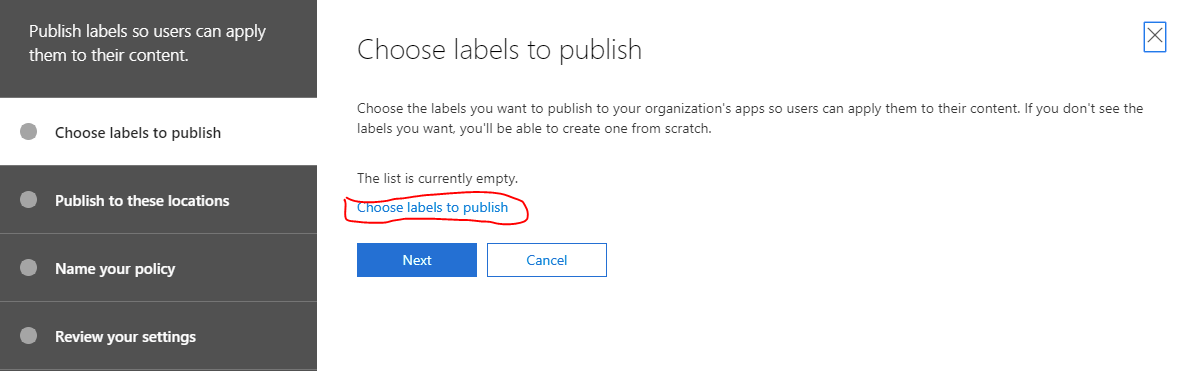
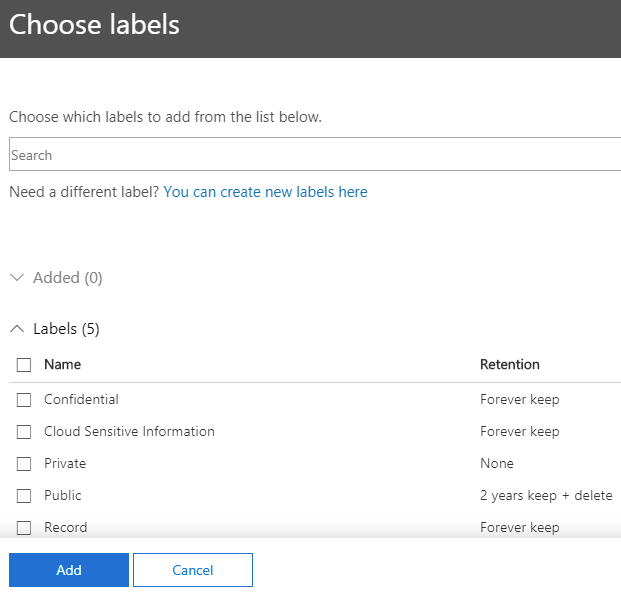
- Click Publish labels and choose the labels you want to publish for this label policy. A single label can be published in many policies.
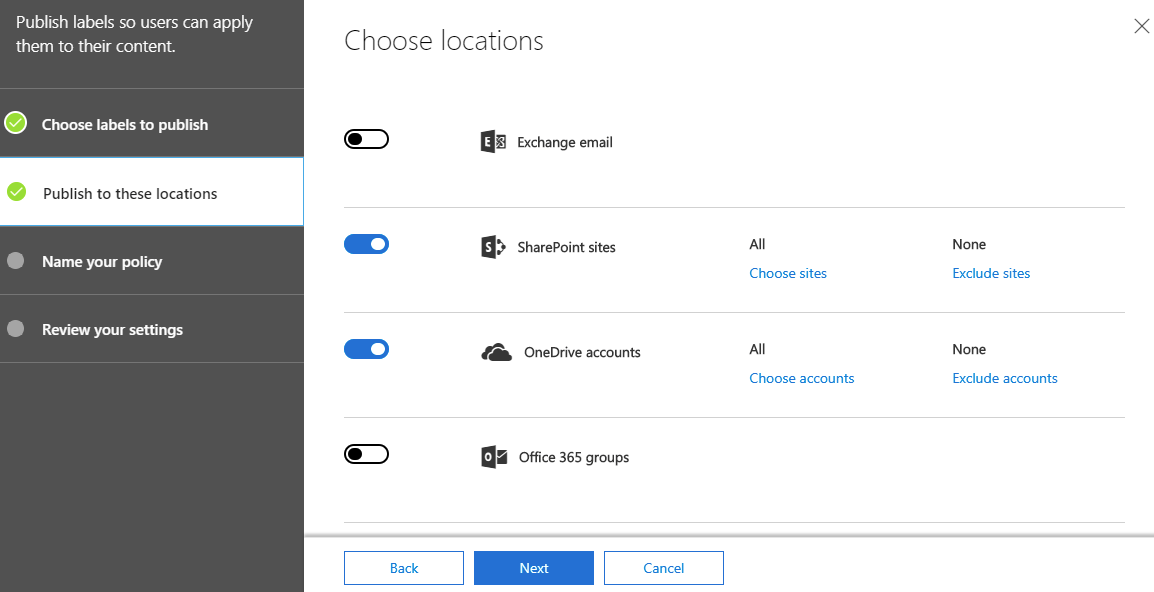
- After adding label, you need to choose the location where you want to publish these labels.
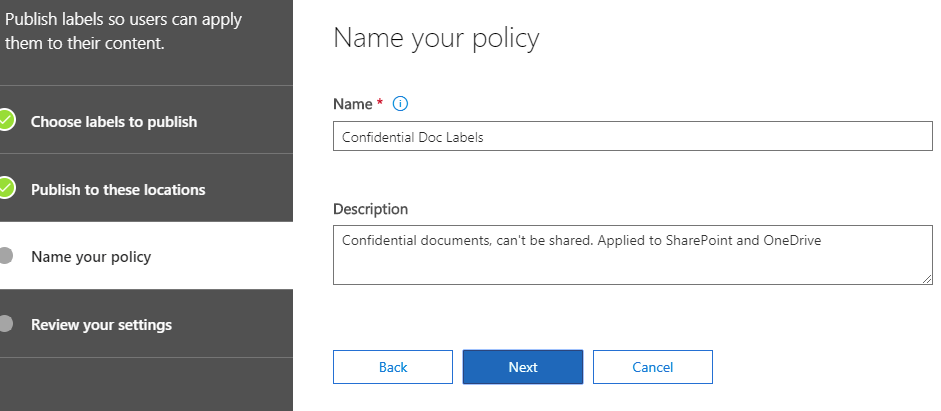
- Name your policy.
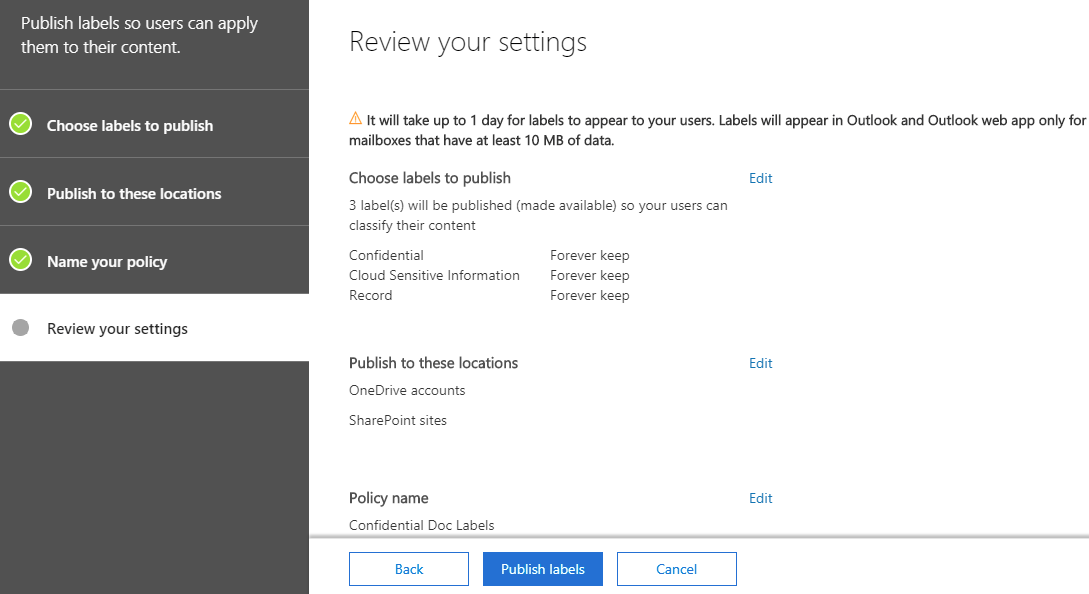
- Review your settings.
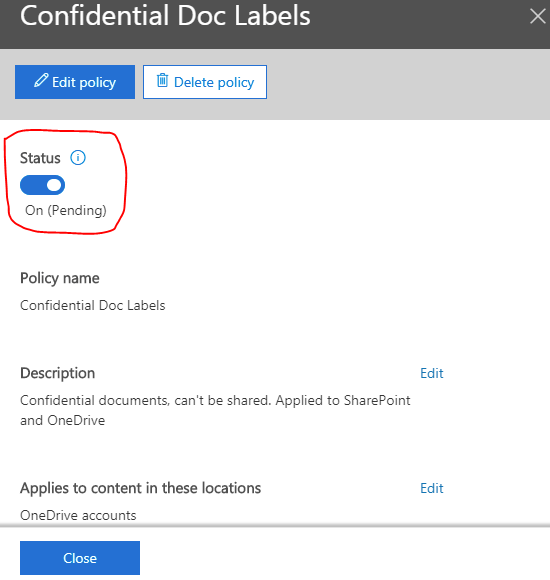
- Click on Publish labels, it will take up to 1 day to publish these labels in the location you chose, so after clicking on Publish labels you will see the below screen. As it takes normally 1 day to publish the status will be in Pending till then.
Applying Labels to the documents in SharePoint and OneDrive.
- From Office 365 Home tab, click the SharePoint tile.
- On the new SharePoint tab in your browser, click a site that needs an O365 label assigned.
- You can assign label to the whole document library at once or you can select the document for which you want to assign label.
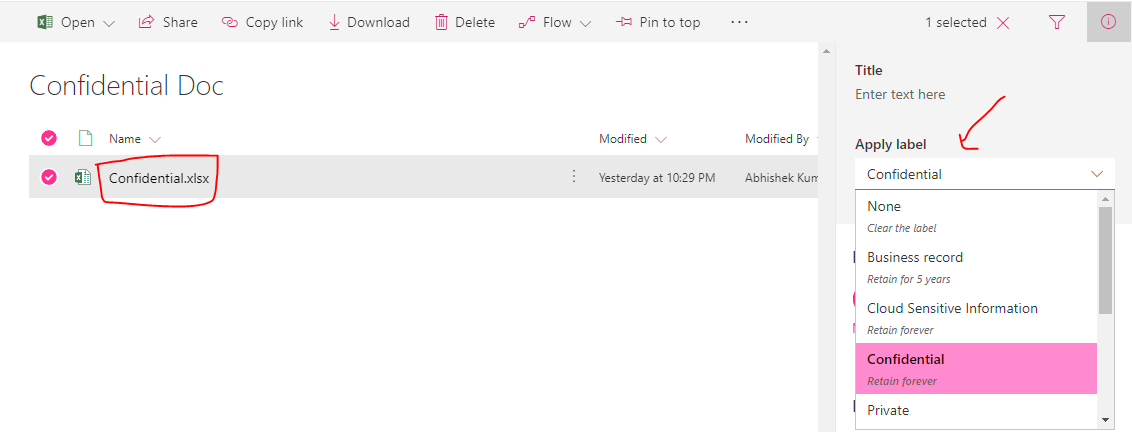
- Applying label to individual document, select the document and apply label.
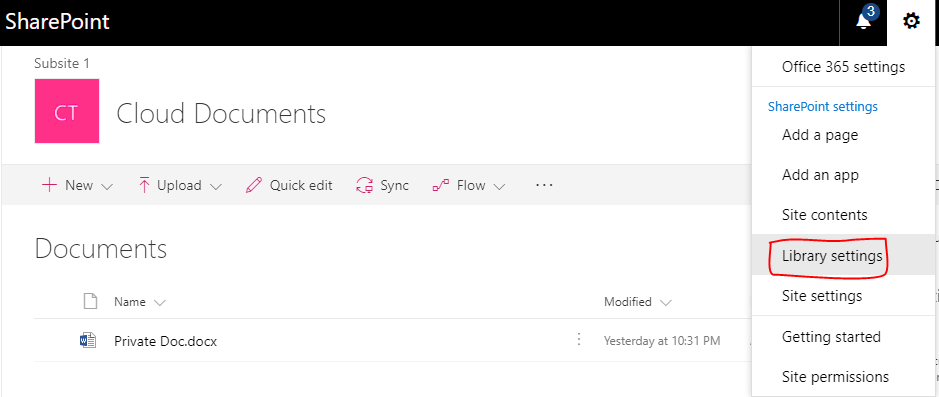
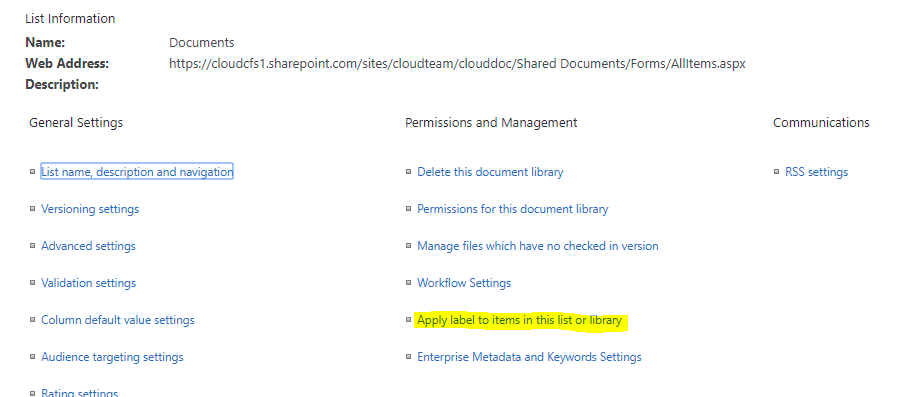
- Applying label to a document library, select that Document library > Library settings > Apply label to items in this list or library.
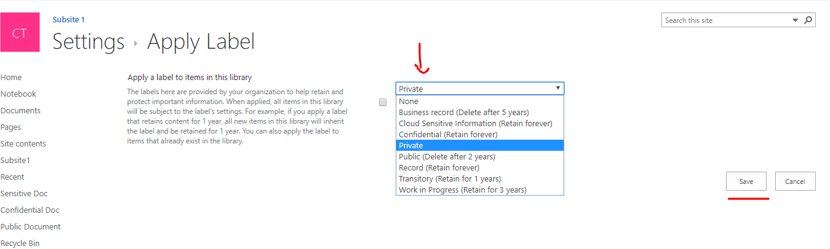
- Click on Apply label to items in this list or library and select the label you want to apply.
- Similarly, you can also apply labels to OneDrive document.
Conclusion:
This is how we can create Label and Label policy, then publish it so that users can classify data across organization for governance and enforce retention rule based on the classification.
