Deploy Dynamics 365 Operations Environment using Lifecycle Services Part – 1
In this blog article, we will see how we can create a project and deploy a dynamic 365 operations environment using Lifecycle services.
Prerequisites:
- Azure Subscription
- Lifecycle Service Account
Step by Step approach:
- Environment Setup
- Azure Subscription: Login to the Azure portal using credential use below URL and buy Pay-As-You-Go subscription as LCS will consume more resource and if we choose start free option it will give error later when we deploy the VM. “https://portal.azure.com/”
- Once we done with the subscription go to the subscription tab and select the Access Control option and create a role select the role as the Contributor and Add a user select the user as the “Dynamic Deployment Services.” We can now login to the Lifecycle Services remember we should login in LCS using the account which has the admin access to the subscription.
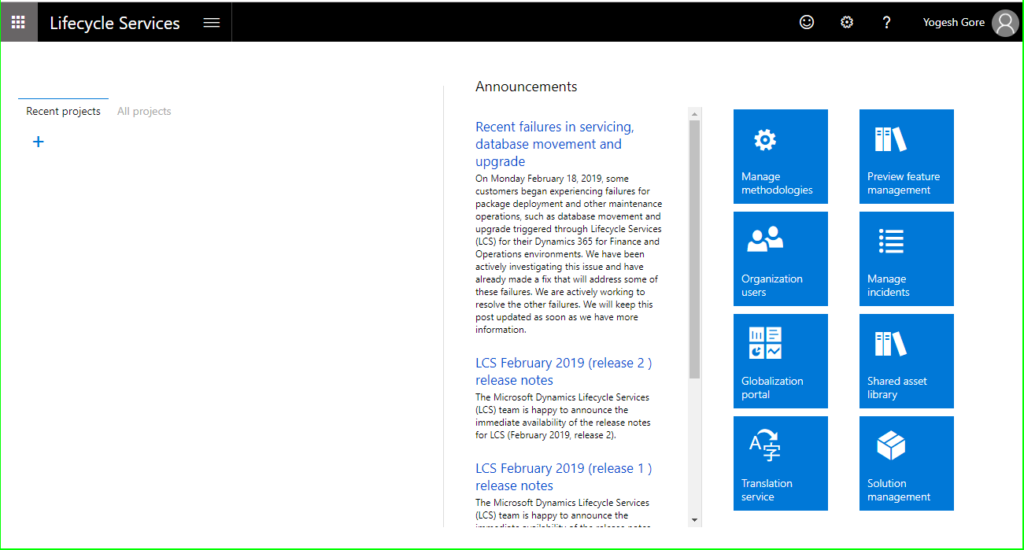
- After login we can see the following screen. The first step in LCS is to create new project so click on (+) sign to create new project.
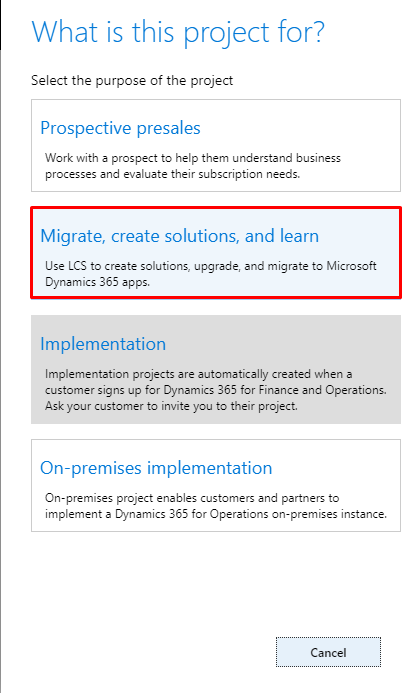
- Once we click on (+) sign we’ll have different option the option may vary as per the version of LCS you are using, here we are setting up environment for development and learning purpose select the “Migrate, Create Solutions, and Learn” option.
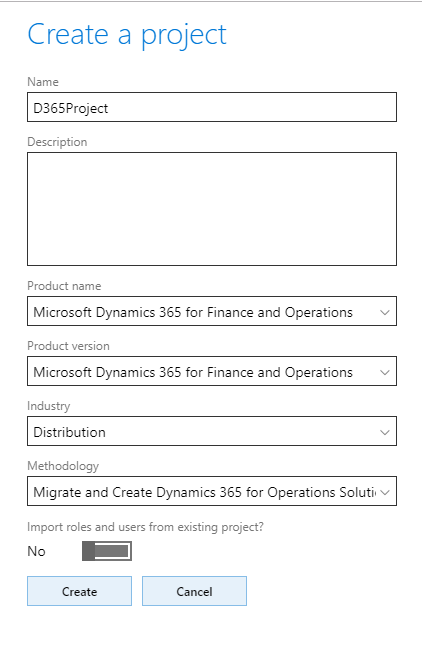
- Enter the project details and click on the create option. All the information is related to the how you want your project settings to show and the methodology option let you select what you want to shows up on the default project information that shows up in lifecycle services so the migrate and create dynamic 365 for operation solution give you these options.
- Once we click on create we’ll land to the life cycle project homepage
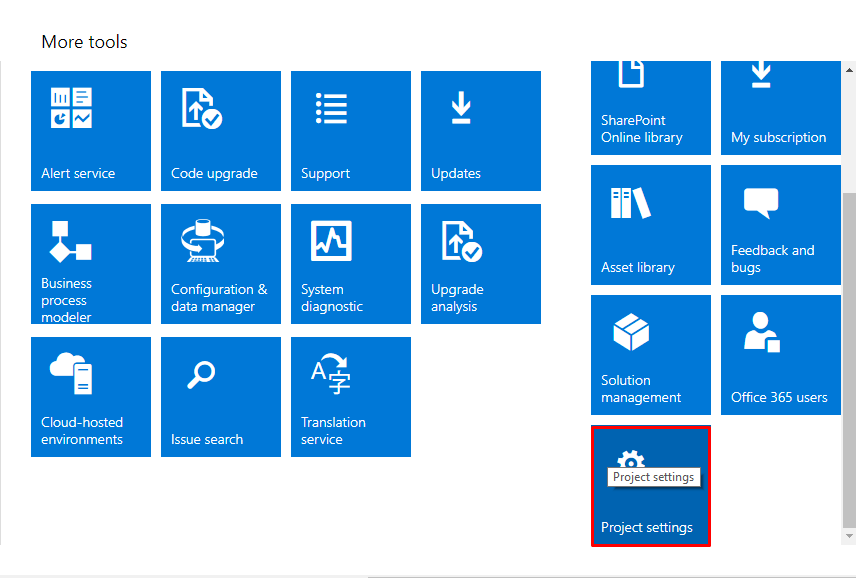
- Access the Azure subscription:- Scroll to the right and click on the project settings
- We are accessing the azure subscription so click on the Azure connectors options we’ll see the following screen.
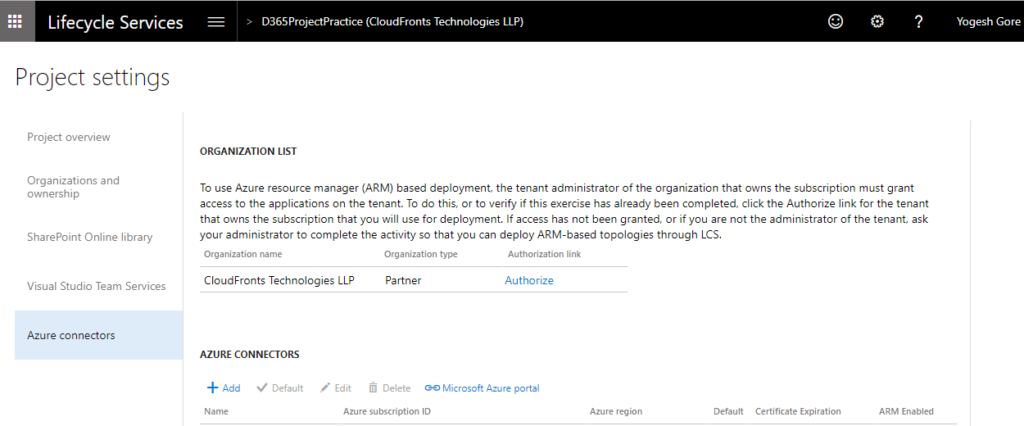
- The first step is to authorize your organisation in the LCS click on the authorize link.
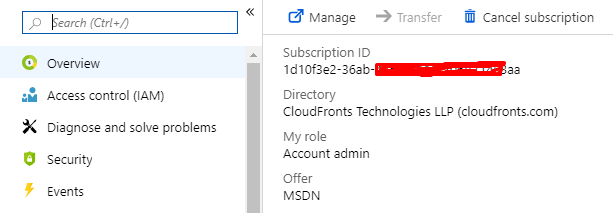
- Linking LCS to Azure subscription click on the Add option and set the required option make sure the subscription id is same as you have in the azure portal as we may have multiple subscription set so keep in mind to use correct subscription.
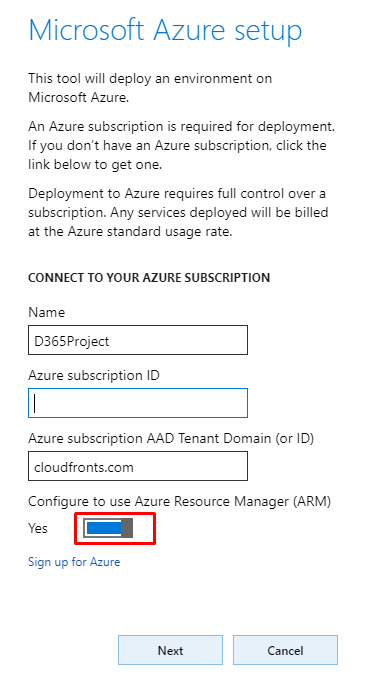
- Once we fill the required details click on the next. Once we click on next we’ll required to authorize the user to the subscription or we can download the certificate and upload to the azure portal by going to the Subscription > Management Certificates > Upload then upload the certificate that we have downloaded.
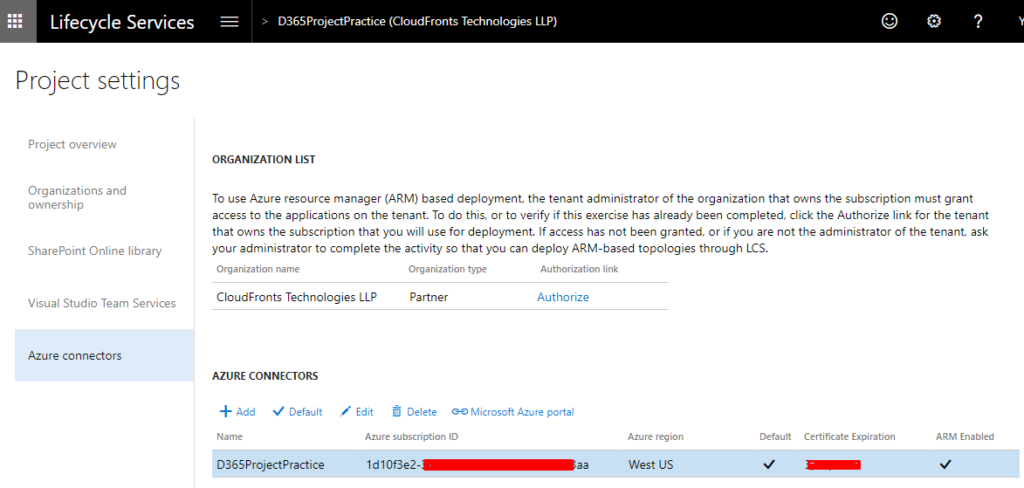
- Select the server environment region for LCS.
- Now we can see the azure connection in the project setting we got Azure subscription id that is showing .
- Deployment for the virtual machine
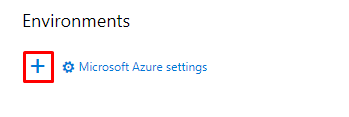
- In newly created environment go to the Project and in environment tab click on the (+) sign
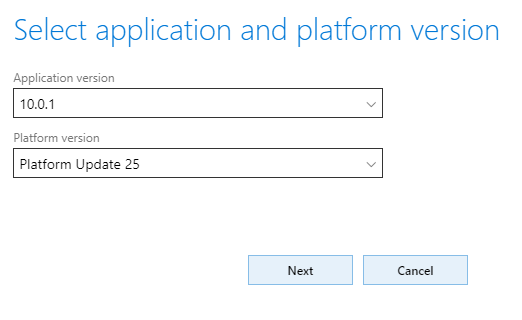
- Once we click on (+) sign we’ll application platform option choose the latest application and platform version.
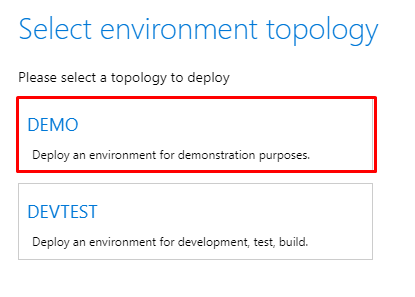
- Select the environment topology here we are selecting Demo environment
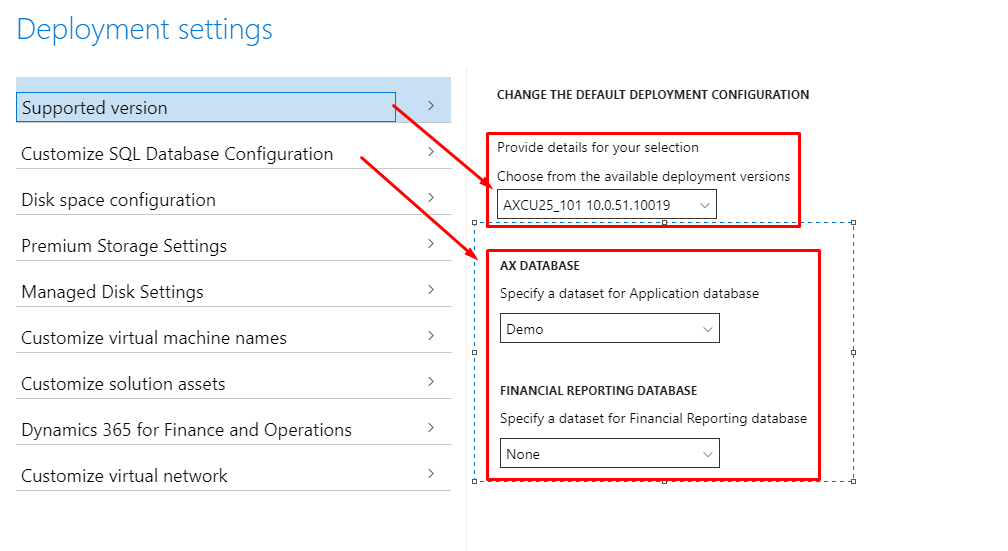
- Specify the Deploy environment setting by clicking on the Advance setting option
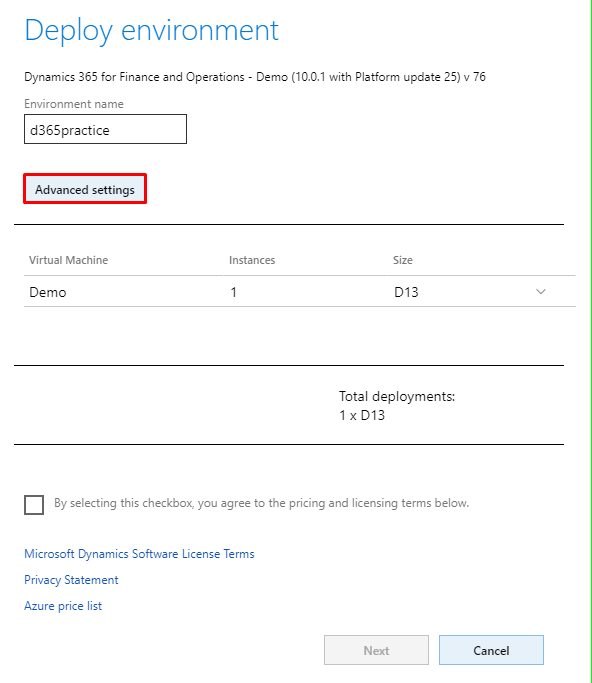
- Choose the below option and leave the other settings as default
- Click on the next. We can set size of the virtual machine of our choice it’s fine to keep the default settings and go ahead.
- Once confirm and deploy the VM deployment will start, usually deployment will take 3 hr.
So, this will create the D365 Operation Environment for us. In next blog we’ll see how to setup the post deployment configuration setting for the environment
