Workspace Personalization in Microsoft Dynamics 365 Finance and Operations
Personalization stands as a robust feature within Microsoft Dynamics 365 Finance and Operations, significantly enhancing consultants’ and users’ experiences while interacting with the platform.
Among these personalization options, the workspace stands out as a feature I routinely recommend to end-users. Its advantages span from streamlining daily business activities, time-saving capabilities, and improved visibility into work items that require attention, to the crucial benefit of reducing clicks and navigation across multiple screens.
In this blog, I aim to demonstrate the process of creating a new workspace and sharing it with the necessary users.
Creating a Workspace
To initiate the personalization of your Dynamics 365 experience, follow these steps to craft a new workspace tailored to your specific requirements:
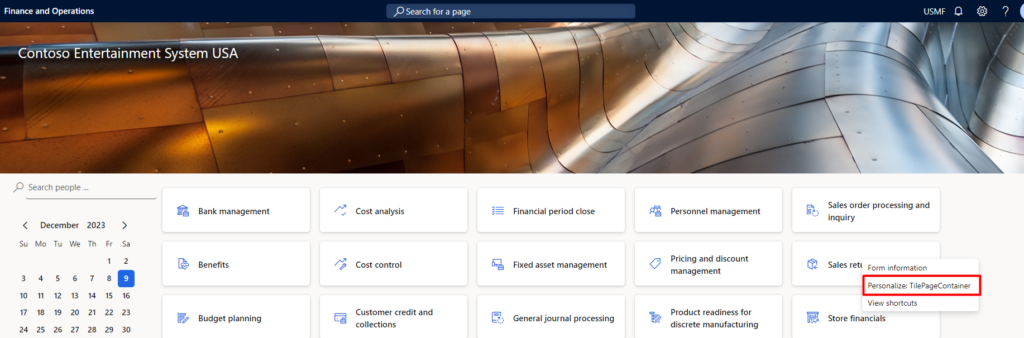
- Access the D365 F&O dashboard page.
Right-click on the right side blank screen and select “Personalize TitlepageContainer.”
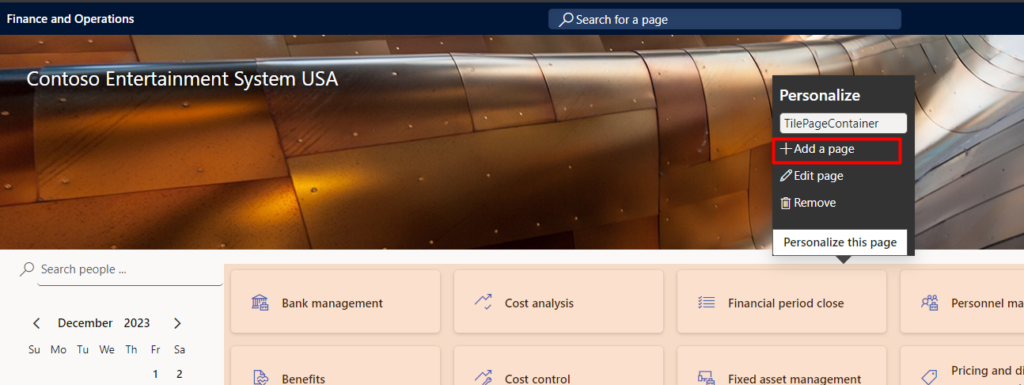
- Choose the “Add a page” option.
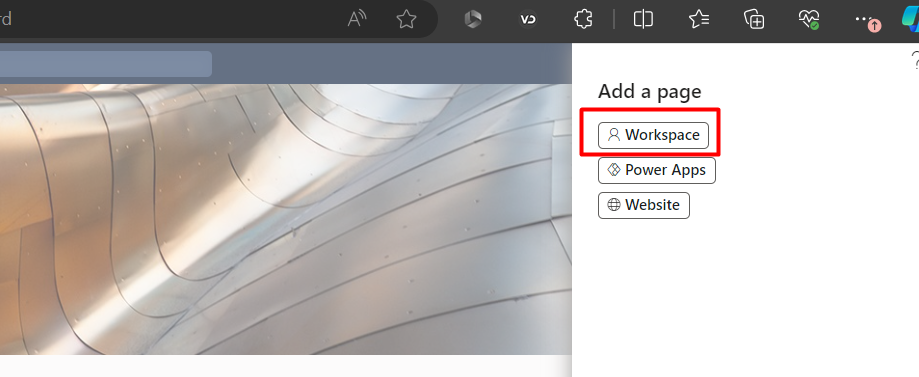
- Opt for the “Workspace” selection.
- Enter your desired workspace name.
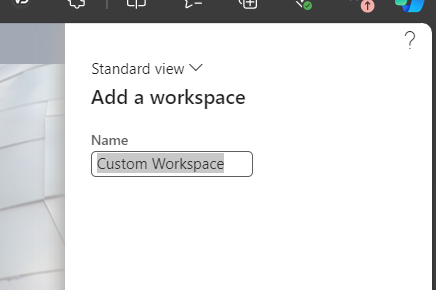
Your newly created workspace will now appear on the dashboard.
After completing the initial steps, it’s time to fine-tune the configuration to suit your operational needs:
Navigate to the required form or list page that you wish to include in the workspace. Select the presentation type: Tile, List, or Link.
Additionally, you can create a saved view on the required form by applying filters and then add that saved view to the workspace. For instance, from the “All Sales Order” page, applying a filter for invoiced orders and saving that view to be added to the workspace.
For this blog’s demonstration, I’ll illustrate adding the “Sales Order Invoice” to the new workspace.
Navigate to the “Open Invoice” page.
Click on the “Options” tab within the action tab.
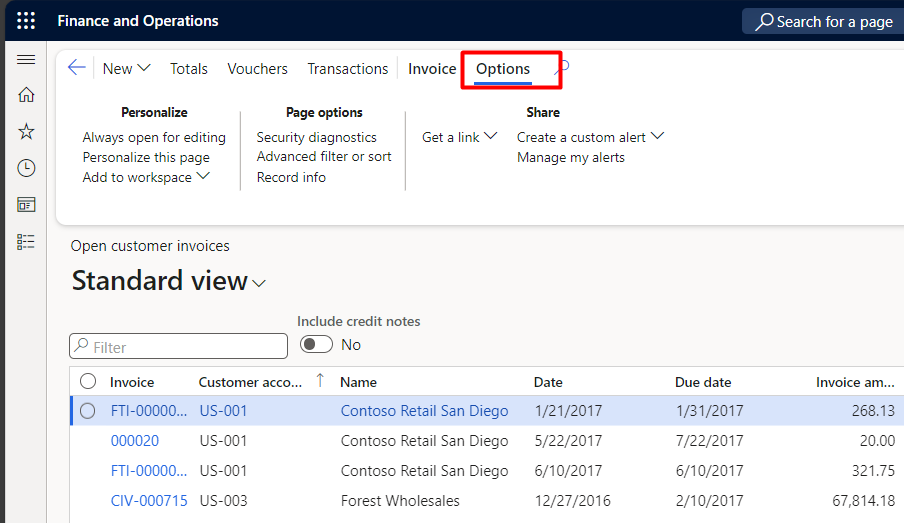
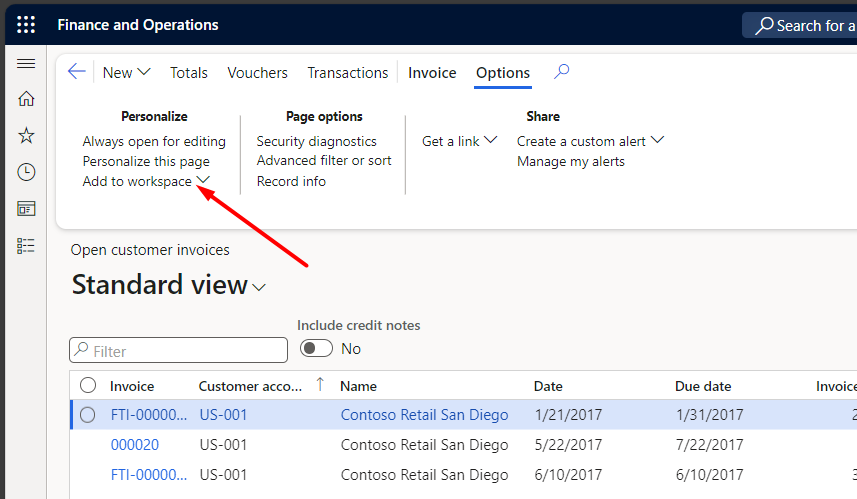
Select “Add to Workspace.”
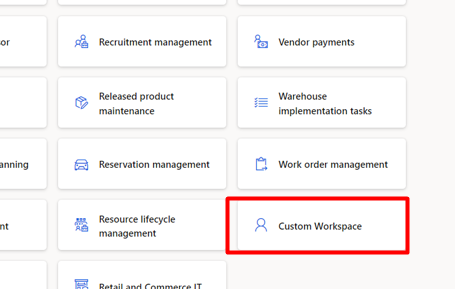
Choose the workspace created in the first part of the blog.

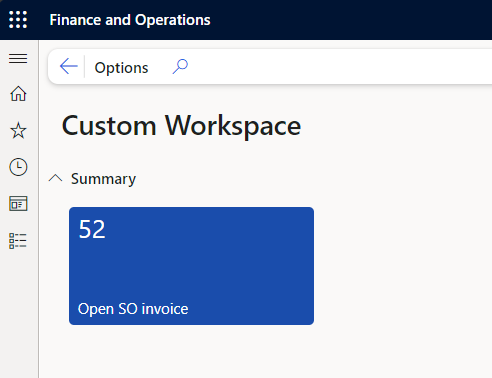
This showcases the output when you click on the Custom workspace in Dashboard
Configure Workspace
Post workspace creation and configuration, the subsequent crucial step is sharing it with the relevant user groups:
Identify User Groups: Determine the teams or individuals who would benefit from accessing this customized workspace.
- Navigate to “System Administration” > “Setup” > “Personalization.”
- Select the “Personal Views” tab.
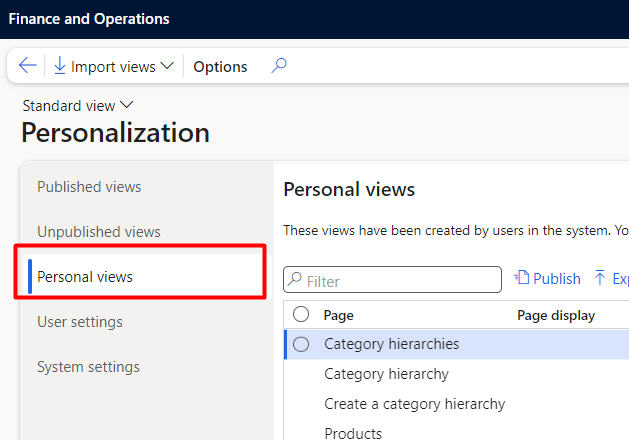
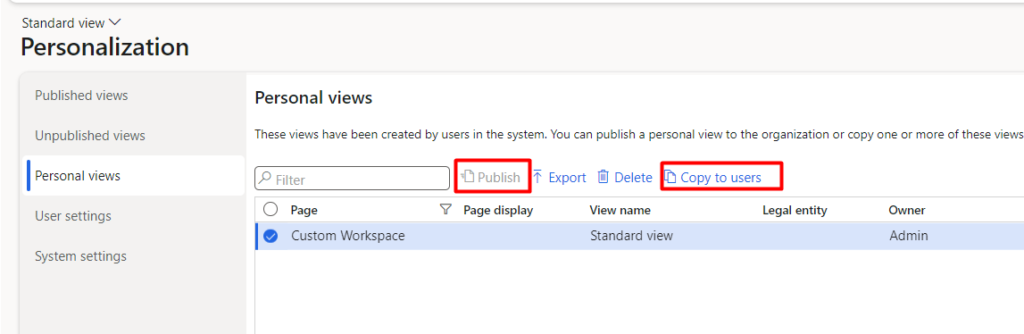
- To share with other users, two options are available: “Publish” and “Copy to Users.
- “Publish” shares with user roles but not specific users with legal entity restrictions.
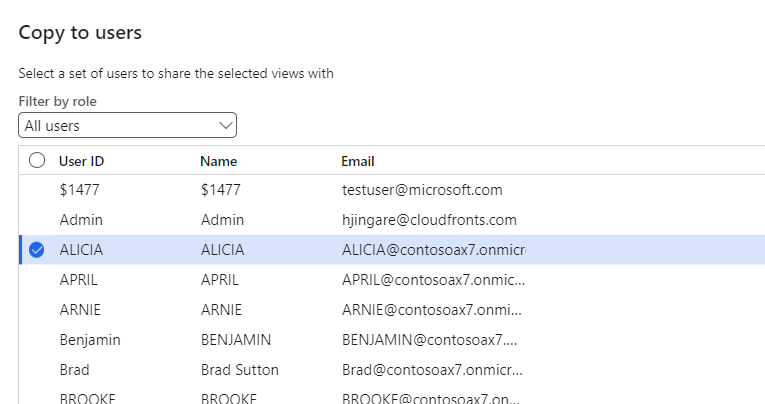
- “Copy Users” facilitates sharing with specific users. The export option aids in migrating views between environments.
In conclusion, creating and sharing personalized workspaces in Microsoft Dynamics 365 Finance and Operations empowers users with tailored interfaces, offering enhanced efficiency, streamlined workflows, and a more intuitive user experience.
I hope these steps will guide you in optimizing your Dynamics 365 experience, boosting productivity, and attaining better outcomes for your business operations.
