ZAPIER Integration Tool
Introduction:
Zapier is an Integration tool which allows users to connect various Web Apps. Zapier is used for simple small scale integration purpose. In this article, we will learn how to create a basic Zap (Integration Process) for Integrating Accounts from Salesforce to Microsoft Dynamics CRM.
Pre-requisite:
- Salesforce
- Microsoft Dynamics 365 CRM
- Zapier
Steps:
- Login in to your Zapier.
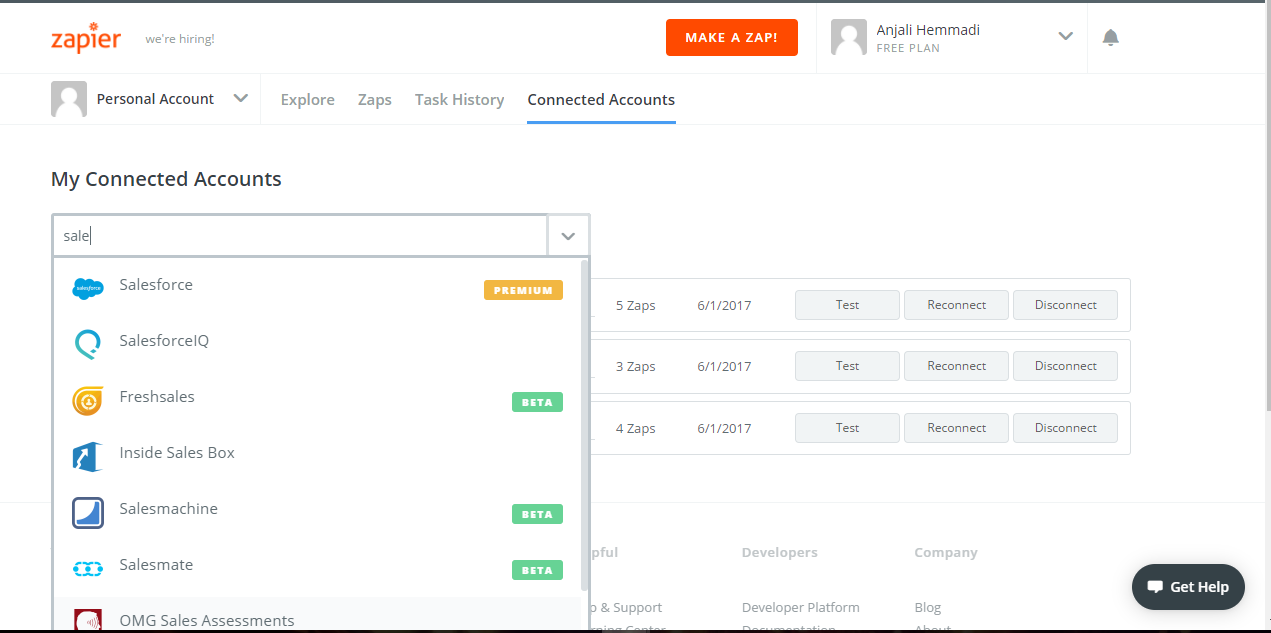
- First Step is to create connection for your Source and Target Systems. Click on ‘Connected Accounts’ Tab for creating Source and Target Connections. After selecting the connector, you will be prompted to enter credentials to connect to the systems.
 List of all the Connected systems/ Apps will be displayed under My Connected Accounts. You can Test, Reconnect or Disconnect the Connections.
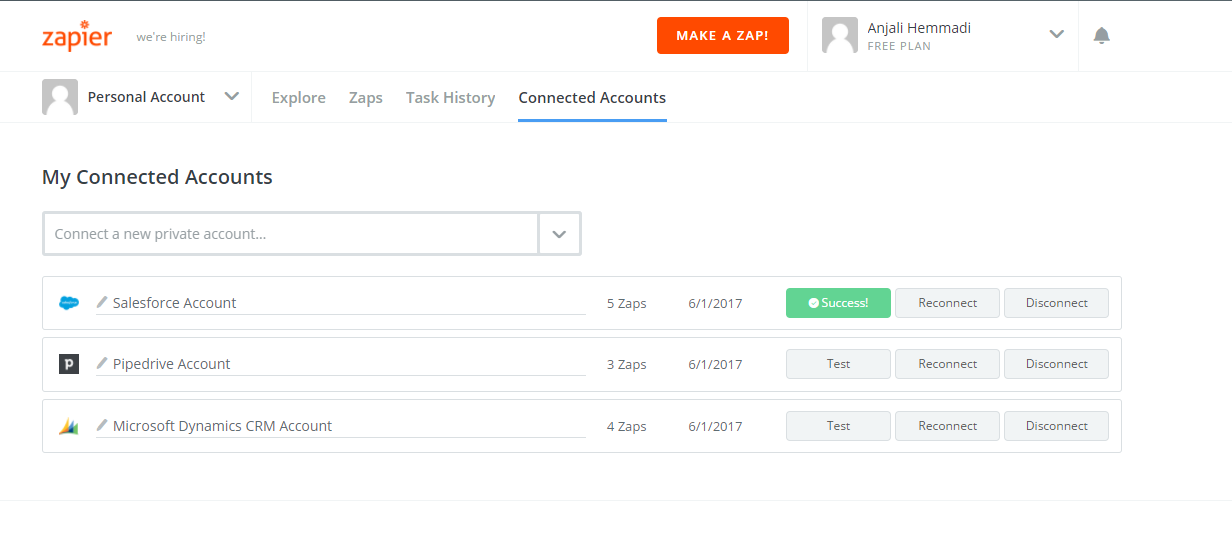
- Now Click on ‘Make Zap’ to create your new Zap i.e. Integration process definition.
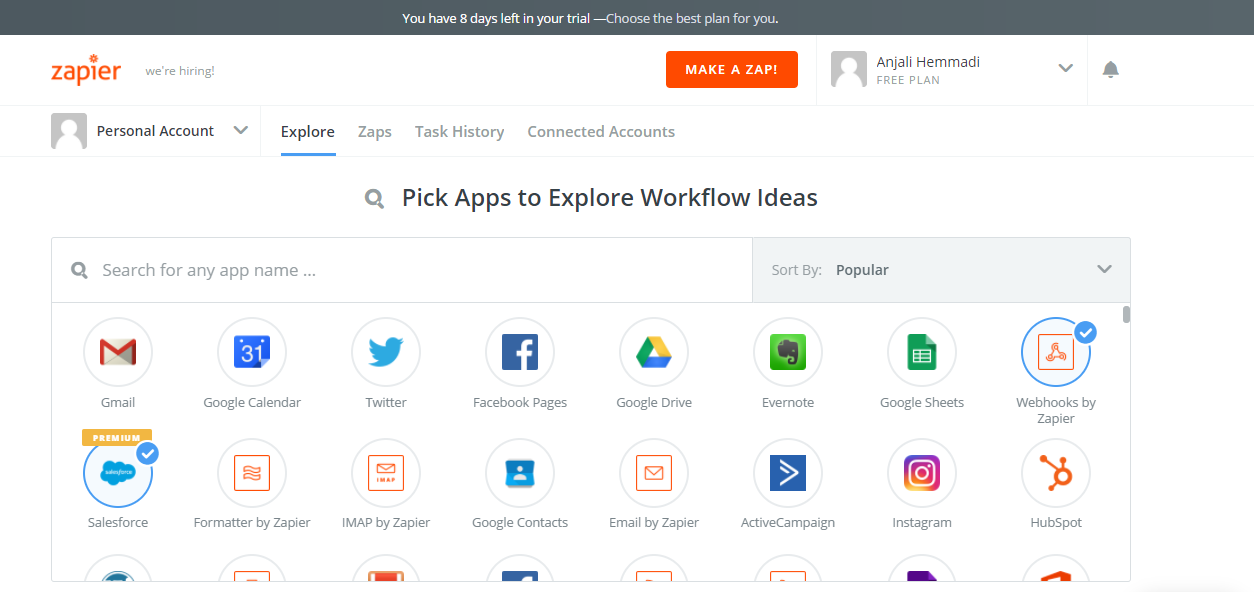
- Choose the Trigger App. i.e. your Source. Here, we are using Salesforce as our Source.

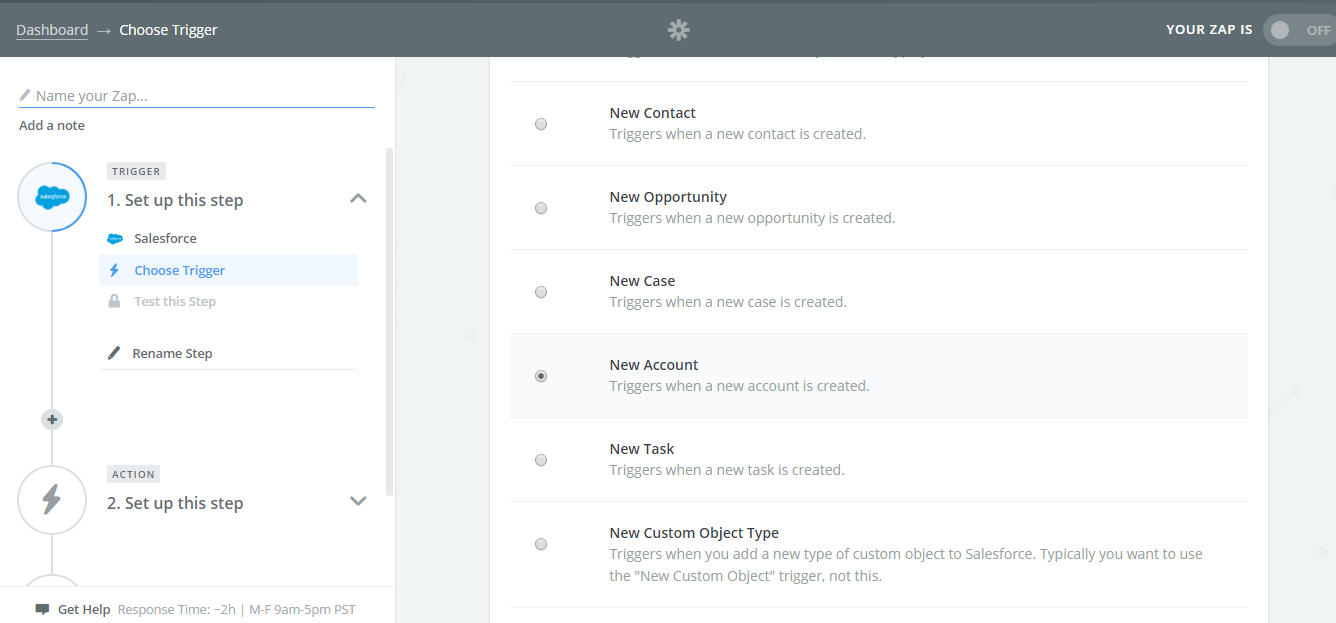
- Choose Trigger. i.e. Select an event, based on which you want your Zap to execute. Here, Creation of new Account in Salesforce should execute the Zap; so, we have selected ‘New Account’
- Select your Salesforce Connection.
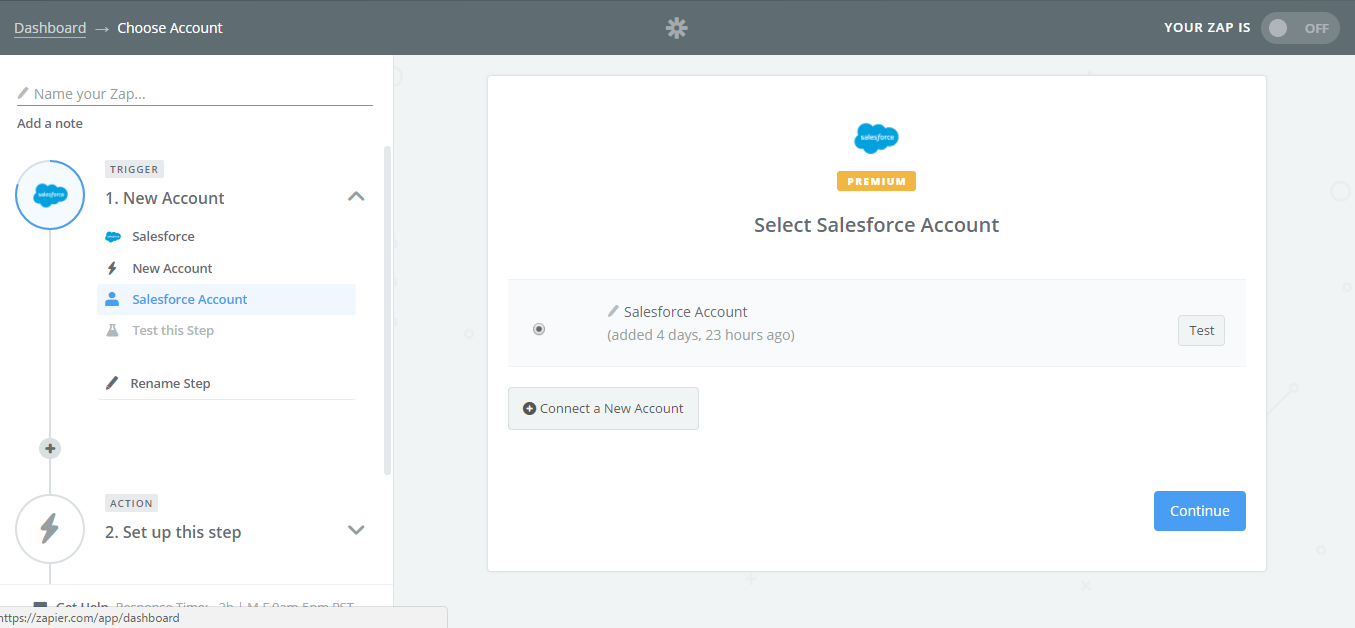
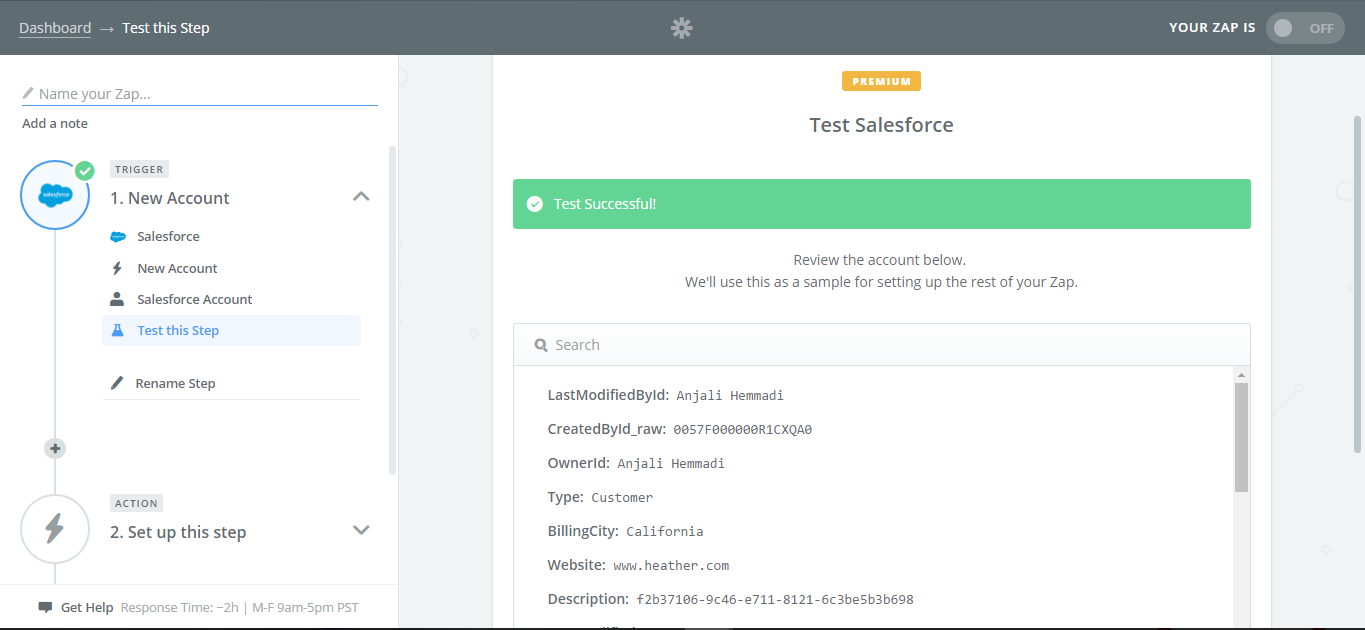
- You Test your connection by clicking on ‘Fetch & Continue’. If the test is Successful, you can even view the record which is fetched by clicking on ‘view your account’
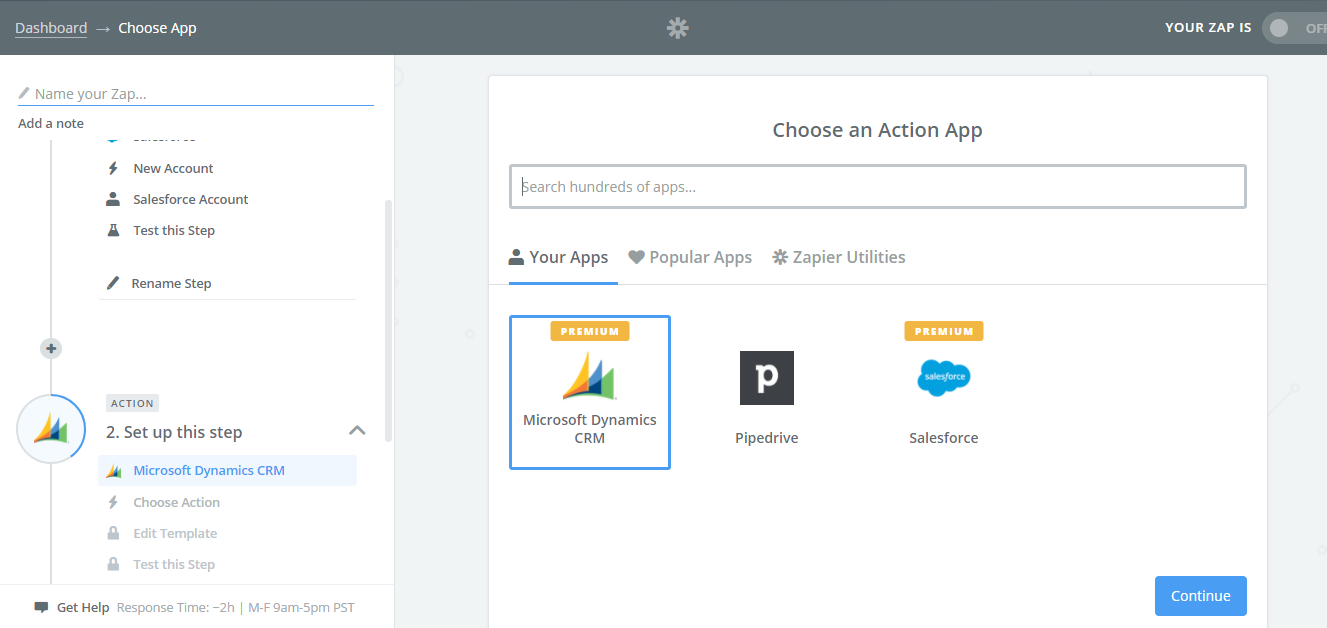
- After setting up the trigger, we have to setup Action. Now, we have to select our target system. Here, we are Microsoft Dynamics CRM as our target.
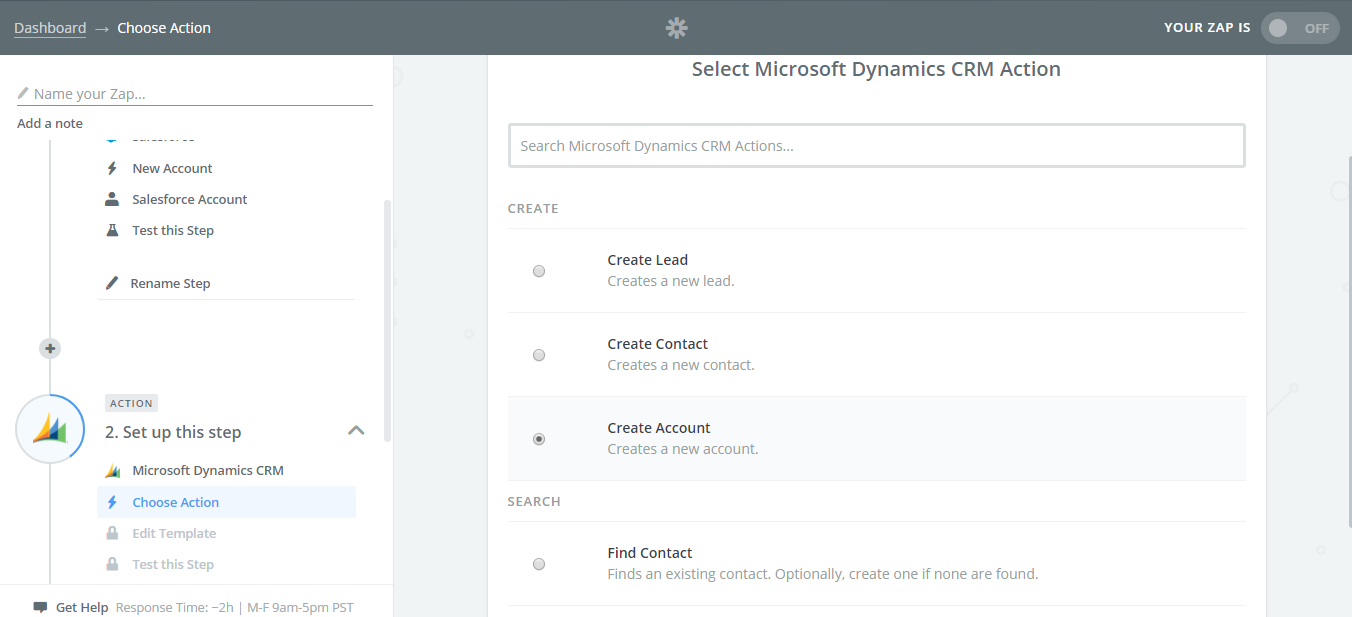
- Choose an Action. i.e. Create or Update operation you want to perform on target. Here, we will select ‘Create Account’ since we want to create an Account in CRM which is integrated from Salesforce.
- Choose your Microsoft Dynamics CRM Connection.
- Now we have to Map fields of Source fields to Target fields. Click on
 target field to get drop for list of source fields. Map all the required fields.
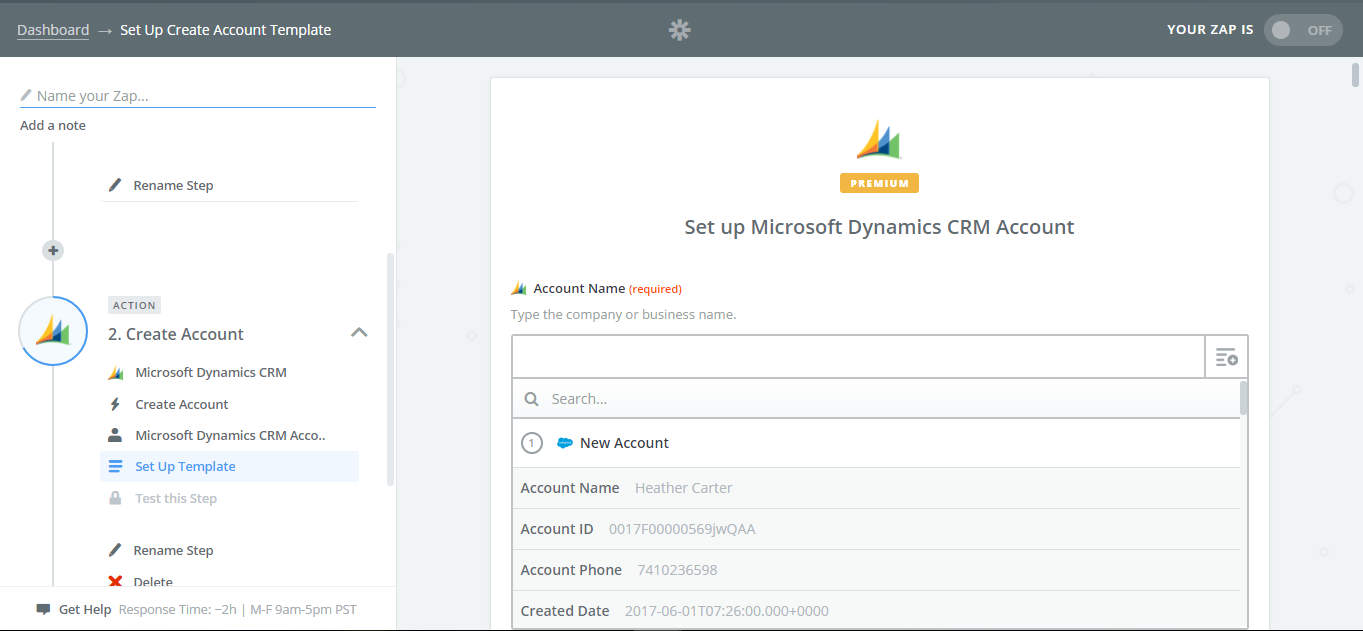
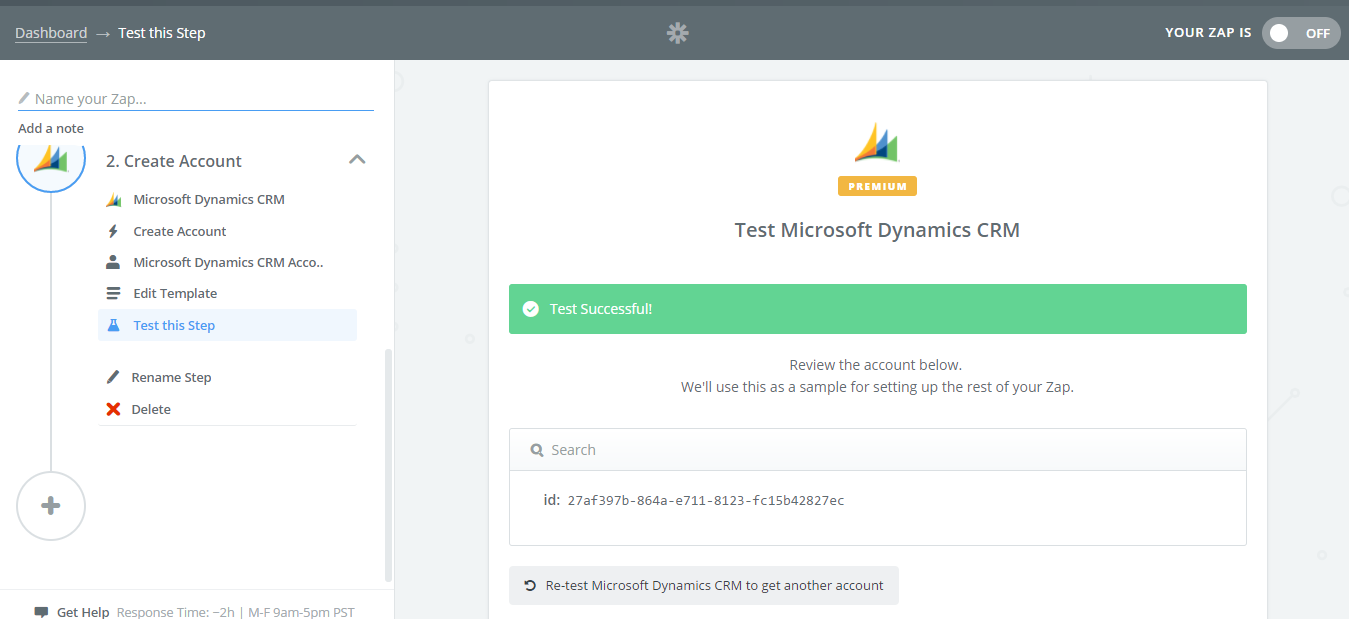
- After Mapping all the fields, press continue to Save the mappings. Then you can test the Mapping by clicking on ‘Create & Continue’. This step will create the new record in target per the Mapping and data that is fetched from Source in step 7. You can view the record created by clicking on ‘view your account’.
- You can click on
 button add more actions or Click on ‘Finish’ button
 - Name your Zap and Turn it on.
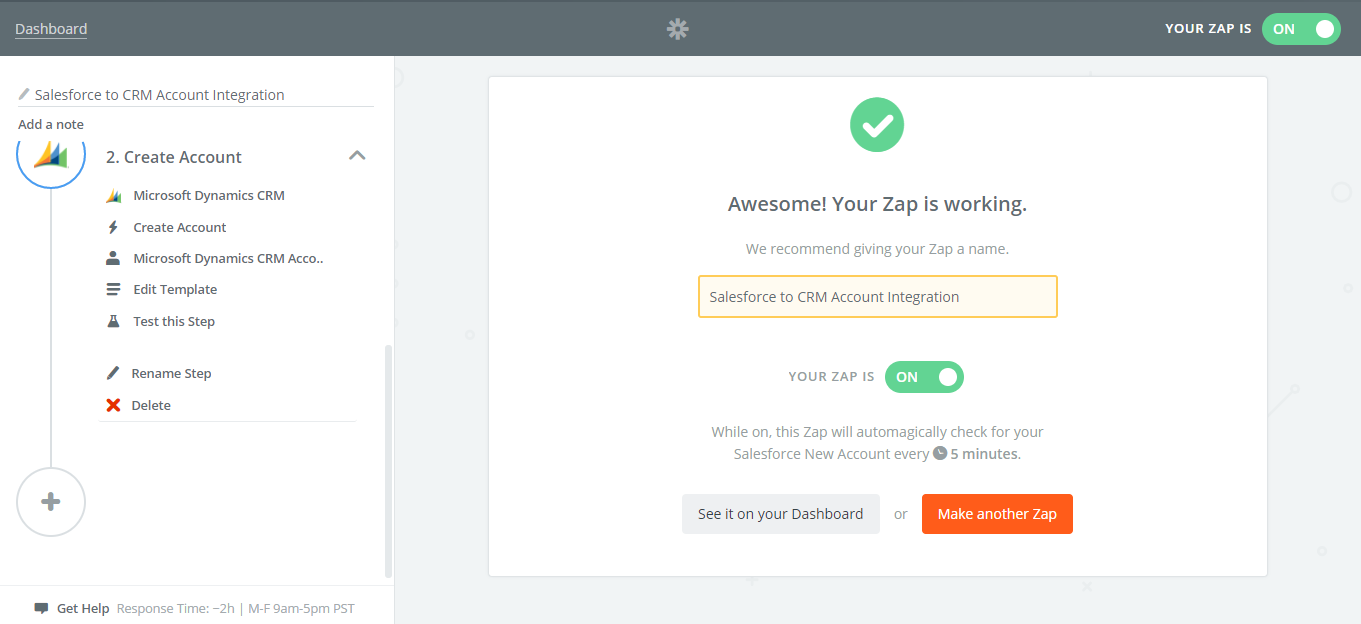 You are all set for Integration!!
