Customized Button in Dynamics 365 POS
Introduction:
In Dynamics 365 Operation retail POS, we have different button on POS of different function. Some time we have a requirement from client he want some specific button on POS. In This blog I am going to show you how to add button on POS Screen. Follow the below steps.
Step 1:
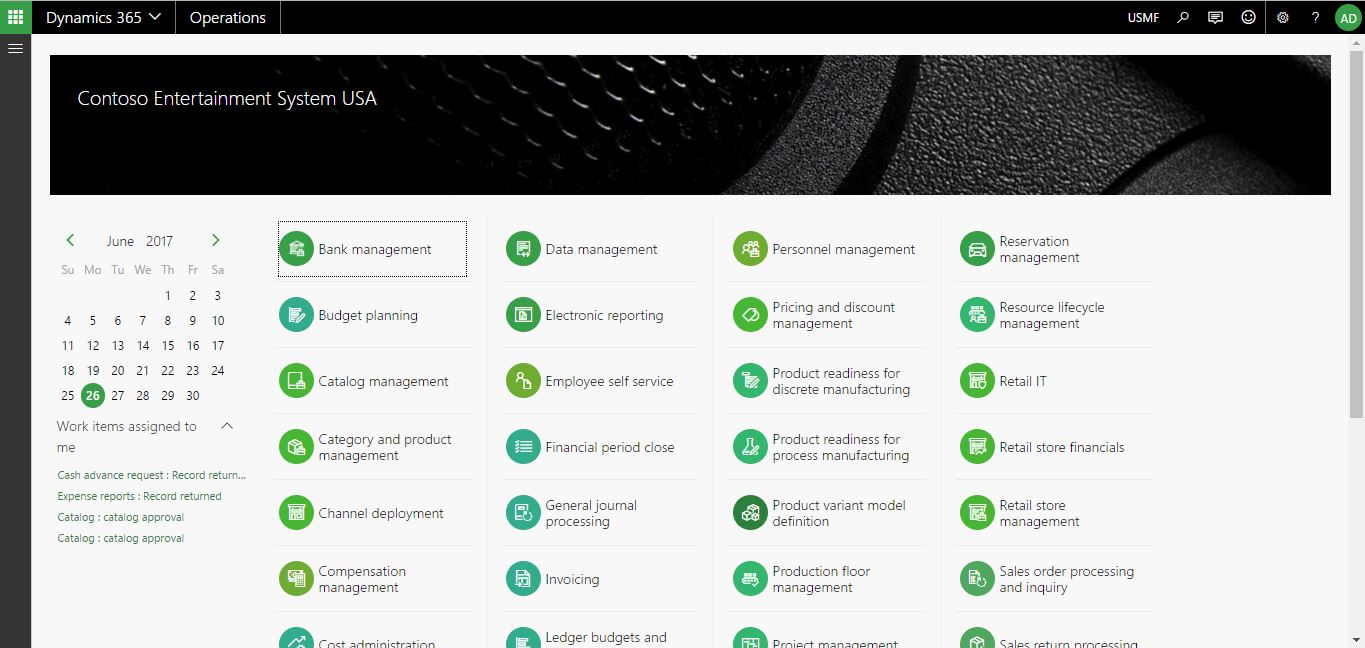
Open the Dynamics 365 Operation.
Step 2:
Go to the Retail And Commerce > POS > Screen Layout

Step 3:
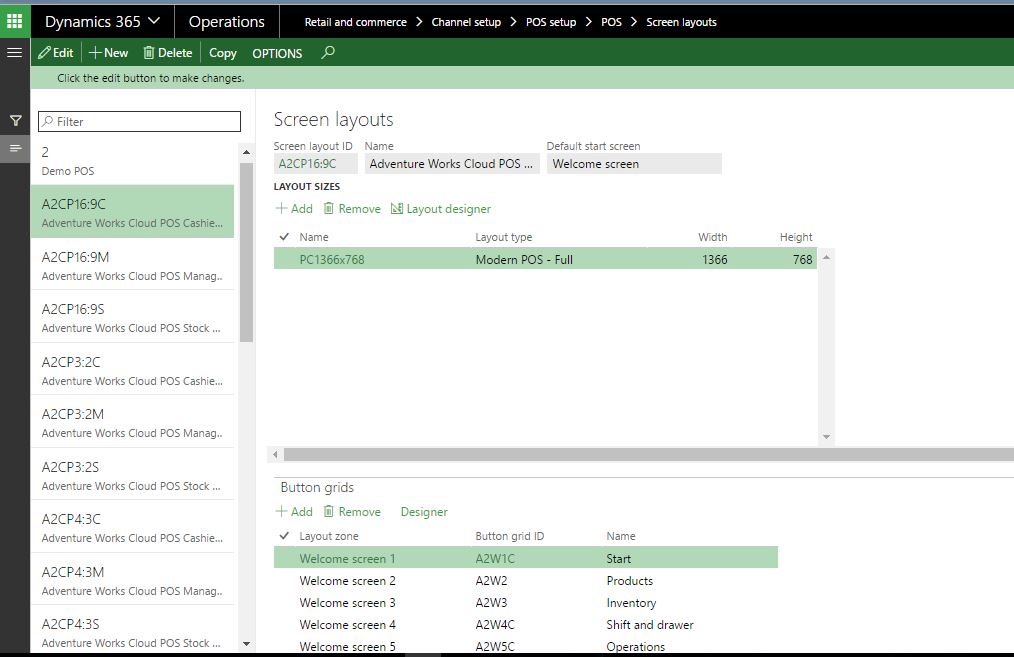
Once you click on it, list of screen layout will open.
As per you Store Profile select layout. In this case my layout of A2CP16:9C
Step 4:
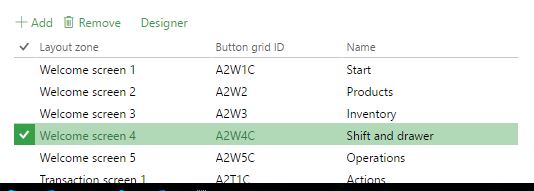
We all Know that In dynamics 365 POS, there is different button grids, As per requirement we will add demo button in Shift and Drawer button.
So select the button grids and click on designer button
Step 5:
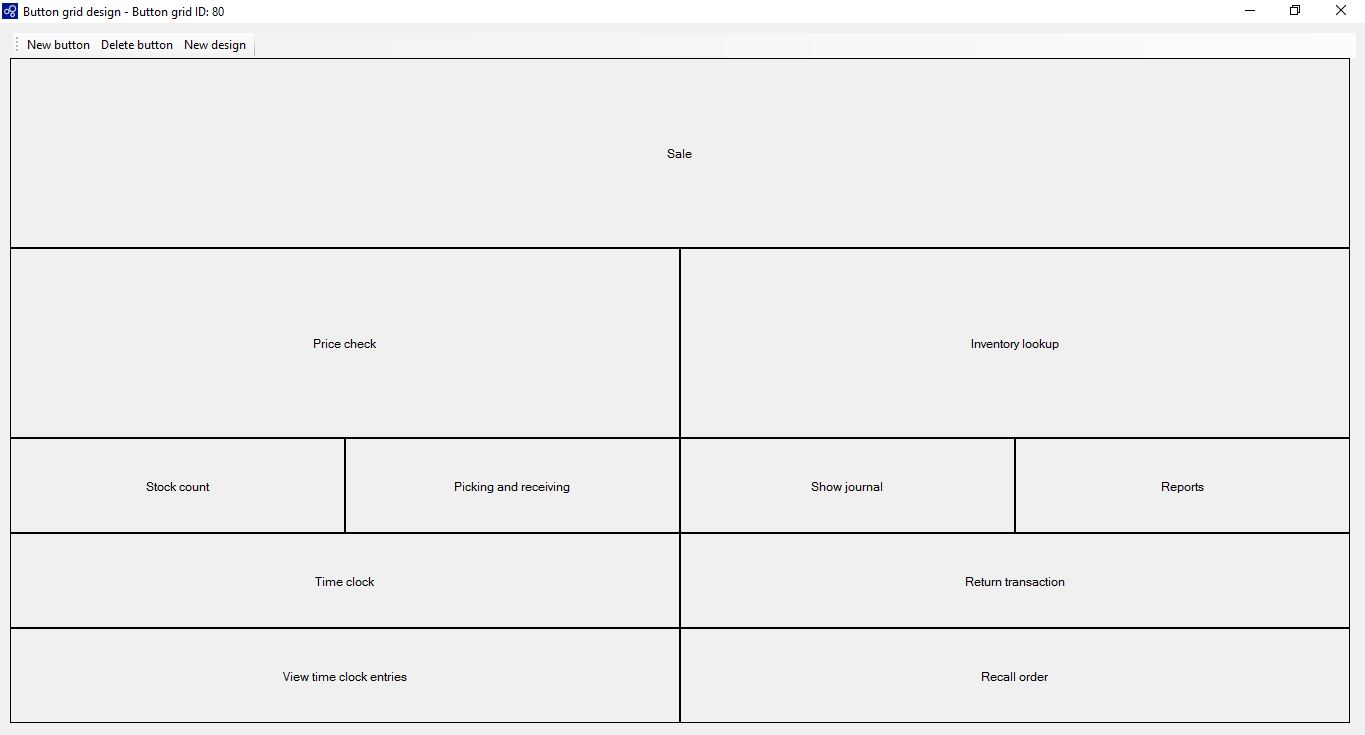
Once I click on it. My button designer will Open.
Step 6:
Right click on the last button and click on Add row.
In Row will be added.
Right click on button and select Button property. And set the Property
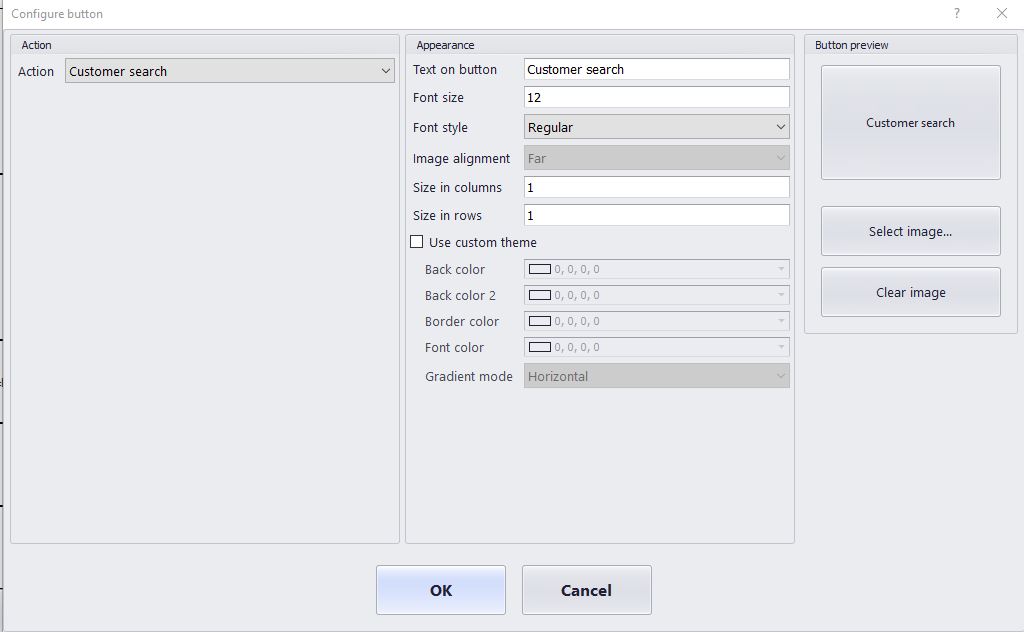
Step 7:
Click on OK Button and close the designer.
Go the Channel Database and Run the Job No. :- 1070.
Conclusion:
With the help of above steps, you can add, remove or create Customized button designer view for the MPOS and CPOS
