Creating HTML table using Power Automate
The Create HTML Table action in Power Automate is a useful tool, but lacks any formatting or styling options.
In this blog, we’ll see how to create a HTML table in Power Automate.
Use Case:
When quote is marked as won, close opportunity as won and send Email to the owner of the Opportunity with below details –
Email Subject – Opportunity Won!
Email Body –
- Customer Name –
- Below Table-

Solution:
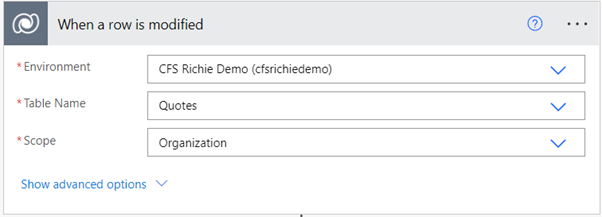
Step 1-The requirement is quote should be modified and marked as Won. Trigger on When Quote Modified.
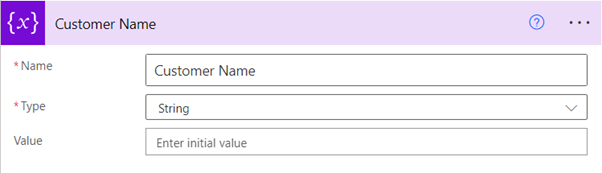
Step 2- Initializing the customer with variable actions
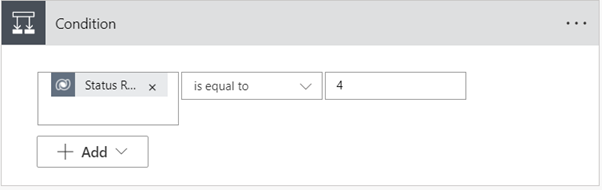
Step 3- Put a condition that the trigger works only when quote is Won (status code=4), then change opportunity to Won.

Step 4- On quote status marked as Won, update the opportunity as Won.


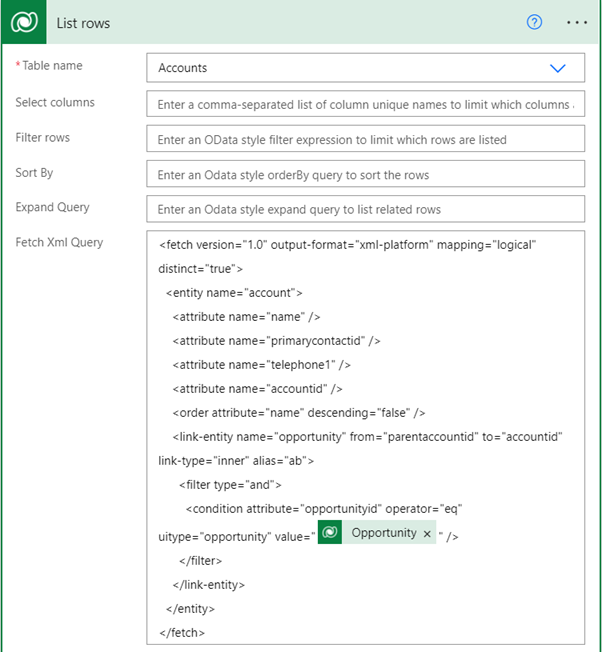
Step 5- Listing Accounts associated with Opportunity
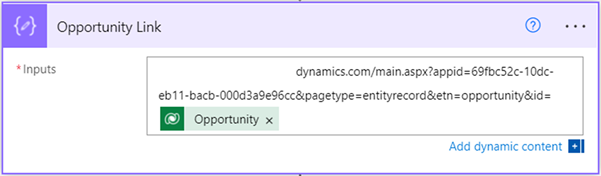
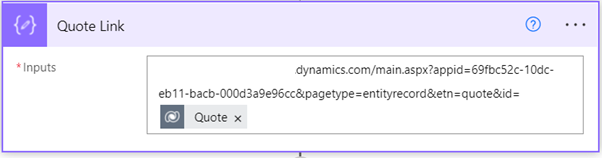
Step 6- Use Compose: Data Operation and enter the required record URL. Edit the Id by entering the opportunity Id from dynamic content. Similarly for quote URL details as well.
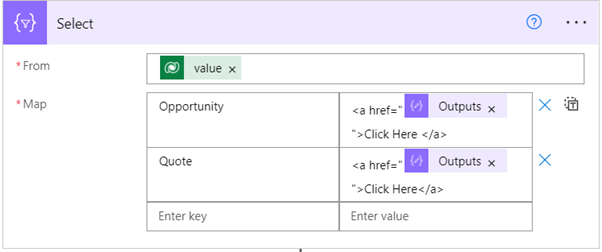
Step 7- Using select operation to create a required table in the given format. Using href tag place the outputs of opportunity link and quote link in the key section respectively.
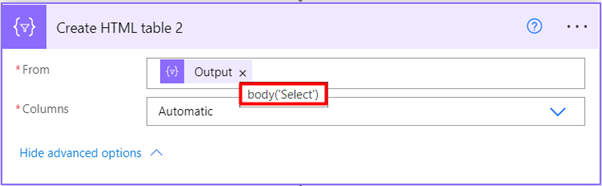
Step 8- Create a HTML table and enter the output table of select operation.
Step 9- Create 3 new steps using Compose operation to remove the unrequired part of the URL using replace expression.


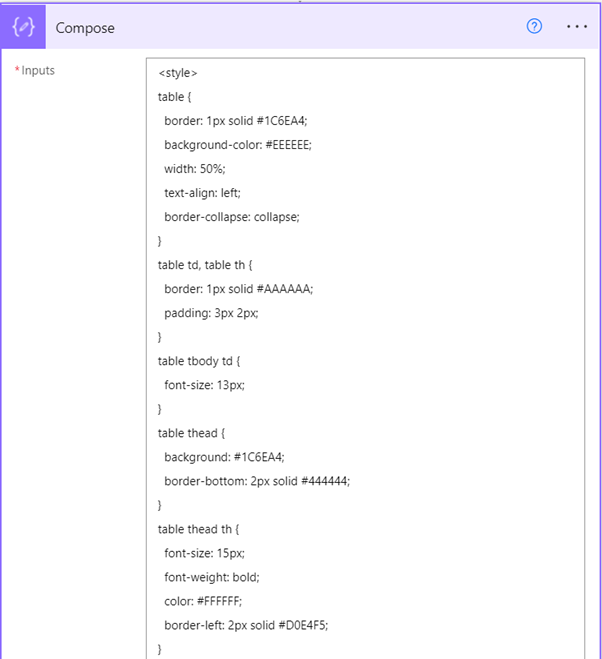
Step 10- Create a new step using compose operation and enter the required CSS style for the table to be sent in the mail and attach the final output in the inputs.
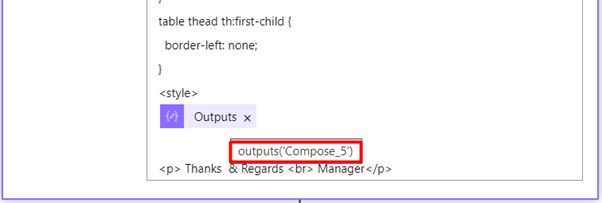
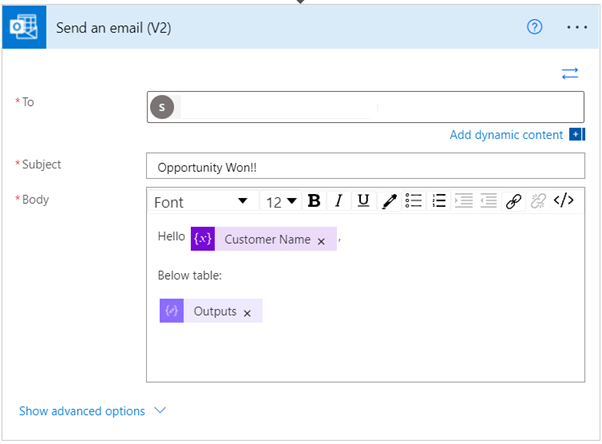
Step 11- Send an Email and enter the final output in the Email body.
Step 12- Email sent
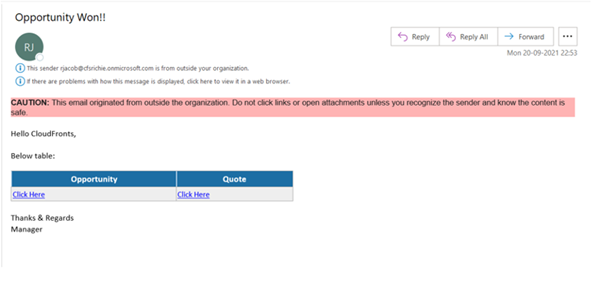
This is how we create HTML table in Power Automate. Hope this helps!!
