Event Based Processing – Creating a Request/Reply Map in Tibco Scribe Online
In this Blog a Request/Reply Map is created to verify the Event based map which can send and receive data. This can be done a number of ways but Postman is more commonly used utility that can be used for this purpose.
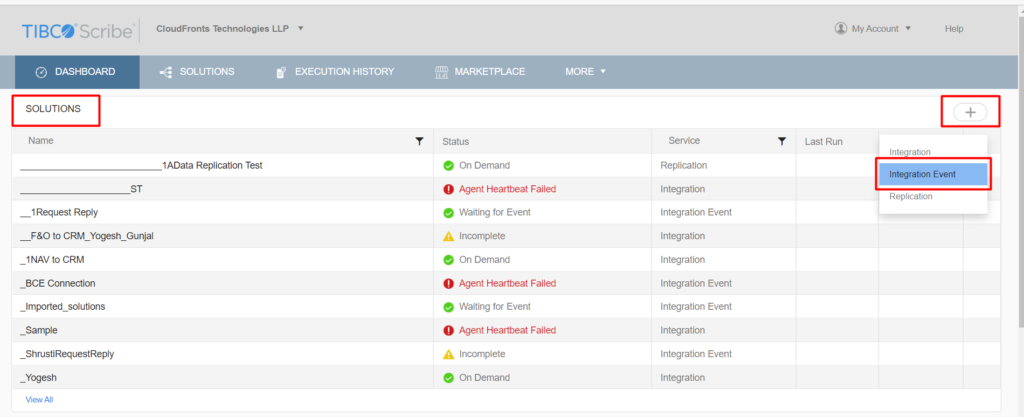
- Login to app.scribesoft.com and select the Organization as CloudFronts Technologies LLP.
- To Create a new Solution click on the + Button and Select Integration Event
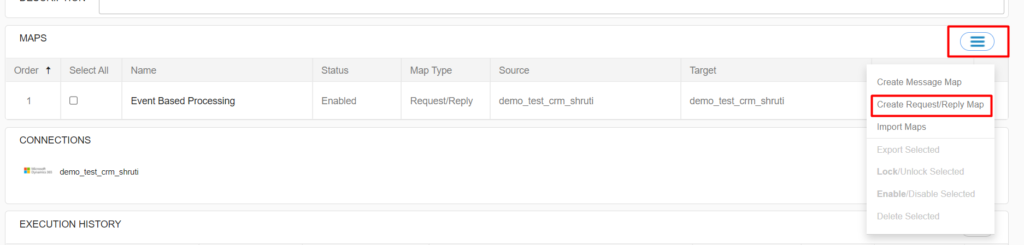
- Now Rename the Solution and in the Maps section, click on the three ellipsis and select Create Request/Reply Map to create a new Map.
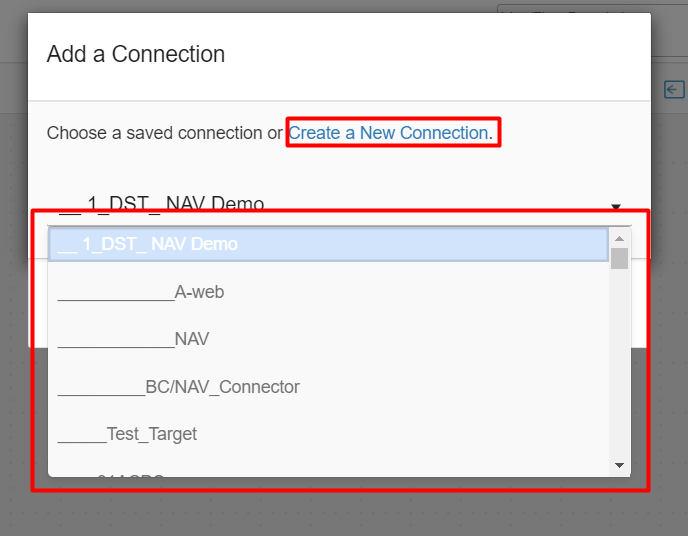
- Now Rename the Map and Add Connector.
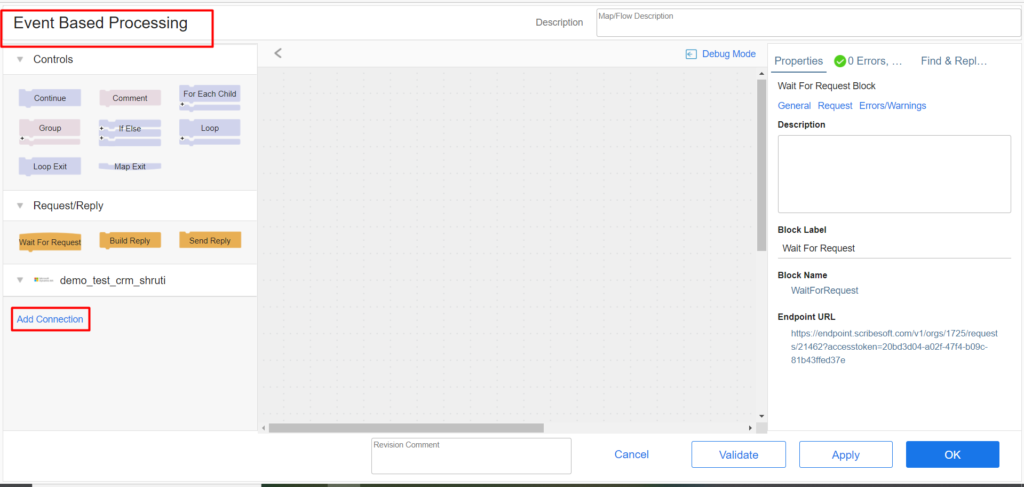
- You can Create a new Connector or select any connector which is already created.
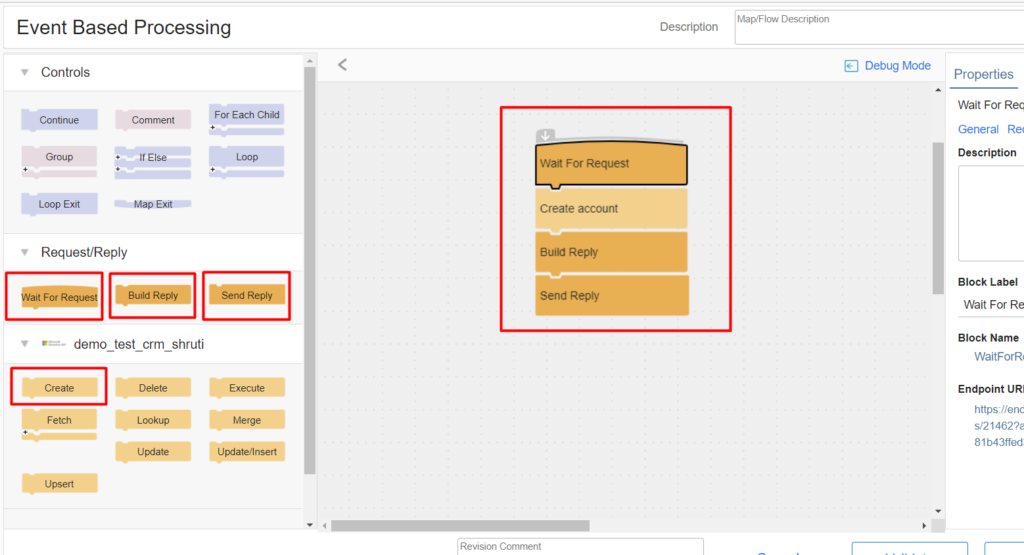
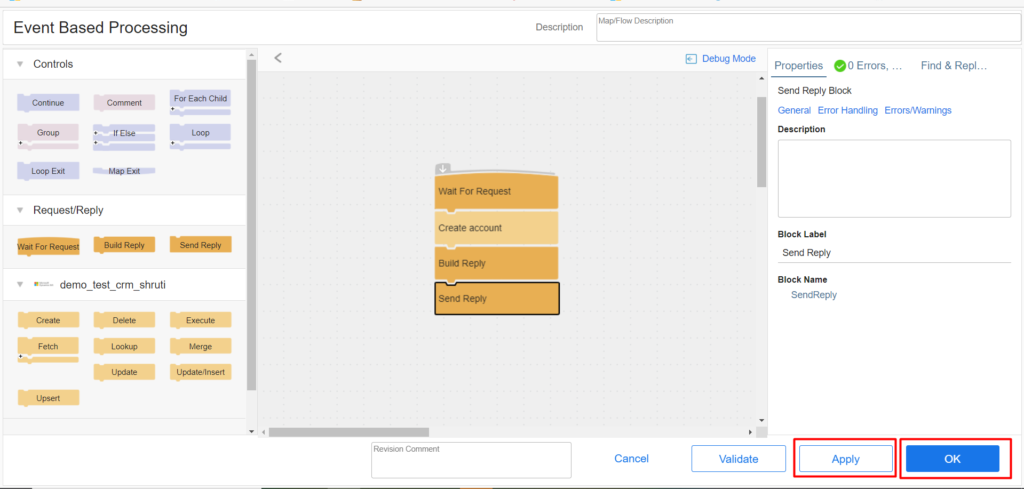
- Create a Map as shown below.
- In Wait for Request Block, click on Request and add field names as desired and Click on Validate and then OK.


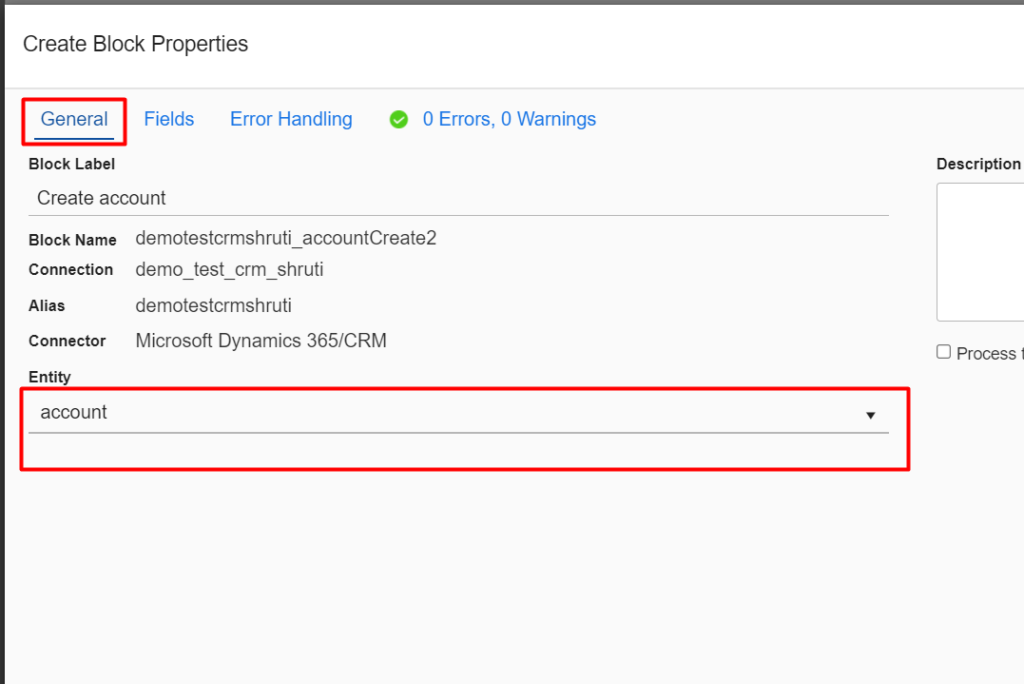
- In Create Block, in General Tab and add the entity name in which you want to integrate.

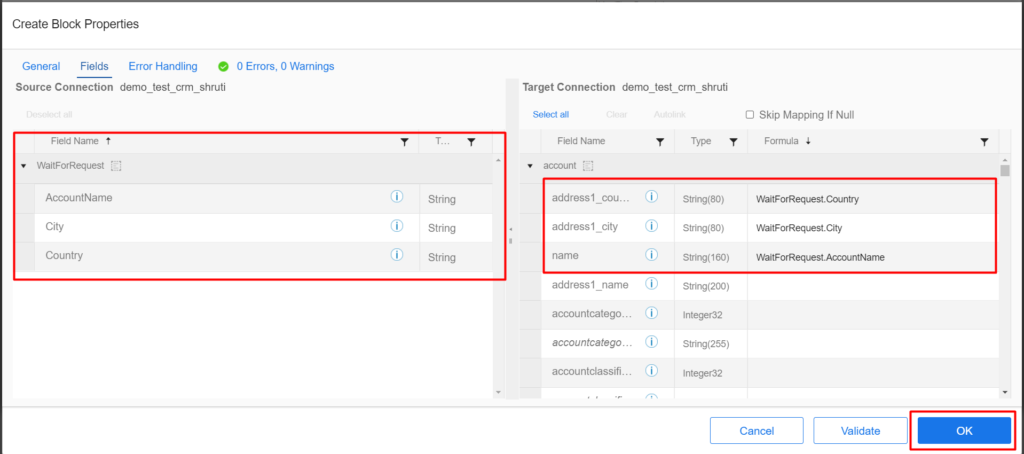
- In Fields Tab, map the important fields and click on OK.
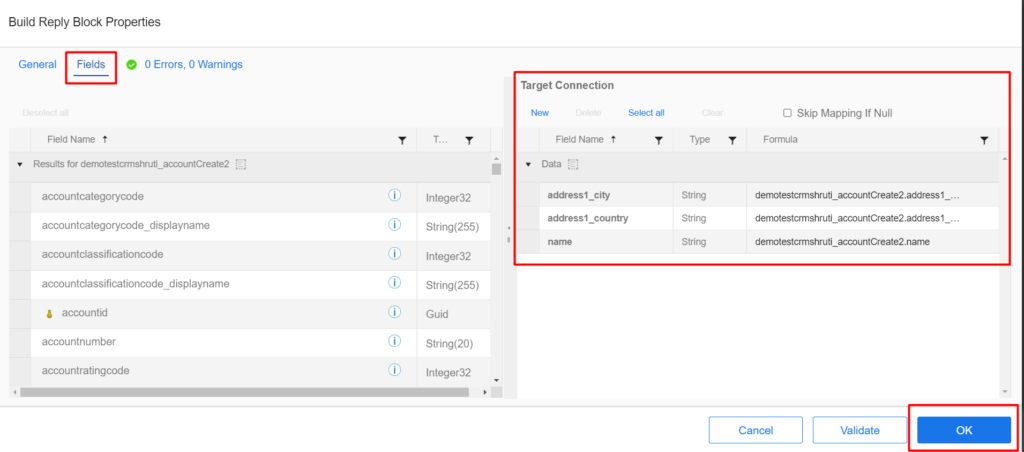
- In Build Reply Block, in the Fields tab drag and drop the fields from Results section to the Target Connection side and the click OK.
- Once the Map is created then Click on Apply and OK.
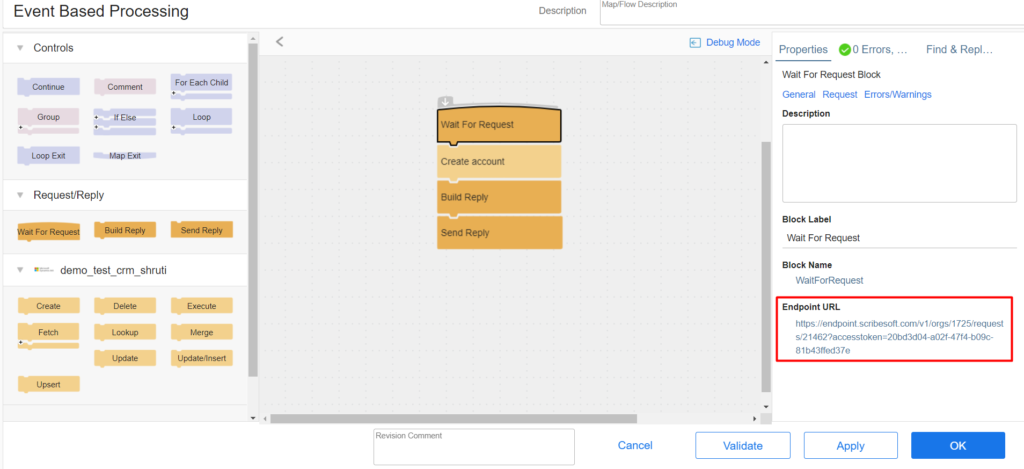
- Again open the map and copy the Endpoint URL.
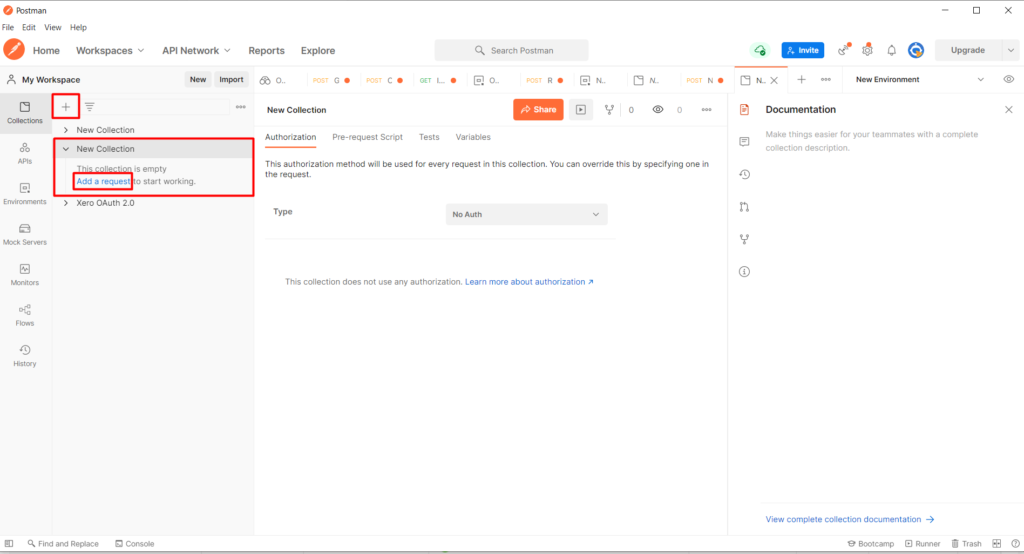
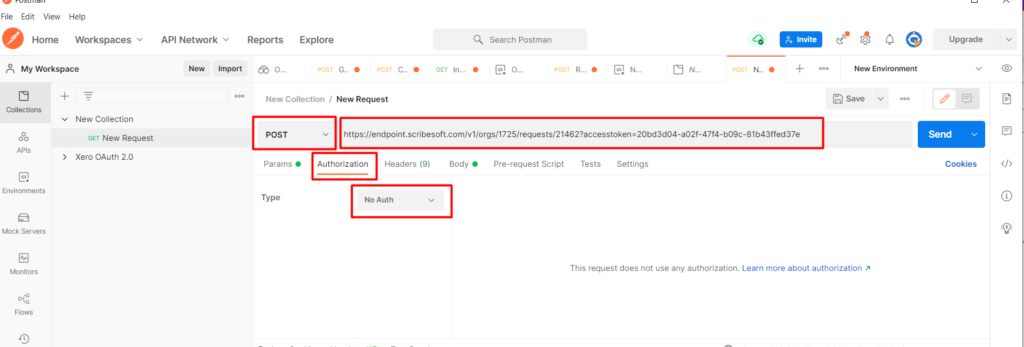
- Now in Postman click on + icon and Add a request.
- Select POST and paste the Endpoint URL, then in Authentication tab select No Auth.
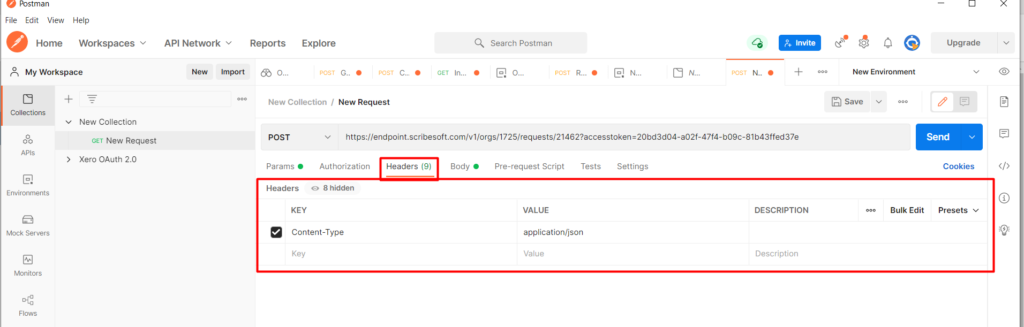
- In the Headers tab, enter the Key and the value as shown
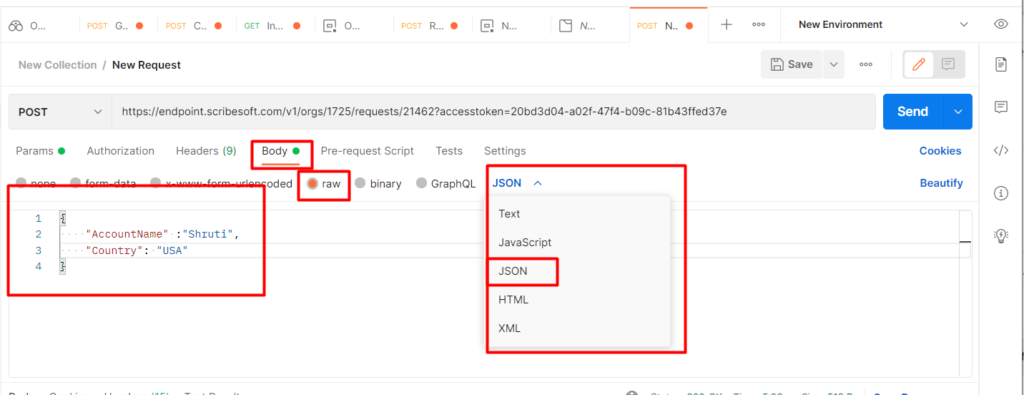
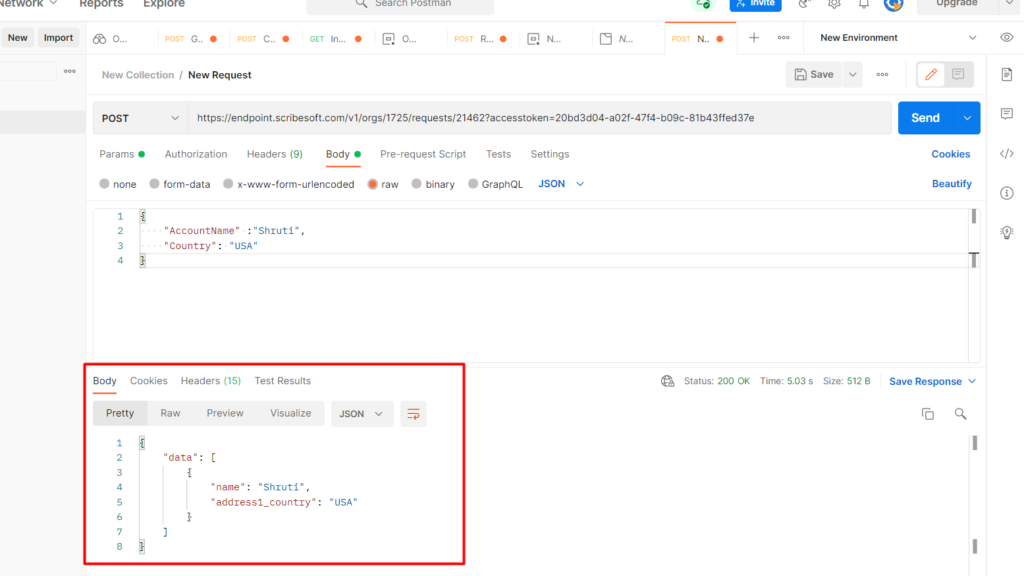
- In the Body tab, select raw and select JSON, then type the JSON Format and enter the field and value as desired.
- Click on Send.
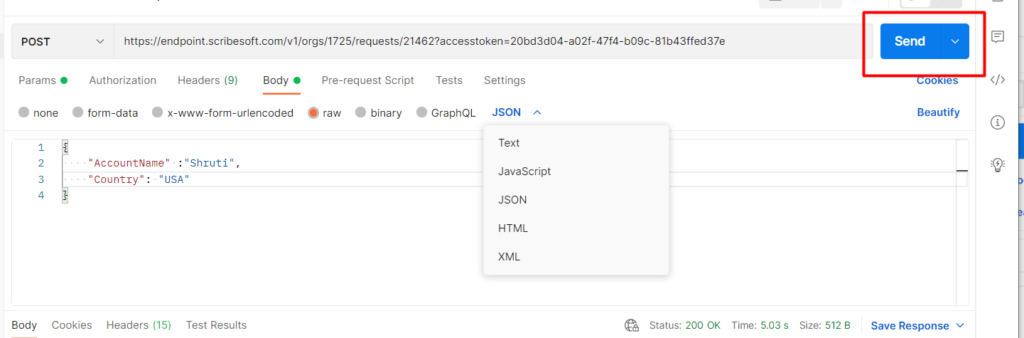
- You will get this as result in the Body section.
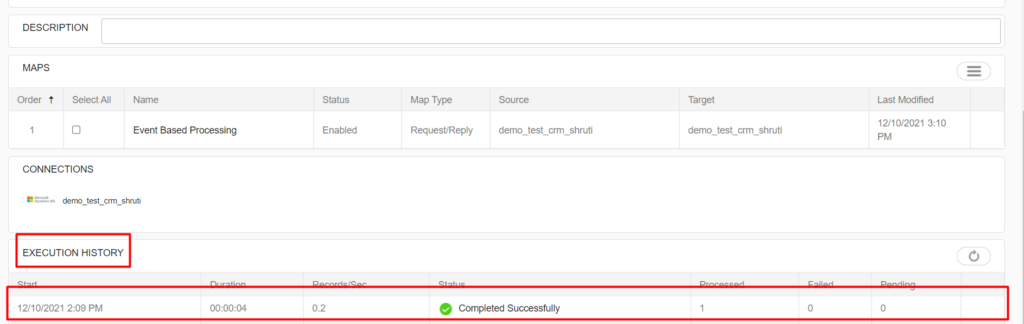
- In Tibco, in the execution history you can see the process is completed successfully.
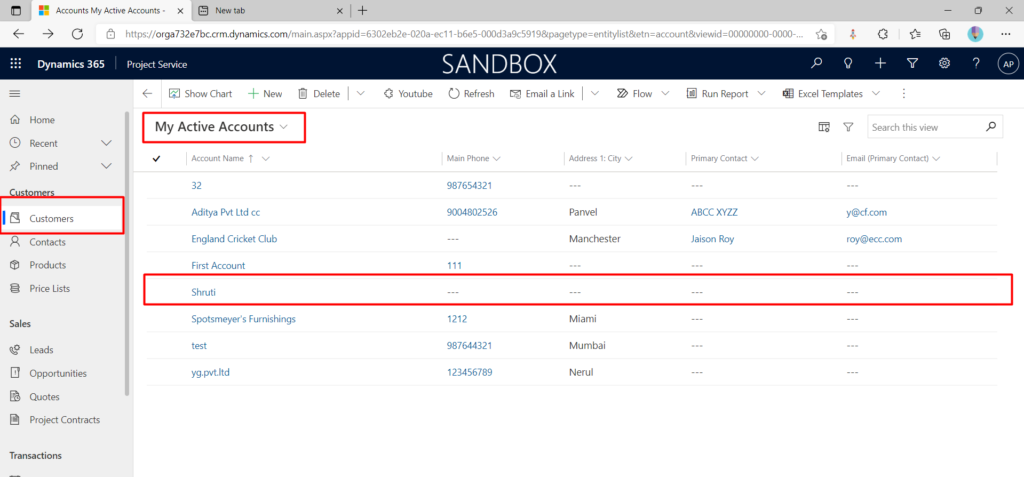
- In CRM, you can now see the Record is created.