How to create Microsoft Dynamics 365 Business Central/NAV Connector in Tibco Scribe
For Freshers, starting to learn TCI might not know how to create NAV connector. NAV is On-premise and since its On-premise its Agent is need to be installed. So, in this blog you will get to know how to create NAV connector as well how to install the agent on its server.
Firstly we will see how to install the Agent on NAV server. For that you need to ON the Virtual Machine from the Azure Portal, here our Virtual Machine’s name is NAV2018 or you can contact IT Admin to do the same for you.
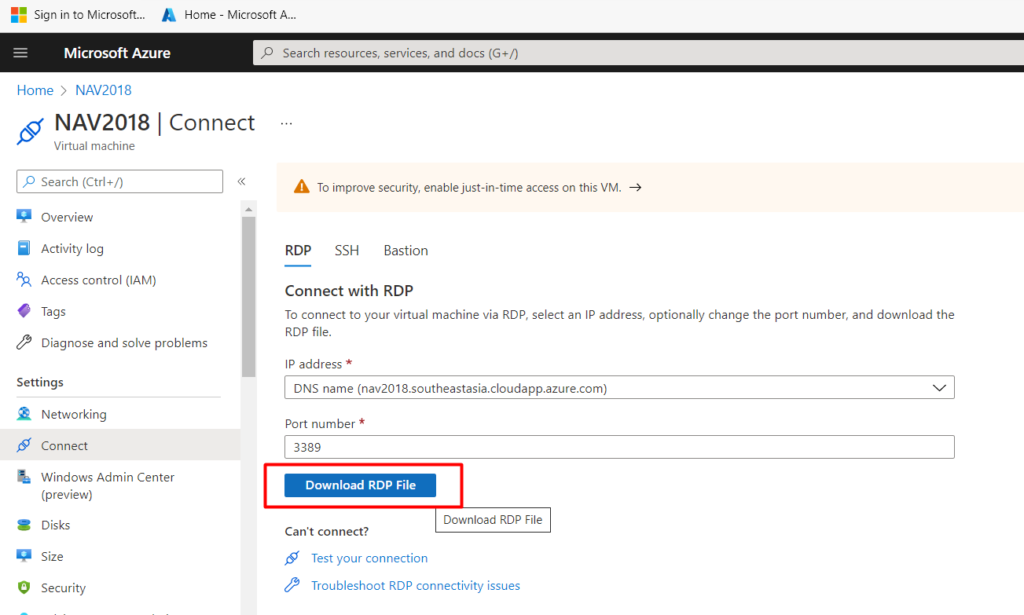
- After your VM is ON you now need to connect to the RDP.

- Download the RDP file.
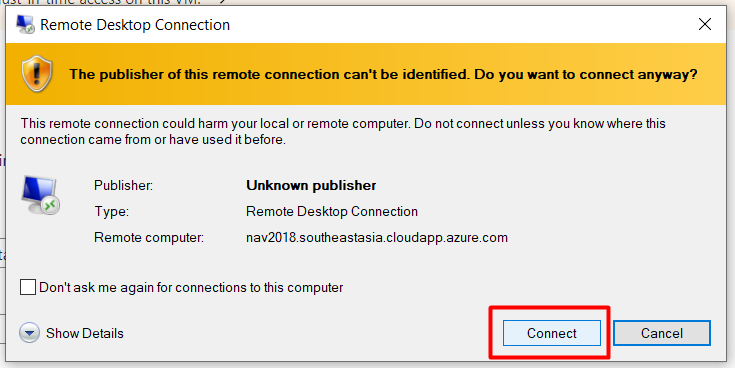
- Run the downloaded file and Click on Connect.
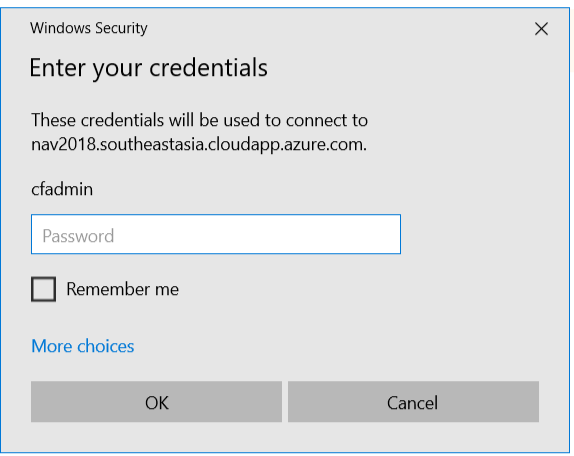
- Enter Username and Password and click OK.
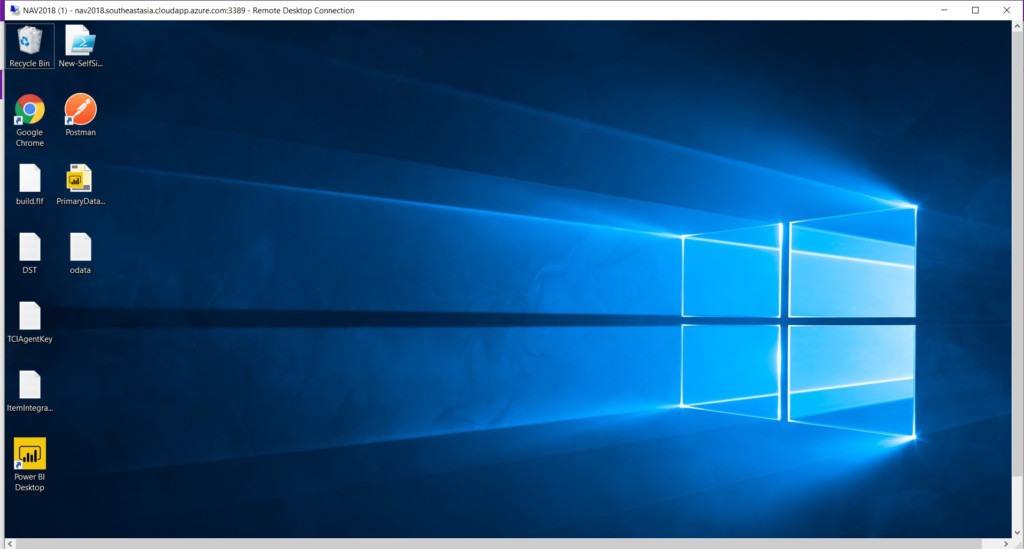
- Now you are connected to NAV 2018 server
- Now login to https://app.scribesoft.com and from More select Agents.
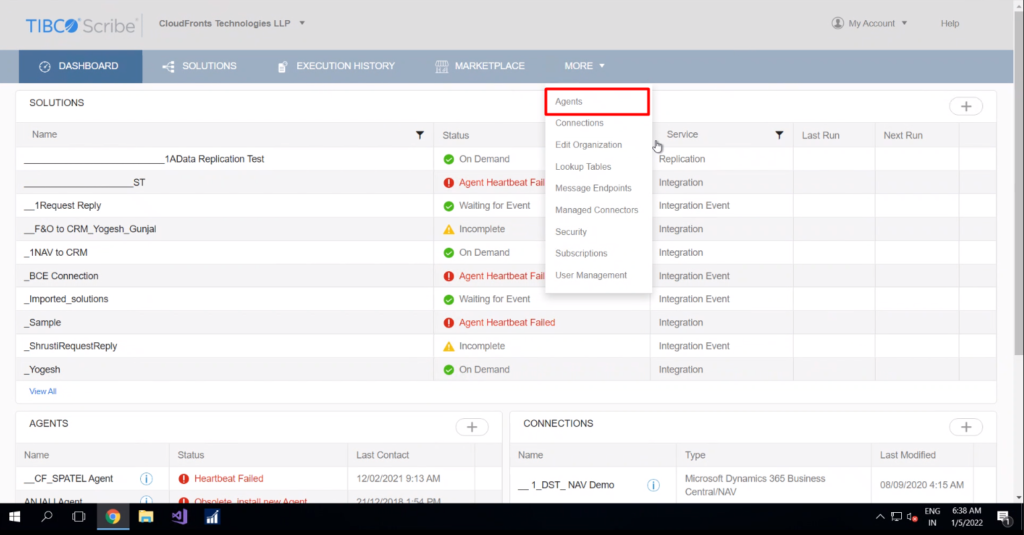
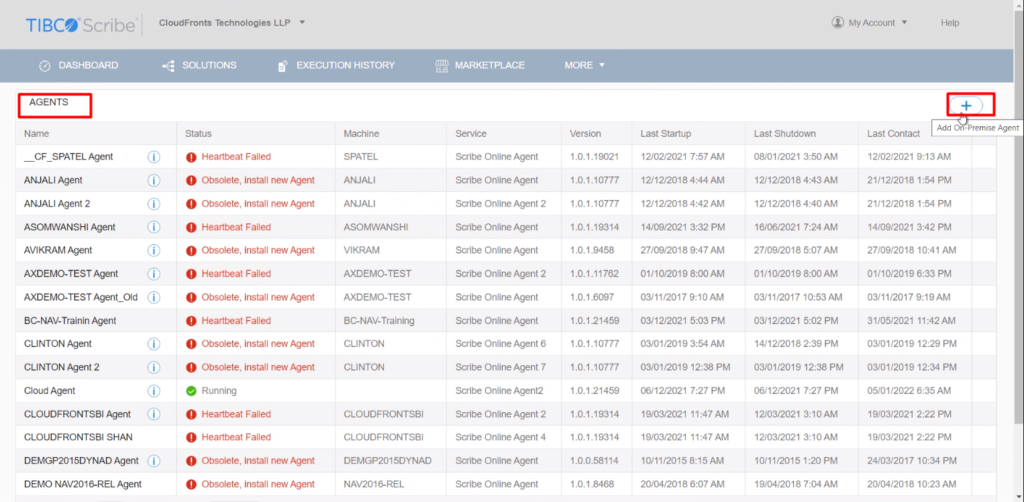
- Click on the + button to add agent on NAV server.
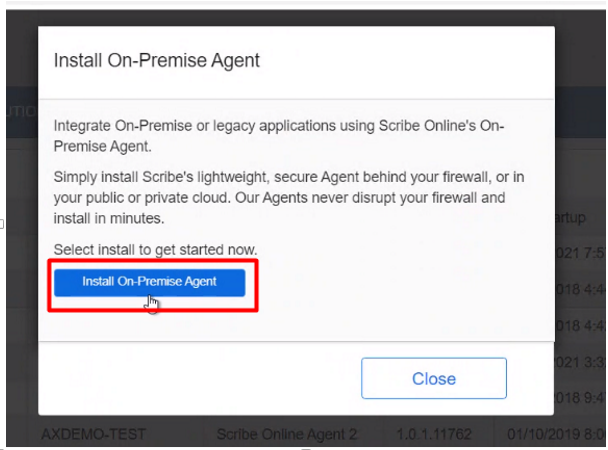
- Click on Install On-Premise Agent
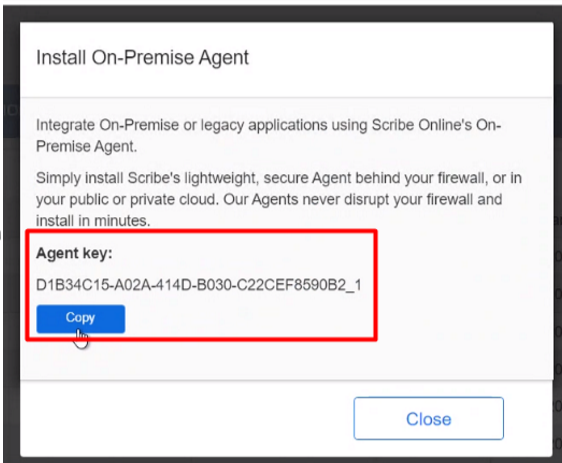
- Copy the Agent Key for further use.
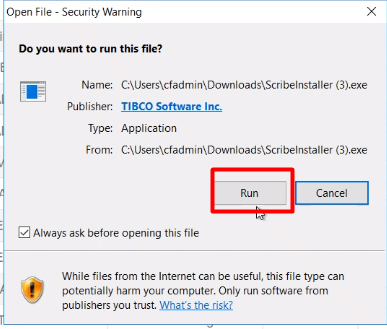
- Click on Run
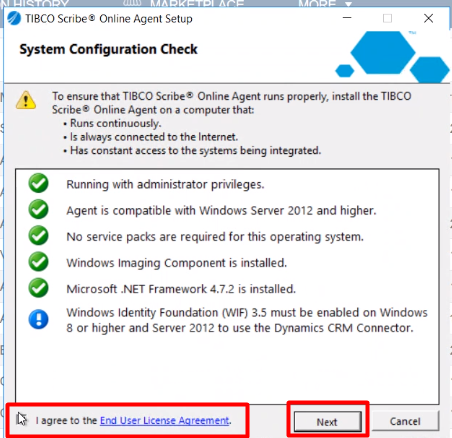
- Tick the check box and click Next
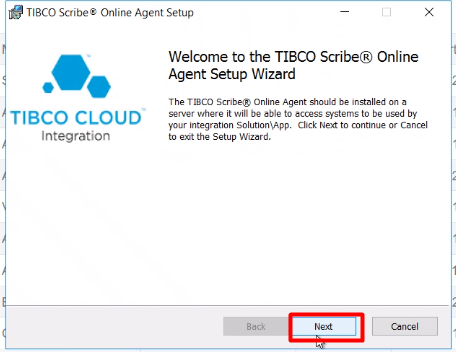
- Click Next.
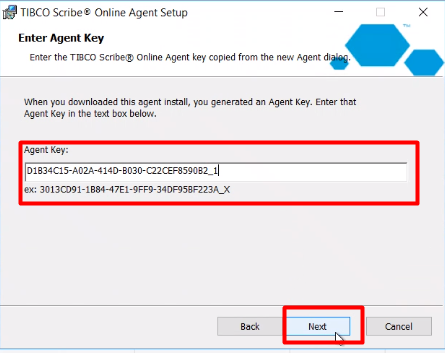
- Paste the Agent Key which you earlier copied and Click on Next
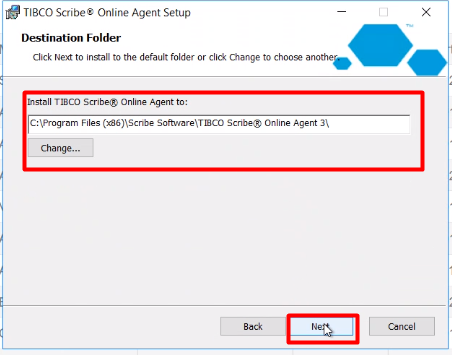
- Check the location and click on next.
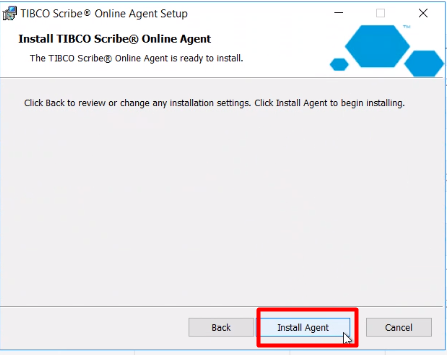
- Now click on Install Agent
- Now your Agent is Installed and you can now create the connector.

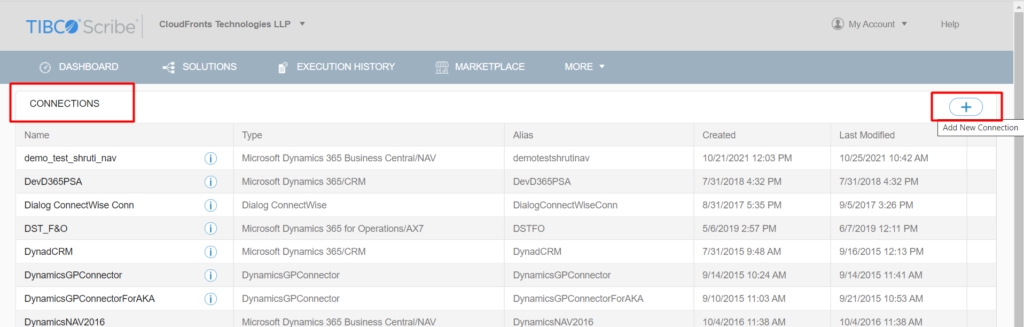
- Click on the + button and add new connector.
- Now you can fill up the necessary data such as OData URL, User and Password, Company Name which you will get from NAV ( you can check this by searching USERS). Also choose the agent as NAV Agent.
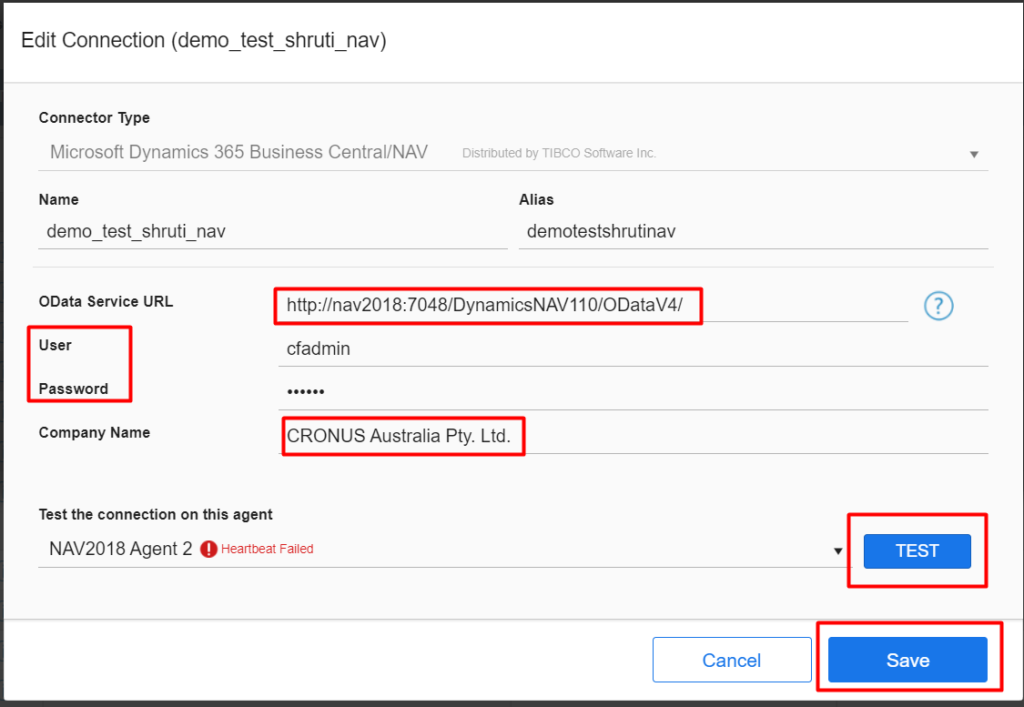
- Test the Connector and Save the Connector.
