Data Loss Prevention in Office 365
Introduction:
Data loss prevention (DLP) is a strategy for making sure that end users do not send sensitive information outside the corporate network. You can set up policies to help make sure information in email and docs isn’t shared with the wrong people. With a DLP policy, you can identify, track, and protect sensitive information across Office 365.
Create a DLP Policy in Office 365 Security & Compliance center:
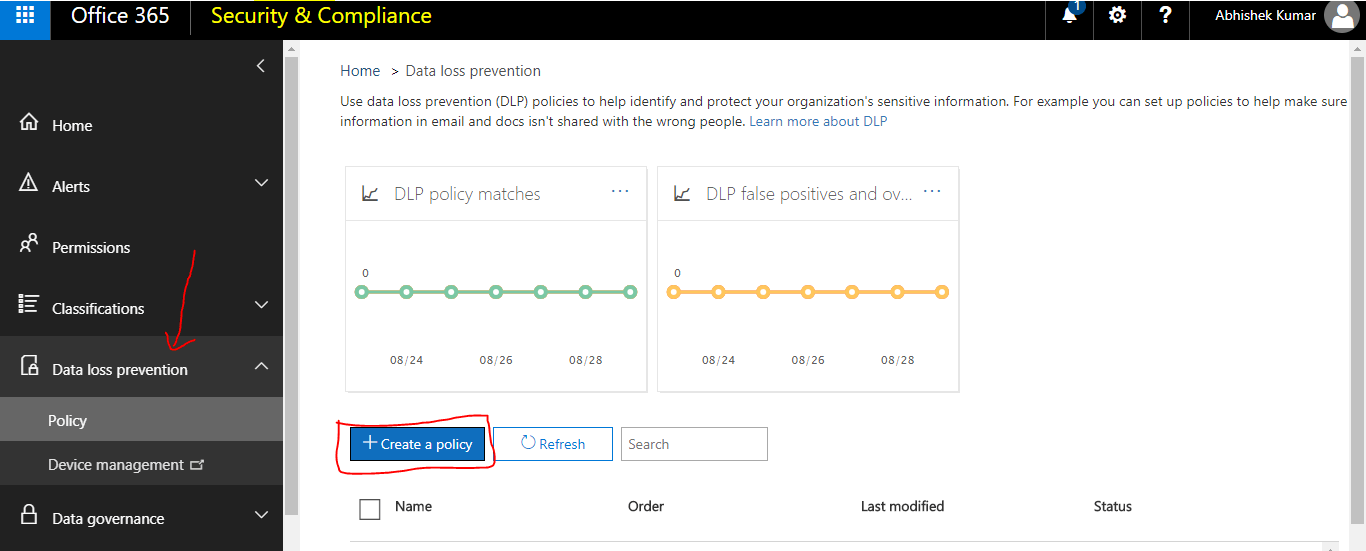
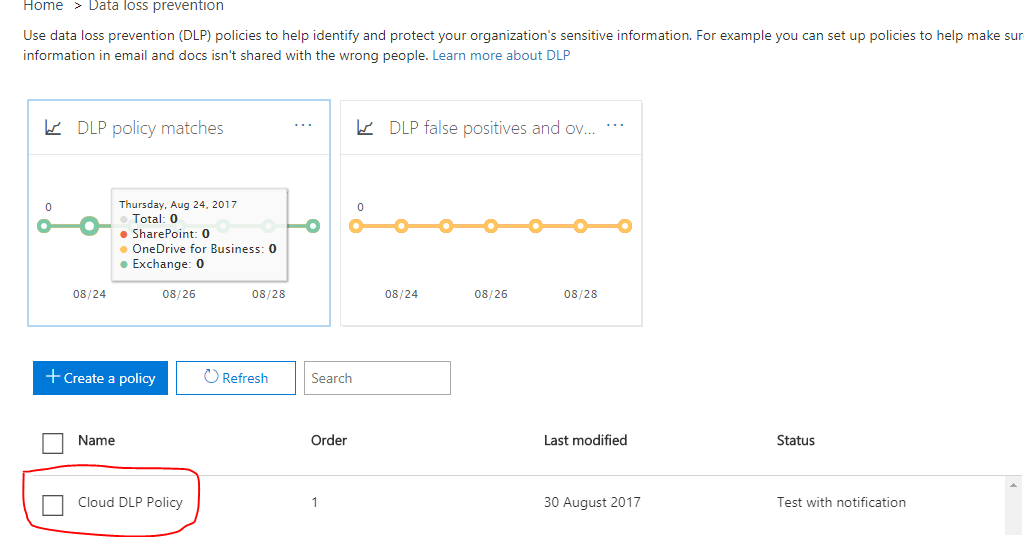
- Go to Office 365 Admin Center > Security & Compliance > Data Loss Prevention.
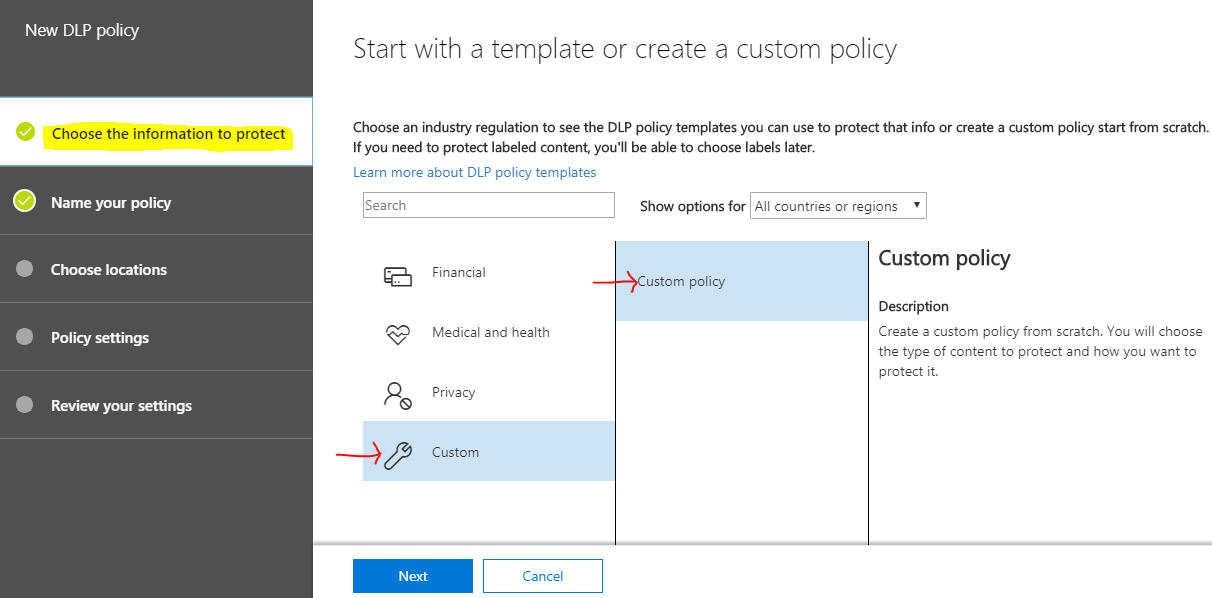
- You can choose to create a policy from a template or create a custom policy.
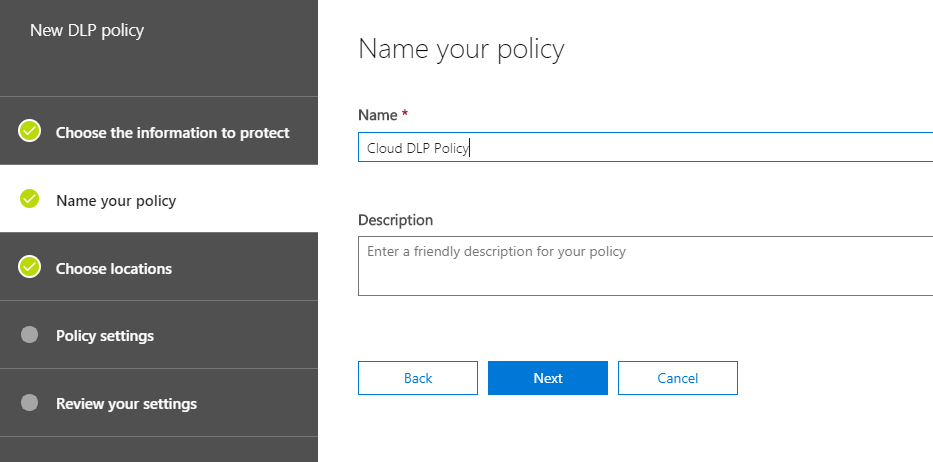
- In the next step, you need to name your policy.
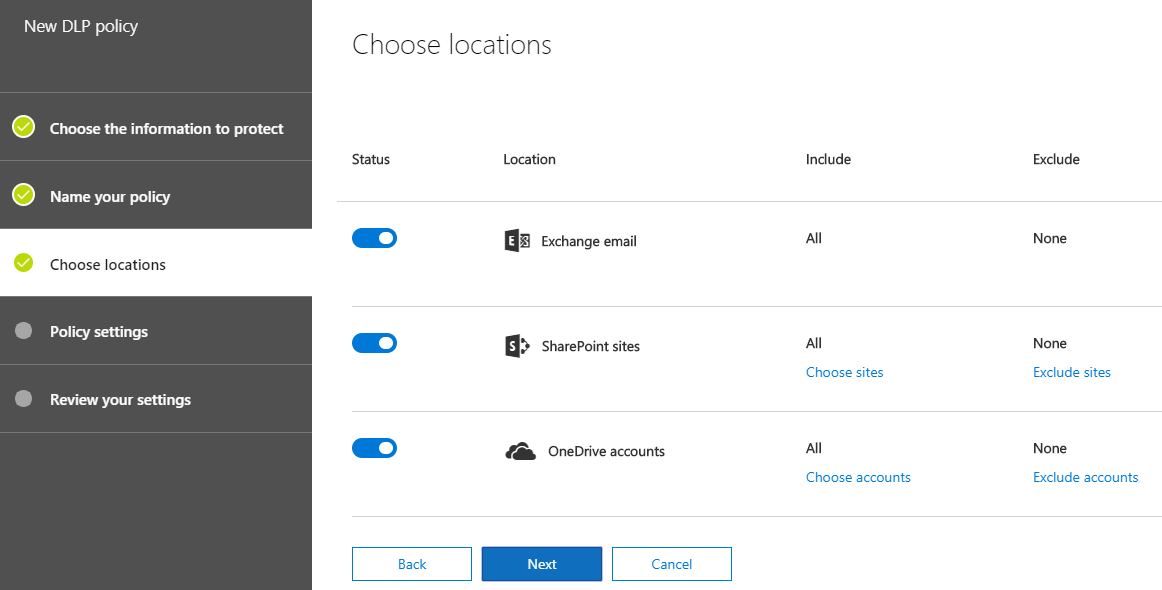
- The next step is to choose location, whether it should be for all locations or for specific.
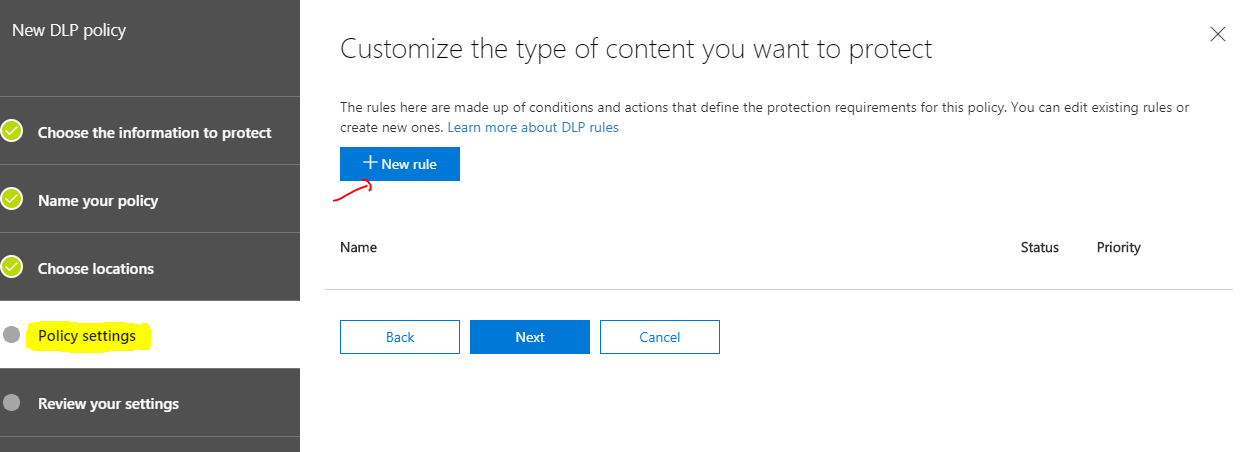
If you select, Let me choose specific location you will getting option in below image. - Under policy settings, you can choose base setting (Find content that contains) or you can Use advanced settings. If you choose advanced settings then you can customize a New Rule.
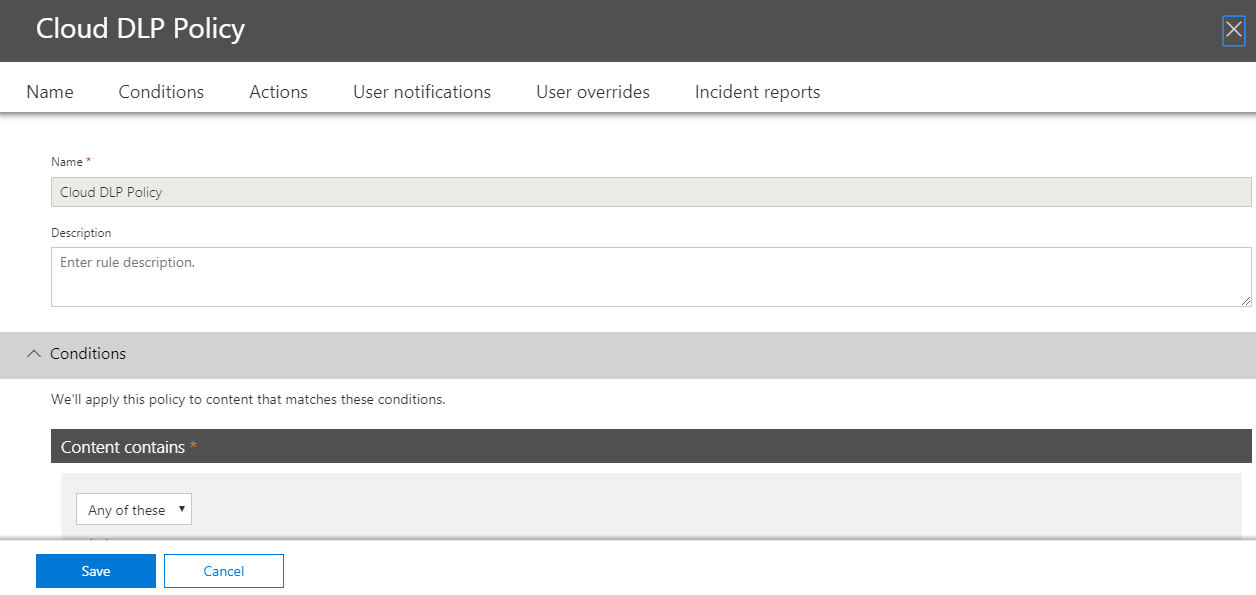
- By clicking New Rule, you will get options to create a rule. Provide the conditions and actions.
- In conditions you can add sensitive information types which is available or you can select Label which has been applied to the document for data classifcation.
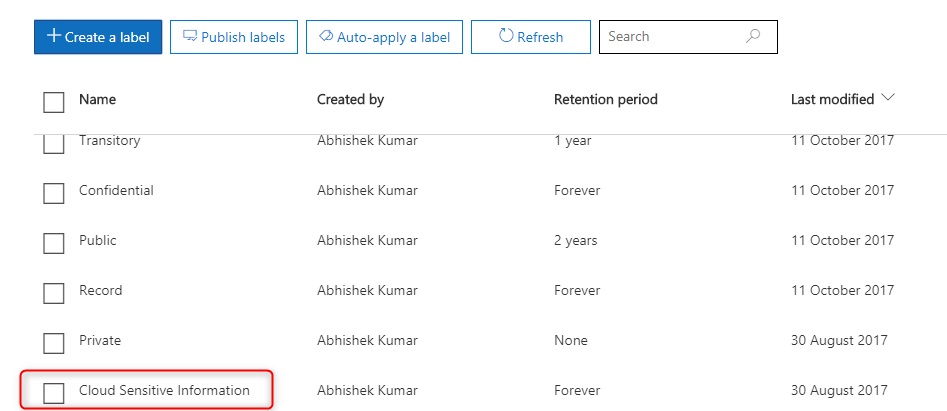
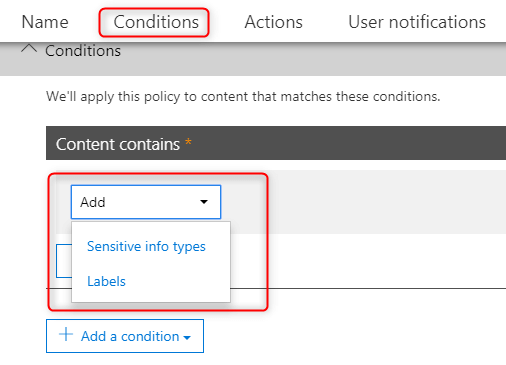 Labels need to be created and published first in order to use it in a DLP Policy.
You can create Labels from Office 365 Security & Compliance.
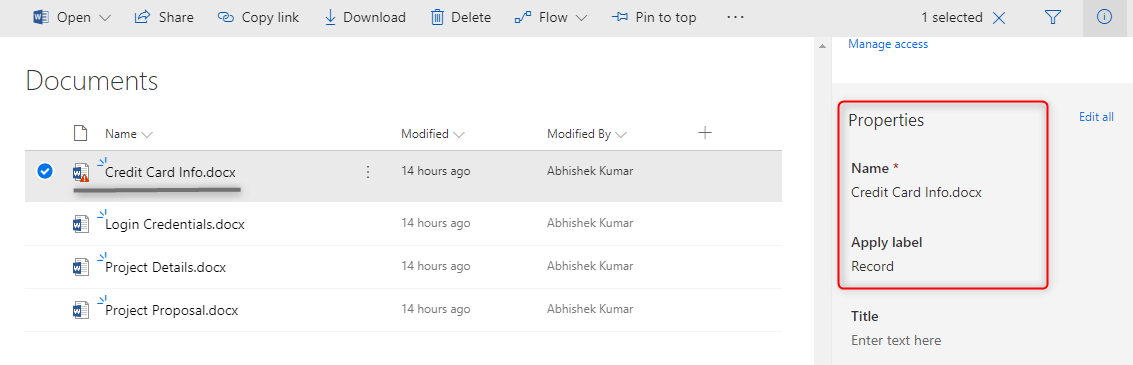
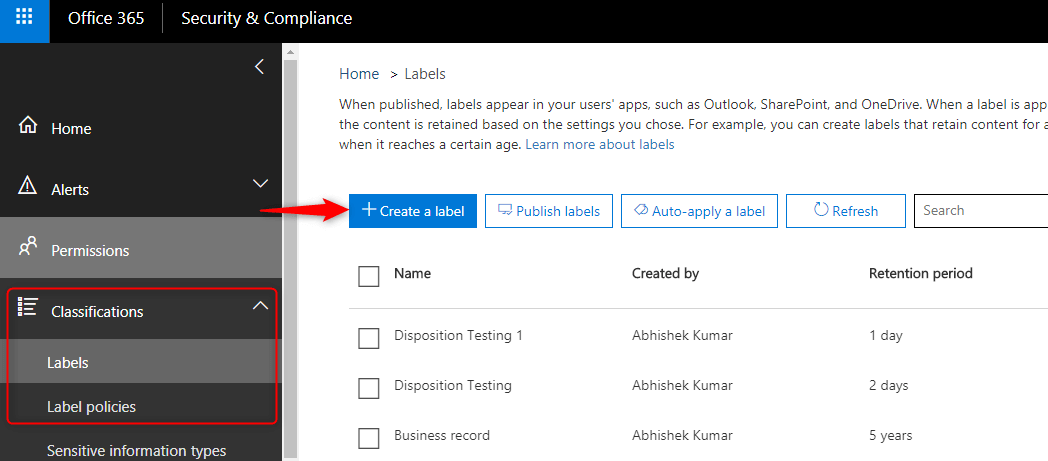 Labels can be applied to the documents in OneDrive and SharePoint Online.
 - You can also configure other settings like User Notification, User overrides and incident reports.
- After creating a Rule, Save the changes.
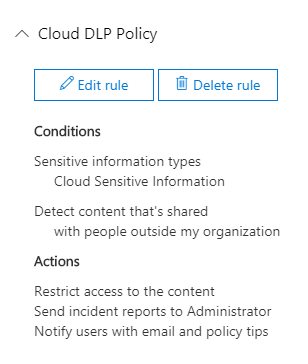
In the Conditions option you can see the Label (see below image) which has been applied to the DLP rule “Cloud Sensitive Information”, which has been published first and then applied to the document. - In the below image, showing Label which has been applied to the Cloud DLP Policy.
- After creating the policy, it may take upto 24hrs for the changes to take effect.
Testing DLP Policy:
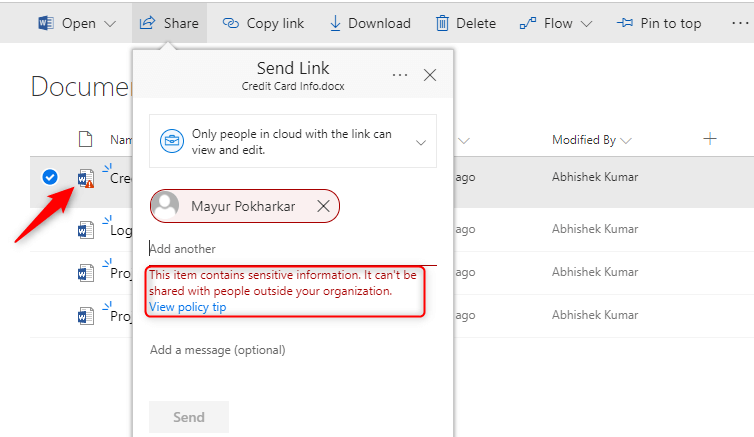
After creating policy, if user will try to share the document with external users he will be getting policy tips (as shown in below image).
Also, if you try to send the sensitive information of your organization on an email outside your organization, policy tips will be shown (see below image).

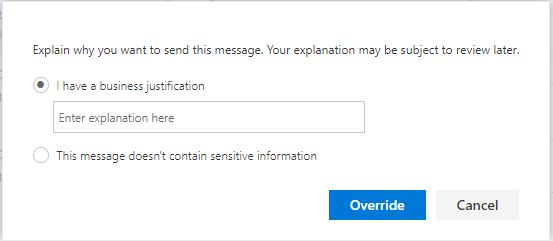
If the user will override the policy tip, then he has to enter a business justification or report it as a false positive.
Conclusion:
This is how you can create DLP Policies and prevent your organisations classified data from leaking.
