How to get Inward Gate Entry details in Product Receipt in Dynamics 365 Finance and Operations (Indian Localization)
Introduction
Gate Entry Inward is a process used to Monitor and Record the arrival of the goods within in the Organization. You can use the gate entry function to register the movement of goods both entering and leaving the organization. This gate entry can be linked to various order types such as purchase orders, sales orders, transfer orders, or return orders.
Before getting into the process there are a few setups that we must do, in that the first set-up is to create a New Gate Inward Number Sequence for the Site which you are going to create the Entry for.
Create a New Gate Inward Number Sequence
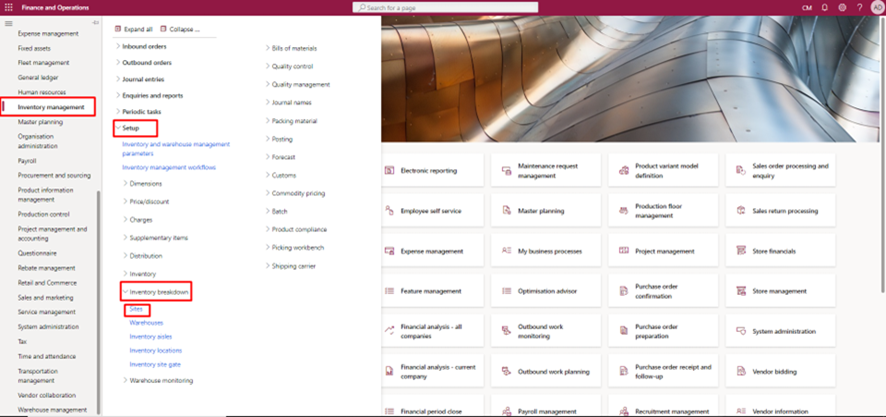
Go to Inventory Management> Set Up>Inventory breakdown>Sites.
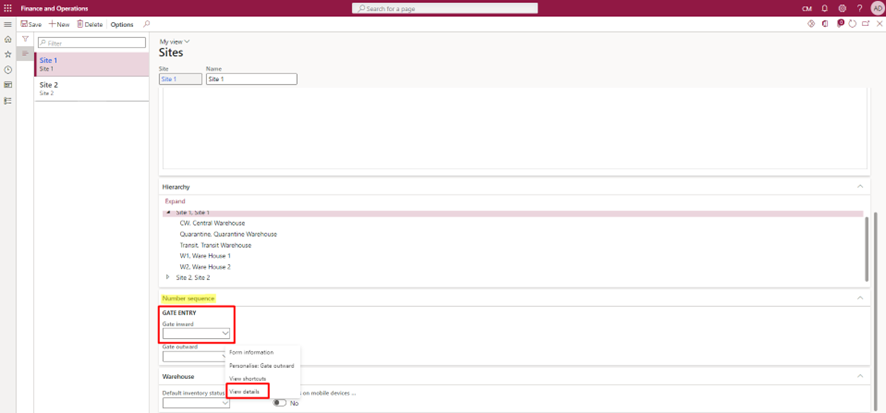
On the Sites page scroll down to Number Sequence, under that, you can see the Gate Entry for both Inward and Outward entries. Here I will create the Number sequence only for Inward Entry.
For that, in the Gate Inward option, Right Click on the dropdown arrow and then click on View Details.
On the Number Sequence page click NEW.

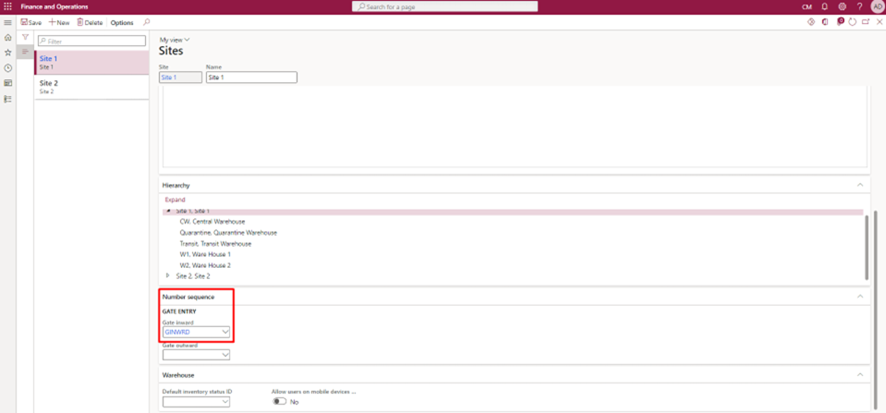
Create the New number sequence and add it to the Gate Inward.
Creating Inventory Gates
The Inventory Gates are created to define whether it is an Entry gate or an Exit gate on a particular Site. Likewise, many gates can be created for a Site and can be defined as Entry gate or Exit gate. The Pathway to create Inventory Gates is as follows:
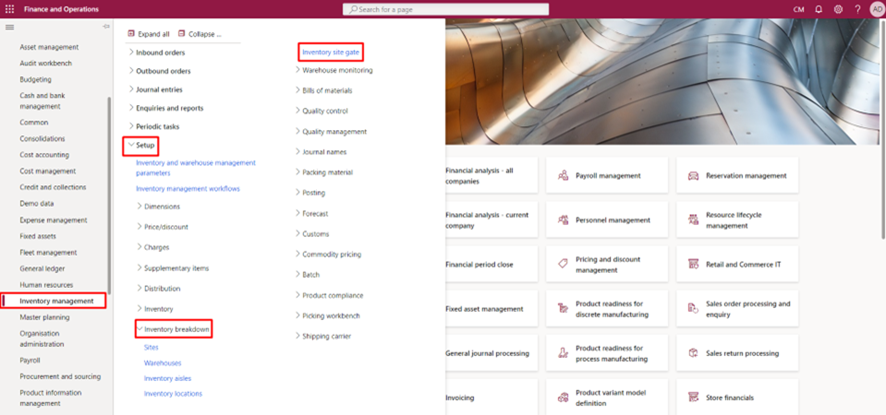
Go to Inventory Management>Set up>Inventory Breakdown>Inventory Site Gate.
Click NEW on the Inventory Site Gate page.
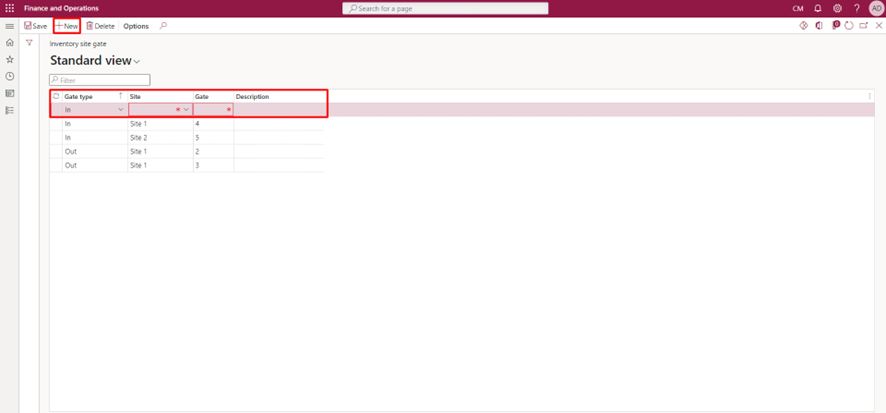
Enter the In or Out type under the Gate Type option which represents the Entry and Exit gate. Then enter the site and then enter the Gate number of that Site and finally add a description if there is any.
Creating the Gate Entry Record
The next step is to create the Gate Entry Record. The pathway for that is:
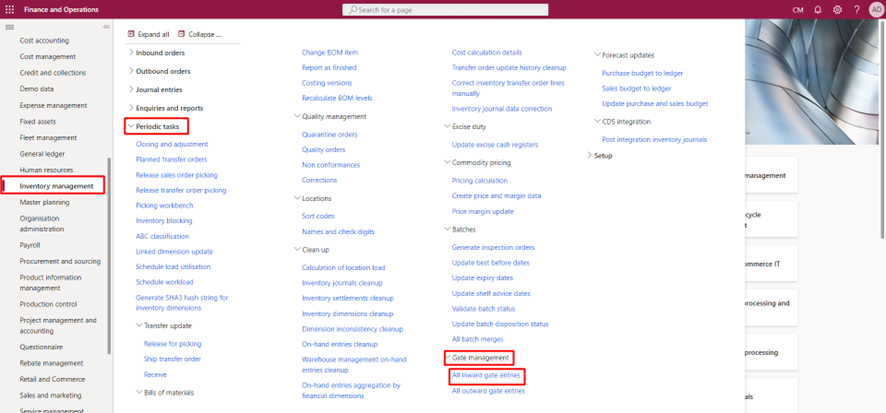
Go to Inventory Management>Periodic Tasks>Gate Management>All Inward Gate Entries.
Step 1: Click New Inward Gate Entry.
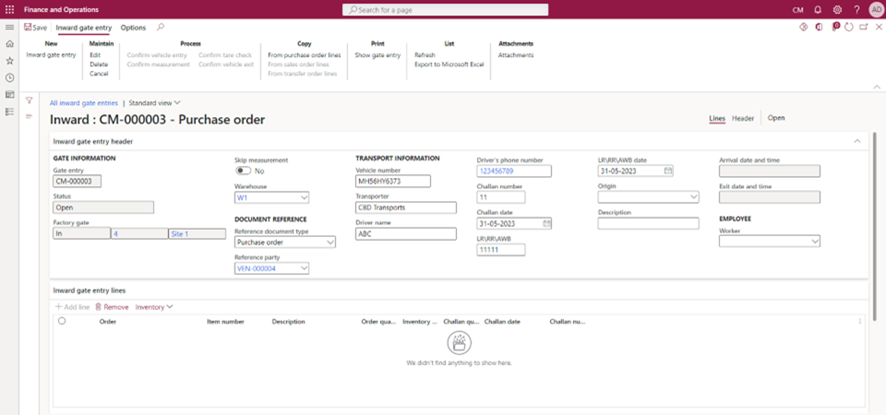
Step 2: Under the Inward gate Entry Header FastTab enter the Factory Gate and Warehouse.
Step 3: Select the Reference Document Type and based on that select the Reference Party. In this scenario I have selected the Reference Document type as Purchase Order and in the Reference Party field I have selected a particular vendor.
Note: The Reference Party field is not applicable when the Reference Document Type field is selected as Others.
Step 4: Enter the Transport Information which includes Vehicle Number, Transporter name, Driver Name and Driver’s phone number.
Step 5: Enter the Challan number and Date.
Step 6: After entering all the details, on the Top of the screen we can see Copy tab in that click on From Purchase Order lines which will show all the Purchase Order lines related to that Vendor.
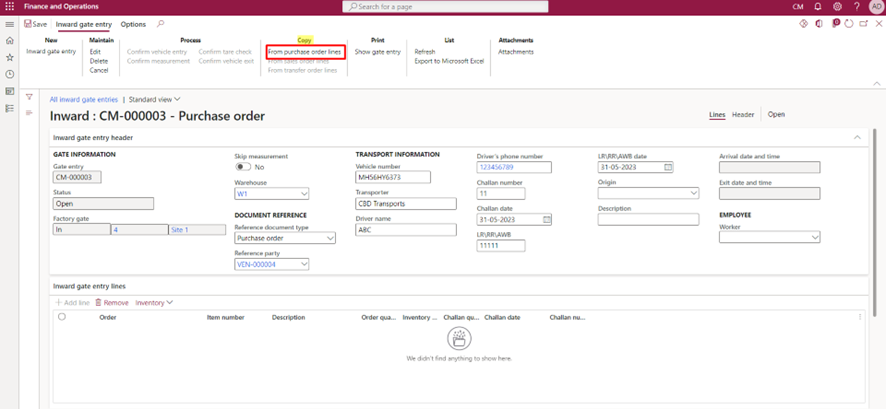
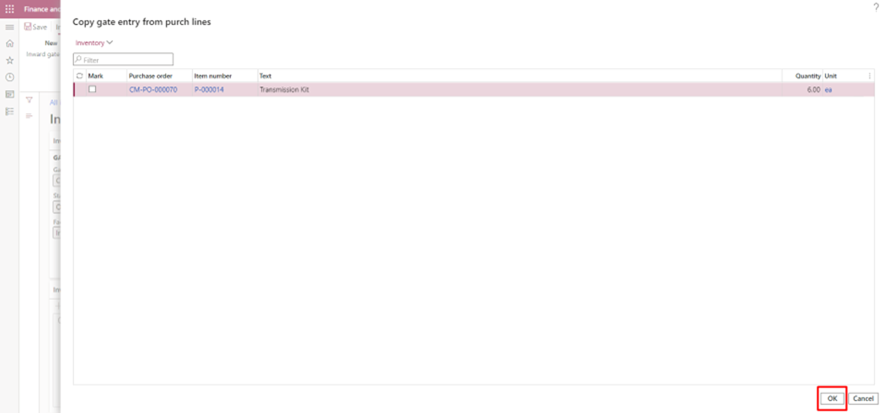
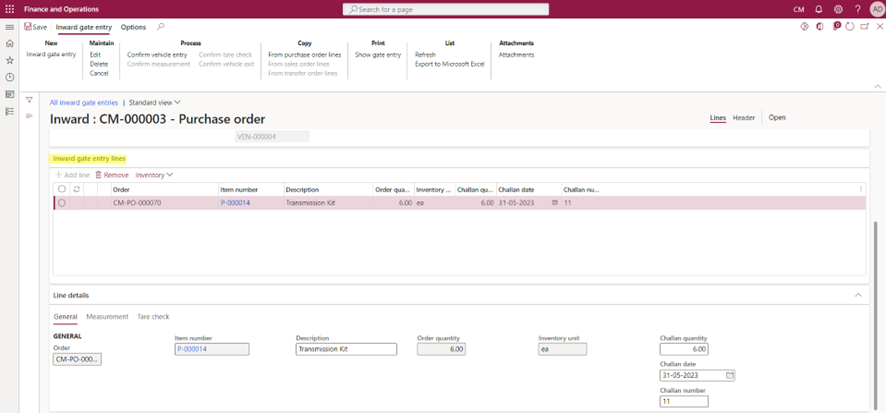
Step 7: Select the Lines and then click on OK. As we click on Ok the Purchase Order line will automatically get populated under the Inward gate entry lines FastTab.
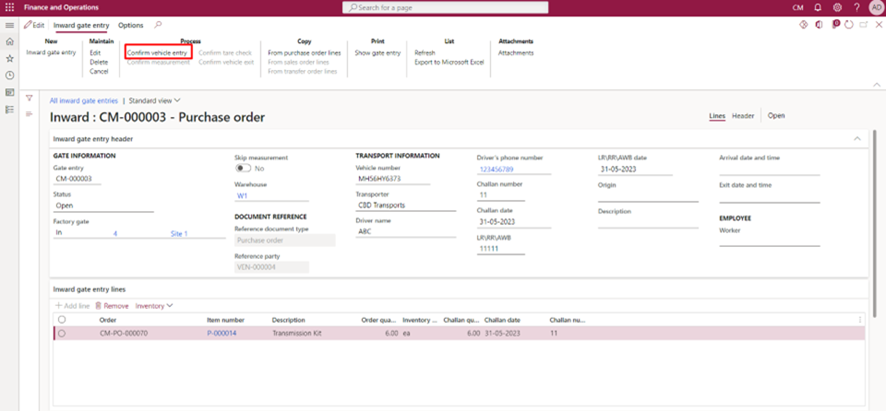
Step 8: Click on Confirm Vehicle Entry under the Process Tab from the top of the screen.
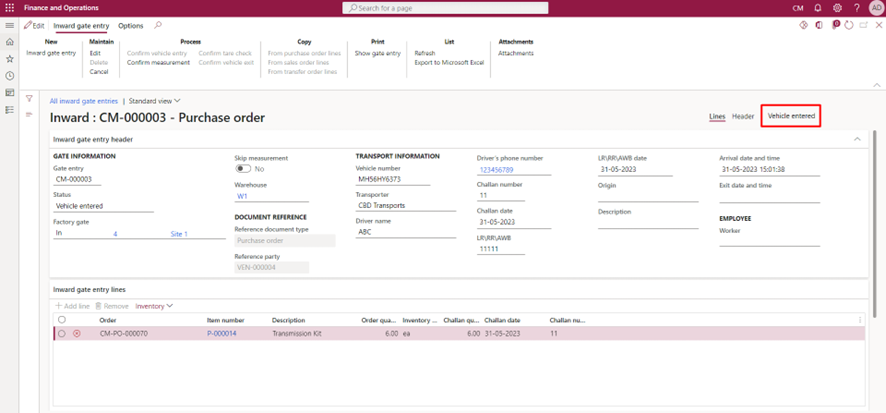
After confirming the Entry status changes from Open to Vehicle Entered.
Step 9: In the Lines details Tab under measurement enter the Measurement Details provided by the manufacturer. (This step can be skipped if the Reference Document type is Others or the Skip Measurement parameter is enabled). After entering the measurement details click on Confirm Measurement from the top of the screen.
Step 10: Then enter the Tare Check details. For that scroll down to Lines Details tab in that select Tare Check and then enter the Weight and Unit of the Product and then click on Confirm Tare Check from the top of the screen.
Step 11: Click on Confirm Vehicle Exit and notice how the Status changes to Vehicle Exit.
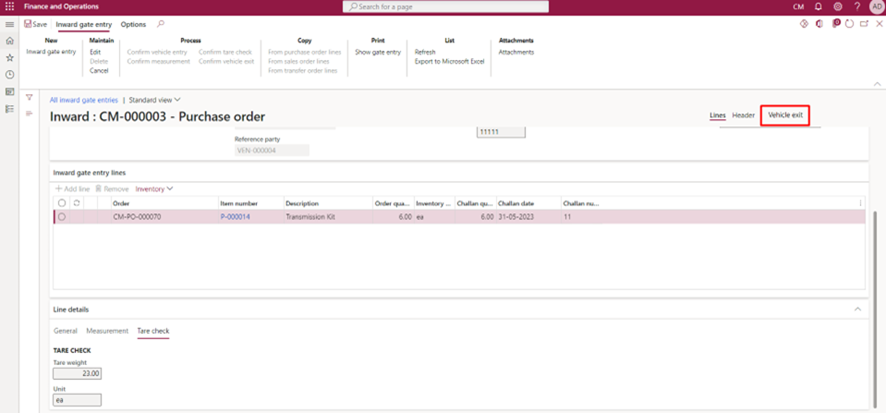
Step 12: Go to that particular Purchase Order and click on Product Receipt. Then scroll down to line details and under the Gate Entry line select the Inward Gate Entry and then click on OK.

Then if you Scroll further down and go to details and under that click on Gate Entry Details you can see all the fields from the Internal Gate Entry have been populated on the Product Receipt.
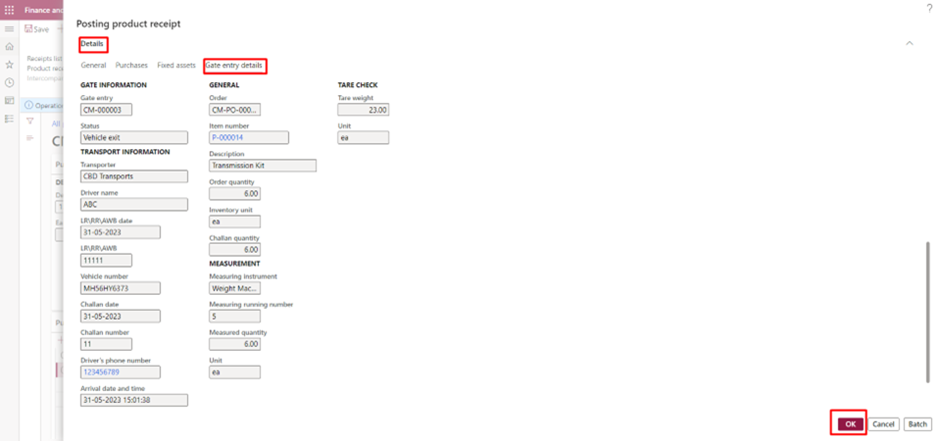
Then click on OK to post the Product Receipt.
Thank You!!!
That is it for this blog, hope this helps you.
