Power BI Embedded in Microsoft Dynamics 365 Operations
Microsoft power BI is a collection of features and online services that enables you to share your findings, analyse and visualise data in the form of dashboard and reports and the whole process is termed as power bi analytics. Utilizing the Microsoft Power BI Integrations, you can import information that is huge from different sources into the Power BI work area. You can alter the information or plan on changing it in the wake of bringing in to your framework.
The Microsoft Power BI Service now and then is alluded to as Power BI or app.powerbi.com. You can keep awake to date with all the fundamental data that truly matters to you. Force BI arrangement will assist you with conquering the greater part of the issues you are looking for effortlessly.
Introduction:
In this article, we will see how to embed Power BI in Microsoft Dynamics 365 Operations.
Steps:
- Register your Dynamics 365 Operations as a web app on Azure AD.
- Open link: http://dev.powerbi.com/apps
- Login to your Power BI account

- Fill the required details:
- App Name
- App Type: Select as ‘Server-Side Web app’
- Enter a redirect URL: Your instance URL with /oauth at the end
- Enter a homepage URL: Your instance URL
- Choose API access you need.

- Click Register App.
- Once the app is registered, you will get Client ID and Client Secret. Copy these 2 keys, you will need it later.

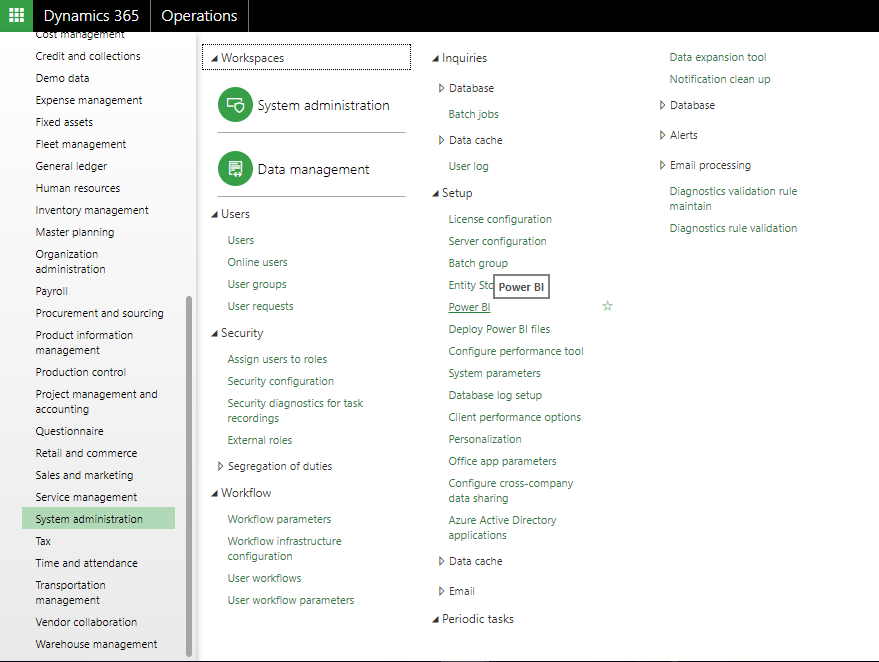
- Navigate to Power BI settings in Operations which is under System Administration section.

- Enter the details in Power BI configuration:
- Client ID: Paste the Client ID Key from Power BI registration
- Application Key: Paste the Client Secret key from Power BI registration
- Redirect URL: Your instance URL with /outh at the end
- Enable the Power BI

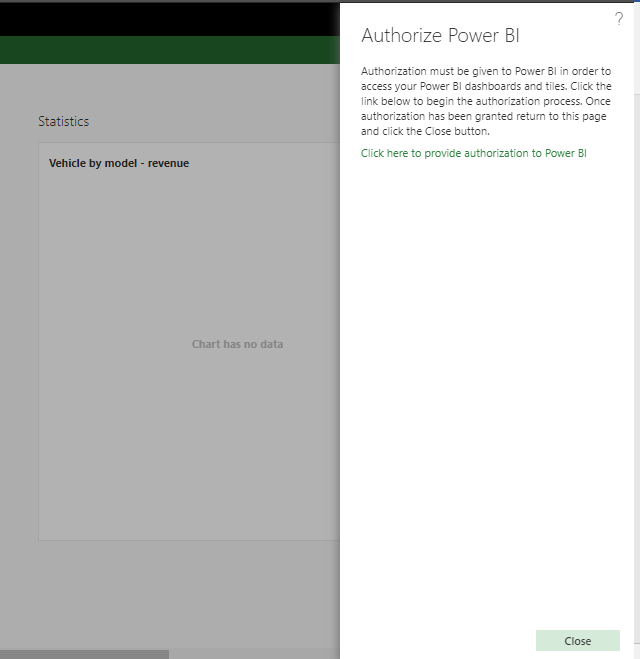
- Navigate to Reservation Management for instance and you will see a Power BI column. Click on Get Started.

- Authorize Power BI by clicking on ‘Click here to provide authorization to Power BI’

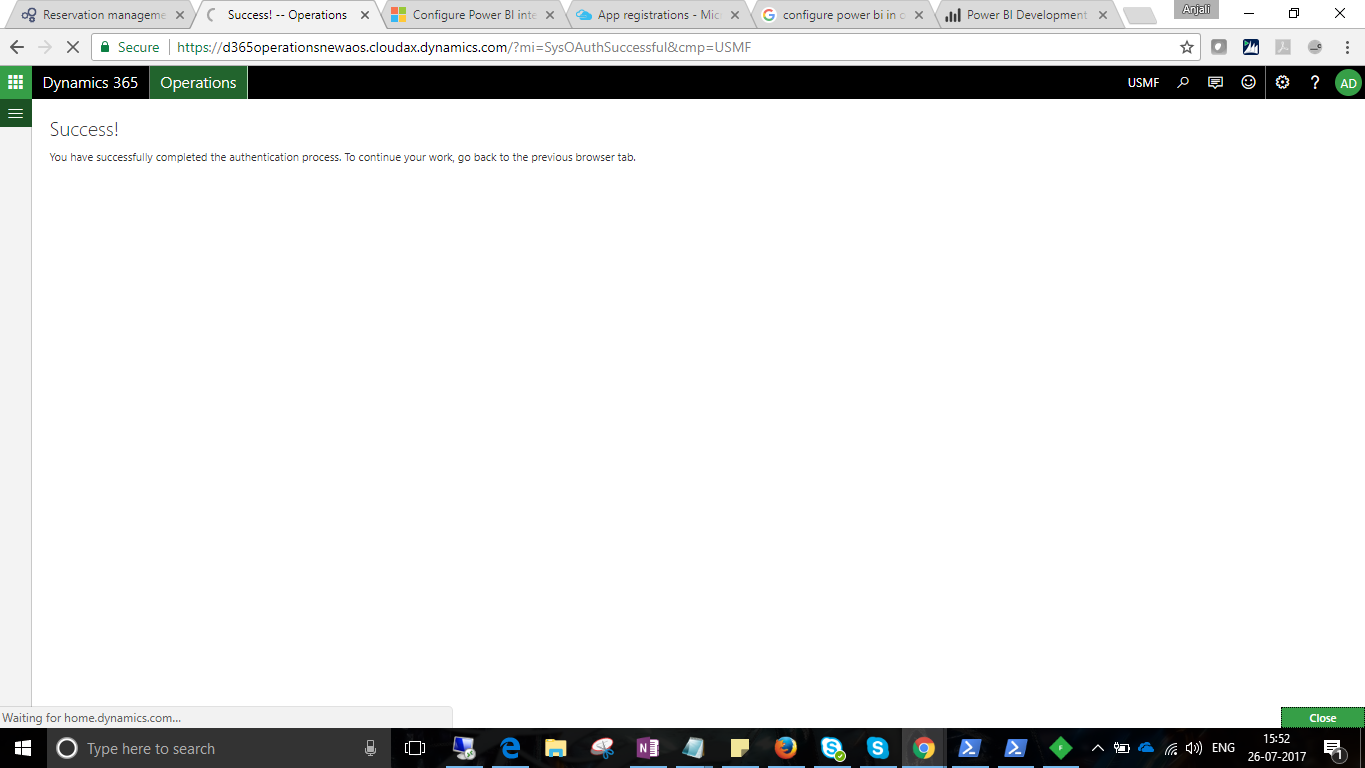
- You will be redirected to the new window with authorization success message

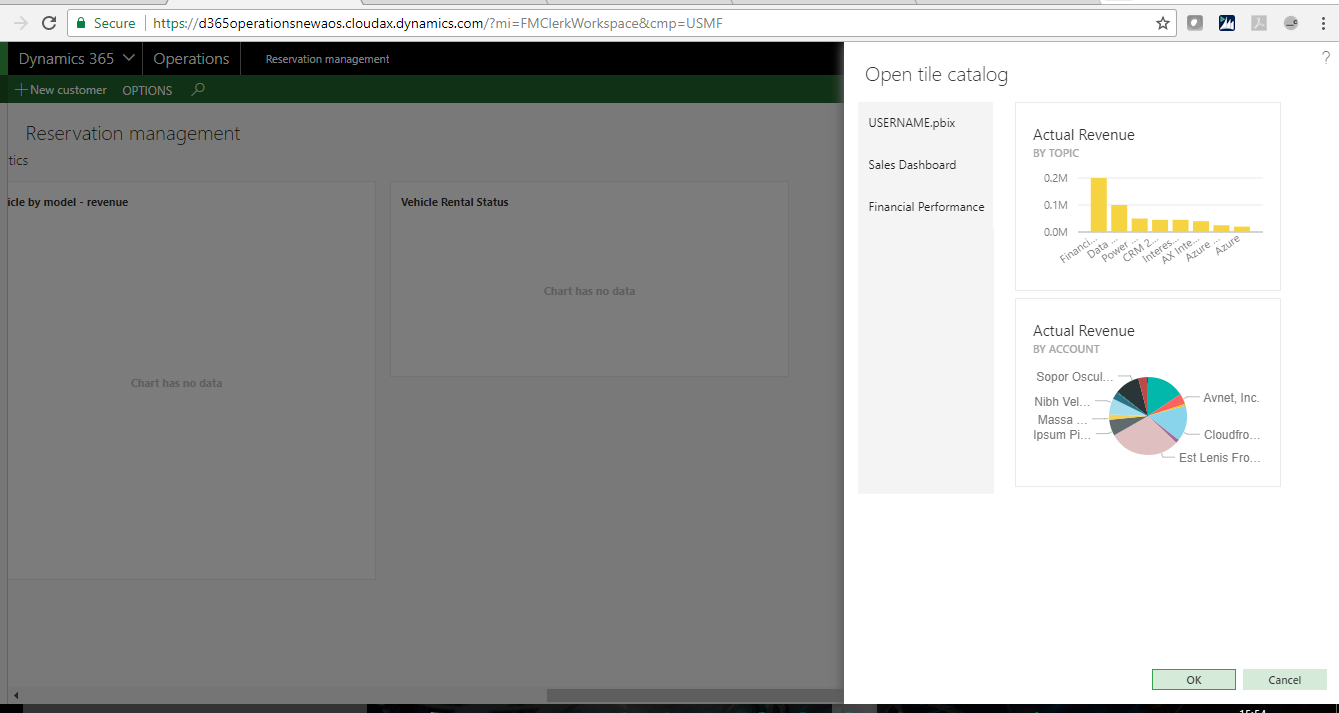
- Now, you can select reports and dashboards from Power BI and pin them to your workspace.

