Deployment Document: TIBCO Cloud Integration Agent
Introduction:
This document contains the steps on how the TIBCO Cloud Integration Agent with custom connector for Dynamics GP can be deployed on server.
Install a TIBCO Cloud Integration on-premise agent
A TIBCO Cloud Integration agent needs to be installed on the server where the target data store resides.
Download TIBCO Cloud Integration agent
You can download and setup an agent from https://app.scribesoft.com
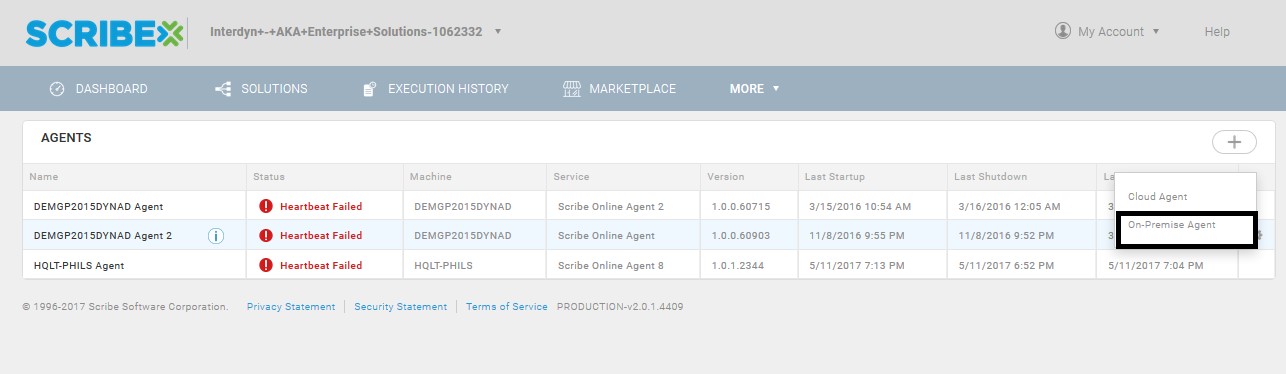
Once logged in to TIBCO Cloud Integration portal in the server where the target data store resides, navigate to ‘More’ and then ‘Agents’ and then click on ‘+’ and ‘On-Premise Agent’ to create a new agent. Please refer the screenshot below:
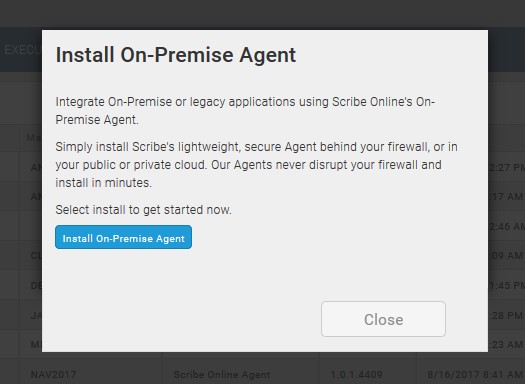
A new window will open where you can click on Install On-premise Agent to download the agent as shown below:
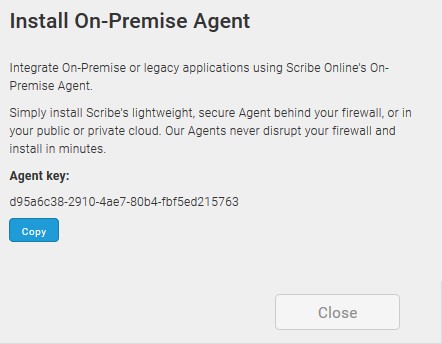
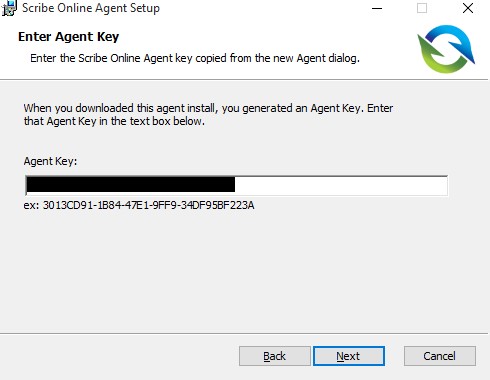
On clicking Install On-premise Agent, TIBCO Cloud Integration will provide you to download the agent. You need to save the same to your local system. Copy the Agent Key in your clipboard; it will be used during Installation of Agent.
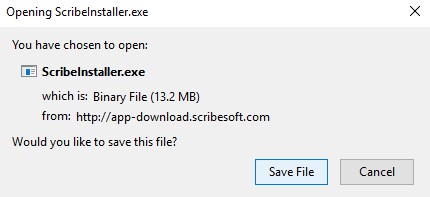
Navigate to the location where the ScribeInstaller was downloaded and start the installation
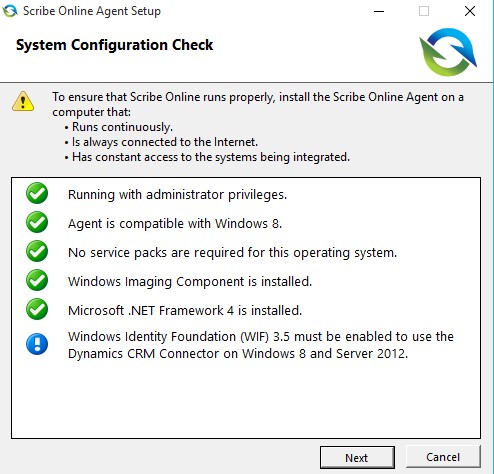
Make sure pre-requisites are setup to be able to successfully continue with the installation and click Next:
The wizard will start. Click Next until you see the screen where Agent Key is asked by the installer. Enter the same key which appeared on the screen where new agent was provided to be downloaded.
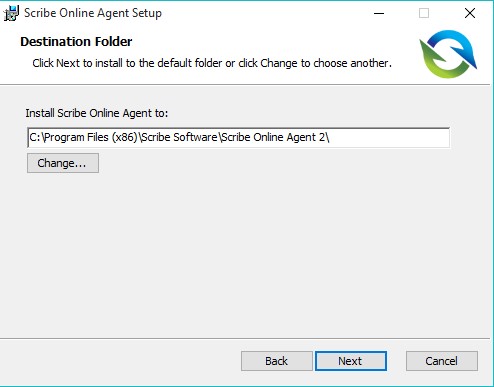
And click next. Select where you want to install the TIBCO Cloud Integration agent.
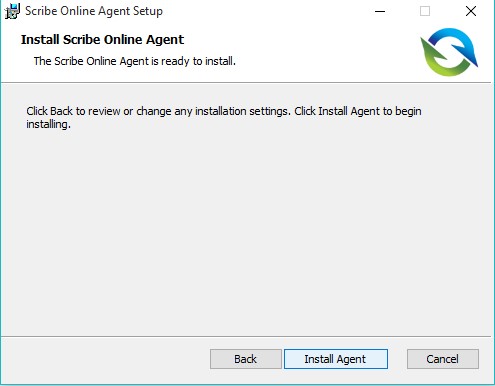
Finally click Install Agent.
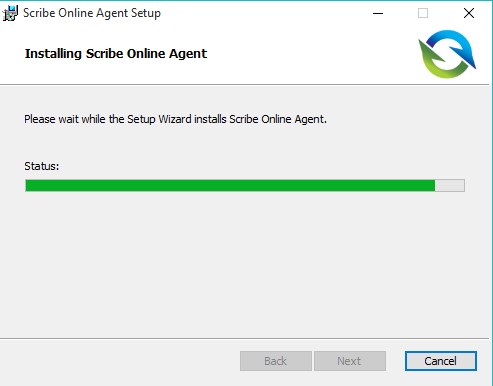
Let the setup continue.
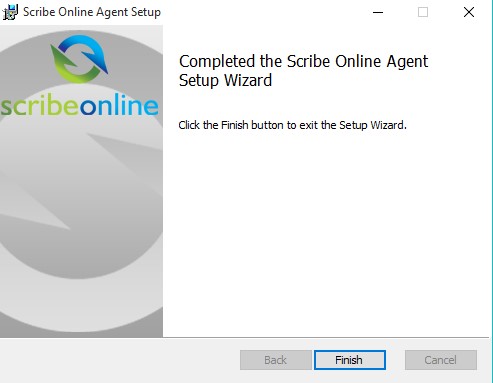
Click Finish once the setup completes.
Turning TIBCO Cloud Integration Agent on and off
TIBCO Cloud Integration Agent on your system is a Windows Service which can be stopped, started and restarted.
View Services application on your Windows machine to locate the TIBCO Cloud Integrationweb service
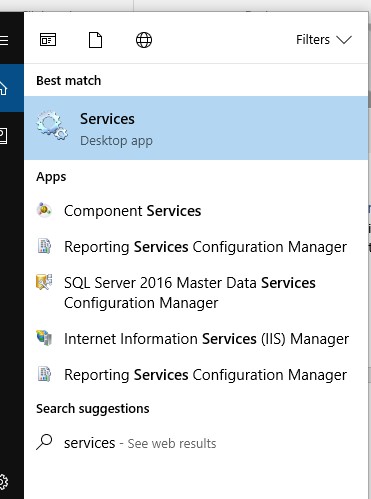
Locate Scribe Online Agent in the Services. This is where you can start and stop service in the event of updating the DLLs for the Scribe Online connector.

Deploying Scribe Online connector on the target system
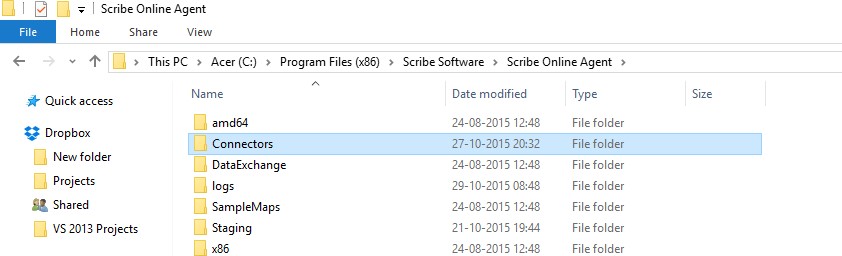
Deploying the Scribe Connector to the target system consists of copying the required DLLs and PDBs to the following folder in the Scribe Online Agent directory located on the target machine:
-
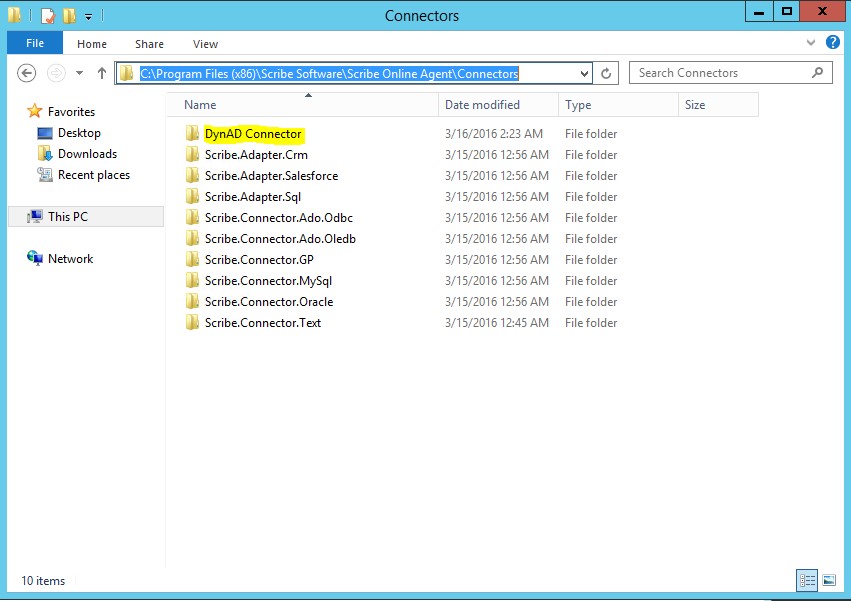
- Locate Connectors folder in the Scribe Online Agent directory.
-
- Folder named “DynAD Connector” contains DLLs and PDBs required to be available in the Scribe Online’s Connector folder. This folder needs to be copied in the Scribe Connector’s Connector folder. The address for Scribe Online Connector is: C:\Program Files (x86)\Scribe Software\Scribe Online Agent\Connectors
-
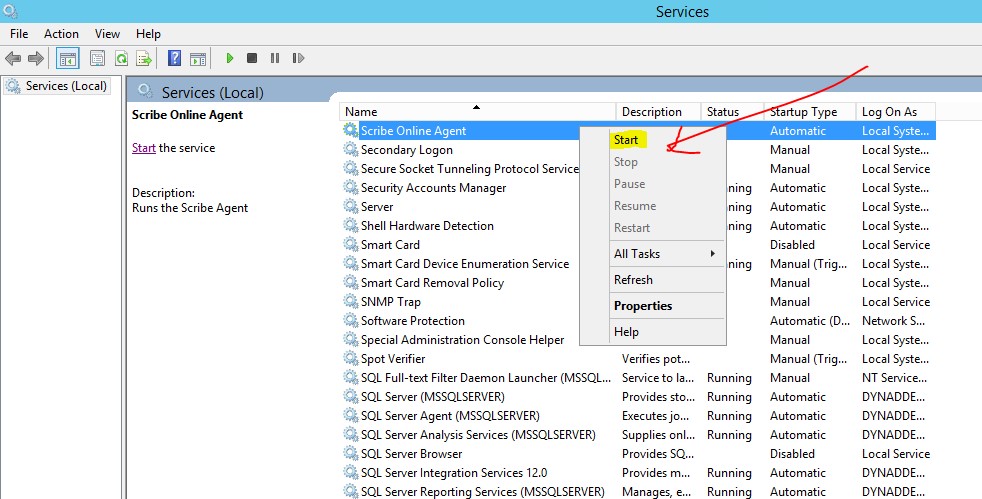
- Once the folder is pasted to the Connector folder, the agent needs to be started again. Navigate to View Local Services on the machine and locate Scribe Online Agent and start the same as shown below.
- For the Custom GP Connector developed for AKA, the following files are required to be copied in the “DynAD Connector” folder.
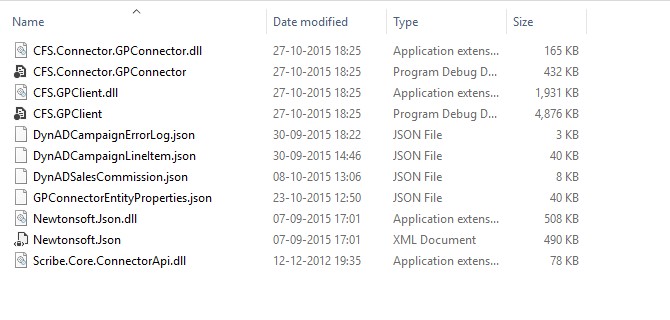 Note: Since the project is divided into 2 DLLs across a Visual Studio solution, CFS.Connector.GPConnector.dll and CFS.GPClient.dll are the 2 DLLs and their respective PDDs are required.
Required Files:
- Connector.GPConnector.dll and CFS.Connector.GPConnectorA part of the GP connector (.dll) and its PDD file
- GPClient and CFS.GPClientA part of the GP connector (.dll) and its PDD file
- Core.ConnectorApi.dllThis .dll file is required by the ScribeOnline agent to be able to access the Scribe API provided by ScribeOnline.
- Json.dll and Newtonsoft.Json
These .dll files are required by the connector to be able to JSON file stream where the fields of the target connector are retrieved. - JSON files –
5.1 DynADCampaignHeader.json
5.2 DynADCampaignLineItem.json
5.3 DynADSalesCommission.json
5.4. DynADCampaignErrorLog.jsonThe above files are the JSON files which contain the fields required by Dynamics GP entities. These files need to reside in the folder as the .dll require these.
Important: These files also need to be present in the C:\Windows\System32 of the system.
Updating Solutions with newly installed Scribe Online Agent
Login to Scribe Online Portal through https://app.scribesoft.com
Open a Solution and resign the Solution with newly installed Agent.
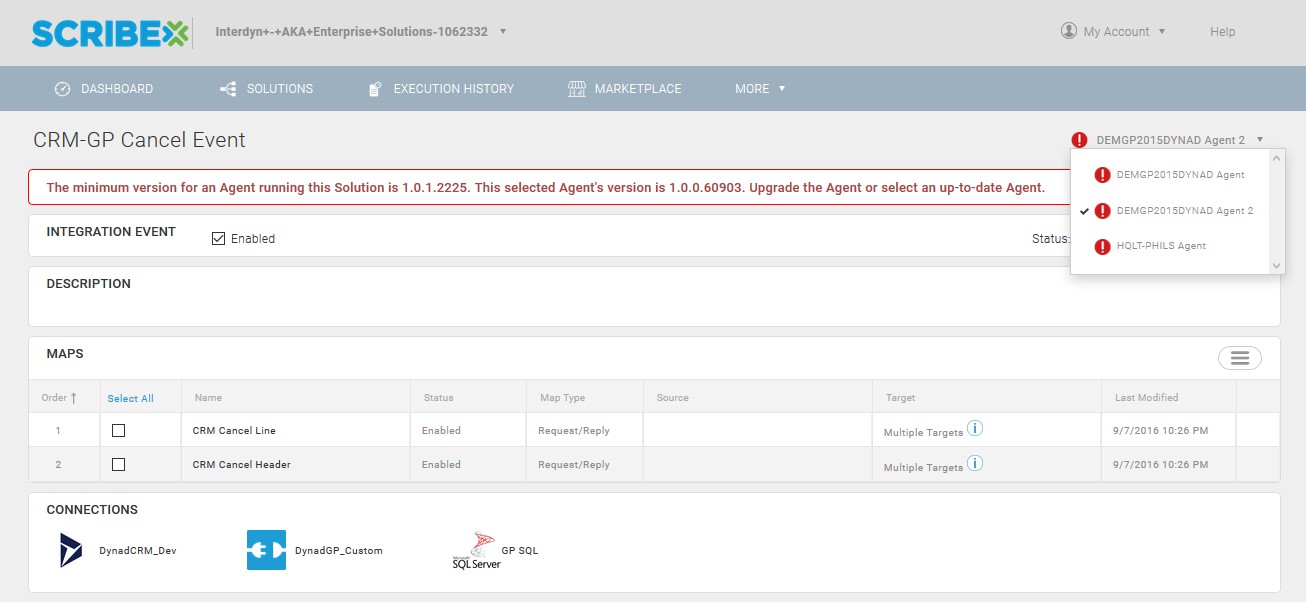
Repeat this for all the Solutions.
Conclusion:
By following the mentioned steps, you can deploy the Scribe Online Agent with custom connector for Dynamics GP on server.
