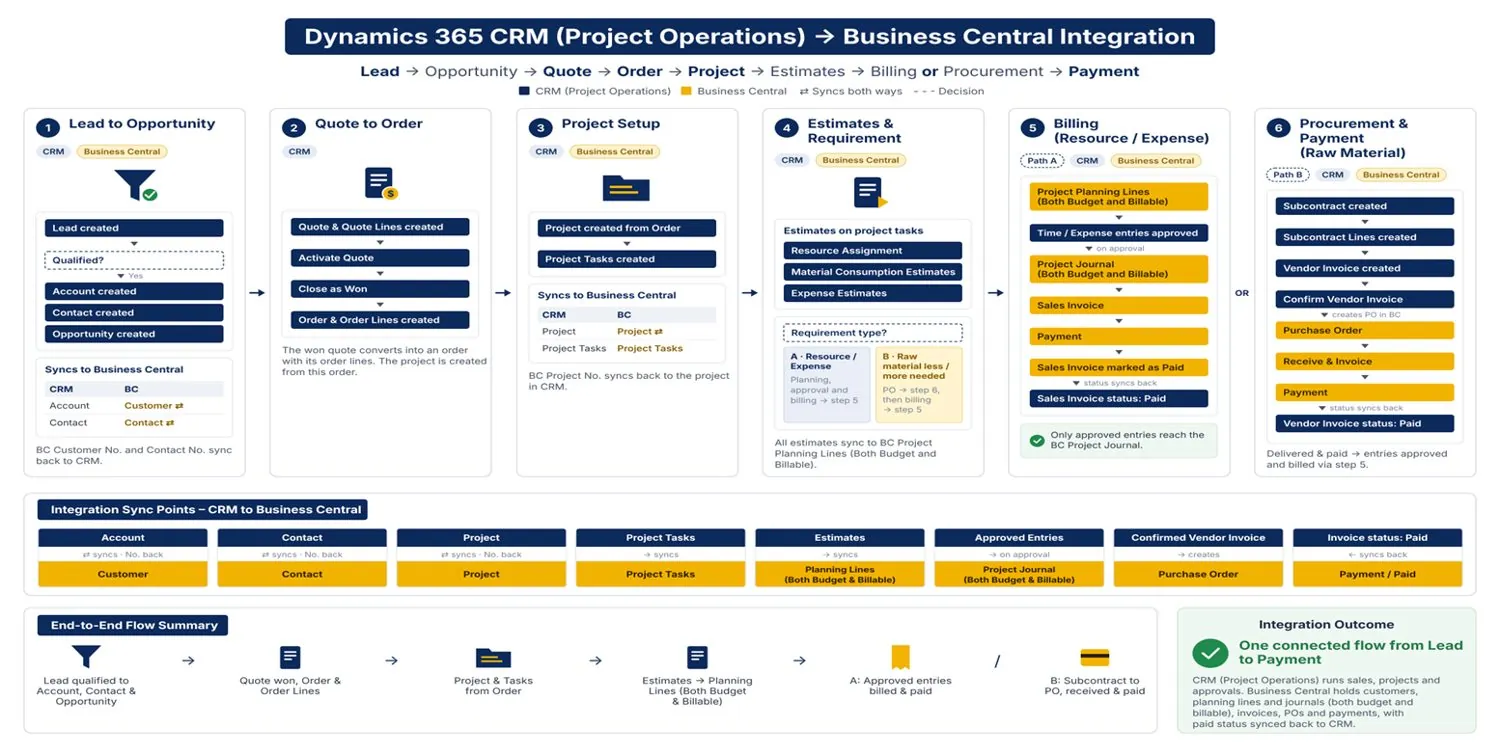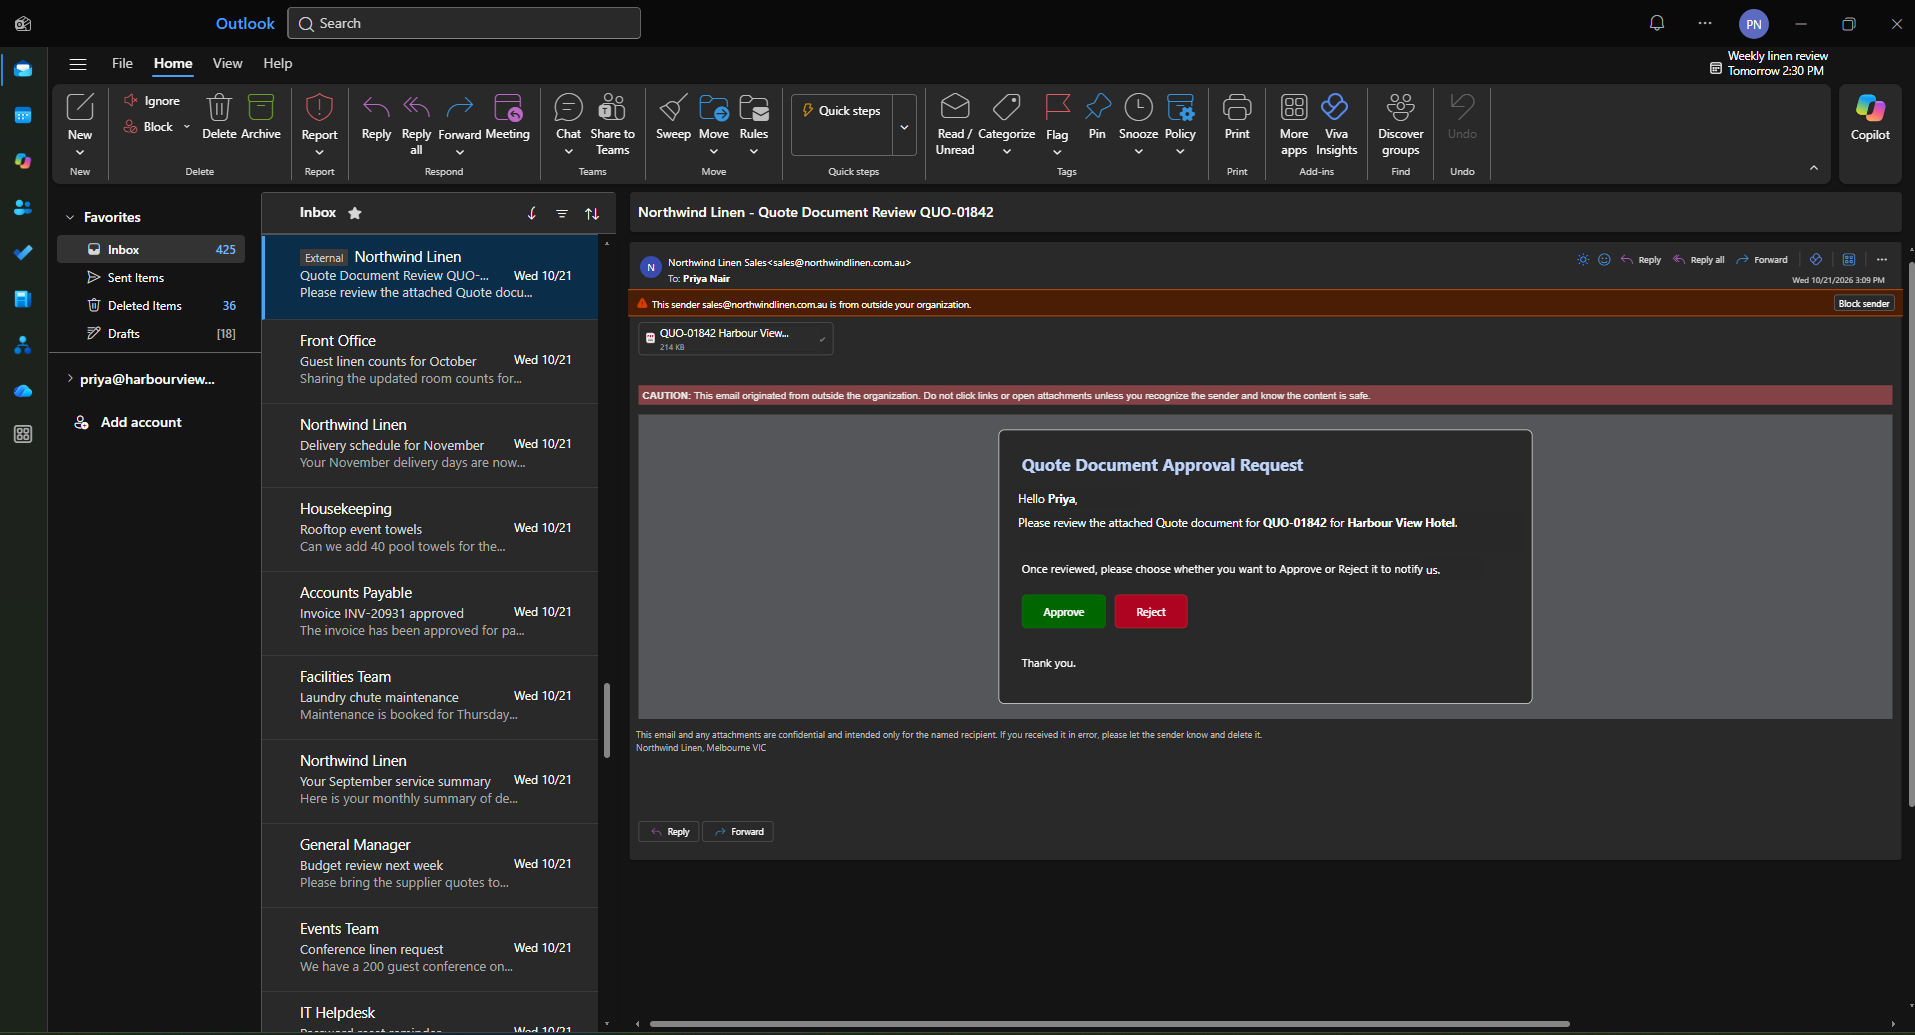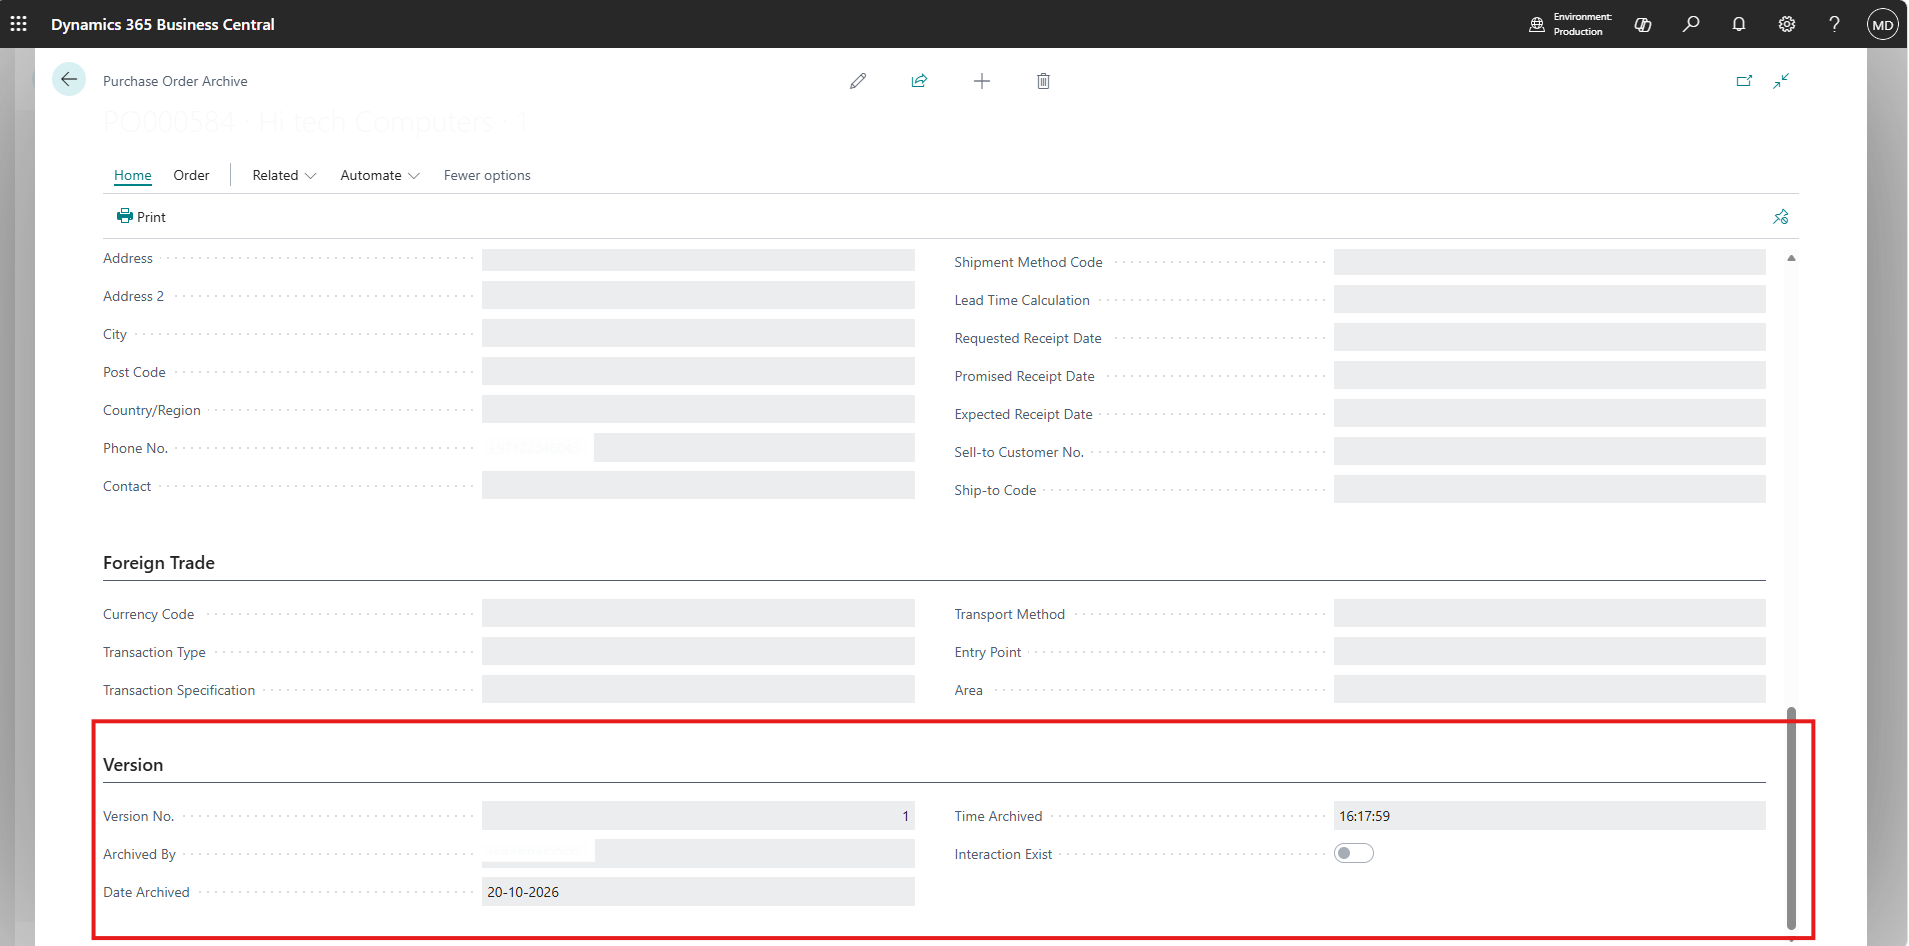

Summary
Most Dynamics 365 emails are generated by workflows, Power Automate flows, or plugins reacting to a record change. But some notifications are triggered by a user action inside a custom UI, where the browser already holds all the context and the user needs to know immediately whether the email went out.
In this implementation, we generated and sent Dynamics 365 email activities directly from JavaScript running in an HTML web resource, using only the Dataverse Web API. The email is created with sender and recipient activity parties, linked to a related record through the Regarding lookup, and sent through the SendEmail bound action for delivery by server-side synchronization.
This article covers the problem, the use case, how an email is structured in Dataverse, and a step-by-step walkthrough of the JavaScript implementation, including the pitfalls we hit along the way.
- When a user action, rather than a record change, should be the trigger for an email.
- How an email activity, its activity parties, and its Regarding lookup fit together in Dataverse.
- How to create an email with From and To recipients through the Web API.
- The Regarding navigation property naming that commonly causes silent failures.
- The difference between creating an email and sending it.
- Why sent emails show as Pending Send, and what has to be configured for delivery.
Read more about our Journey with this Customer over here: View Case Study | Refer my previous blog on the associated topic for more context
Problem Statement
Dynamics 365 offers several ways to send email automatically, and nearly all of them are record-driven: something is created or updated, and a workflow, flow, or plugin reacts to it.
That model breaks down when the event worth notifying about is not a simple record change but an action a user performs in a custom interface, such as an HTML web resource or a custom page. In those cases:
- The trigger is a button click, and the relevant context (who acted, what changed, what the previous value was) lives in the browser.
- The email must only be sent once a multi-step operation has fully succeeded, not when it starts.
- The user expects immediate confirmation that the notification went out, or a clear message if it did not.
- The email should be a proper Dynamics 365 activity, visible on a related record’s timeline, not an untracked message sent from outside CRM.
An asynchronous flow cannot give the user that immediate feedback, and a plugin would need to reconstruct context the UI already has. The question became:
The Use Case
The scenario was a custom Dataverse Choice (Option Set) Manager, an HTML web resource that lets authorized users add or relabel picklist values (for example, Lead Source) from within Dynamics 365.
Building Self-Service Dataverse Choice
Picklist values feed reports, business rules, flows, and integrations, so the Operations Lead needed to be informed every time one changed. The notification rules were:
| Rule | Implication for the email |
|---|---|
| Notify only after the change is published | The email is generated as the final step, after PublishXml succeeds |
| Send from the user who made the change | The sender activity party is the signed-in user |
| Send to whoever currently holds the Operations Lead role | The recipient is resolved at runtime, not hard-coded |
| Keep the email traceable | The email is set Regarding a Picklist Changes Audit Log record |
| Include full change details | The HTML body lists action, time, user, entity, field, option name, value, and old label |
The picklist change itself is the trigger. Everything that follows in this article is about the email.
Why Send Emails from JavaScript?
| Approach | Fit for a user-action trigger |
|---|---|
| Power Automate | Runs asynchronously, so the user cannot be told in the same interaction whether the email was sent |
| Classic workflow | Record-driven and deprecated in favour of Power Automate for new development |
| Plugin | Needs a compiled, registered assembly and must reconstruct context the UI already holds |
| JavaScript + Web API | Runs in the same interaction, has full context, and reports success or failure to the user immediately |
Because the web resource runs inside Dynamics 365, each Web API call executes as the signed-in user. Their security roles still decide whether they can create an email, set its recipients, and send it.
Anatomy of an Email in Dataverse
Before writing any code, it helps to understand that an email in Dynamics 365 is not a single record with To and From text fields. It is an activity made up of several related pieces.
email (activity)
 ├── subject
 ├── description           → HTML body
 ├── directioncode         → true = outgoing
 ├── statecode / statuscode
 │
 ├── email_activity_parties (collection)
 │     ├── participationtypemask = 1  → From
 │     ├── participationtypemask = 2  → To
 │     ├── participationtypemask = 3  → CC
 │     └── participationtypemask = 4  → BCC
 │            └── partyid → systemuser / contact / account / lead ...
 │
 └── regardingobjectid     → any activity-enabled table
| Piece | What it does |
|---|---|
| Email record | Holds the subject, body, direction, and status |
| Activity parties | Separate records linking the email to each sender and recipient |
| Regarding | Polymorphic lookup that places the email on a related record’s timeline |
SendEmail action | Moves the email from Draft into the delivery pipeline |
| Server-side synchronization | Actually delivers the email through the sender’s Exchange mailbox |
Solution Overview
The email generation sequence, starting from the moment the user’s action succeeds:
User action succeeds (picklist change published)
                    ↓
1. Identify sender      → current user from Xrm context
                    ↓
2. Resolve recipient    → Operations Lead from designation table
                    ↓
3. Create Regarding record → audit log, read ID from OData-EntityId
                    ↓
4. Compose subject + HTML body
                    ↓
5. Build activity parties  → From (1), To (2)
                    ↓
6. Bind Regarding          → audit log record
                    ↓
7. POST /emails            → email created as Draft
                    ↓
8. POST SendEmail (IssueSend = true)
                    ↓
9. Email → Pending Send → delivered by server-side sync → Sent
Step 1 — A Reusable Web API Helper
Every call in this flow is a POST to the Dataverse Web API, so a single helper keeps headers and error handling consistent. Note that it returns the raw Response; we need its headers later to read the IDs of newly created records.
function getClientUrl() {
    return Xrm.Utility.getGlobalContext().getClientUrl();
}

const WEB_API_HEADERS = {
    "Accept": "application/json",
    "Content-Type": "application/json; charset=utf-8",
    "OData-Version": "4.0",
    "OData-MaxVersion": "4.0"
};

async function webApiPost(path, body) {

    const response = await fetch(
        getClientUrl() + "/api/data/v9.2/" + path,
        {
            method: "POST",
            headers: WEB_API_HEADERS,
            credentials: "include",
            body: JSON.stringify(body)
        }
    );

    if (!response.ok) {
        const txt = await response.text();
        throw new Error(txt || response.statusText);
    }

    return response;
}

function getCreatedId(response) {
    const header = response.headers.get("OData-EntityId");
    const match = header && header.match(/\(([^)]+)\)/);
    return match ? match[1] : null;
}getClientUrl() rather than hard-coding it, so the same web resource works unchanged across Dev, UAT, and Production.Step 2 — Identifying the Sender
The email is sent from the user who performed the action. An HTML web resource opened from a form, sitemap, or dialog can reach the Xrm object through its parent window.
function getCurrentUser() {

    const xrm =
        window.parent?.Xrm ||
        window.top?.Xrm ||
        (typeof Xrm !== "undefined" ? Xrm : null);

    if (!xrm || !xrm.Utility) {
        throw new Error("Dynamics 365 context is not available.");
    }

    const settings = xrm.Utility.getGlobalContext().userSettings;

    return {
        name: settings.userName,
        id: settings.userId.replace(/[{}]/g, "")   // strip braces for OData
    };
}
userId is returned wrapped in braces. Those must be removed before the GUID is used inside an @odata.bind path.
Step 3 — Resolving the Recipient Dynamically
Hard-coding a recipient’s systemuserid works in a demo and breaks as soon as that person changes role or the solution moves to a new environment. The recipient is instead resolved at send time from a custom designation table that maps business roles to users.
async function getOperationsLeadId() {

    const url = getClientUrl() +
        "/api/data/v9.2/cf_designations" +
        "?$select=cf_designation,_cf_employee_value" +
        "&$filter=cf_designation eq 'Operations Lead' and statecode eq 0";

    const response = await fetch(url, {
        headers: { "Accept": "application/json" },
        credentials: "include"
    });

    if (!response.ok) {
        throw new Error("Unable to retrieve Operations Lead designation.");
    }

    const result = await response.json();

    if (!result.value || result.value.length === 0) {
        throw new Error("No active Operations Lead designation was found.");
    }

    const userId = result.value[0]["_cf_employee_value"];

    if (!userId) {
        throw new Error("Operations Lead designation has no user assigned.");
    }

    return userId.replace(/[{}]/g, "");
}
Lookup values come back through the _fieldname_value property. Failing explicitly when no recipient exists is deliberate: Dataverse would otherwise accept an email with no To party, and it would never reach anyone.
Step 4 — Creating the Record the Email Will Be Regarding
The email needs a record to be Regarding. In this use case, that is a Picklist Changes Audit Log record created immediately before the email. Its ID is needed for the Regarding binding.
const auditResponse = await webApiPost("cf_picklistchangesauditlogs", {
    cf_name: `${action} - ${fieldDisplayName}`,
    cf_action: action === "Create" ? 1 : 2,
    cf_actiontime: new Date().toISOString(),
    cf_updatinguser: user.name,
    cf_updatinguserguid: user.id,
    cf_entitylogicalname: entityLogicalName,
    cf_optionsetfieldlogicalname: fieldLogicalName,
    cf_optionname: optionName,
    cf_optionid: optionValue,
    cf_ifupdateoldlabelname: oldLabel || null
});

const auditLogId = getCreatedId(auditResponse);
A Web API create returns 204 No Content, so the new ID is not in the body. It is read from the OData-EntityId response header, which looks like:
Prefer: return=representation with the create request to receive the full record in the body. Reading the header is lighter when only the ID is needed.Step 5 — Composing the Subject and HTML Body
The email’s description field accepts HTML. The body is built as a simple table of change details. Because option labels are typed by users, every value is HTML-encoded before it is inserted.
function encodeHtml(value) {
    const div = document.createElement("div");
    div.textContent = value ?? "";
    return div.innerHTML;
}

function buildEmailBody(details) {

    const rows = Object.entries(details)
        .map(([label, value]) =>
            `<tr><td><b>${label}</b></td><td>${encodeHtml(value)}</td></tr>`)
        .join("");

    return `
        <p>Hello,</p>
        <p>A Dataverse picklist change has been published successfully.</p>
        <table cellpadding="6" border="1" style="border-collapse:collapse;">
            ${rows}
        </table>
        <p>Regards,<br/>Dataverse Picklist Manager</p>
        <p><i>This is a system generated email.</i></p>`;
}

const subject = `Dataverse Picklist Change - ${action} - ${fieldDisplayName}`;

const body = buildEmailBody({
    "Action":       action,
    "Action Time":  new Date().toLocaleString(),
    "User":         user.name,
    "Entity":       `${entityDisplayName} (${entityLogicalName})`,
    "Field":        `${fieldDisplayName} (${fieldLogicalName})`,
    "Option Name":  optionName,
    "Option ID":    optionValue,
    "Old Label":    oldLabel
});
Keep the markup simple and use inline styles. The body is rendered by Dynamics 365, Outlook, and mobile mail clients, none of which reliably honour external stylesheets.
Step 6 — Building the Activity Parties
Senders and recipients are defined through the email_activity_parties collection. Each entry is created inline as part of the email, a pattern known as a deep insert.
| participationtypemask | Role |
|---|---|
1 | Sender (From) |
2 | To recipient |
3 | CC recipient |
4 | BCC recipient |
const activityParties = [
    {
        participationtypemask: 1,                        // From
        "partyid_systemuser@odata.bind": `/systemusers(${user.id})`
    },
    {
        participationtypemask: 2,                        // To
        "partyid_systemuser@odata.bind": `/systemusers(${operationsLeadId})`
    }
];
The party binding name changes with the type of party:
| Party type | Binding |
|---|---|
| User | "partyid_systemuser@odata.bind": "/systemusers(id)" |
| Contact | "partyid_contact@odata.bind": "/contacts(id)" |
| Account | "partyid_account@odata.bind": "/accounts(id)" |
| Lead | "partyid_lead@odata.bind": "/leads(id)" |
| Queue | "partyid_queue@odata.bind": "/queues(id)" |
| Unresolved email address | "addressused": "someone@example.com" (no binding) |
Step 7 — Binding the Regarding Lookup
Regarding is what places the email on the audit log record’s timeline. Because it is a polymorphic lookup, the navigation property name combines the target table and the activity table:
// Correct: includes the activity table suffix
"regardingobjectid_cf_picklistchangesauditlog_email@odata.bind":
    `/cf_picklistchangesauditlogs(${auditLogId})`

// Incorrect: missing the _email suffix
"regardingobjectid_cf_picklistchangesauditlog@odata.bind":
    `/cf_picklistchangesauditlogs(${auditLogId})`
Two naming details matter here:
- The navigation property uses the table’s logical name (singular:
cf_picklistchangesauditlog). - The bind value uses the entity set name (plural:
cf_picklistchangesauditlogs).
The same pattern applies to standard tables, for example regardingobjectid_account_email or regardingobjectid_incident_email.
With Regarding bound, the email appears on the audit log record’s timeline, next to the logged option name, option value, and old label:

Step 8 — Creating the Email Record
Subject, body, direction, activity parties, and Regarding are combined into a single POST to the emails entity set.
const emailResponse = await webApiPost("emails", {
    subject: subject,
    description: body,
    directioncode: true,          // outgoing

    "regardingobjectid_cf_picklistchangesauditlog_email@odata.bind":
        `/cf_picklistchangesauditlogs(${auditLogId})`,

    email_activity_parties: activityParties
});

const emailId = getCreatedId(emailResponse);
At this point the email exists in Dataverse with a status reason of Draft. Nothing has been sent yet.
Step 9 — Sending the Email with SendEmail
The draft is sent by calling the SendEmail action bound to the email record.
await webApiPost(
    `emails(${emailId})/Microsoft.Dynamics.CRM.SendEmail`,
    {
        IssueSend: true,
        TrackingToken: ""
    }
);| Parameter | Effect |
|---|---|
IssueSend: true | Queues the email for real delivery through the sender’s mailbox |
IssueSend: false | Marks the email as sent in Dataverse without delivering it; useful when logging an email sent elsewhere |
TrackingToken | Left empty; when tracking tokens are enabled, Dataverse appends its own (for example CRM:0041004) to the subject so replies can be correlated |

Understanding the Email Lifecycle
SendEmail does not deliver the message itself. It hands the email to server-side synchronization, which sends it through the sender’s Exchange mailbox. That is why freshly sent emails show Pending Send.
POST /emails           →  Draft          (Open)
SendEmail IssueSend    →  Pending Send   (Open)
Server-side sync picks →  Sending        (Open)
Delivered              →  Sent           (Completed)
Delivery error         →  Failed         (Open)
Once delivered, the email closes and shows as Closed on the timeline. If emails remain in Pending Send, check that:
- The sender’s mailbox exists and is configured for server-side synchronization.
- The mailbox email address has been approved.
- The mailbox has passed Test & Enable.
- Outgoing email is set to Server-Side Synchronization for that mailbox.
SendEmail response means the email was accepted for delivery, not that it reached the inbox. Delivery is confirmed by the status moving to Sent.The Complete Email Function
Putting the steps together, the full email routine is called only after the user’s action has succeeded:
async function sendChangeNotification(change) {

    // 1. Sender and recipient
    const user = getCurrentUser();
    const operationsLeadId = await getOperationsLeadId();

    // 2. Record the email will be Regarding
    const auditResponse = await webApiPost("cf_picklistchangesauditlogs", {
        cf_name: `${change.action} - ${change.fieldDisplayName}`,
        cf_action: change.action === "Create" ? 1 : 2,
        cf_actiontime: new Date().toISOString(),
        cf_updatinguser: user.name,
        cf_updatinguserguid: user.id,
        cf_entitylogicalname: change.entityLogicalName,
        cf_optionsetfieldlogicalname: change.fieldLogicalName,
        cf_optionname: change.optionName,
        cf_optionid: change.optionValue,
        cf_ifupdateoldlabelname: change.oldLabel || null
    });
    const auditLogId = getCreatedId(auditResponse);

    // 3. Subject and body
    const subject =
        `Dataverse Picklist Change - ${change.action} - ${change.fieldDisplayName}`;

    const body = buildEmailBody({
        "Action":      change.action,
        "Action Time": new Date().toLocaleString(),
        "User":        user.name,
        "Entity":      `${change.entityDisplayName} (${change.entityLogicalName})`,
        "Field":       `${change.fieldDisplayName} (${change.fieldLogicalName})`,
        "Option Name": change.optionName,
        "Option ID":   change.optionValue,
        "Old Label":   change.oldLabel
    });

    // 4. Create the email (Draft)
    const emailResponse = await webApiPost("emails", {
        subject: subject,
        description: body,
        directioncode: true,
        "regardingobjectid_cf_picklistchangesauditlog_email@odata.bind":
            `/cf_picklistchangesauditlogs(${auditLogId})`,
        email_activity_parties: [
            { participationtypemask: 1,
              "partyid_systemuser@odata.bind": `/systemusers(${user.id})` },
            { participationtypemask: 2,
              "partyid_systemuser@odata.bind": `/systemusers(${operationsLeadId})` }
        ]
    });
    const emailId = getCreatedId(emailResponse);

    // 5. Send it
    await webApiPost(
        `emails(${emailId})/Microsoft.Dynamics.CRM.SendEmail`,
        { IssueSend: true, TrackingToken: "" }
    );

    return emailId;
}
Error Handling
The email is the last step after a change that has already gone live. A failure while emailing must not undo that change; it should be reported clearly so the notification can be resent.
| Failure point | Typical cause | Behaviour |
|---|---|---|
| Recipient lookup | No active designation, or no user assigned | Stop before creating the email; warn the user |
| Regarding record create | Missing privilege on the audit table | Stop; no email without a record to link it to |
| Email create | Wrong Regarding navigation property, invalid GUID, missing create privilege | Warn; the audit record exists and the email can be recreated |
SendEmail | Missing send privilege, mailbox not enabled | Warn; the email remains a Draft and can be sent manually |
| Delivery (after send) | Mailbox or Exchange configuration | Not visible to JavaScript; email status moves to Failed |
try {
    await sendChangeNotification(change);
    setStatus("Change published and notification email sent.");
}
catch (emailError) {
    console.error("Notification failed:", emailError);
    setStatus(
        "Change published successfully, but the notification email " +
        "could not be sent. Please notify the Operations Lead manually."
    );
}
Web API errors are returned as JSON with an error.message property. Surfacing that message (rather than a generic “failed”) makes problems such as an invalid navigation property immediately diagnosable.
Testing and Validation
- Email created: a new record appears in the All Emails view with the expected subject.
- Activity parties: From shows the acting user and To shows the current Operations Lead.
- Regarding: the Regarding column is populated and the email appears on the audit log timeline.
- Body: the HTML table renders correctly in Dynamics 365 and in Outlook.
- Encoding: a label containing
<,>, or&renders as text, not markup. - Send: status reason moves from Draft to Pending Send after
SendEmail. - Delivery: status reason moves to Sent once server-side sync processes the email.
- Missing recipient: deactivating the designation produces a clear warning and no orphan email.
- Privileges: a user without email create rights receives a meaningful error.
Security and Production Considerations
Encode every user-supplied value
Anything a user types that ends up in description must be HTML-encoded. Otherwise a crafted label can change the email’s markup or inject links.
Rely on Dataverse privileges
- The user needs create rights on Email and on the Regarding table.
- Sending as another user requires Send Email as Another User.
- The web resource UI is not a security boundary; security roles are.
Avoid hard-coded identifiers
- Resolve the org URL with
getClientUrl(). - Resolve recipients from configuration data, never from GUIDs in code.
- Keep table, column, and navigation property names in a single constants block.
Plan for mailbox configuration per environment
Each environment needs its own approved and enabled mailboxes. Emails generated in a sandbox with no enabled mailbox will stay in Pending Send, which is often desirable for testing.
Key Implementation Lessons
Lesson 1: Creating an email is not sending it
POST /emails creates a Draft. Only SendEmail with IssueSend: true puts it into the delivery pipeline.
Lesson 2: Senders and recipients are records, not fields
From, To, CC, and BCC are activity parties defined with participationtypemask and a table-specific partyid binding.
Lesson 3: The Regarding navigation property needs the activity suffix
Use regardingobjectid_<table>_email, bind to the entity set name, and enable activities on custom tables.
Lesson 4: Created record IDs live in the response header
Read OData-EntityId, or request return=representation, to chain the Regarding record, the email, and the send action.
Lesson 5: Pending Send is a delivery question, not a code question
If SendEmail succeeded, the JavaScript did its job. Emails that stay in Pending Send point to mailbox and server-side sync configuration.
Lesson 6: Resolve recipients from data
A designation table lets the business change who gets notified without touching code or redeploying the web resource.
Conclusion
When the trigger for a notification is a user action rather than a record change, client-side JavaScript is often the most direct way to generate the email. The browser already knows who acted, what changed, and whether it succeeded, and the Dataverse Web API exposes everything needed to turn that into a fully tracked Dynamics 365 email.
Xrm context
→ Sender

Designation lookup
→ Recipient

Audit log record
→ Regarding

Activity parties + HTML body
→ Email record (Draft)

SendEmail
→ Pending Send

Server-side synchronization
→ Sent
The same pattern applies to any custom web resource or page where a button click is the real event: approval screens, configuration tools, data-correction utilities, or escalation actions.
The question is not only “How do I send an email from JavaScript?” The better question is “At what point has this action truly succeeded, who needs to know, and which record should the email belong to?”
Answer those three, and the Dataverse Web API provides the rest: activity parties, Regarding, and SendEmail.
Frequently Asked Questions
1. Can I send a Dynamics 365 email entirely from client-side JavaScript?
Yes. Create the email through the Web API, then call the bound SendEmail action with IssueSend set to true.
2. Why is my email stuck in Pending Send?
SendEmail only queues the email. Delivery requires the sender’s mailbox to be approved, tested, enabled, and set to server-side synchronization.
3. How do I add CC or BCC recipients?
Add more entries to email_activity_parties with participationtypemask 3 for CC or 4 for BCC.
4. Can I send to an email address that isn’t a CRM record?
Yes. Add an activity party with addressused set to the email address and no partyid binding. Whether unresolved recipients are allowed depends on the organization’s email settings.
5. Why isn’t my Regarding lookup being set?
Check that the navigation property includes the _email suffix, that the bind value uses the entity set name, and that activities are enabled on the table.
6. How do I get the ID of the email I just created?
Read the OData-EntityId response header, or send Prefer: return=representation to receive the record in the body.
7. Can I send the email from a different user?
Yes, if the acting user has the Send Email as Another User privilege and the target user permits it in their personal options. Queues can also be used as the sender.
8. Can the body contain HTML?
Yes. description accepts HTML. Use inline styles and encode any user-supplied values.
9. Can I use an email template instead of building the body in code?
Yes. The InstantiateTemplate action can generate subject and body from a Dynamics 365 email template, which you then use when creating the email.
10. Should I use this instead of Power Automate?
Use JavaScript when the email belongs to a user action and the user needs immediate feedback. Use Power Automate when the email is a reaction to data changes and can run asynchronously.
Want to add traceable, action-driven email notifications to your Dynamics 365 environment? Reach out to the CloudFronts team at transform@cloudfronts.com.