Azure Console Login & Logout using Azure PowerShell
User can Add Account on Azure to check or get its Subscription details as well as Remove Account. Let’s see the steps to add account and get subscription details also allows user to select a particular subscription as per requirement.
Step 1: Run Microsoft Azure PowerShell as Administration.
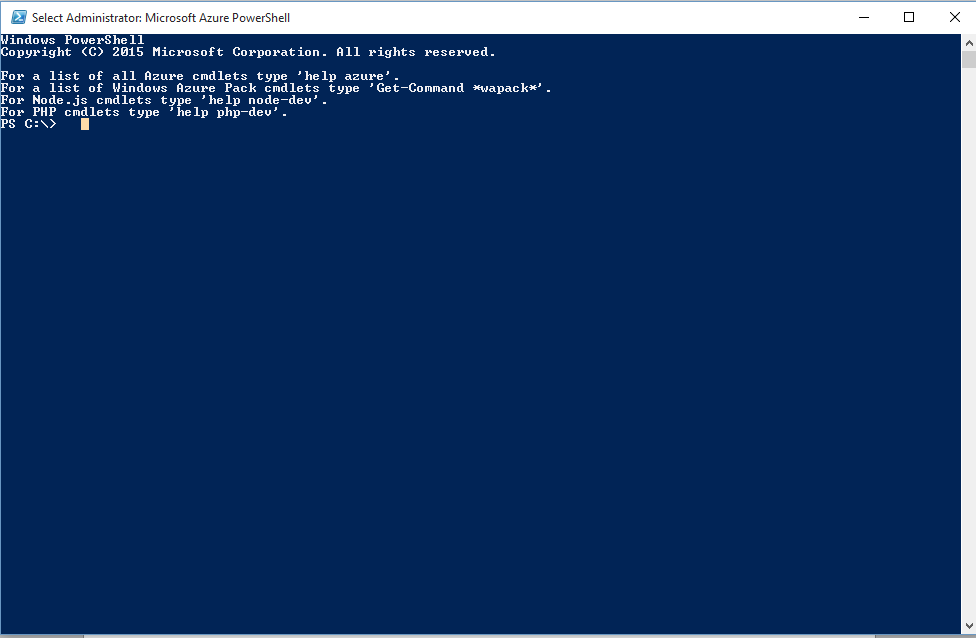
Step 2: Add your Microsoft Azure Account
To Login to your account write a command Add-AzureAccount. And then popup comes for asking the username.
Note: Login through your Live ID

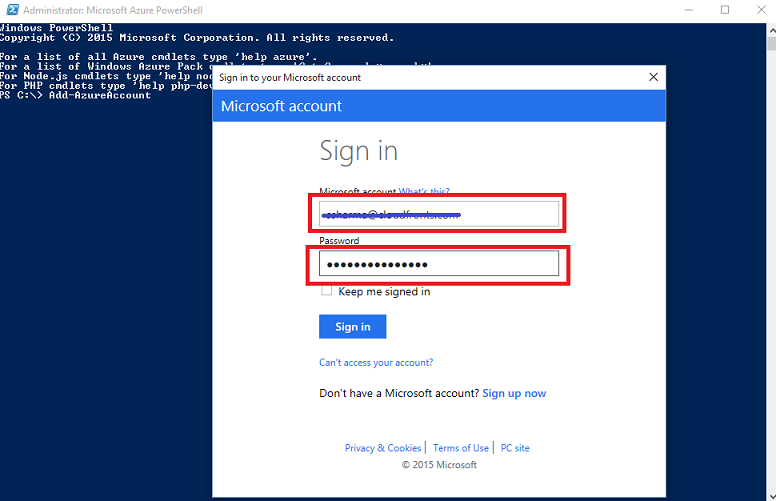
Step 3: Enter Credentials
Once the Step 2 is done, it will ask for user’s Credentials. Enter the Username and Password and press Enter.
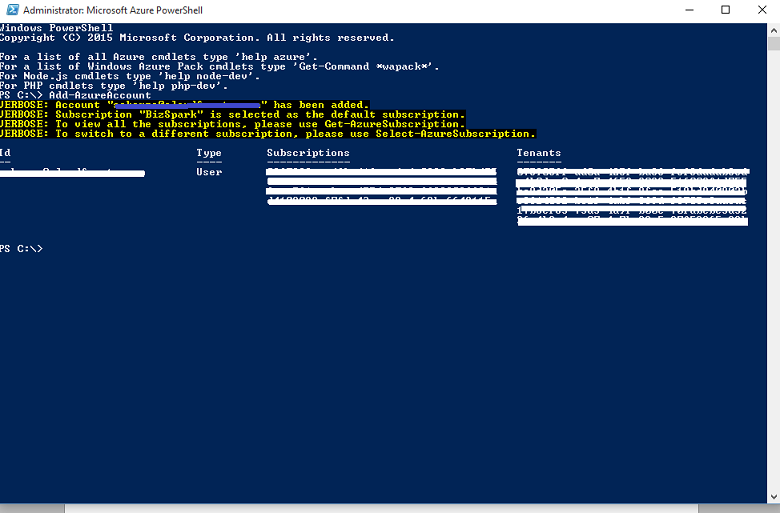
Once the details are entered, all the subscriptions with their ID and tenants related to that particular user will be listed as shown in the figure below.
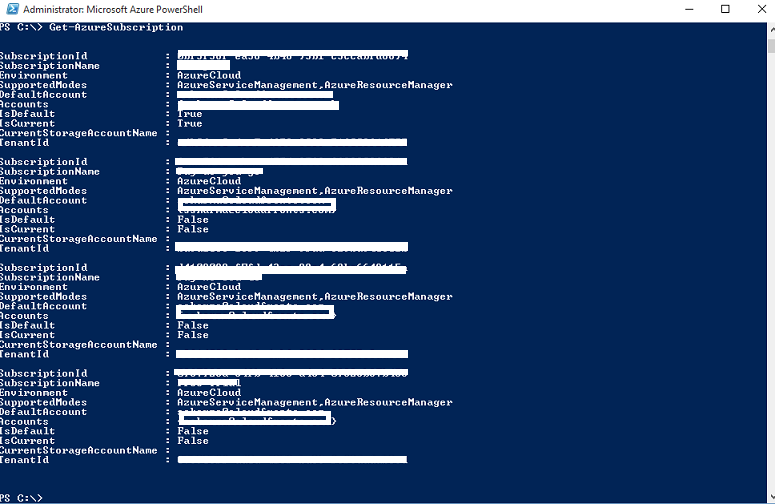
Step 4: Get Subscription Details
If the user wants to see the entire details for related Subscriptions present in that particular account, type command –GetAzureSubscription. This command lists downs every Subscription with its corresponding details like Subscription Id, Subscription Name, Account, Storage Account etc. as shown in figure below.
Step 5: Select Particular Subscription
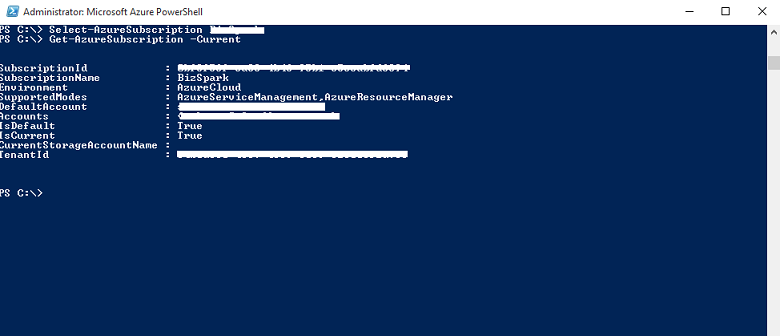
If user wants to select particular Subscription, type command Select-AzureSubscription (Subscription Name) and then type command Get-AzureSubscription –Current, this command will give the current Subscription details which was selected.
Step 6: Remove Microsoft Azure Account
Now if User wants to Logout, then type command –RemoveAzureAccount , once that is done PowerShell asks for ID and confirmation for the same.

Conclusion:
Thus User can login and logout successfully with help of Microsoft Azure PowerShell also can set and get its Subscription Details for that particular Account.
