Creating a New Module in Dynamics 365 for Finance and Operation
Introduction:
In Dynamics 365 New Modules are created using Menu. This is Customization in Dynamics 365 for Finance and Operations.
Steps:
Following are the Steps of Implementation:
Step 1: Create a Menu Item
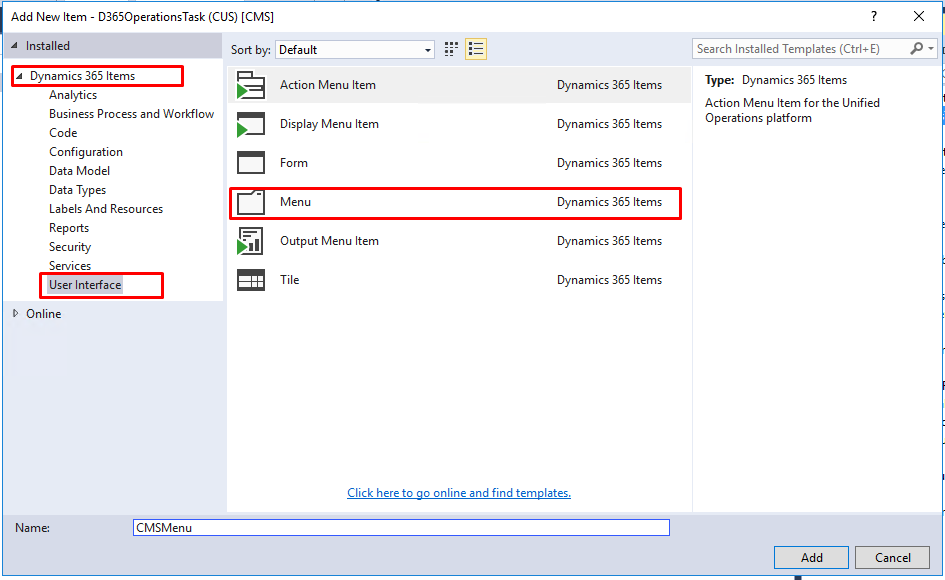
- Add a new Item to your Project . Under Dynamics 365 Items go to User Interface. Select Display Menu Item and give appropriate name to it.

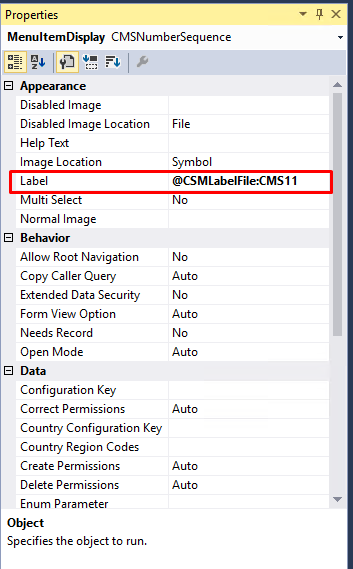
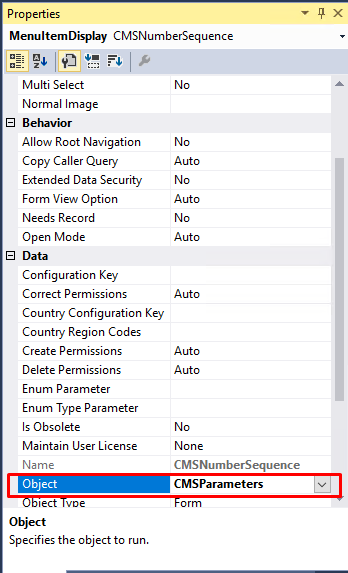
- Now open the Designer and Set the Properties of the Menu Item. Set the label Name for the Menu Item, Specify the Object to Run under Object.
- Refer this Menu Item under the Properties of Menu.
Step 2: Create a Menu
- Add a new Item to your Project Under Dynamics 365 Items go to User Interface Select Menu and give appropriate name to it.
- Now open the Designer and Set the Properties of the Menu. Set the Label Name for the Menu under Appearance and Menu Item name under Data.

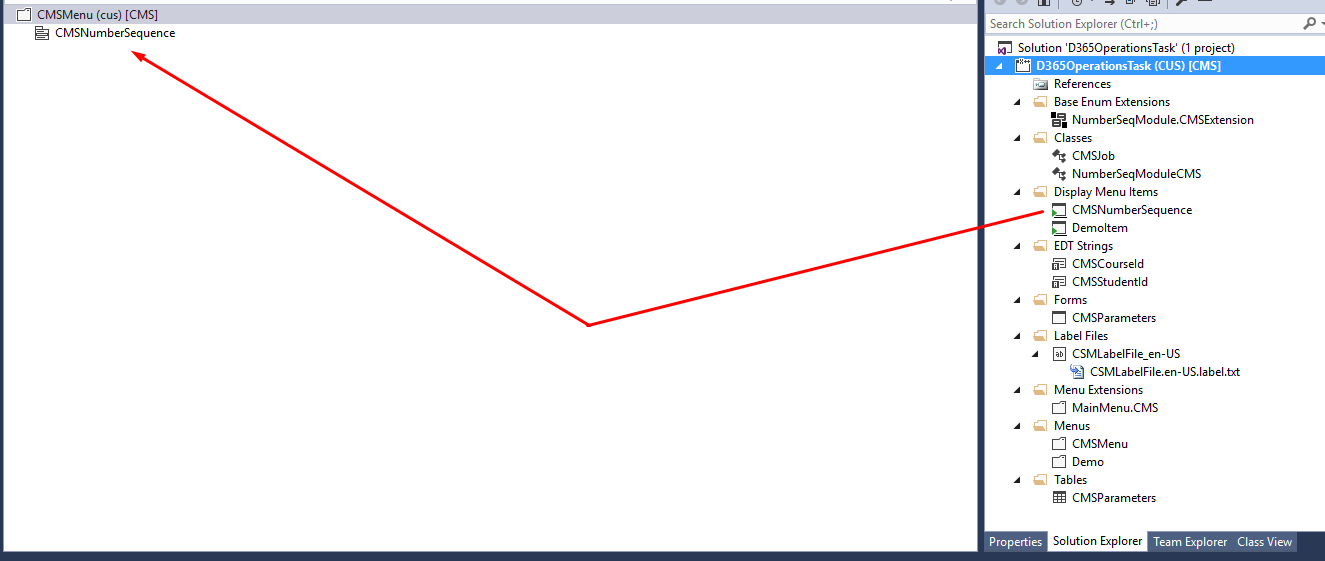
Step 3: Link the Menu Item under Menu
- Open the Menu Drag and drop the Display Menu Item from the Solution Explorer to the Menu.
Step 4: Display the New Module
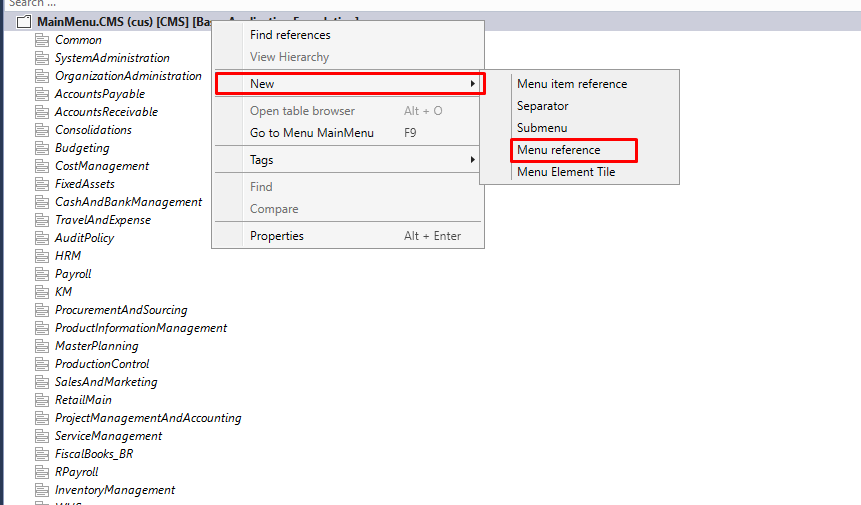
- Open the AOT and expand the Main Menu. Right click and click on Create Extension.

- You will be able to see the MainMenu.Extension in your solution Explorer. Rename it and open in Designer.
- Right click on the MainMenu.Extension and add new Menu Reference.
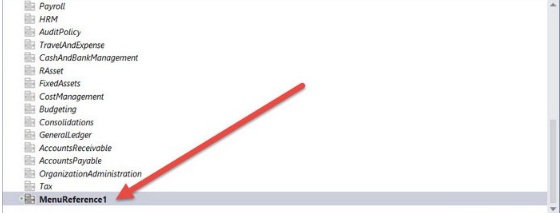
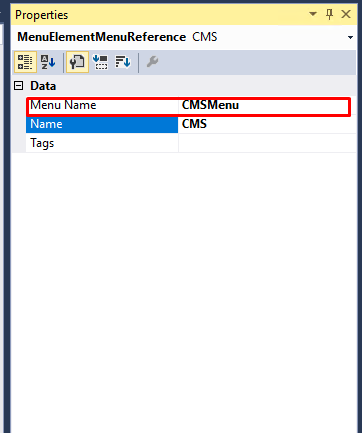
- Rename the Reference Menu and set its Properties.
- Set the Menu Name to the Menu Created in Step 2
Compile your Project
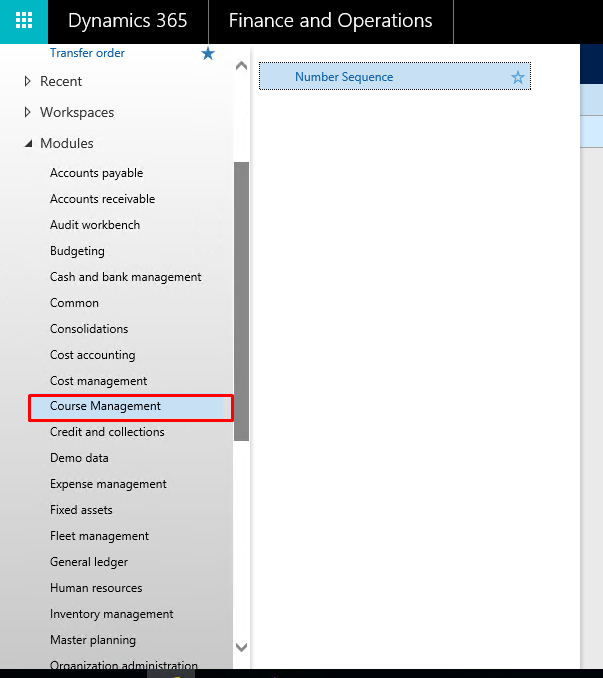
You can see your Module in the Main Menu.