How to Connect with Dynamics 365 and use Lookup Field of Dynamics CRM in PowerApps.
Introduction:
This blog explains how to Connect with Dynamics 365 and use Lookup Field of Dynamics CRM in PowerApps.
Steps for Creating Connection to Dynamics 365:
- Go to https://web.powerapps.com
- Create a new Connection with Dynamics 365.
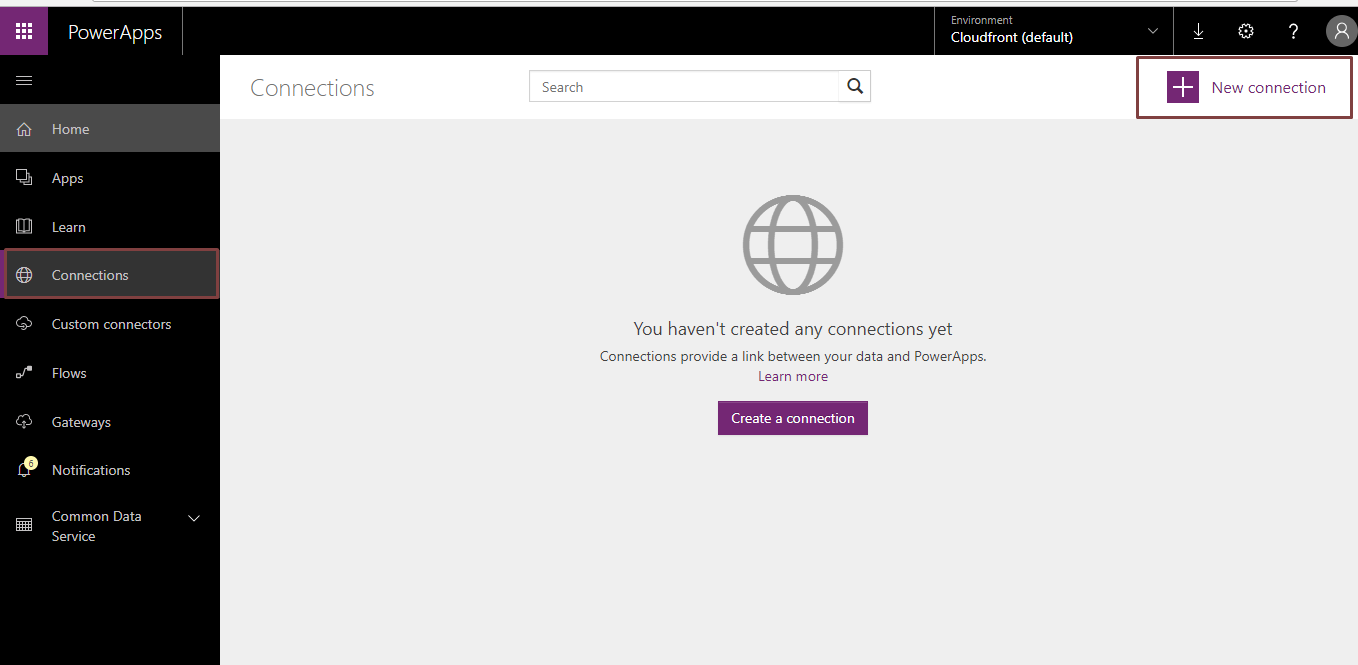
- Click on New Connection and search for Dynamics 365.
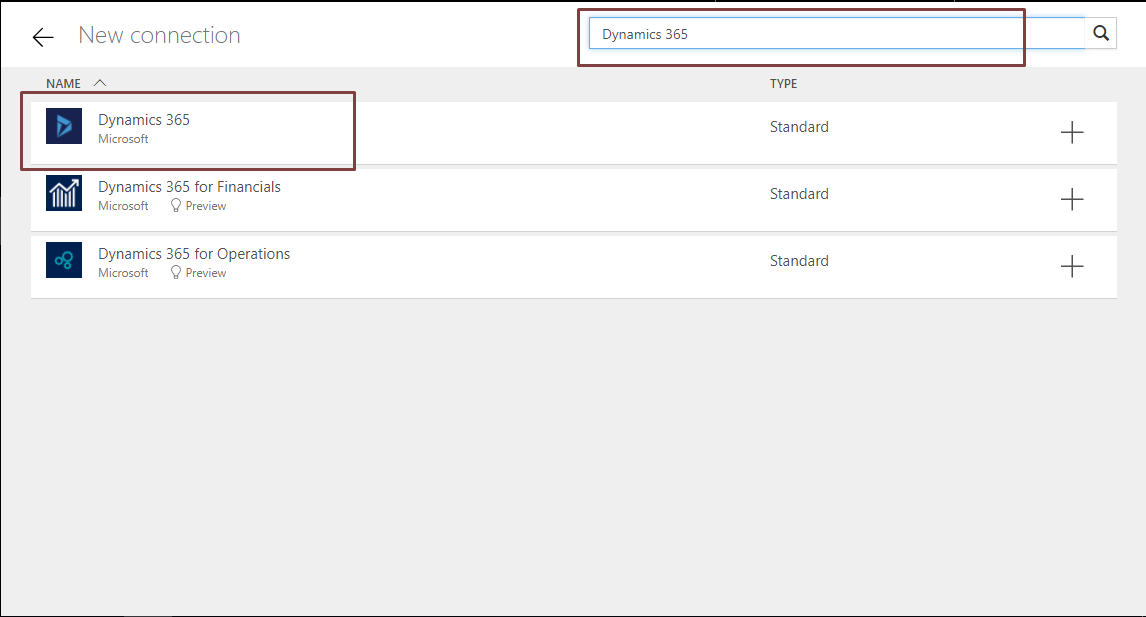
- Select Dynamics 365 and click on Create.
- Enter the Credentials for the Connection.
Steps for Creating an App:
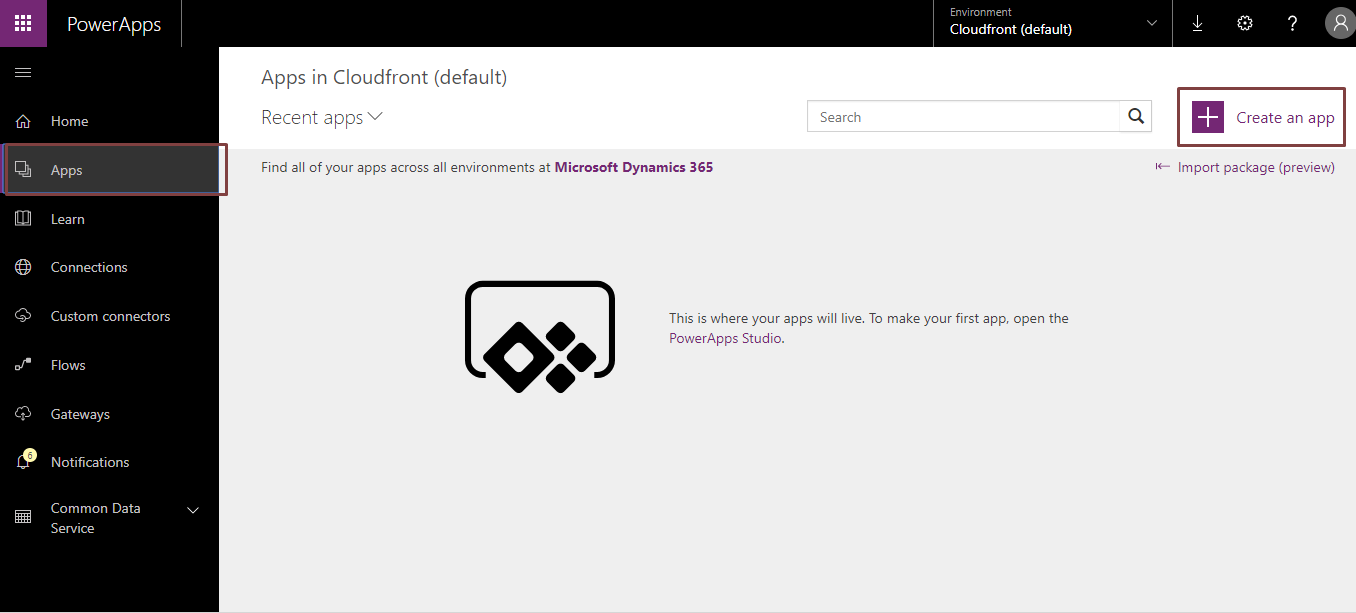
- Go to App and Click on Create an App.
- Under Start with your data select Phone Layout for Dynamics 365.

- Now Select Connection and choose a dataset from that Connection.
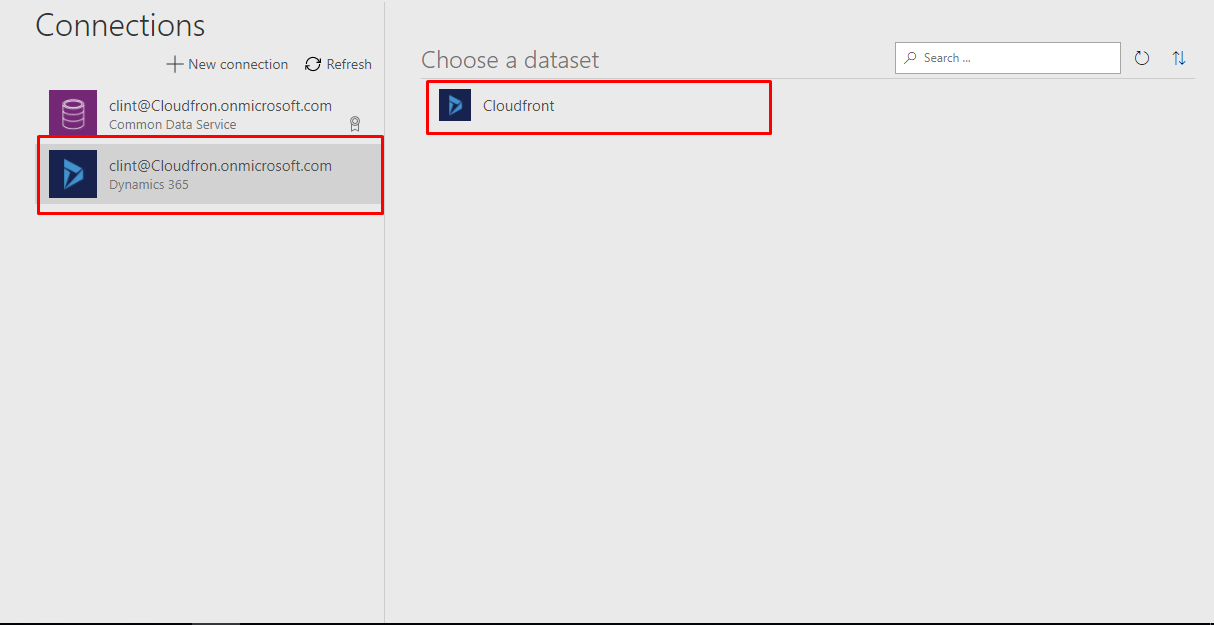
- Select the Entity from the list.
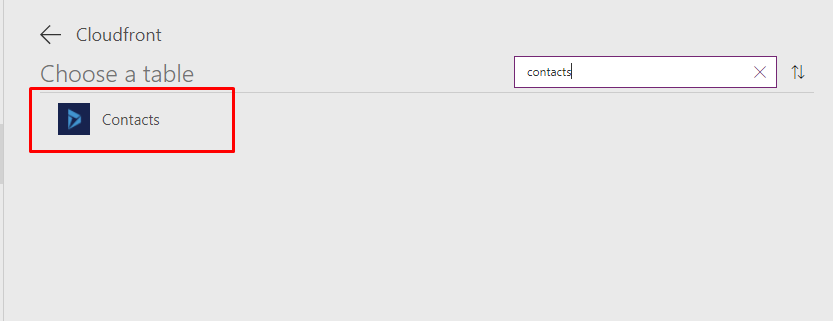
- Click on Connect.
- PowerApps will create Browse, Details and Edit screen for you.
- Browse Screen: You can search for the record and see all the records which are created.
- Detail Screen: It gives details of record which is selected in Browse Screen.
- Edit Screen: You can create or update the records from this Screen.
Important : The current Dynamics 365 connector does not support lookup or option set data types. so we’ll demonstrate how we worked around the lookup limitation.
Example: For contact entity there is Lookup field for accounts.To use Lookup Datatype in contacts for account you must add account entity also in PowerApps.
Steps for adding Account Entity:
- Go to View -> Data Source -> Select the Connection
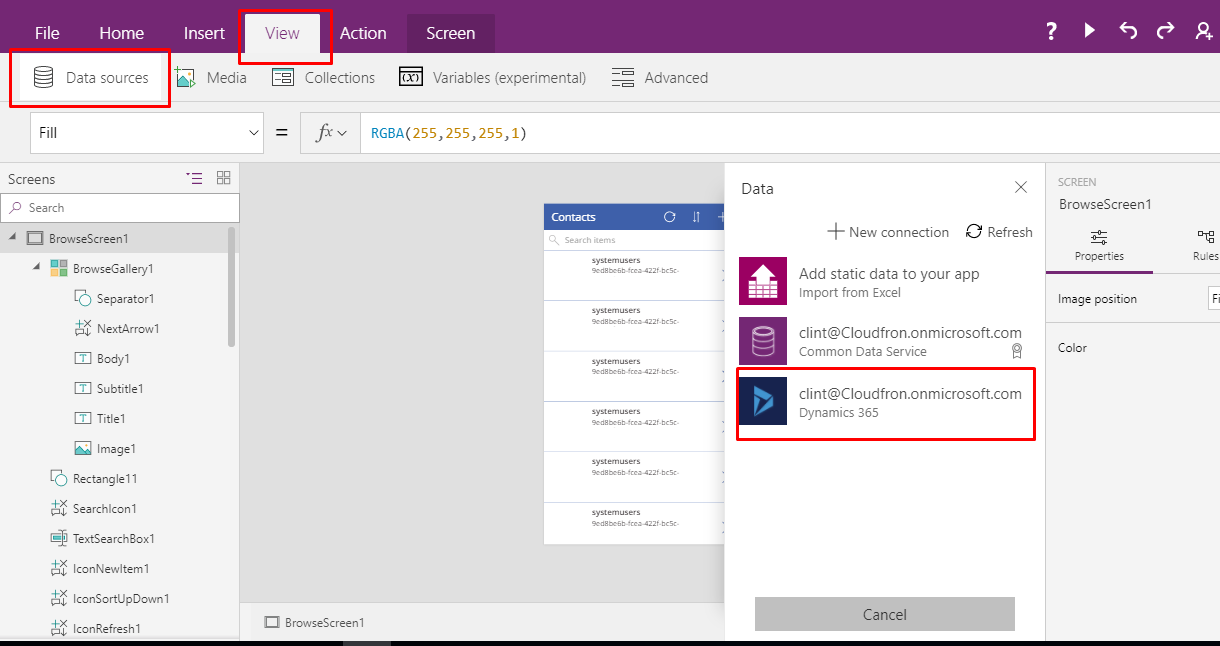
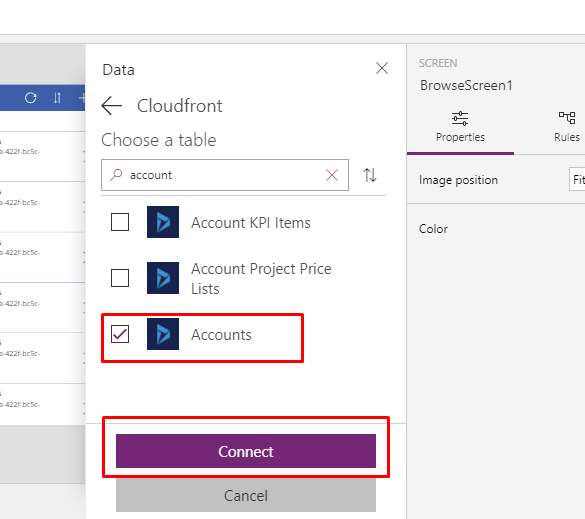
- Choose Dataset->Select Account Entity ->Connect.
Now Make changes on each screen so that you get account name instead of GUID of account entity.
Browse Screen:
Select the field in which you want to display account name. Under Text Property of that field write :
LookUp(Accounts , accountid = ThisItem._parentcustomerid_value , name)

Now it will return the name of Account instead of GUID.
Detail Screen:
Select the field in which you want to display account name. Under Text Property of that field write :
LookUp(Accounts, accountid = ThisItem._parentcustomerid_value , name)
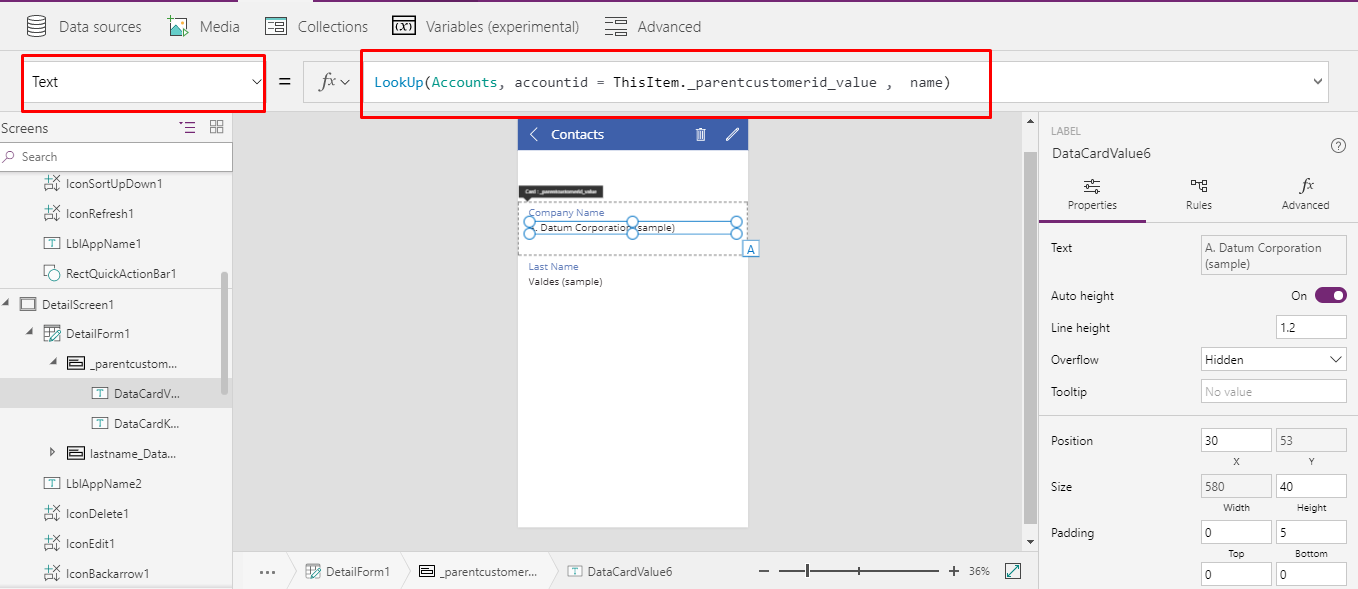
Now it will return the name of Account instead of GUID.
Edit Screen:
Steps:
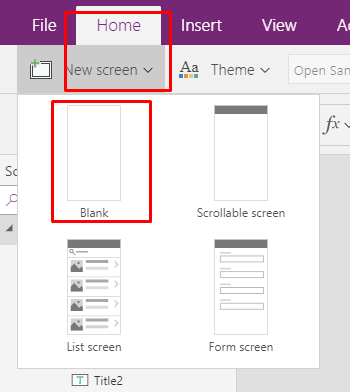
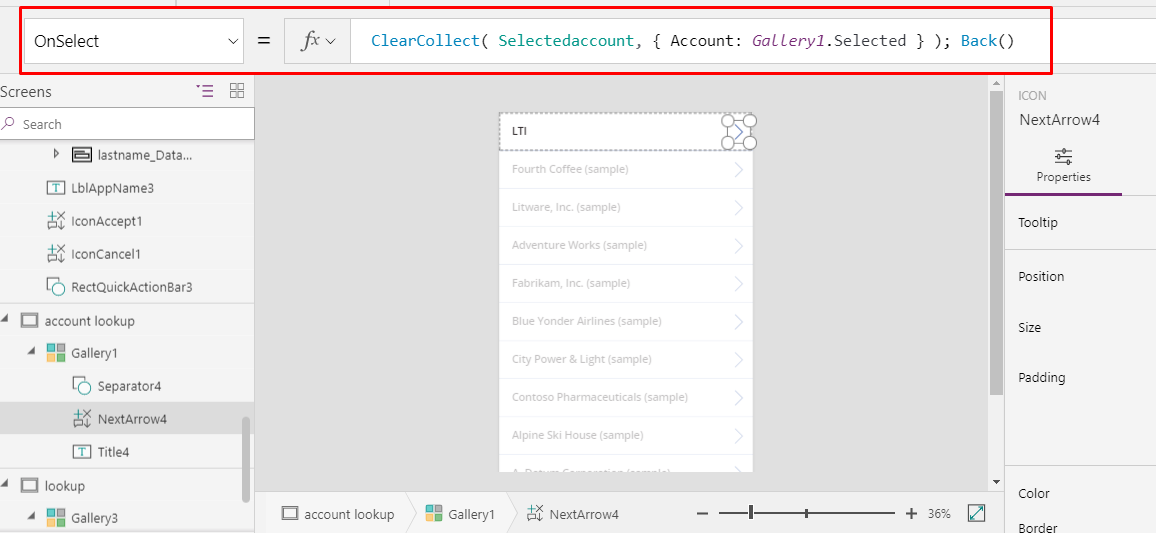
- Create a new Blank screen name it as account lookup.
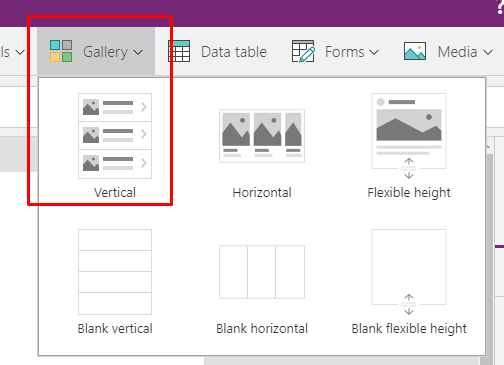
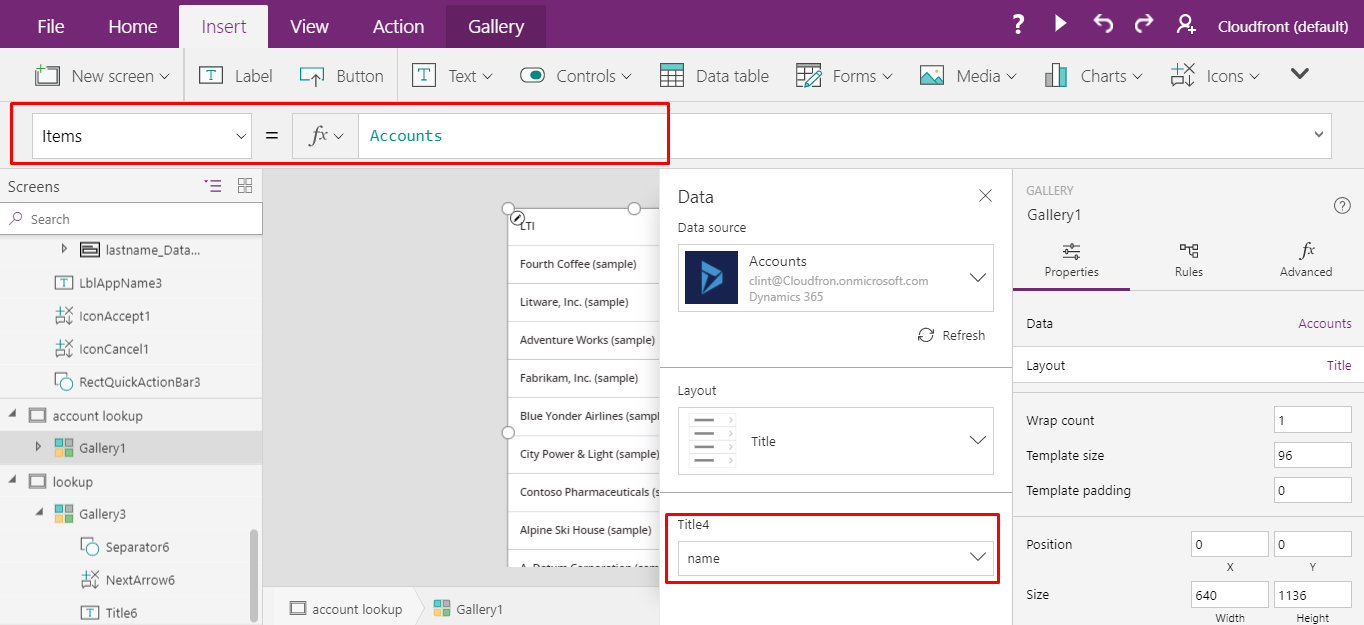
- Add Gallery control inside Blank Screen and set its items property to accounts.
- Select the next arrow and set its OnSelect property to : ClearCollect( Selectedaccount, { Account: Gallery1.Selected } ); Back()
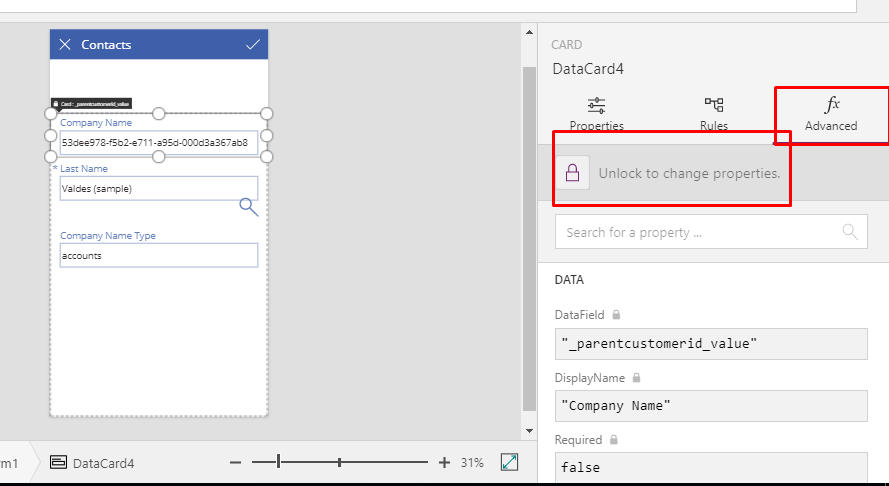
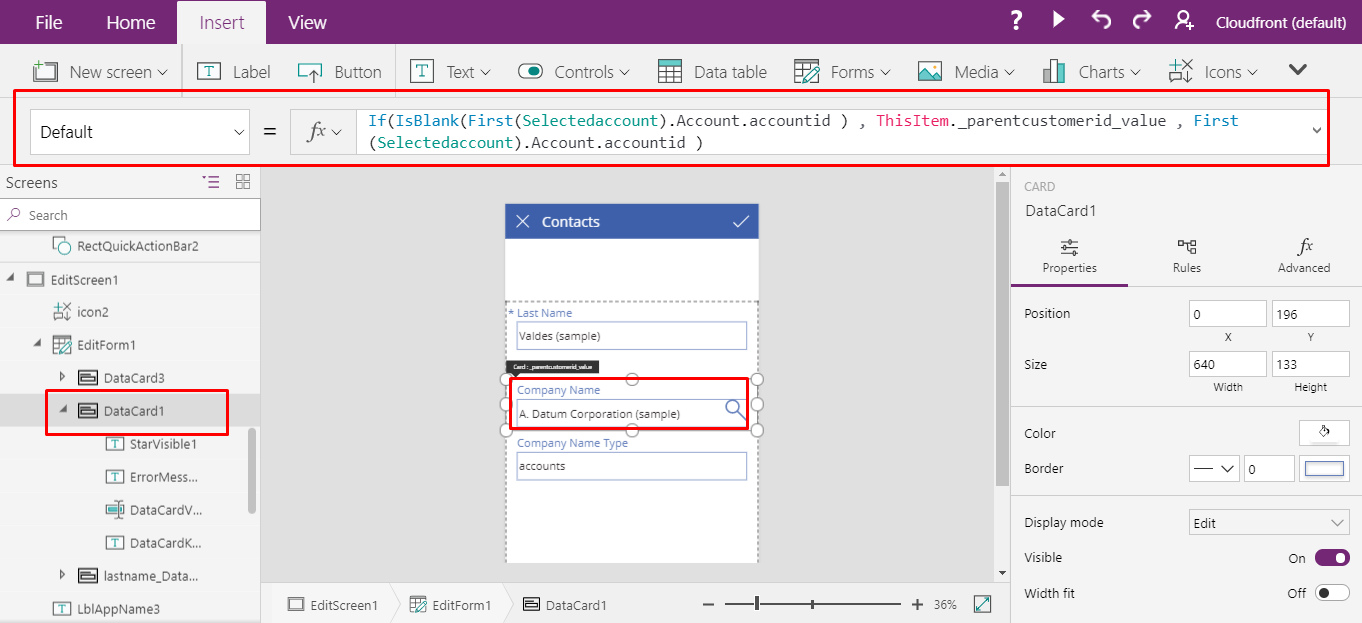
- Now Go back to Edit Screen Select the Data Card of Company Name and Go on Advanced Properties and Unlock the Data Card.
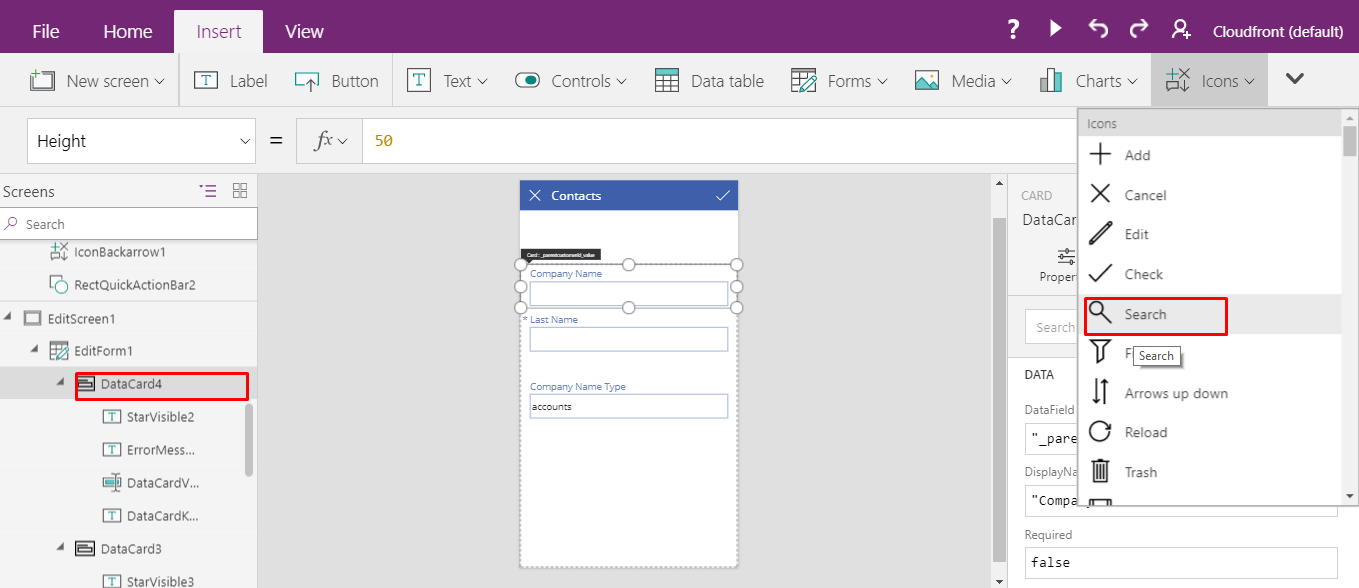
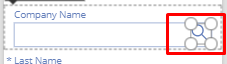
- After Unlocking the Data Card Add search icon inside the Data Card.
- Now select that Data Card of Company Name and set its Default value to:If(IsBlank(First(Selectedaccount).Account.accountid ) , ThisItem._parentcustomerid_value , First(Selectedaccount).Account.accountid )
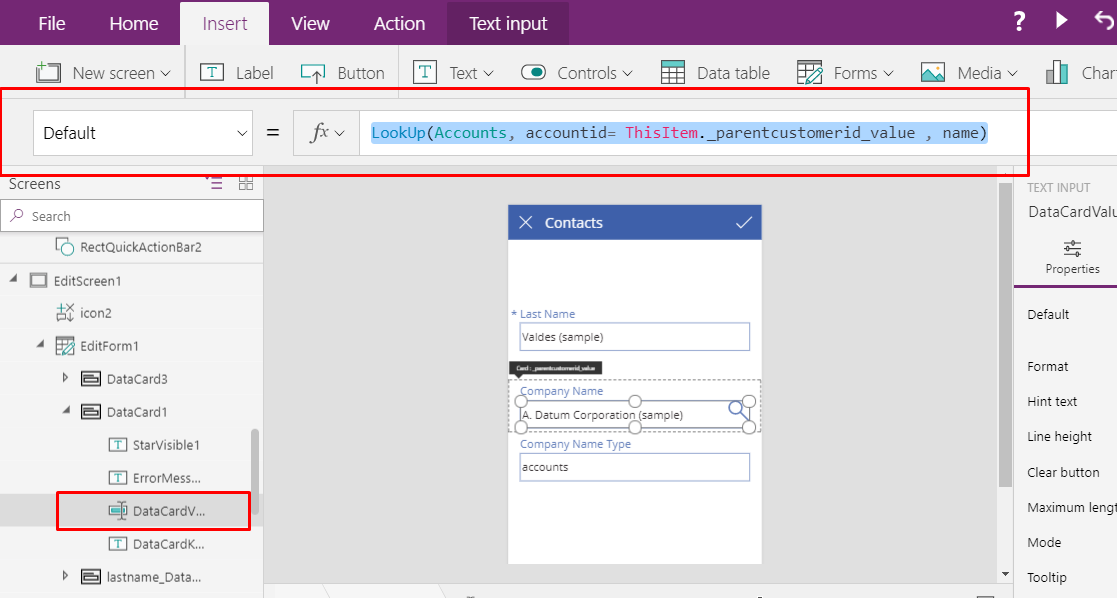
- Select the Data Card value of Company Name and set its Default value to:LookUp(Accounts, accountid= ThisItem._parentcustomerid_value , name)
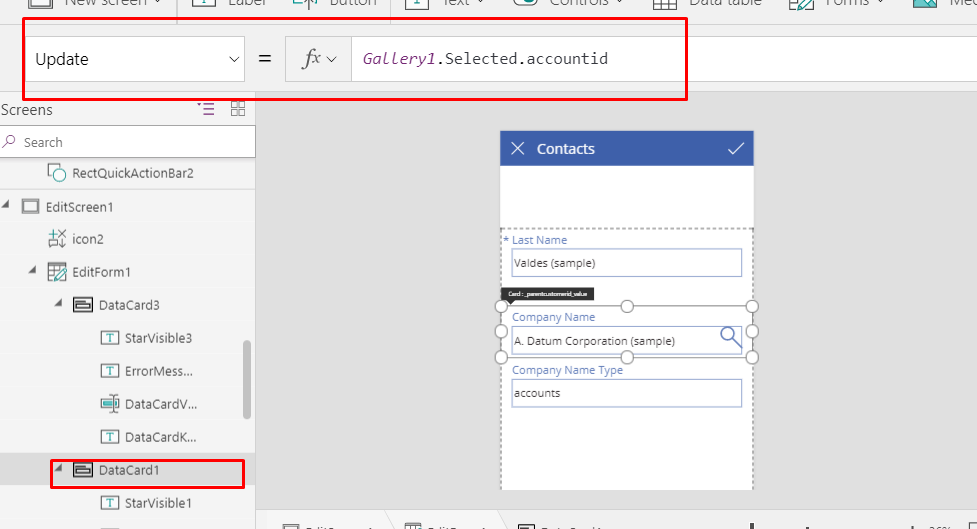
- Select the Data Card and set its update Property to:Gallery1.Selected.accountid
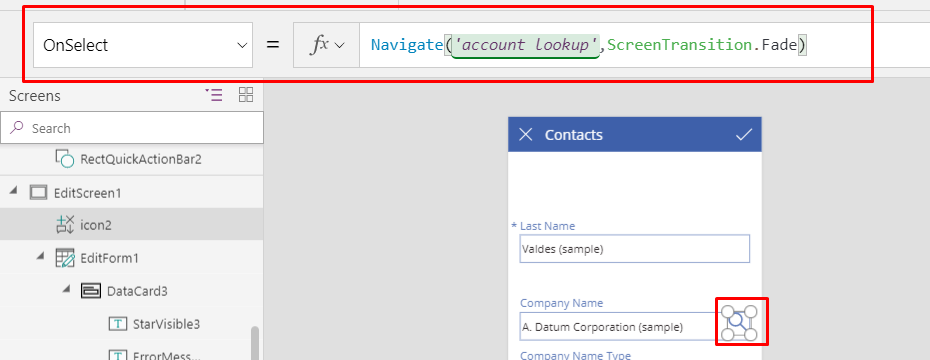
- Select the search icon and set its OnSelect property to:Navigate(‘account lookup’,ScreenTransition.Fade)
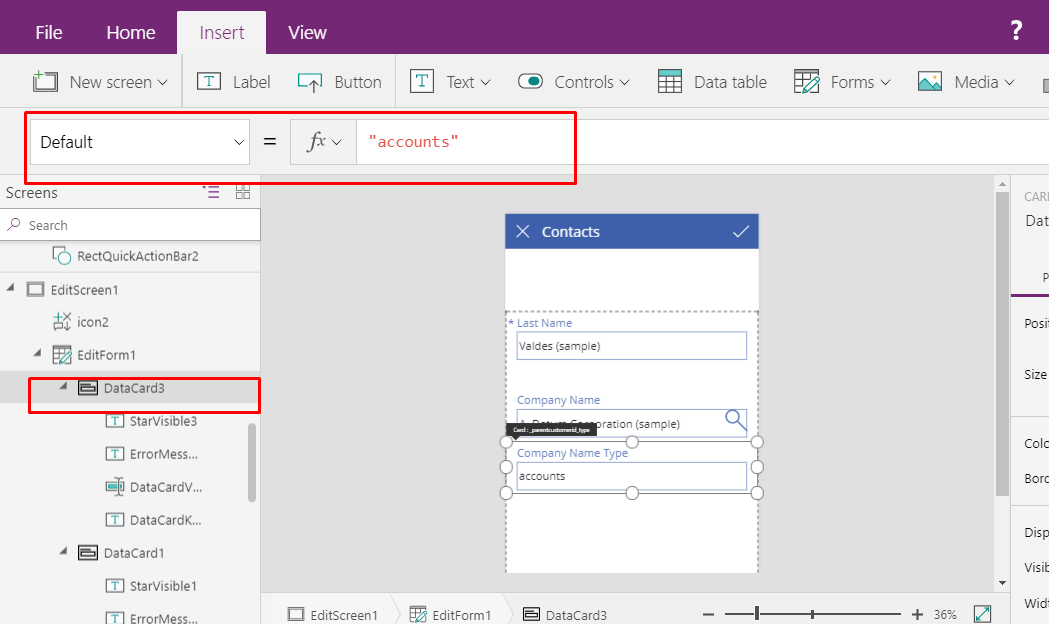
- Select the Data Card of Company Name Type field and set its Default value to: “accounts”
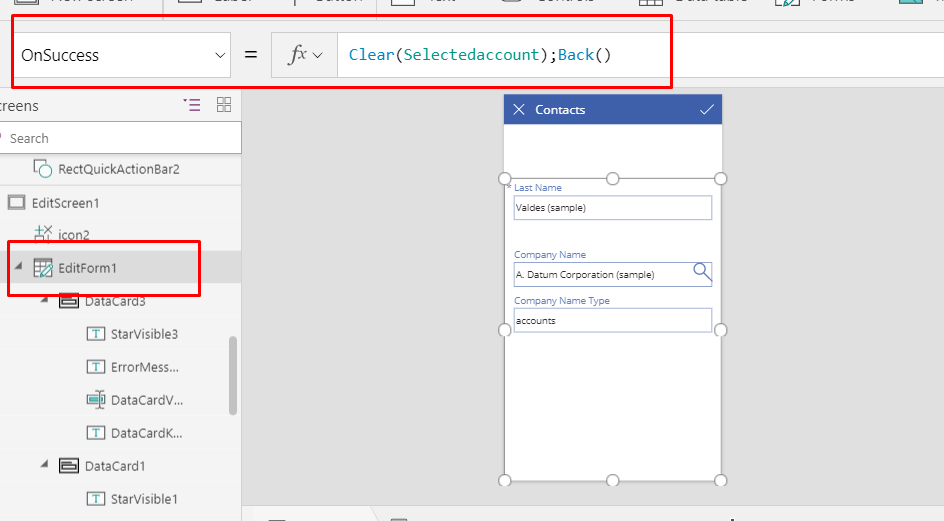
- Select the form and set its OnSuccess Property to:Clear(Selectedaccount);Back()
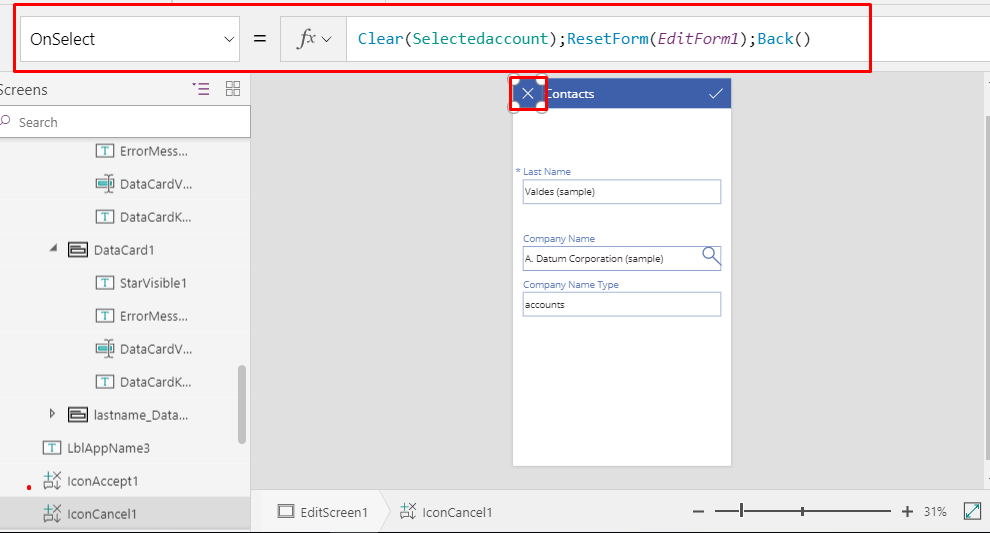
- Select the Cancel icon and set its OnSelect Property to:Clear(Selectedaccount);ResetForm(EditForm1);Back()