Create records in Dynamics CRM using Microsoft Excel Online
Importing customer data into Dynamics 365 doesn’t have to be complicated. Whether you’re migrating from another system or onboarding a large volume of new customers, using Microsoft Excel Online provides a quick, user-friendly, and efficient way to create multiple records at once-without any technical setup. In this blog, I’ll walk you through a simple step-by-step process to import customer (or any entity) records directly into your Dynamics 365 environment using Excel Online, ensuring clean, fast, and accurate data entry.
Let’s say you want to import customer records or any entity records in dynamics CRM in this blog I will show you how you can import multiple customer records into your dynamics 365 environment simply using Microsoft Excel online.
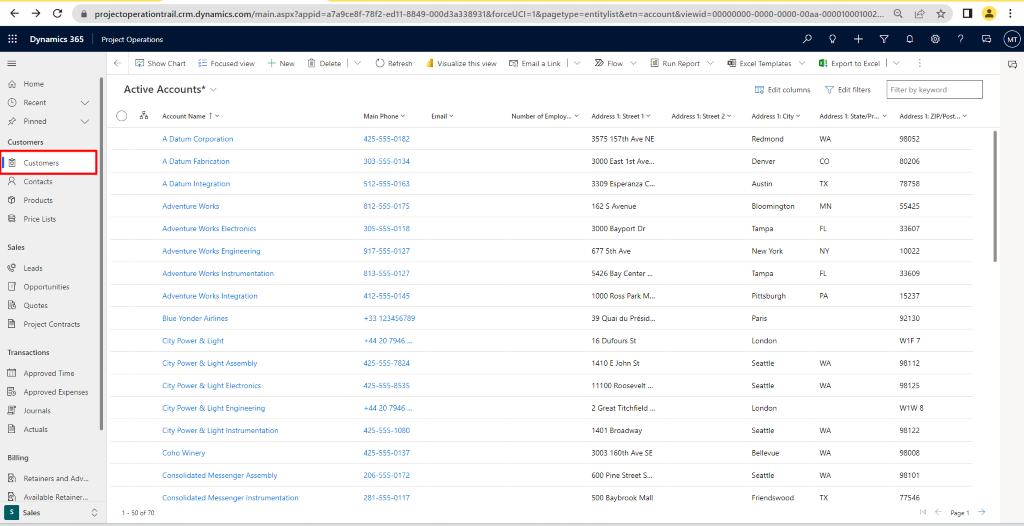
Step 1: Go to the entity’s home page who’s records you want to create (In my case it is customer entity).
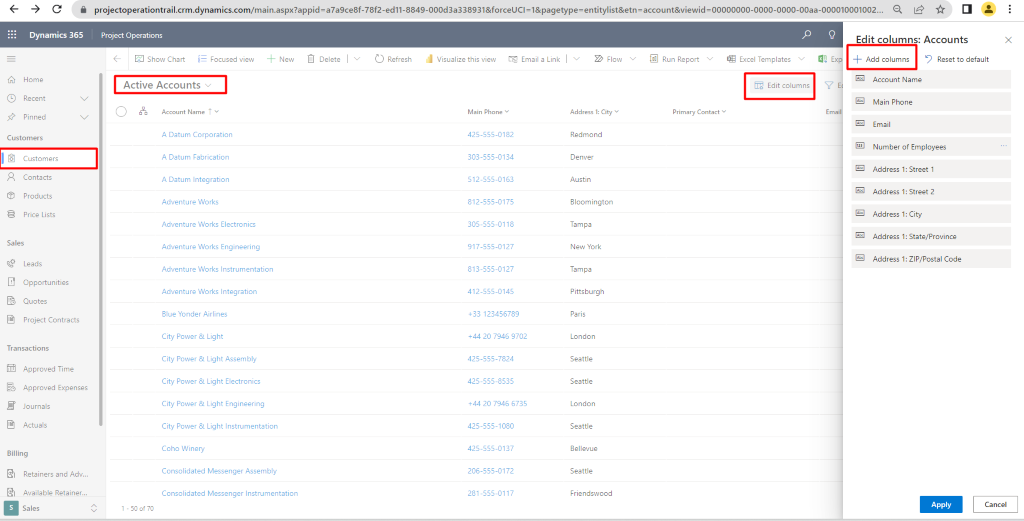
Step 2: On the active accounts view (or any view) click on edit columns and add the columns as per the data you want to be fill in. (Don’t forget to hit apply button at the bottom)
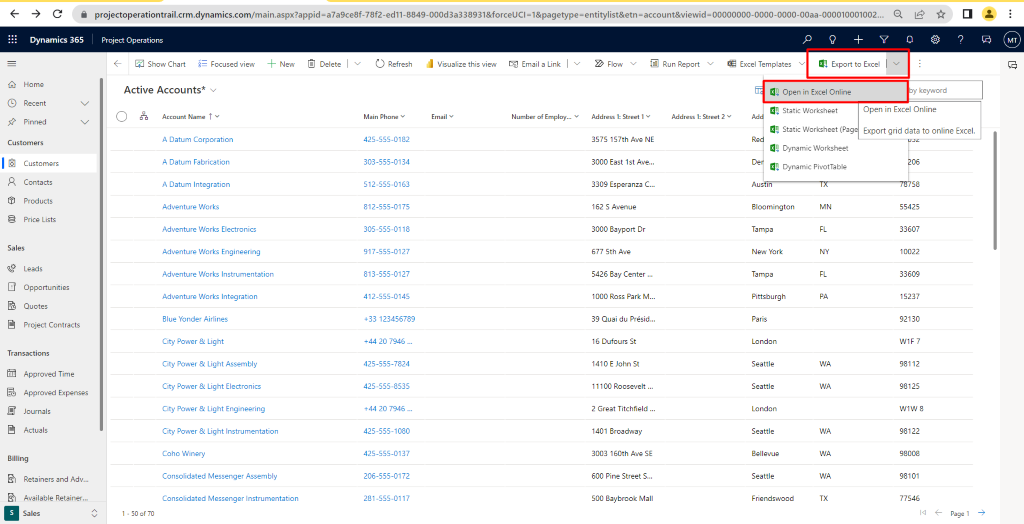
Step 2 : Once your view is ready click on Export to Excel Button on the top left and select Open in excel online.
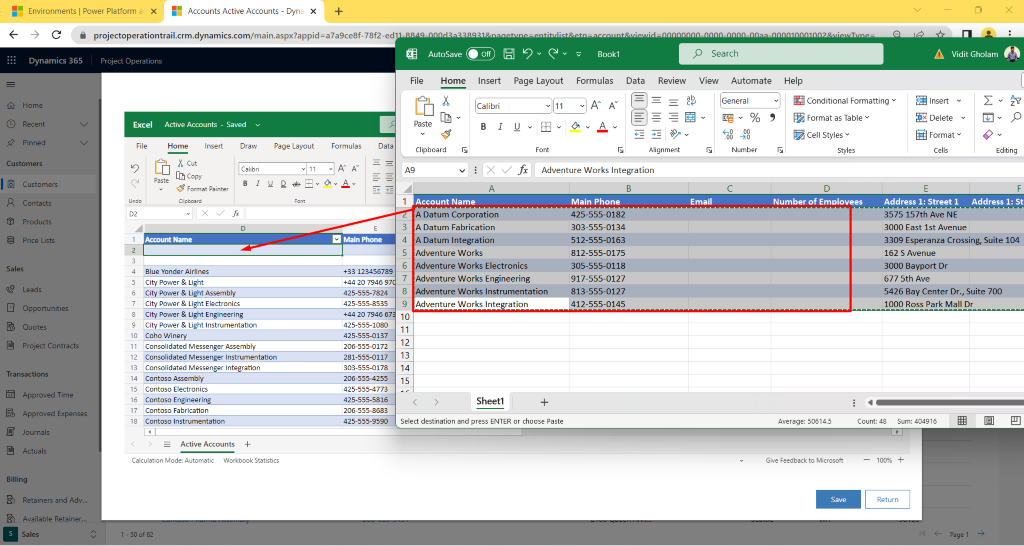
Step 3: If you are using a system view like in this example you will see existing records on the online excel, you can clear those records or keep them as is. If you change any existing record, it will update the data of that record so you can also use this to update existing records at once (I will write a separate blog post for updating records for now let’s focus on creating records)

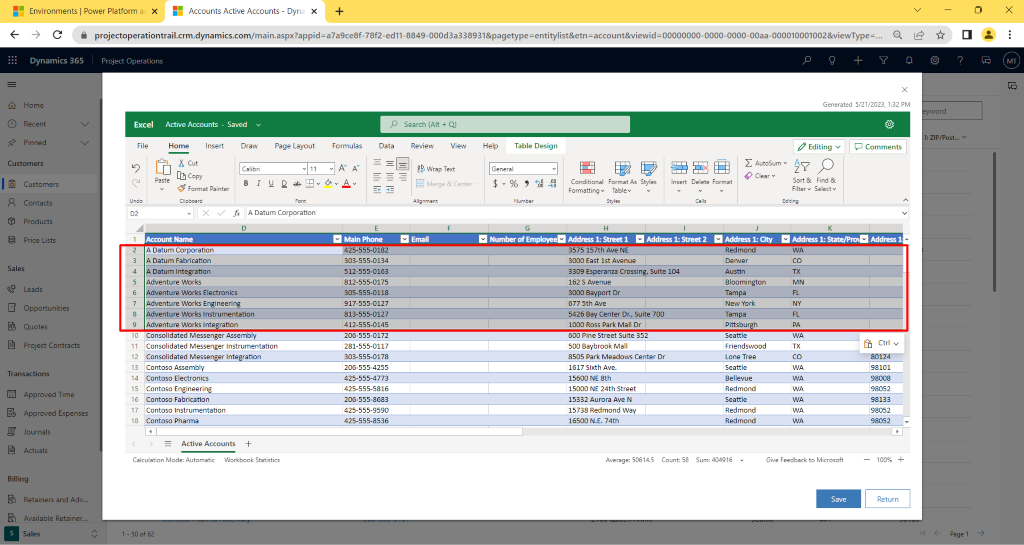
Step 4: You can then add the data which you want to create to the online excel sheet, in this example I am transferring data from a local excel sheet to the online excel.
Step 5: Once you have added your data on the online excel, hit apply button.
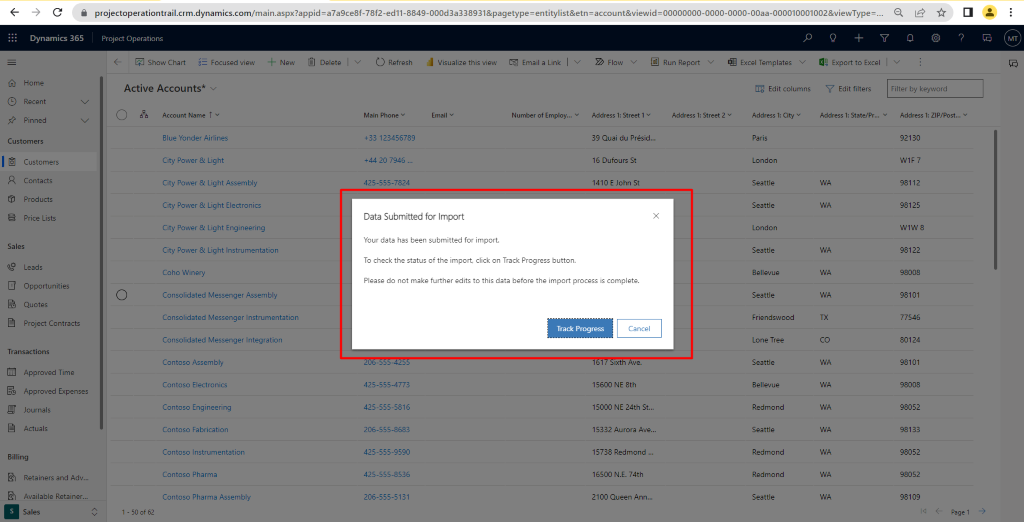
Step 6: You will get a Popup about your data being submitted for import, hit Track Progress.
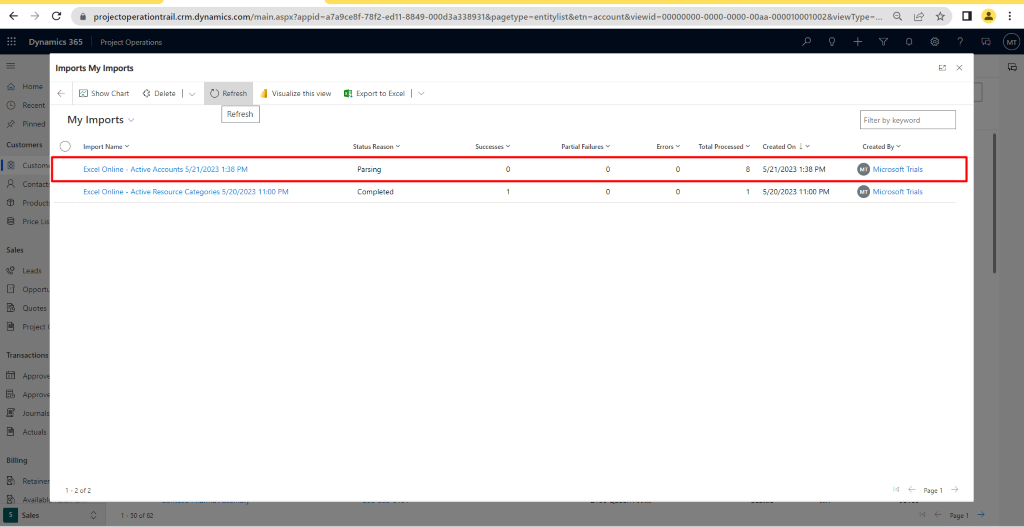
Step 7: You will see your data has been submitted and is parsing. (It will take couple of minutes to hours depending upon the amount of data you have submitted keep refreshing to see the progress of the records).
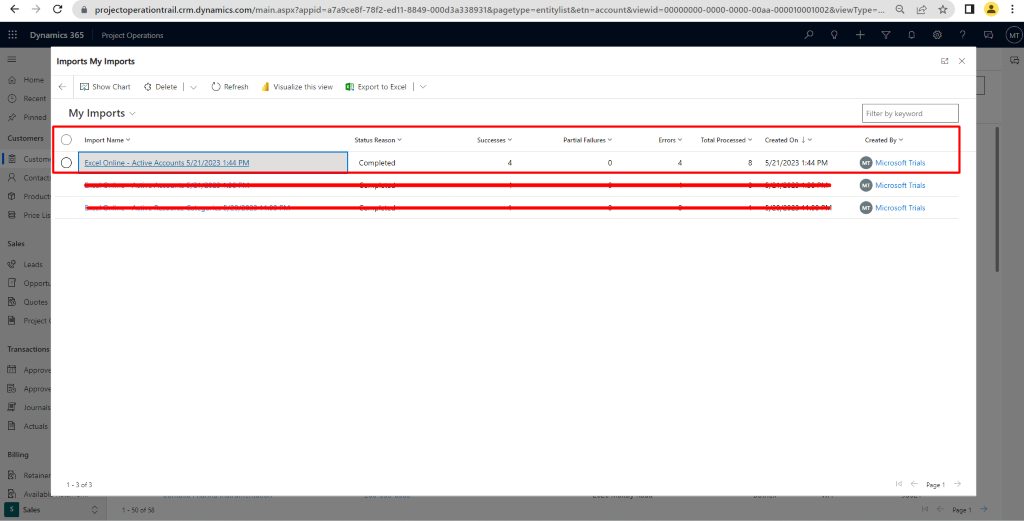
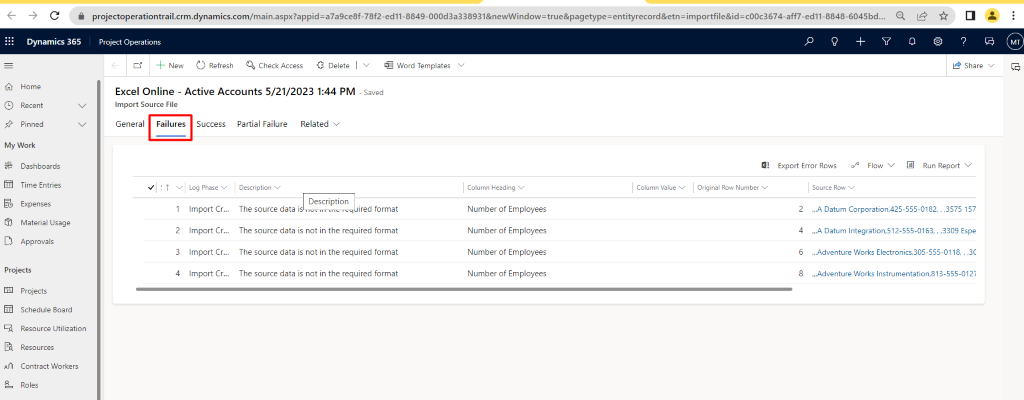
Step 8: Once the import job is completed you will see how many records were created successfully and how many failed or partially failed. You can open the import job and check failed entries, correct the entries and re-import
Failed records
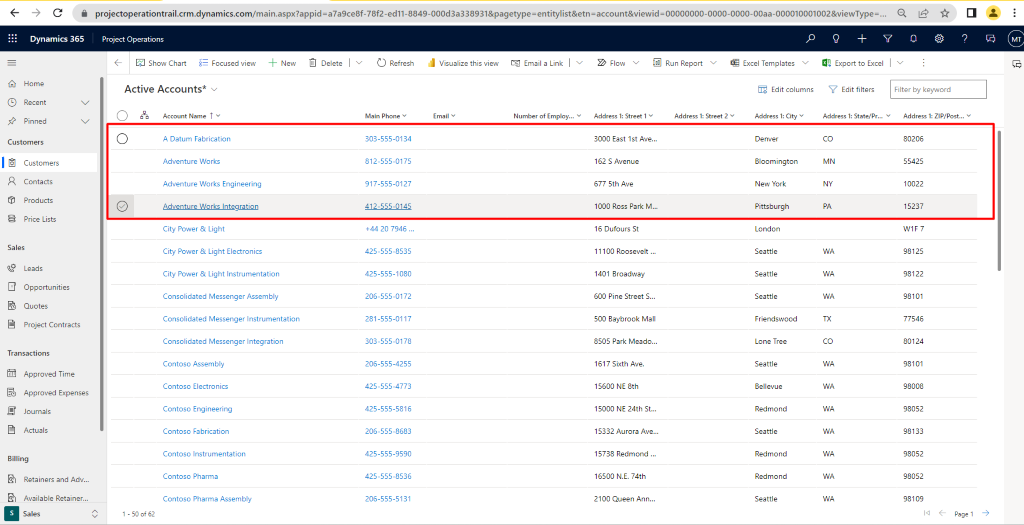
All the successfully parsed records will be created in your system.
Importing customer records in Dynamics 365 becomes incredibly seamless with Excel Online. With just a few steps-preparing your view, exporting to Excel, adding your data, and submitting the import-you can create hundreds or even thousands of records in a fraction of the time. This approach not only speeds up data entry but also ensures consistency and reduces manual errors. Hope this helps! 😊
I Hope you found this blog useful, and if you would like to discuss anything, you can reach out to us at transform@cloudFronts.com.
