Enable language translation on Custom solutions in Dynamics CRM
In this blog, we’ll see how to apply language translation on custom entities, model driven apps and business process flows in Dynamics CRM
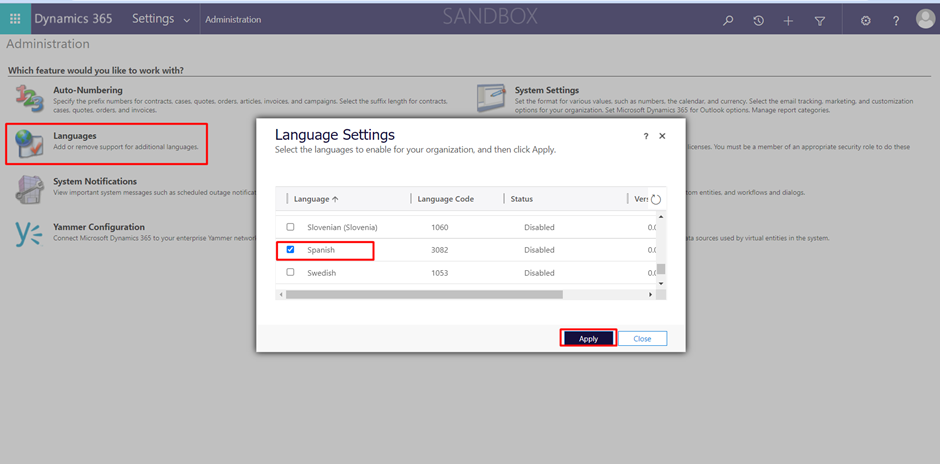
Step 1- Go to Settings -> Administration->Languages. In Language settings select the required language and click on apply.
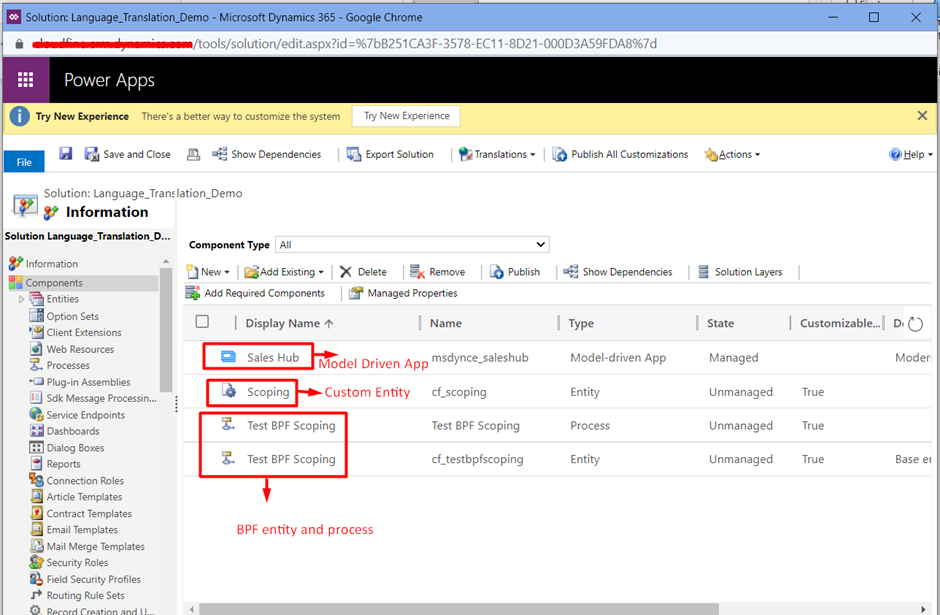
Step 2- Include all the required components into the solution
For example-
- Custom Entities
- Model Driven App- For example – Sales Hub
- Business Process Flow (BPF)- Include the BPF entity as well as process
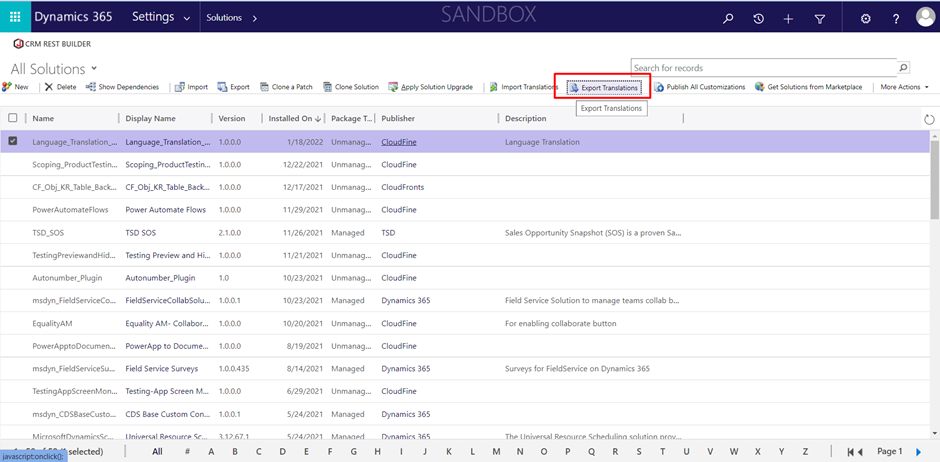
Step 3- Select the solution and click on Export Translation to export the translations to an archived file.
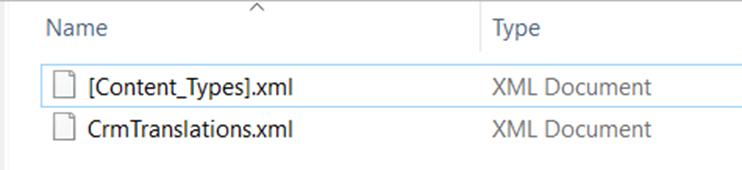
Step 4- Extract the contents of the downloaded CrmTranslations_<solutionname>_1_0.zip. This will extract two files.

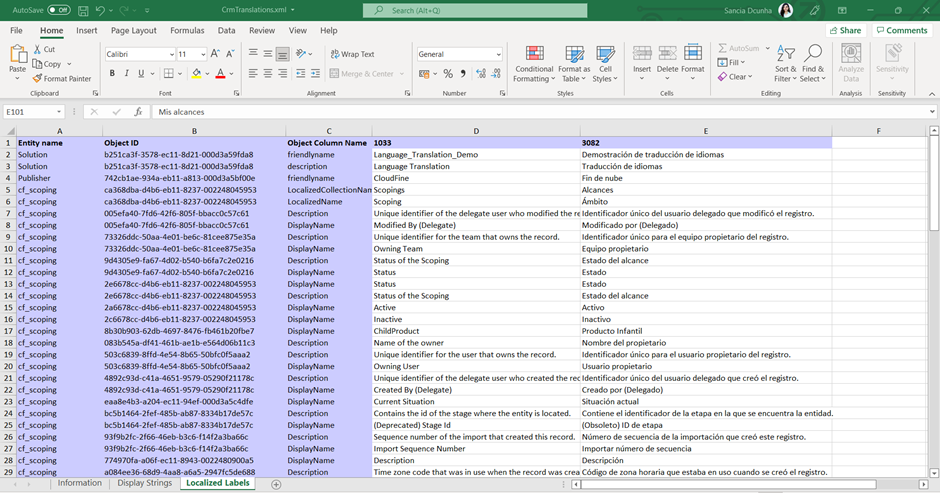
Step 5- After extracting the file, open the CrmTranslations.xml file in excel. You will find 3 sheets in it. Open Localized Labels file, you will find columns for each of the languages you have deployed. Fill in the translations for each language options available.
Step 6- Zip the file again and re-import the translations to the same solution using the Import translations button.


Step 7- After successful import, click on publish all customizations.
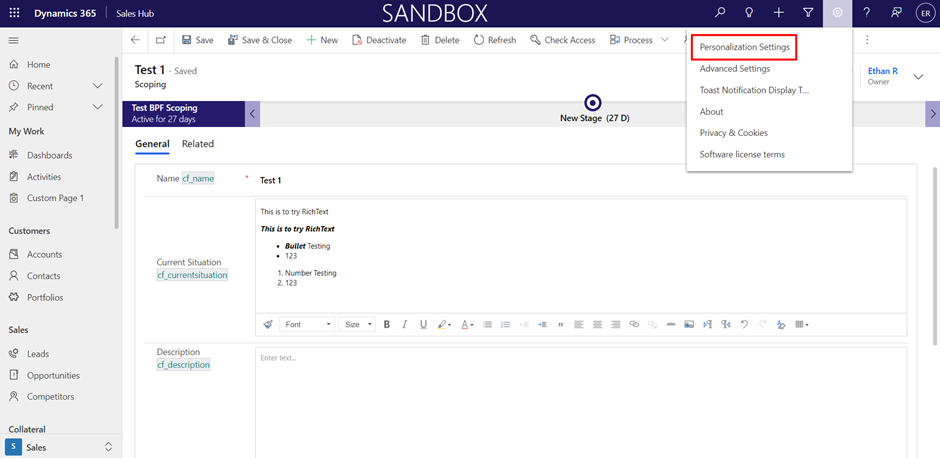
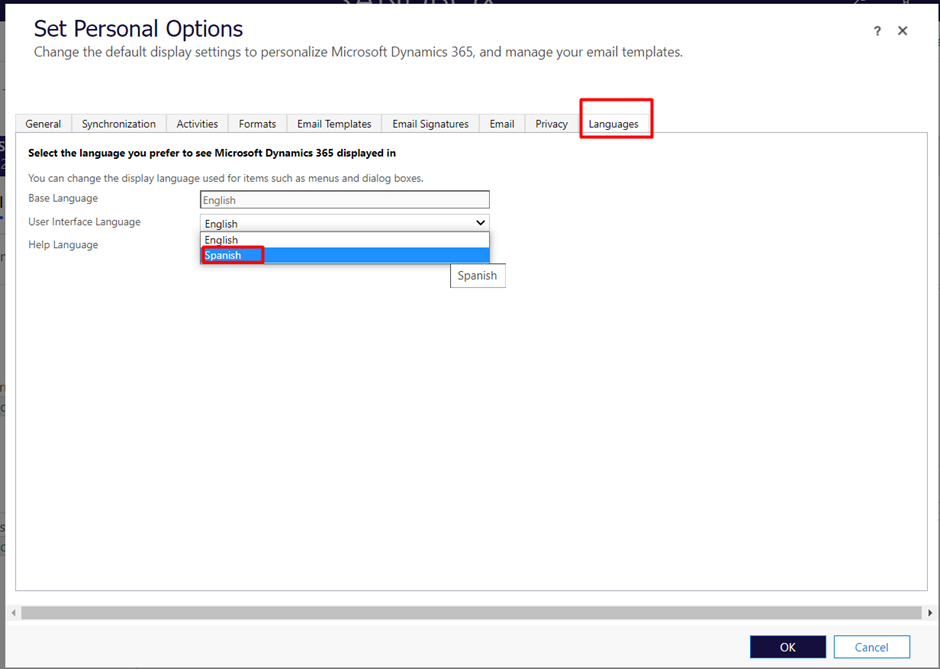
Step 8- Go to settings ->Personalization Settings -> Languages. Select the language you wanted to translate into.
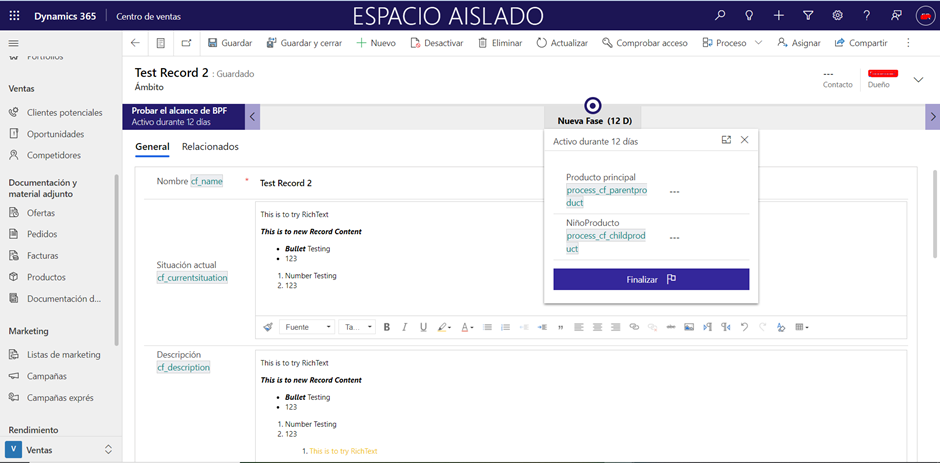
Output-
Hope this helps!!
