
Shopify Meets Dynamics 365 Finance and Operations: A Guide to Integration [Part 1]
Introduction
The integration of Shopify with Dynamics 365 Finance and Operations (FnO) starts by creating a secure link.
The initial step in this process involves generating an API token within Shopify, serving as the credential for verified communication between both systems.
In this blog I will walk you through the steps to create the API token, facilitating a seamless beginning for your integration.
Pre-requisites
Access to the Shopify Admin account with appropriate permissions to create private apps or access custom apps.API access enabled in your Shopify store.A basic understanding of API concepts and authentication methods. [Available in Reference]The URL or endpoint details where the API calls will be directed. [Available in Reference]
References
Shopify – How to generate API token
ResfulAPI.net – Basics of REST APIs
Shopify.dev – REST API Documentation
Configuration
Step 1: Access the Shopify Admin Portal
Log in to your Shopify store’s Admin account.
Navigate to Apps from the main menu.

Step 2: Create a Custom App
Click on Develop Apps (available under Apps).
Select Create an App and provide a name (e.g., “Dynamics365_Integration”).
Assign a developer or admin as the app owner.


Step 3: Configure API Scopes
After creating the app, click on it to open the configuration page.
Under the Configuration section, define the API scopes required for integration based on your requirements.
You can change these later if required.
For example:
- read_orders
- write_orders
- read_products
- write_products
Click on Save to save the changes.


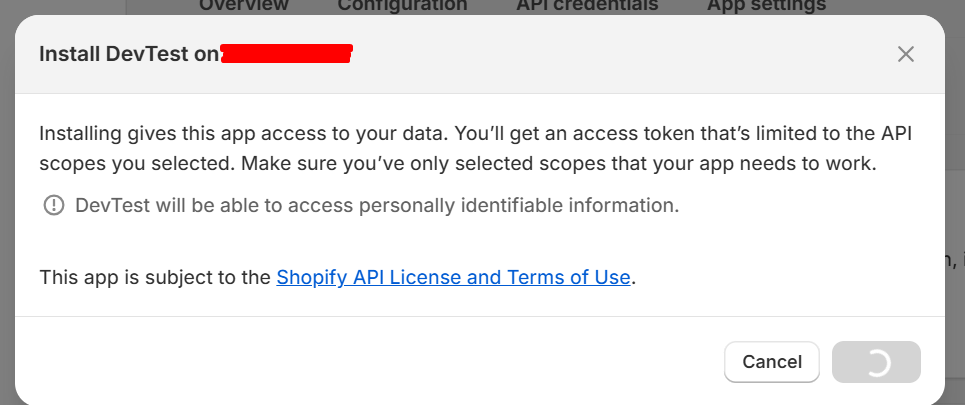
Step 4: Generate the API Token
Once scopes are set, click on the API credentials tab.
Click Install App to generate the credentials.
A unique Access Token will be displayed.
Copy and securely store this token, as it will not be shown again.
If you scroll down, you’ll also see the API Key and API Secret; store these values as well.


Step 5: Test the Token
Use a tool like Postman to test the API token.
Set up a GET request to an API endpoint (e.g., https://<API KEY>:<API Secret>@<Store Name>.myshopify.com/admin/api/2023-07/products.json).
Include the token in the header as X-Shopify-Access-Token.
Verify the response to confirm the token is working correctly.

Or simply (https://<Store Name>.myshopify.com/admin/api/2023-07/products.json)

Conclusion
The API token is your gateway to integrating Shopify with Dynamics 365 Finance and Operations.
By following this guide, you’ve taken the first critical step toward seamless data flow between your e-commerce platform and back-office operations.
In the next blog, we’ll explore how to configure Dynamics 365 Finance and Operations to connect with Shopify and start synchronizing data.
We hope you found this article useful, and if you would like to discuss anything, you can reach out to us at transform@cloudfronts.com
