Securing an API using Open ID Connect from AAPIM : Part 3 – Configure a JWT validation policy to pre-authorize requests
Introduction
Configuring OpenID Connect for your APIs hosted in Azure API Management adds an extra layer of security and prevents unauthorized access. This is a very important configuration form Security point of view for your Endpoints and is provided out of the box by Azure. This is the Third part of a series of Blogs on Securing your API using OpenID Connect in Azure API Management. Please go through all the parts to find easy and detailed steps that will help you configure the OpenID Connect Authentication.
Note: This Blog will demonstrate the steps to configure and test the Open ID connect Authentication with Developer portal (Legacy). The steps are similar for Developer Portal Open ID connect Authentication Configuration. But it is worth noting that the Developer Portal currently only supports Implicit Mode of Authentication and might give you a 401 Error.
Successfully call the API from the developer portal (legacy)
Note: This section does not apply to the Consumption tier, which does not support the developer portal as of Date of Blog Publish.
Now that the OAuth 2.0 user authorization is enabled on your API, the Developer Console will obtain an access token on behalf of the user, before calling the API.
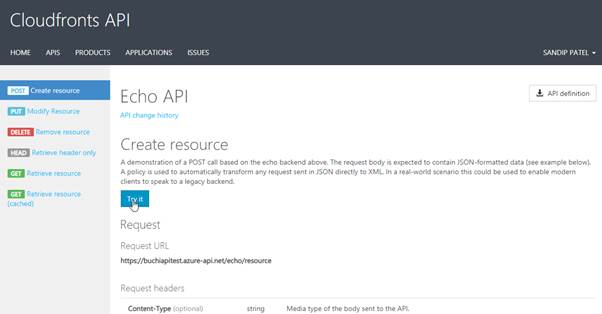
- Browse to any operation under the API in the developer portal and select Try it. This brings you to the Developer Console.
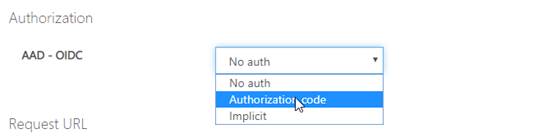
2. Note a new item in the Authorization section, corresponding to the authorization server you just added.

3. Select Authorization code from the authorization drop-down list, and you are prompted to sign in to the Azure AD tenant. If you are already signed in with the account, you might not be prompted.
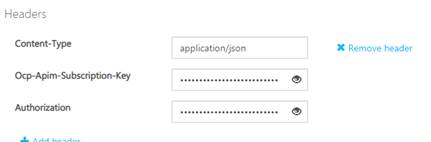
4. After successful sign-in, an Authorization header is added to the request, with an access token from Azure AD.
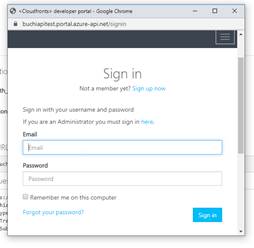
4.1. Sign in to the portal
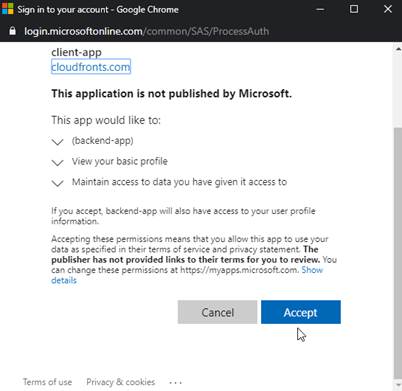
4.2. Click on accept
4.3. Note an Authorization header is added to the request
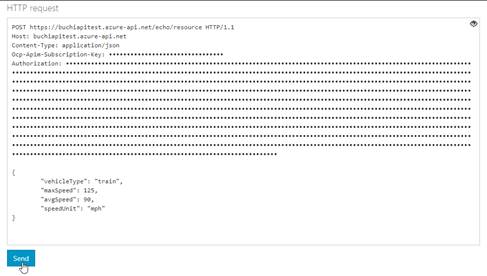
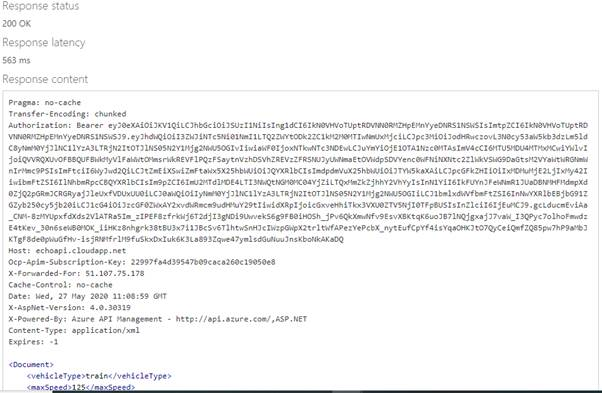
5. Select Send, and you can call the API successfully.
Part 1: Register an application in Azure AD to represent the API
Part 2: Configure/Setup and Enable Open ID Connect in the Developer Console
Part 3: Successfully call the API from the developer portal (legacy)
Part 4: Configure a JWT validation policy to pre-authorize requests
