First time printer set up for CPOS/MPOS in Microsoft Dynamics 365 For Retail
Today we can find so many kinds of ERP solutions, but not all the software solutions that you find out are the best. But, Dynamics 365 for finance and operations is one of the best ERP solutions for so many reasons. This software will help your finance and operations team to become a lot more effective and efficient. This software comes from Microsoft, which is one of the reputed companies in the world.
This particular software provides so many wonderful features that you will not get when you use any other ERP solutions that you find in the market. This is one of the reasons why it is quite popular. You can streamline the processes in manufacturing, warehousing, transportation, and finance departments by using this software.
In this blog, I am going to demonstrate the set up/configuration you are required to do for the first time when you set up the POS on a computer. Whether its CPOS or MPOS, this set up is essential else your POS will not connect to the printer at all.
Step 1: Download the printer driver. In this demo, we are using Epson printer. For the Epson printer, you need to download EPSON OPOS ADK from the Epson website.
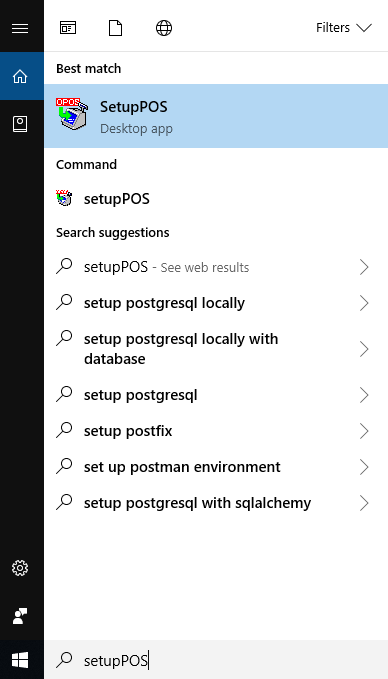
Step 2: Once installed you can open it from the start menu
Step 3: Right-click on POS Printer in the devices section and click Add New device. Here you need to add your device 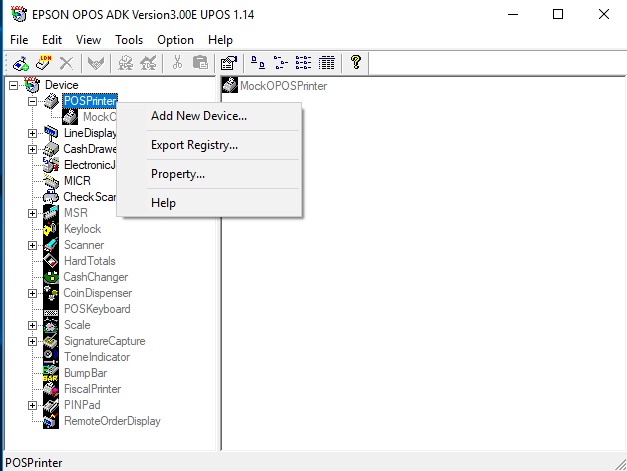
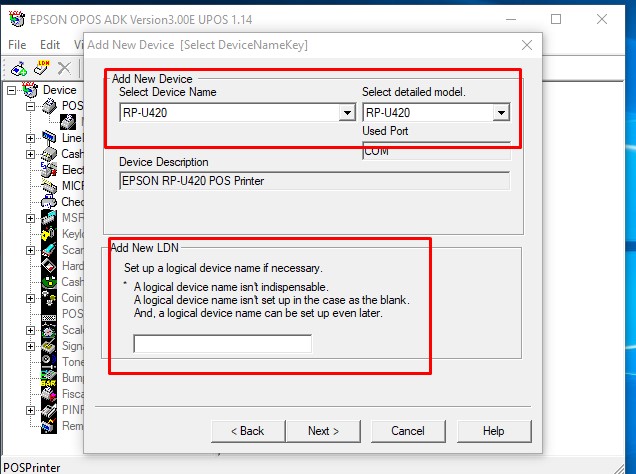
Step 4: Mention the name of the printer manually in the Add New LDN box. Make sure the name you mention matches the exact printer name which you have mentioned on HQ.
That’s all. You are good to go. Hope this helps!
