CRM For Outlook
Why CRM For Outlook?
We use Outlook as a one-stop solution for our day-to-day communication. Your Dynamics CRM can be integrated with your Outlook using CRM For Outlook.
CRM For Outlook is a lightweight client that gets set up on a client’s computer and is connected to your organization’s CRM by authenticating your Dynamics CRM credentials.
Once setup, you can straight way carry out basic Dynamics CRM operations right from your Outlook itself! Create Accounts, Contacts, Opportunities etc. You can even track emails to an Account or a Contact, even an Opportunity.
Get CRM For Outlook
You can get CRM for Outlook from the below link:
https://www.microsoft.com/en-us/download/details.aspx?id=45015
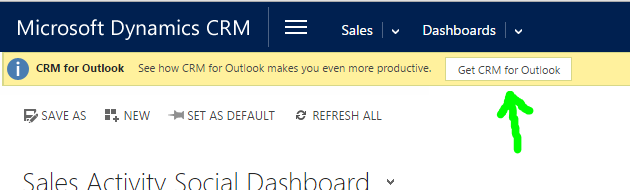
Also, in your CRM, you can also see a yellow strip on top of the window saying Get CRM For Outlook as shown below.
Setting Up CRM For Outlook
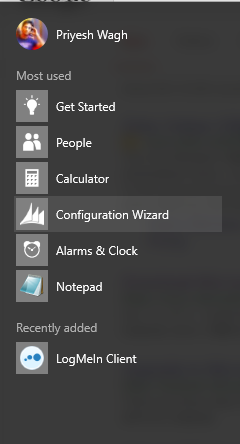
Once setup, you can access the Configuration Wizard application from your Windows’ Start Menu.
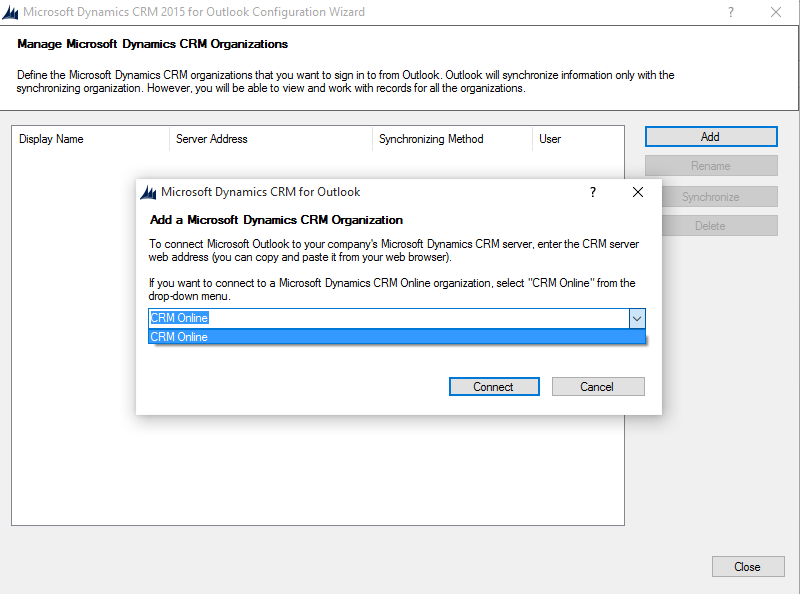
To connect to your CRM Online organization, simply select CRM Online in the drop-down option as shown below and click Connect:
Alternatively, this can even be setup from the Outlook itself once the CRM For Outlook client is installed.
Simply navigate to the CRM tab on the extreme right
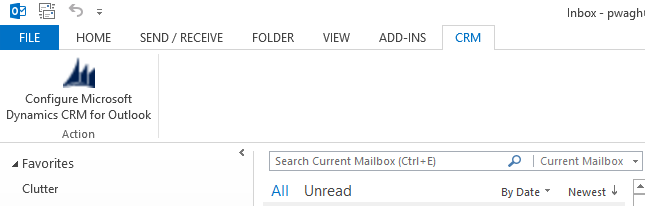
And click Configure Microsoft Dynamics CRM for Outlook. Next, you can select CRM Online from the drop-down as shown in the above dialog box.
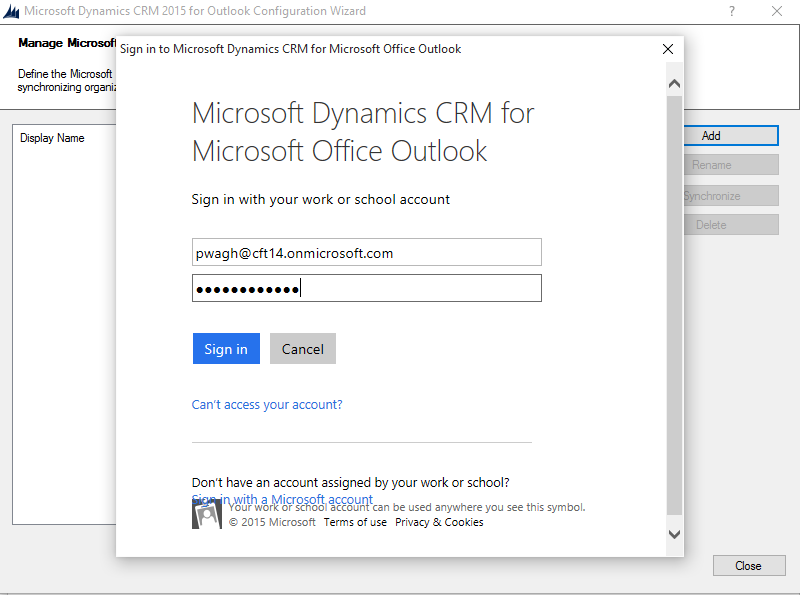
Next, the CRM Online will ask you your CRM credentials.
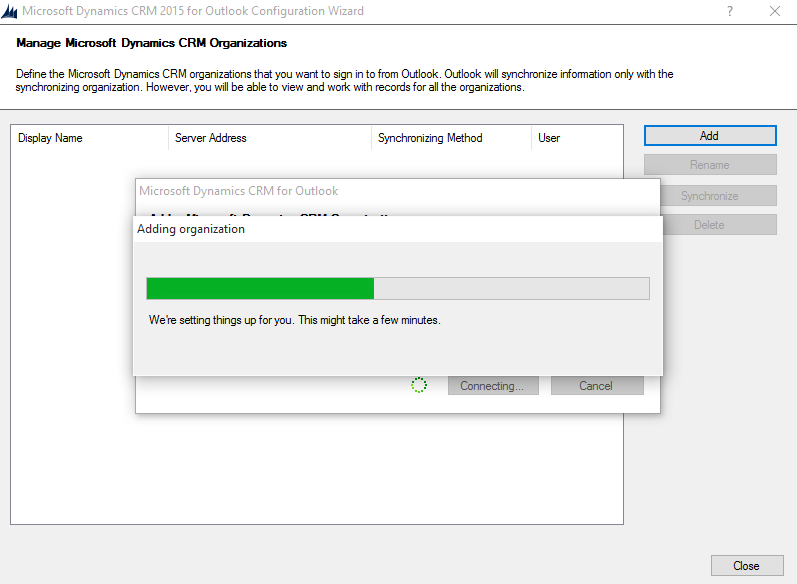
On Signing In, the progress will be shown and your CRM Organization will be integrated with your Outlook.
Once setup, the Configuration Wizard will show the details of the added organization and will show the current selected one as the Synchronizing Organization.
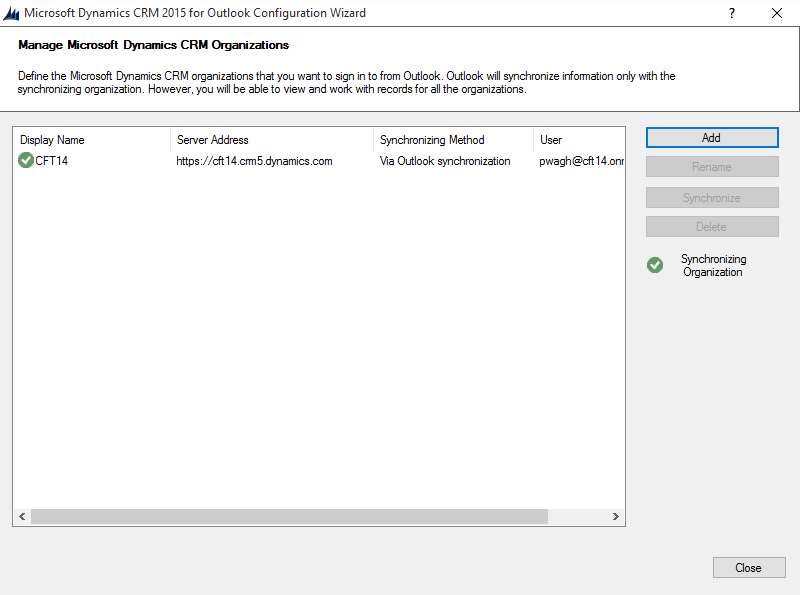
Note: The Synchronization method used can also be Server-Side Synchronization.
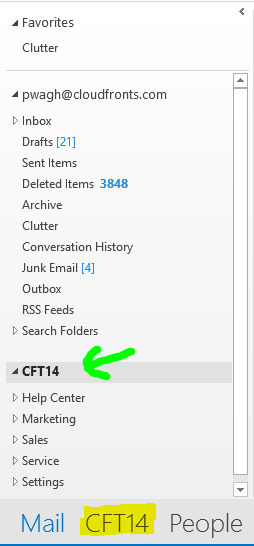
That’s it! Your organization has been added to your Outlook. You may now open your Outlook and see your Organization appear in the left pane as shown below.
Access Organizational Data in Outlook
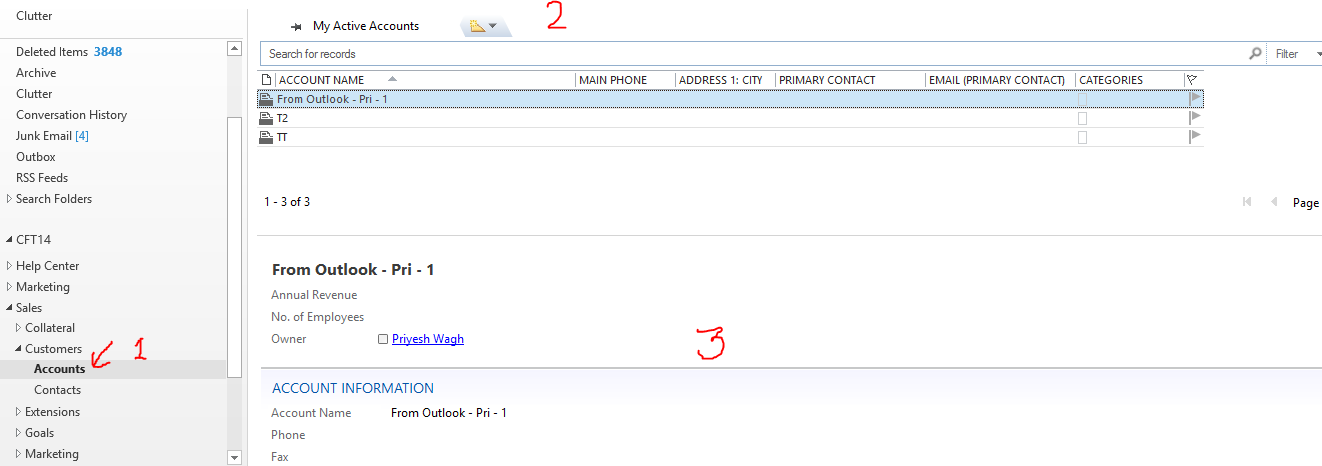
You can now see that your Organization has been added on the left pane of Outlook where you can navigate between different CRM Folders.
You can simply navigate across your CRM folders and select different records (1). The View (2) as seen in the sample screenshot below is the one available in CRM for your records. Selecting a particular record will show it’s details in the reading pane below the view (3).
Track an Item in CRM
You can track Emails, Appointments, Contact or even Tasks from your Outlook to your CRM.
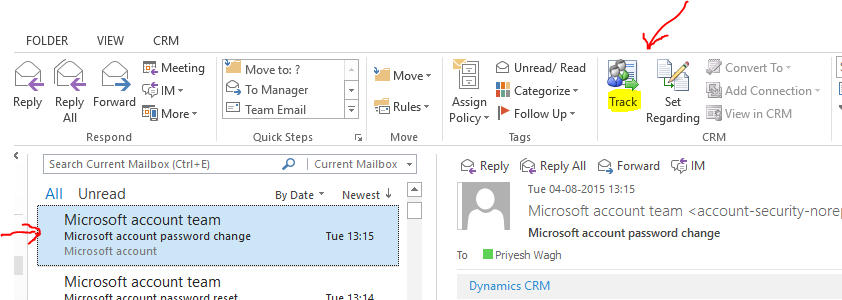
To track in Email in CRM, simply select an Email and click on Track Button
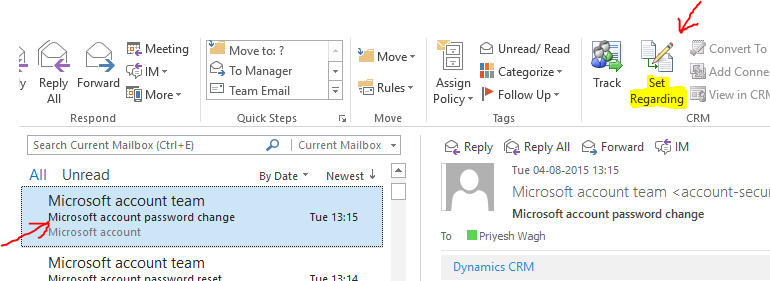
You can also Set Regarding to this Email in CRM. It will then appear in Activities of the Set Regarding’s record.
Same as Tracking an item, you can choose to Set Regarding for an Email as shown below.
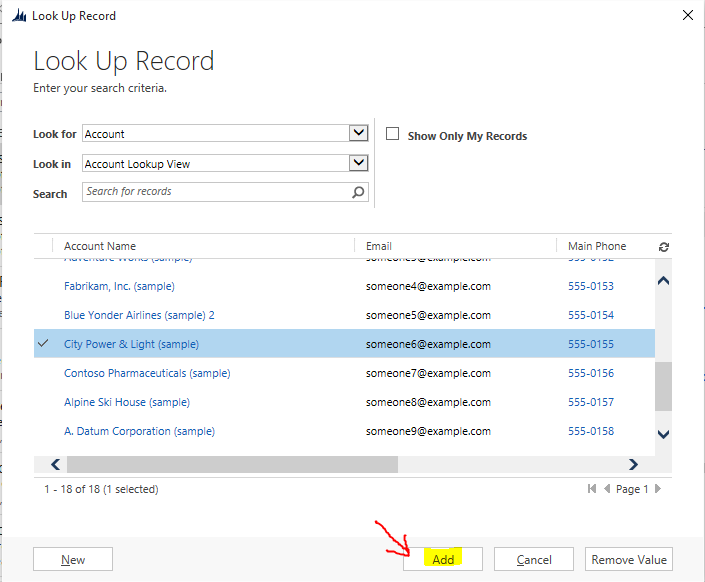
On clicking Set Regarding, Outlook will pull up records from CRM and let you choose which type or record and which record would you like to Set Regarding against for the selected item.
Once the Set Regarding is set, this information will appear in the Microsoft Dynamics CRM section below the email as shown below.
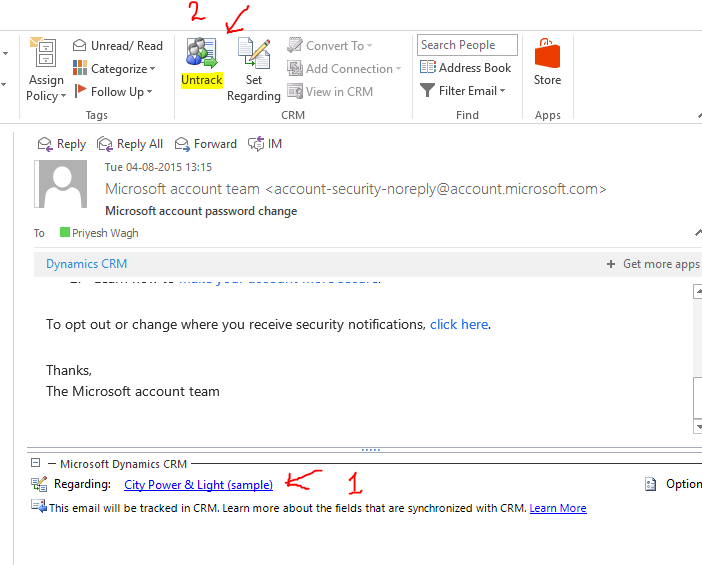
As shown in the above picture, I chose City Power & Light (sample) account to Set Regarding for this Email. This email will then appear under the said Account under Activities.
With CRM For Outlook, you can
- Create CRM records from within Outlook.
- Track Emails, Appointments, Tasks and Contacts (People) in CRM directly
- Set Regarding / Set Parent for Contacts.
- Once a record is tracked in CRM from Outlook, synchronization can happen between CRM and Outlook for that particular record.
- Set personal options for how the data should be synchronized between Outlook and CRM
Hope this was helpful! I’ll keep you posted on deeper technical features that CRM For Outlook offers.
