Rename Dynamics 365 Sales Entity
Introduction:
This blog explains how to rename the Dynamics 365 Sales Entity
Scenario:
In this we will rename Account Entity To Company.
Steps:
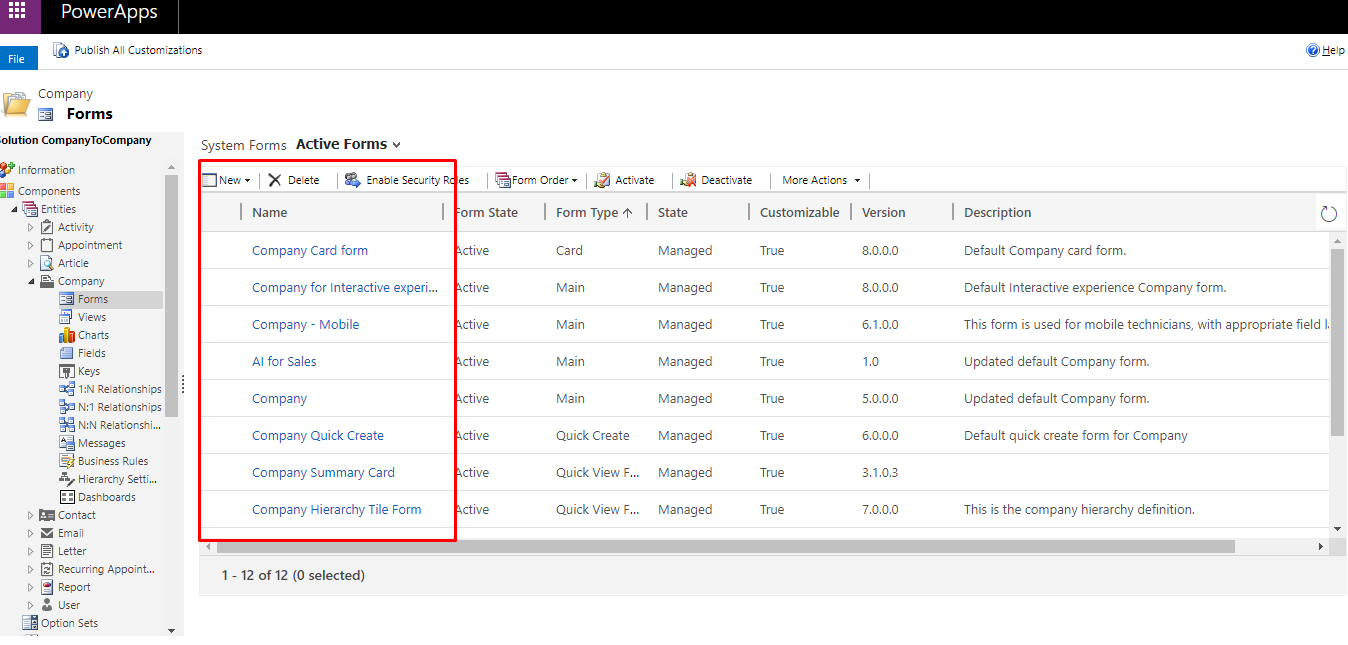
1. Rename the Entity.
- Go to your solution.
- Select the entity and change the Display Name and Plural Name of entity.
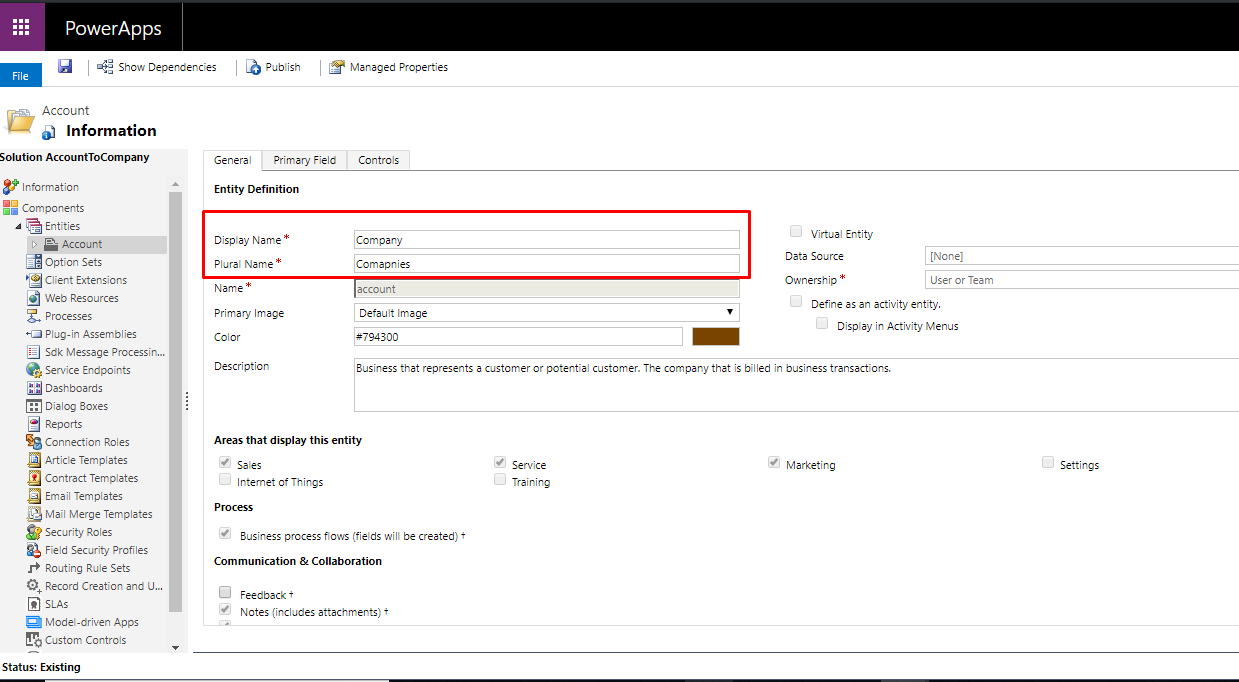
- Save and Publish your Customizations.
2. Export Translations
- Click on Translations –> Export Translations.
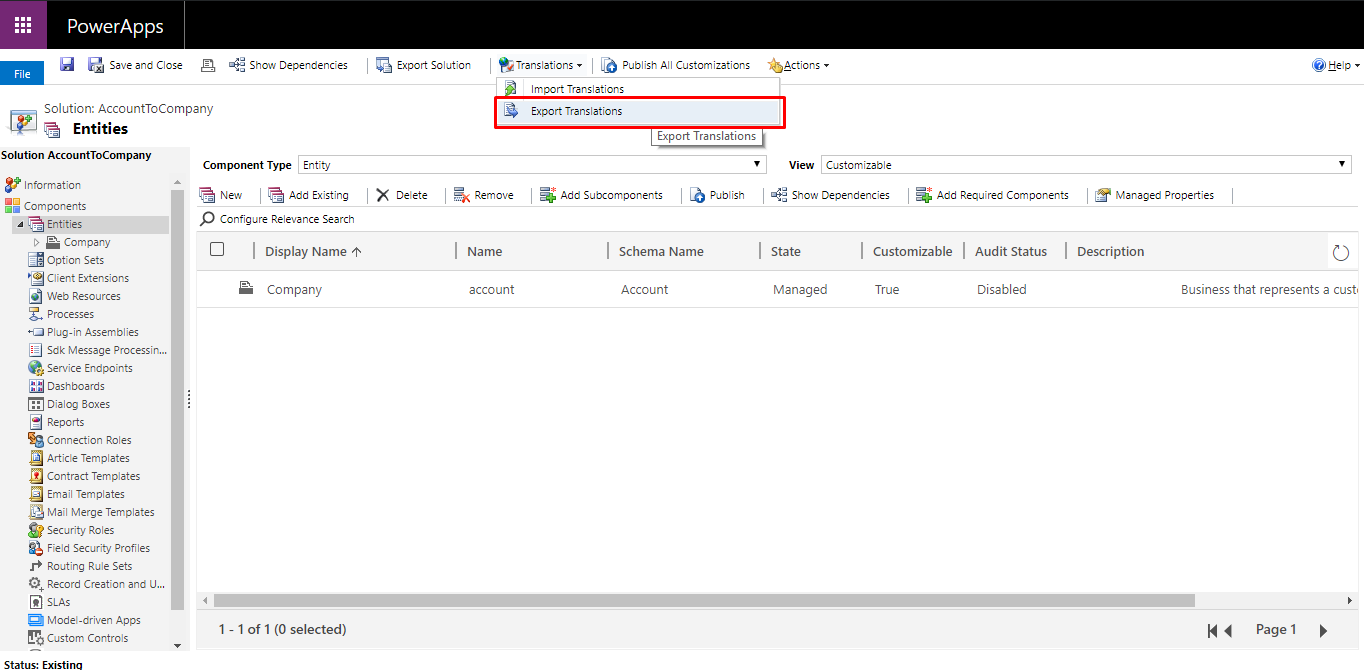
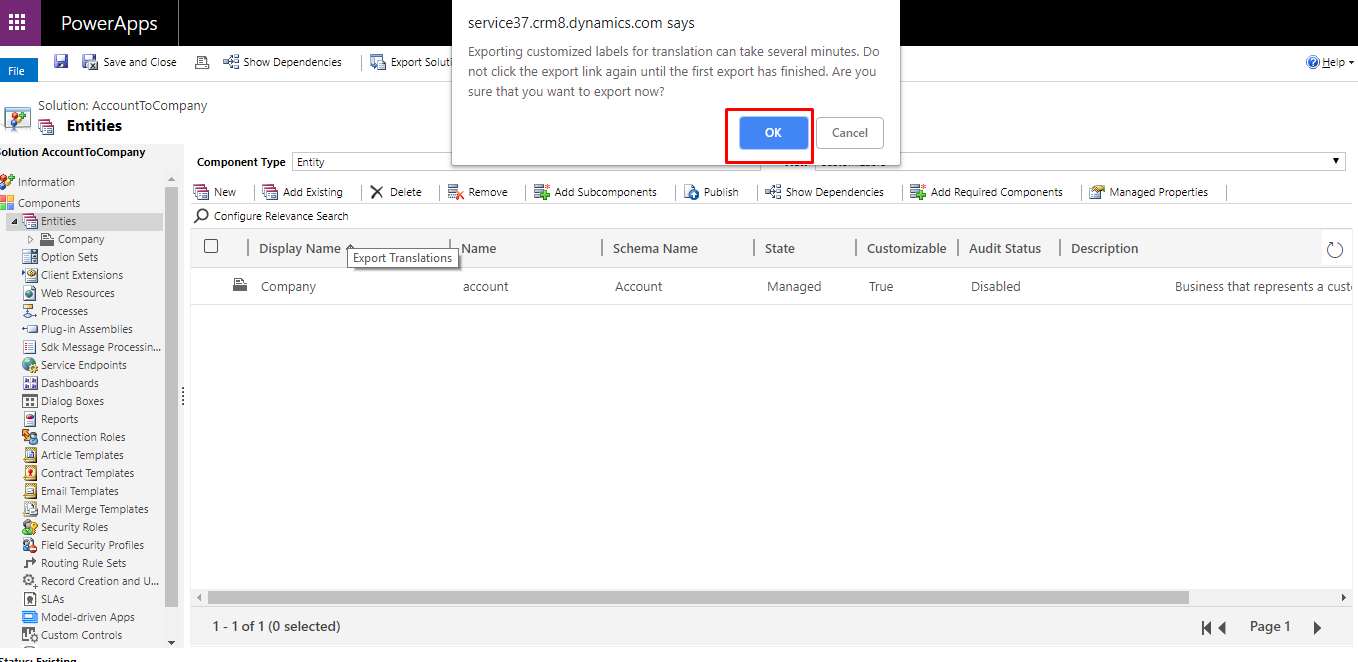
- Extract the downloaded .zip file.
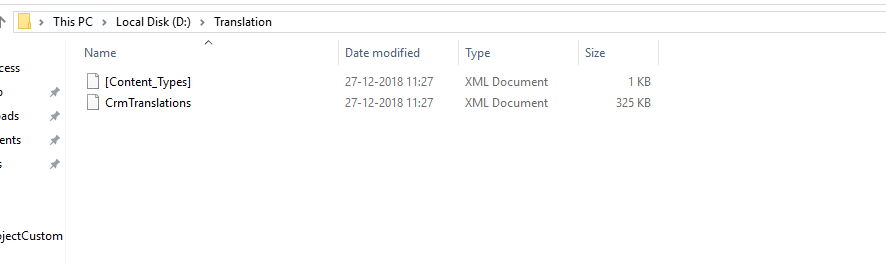
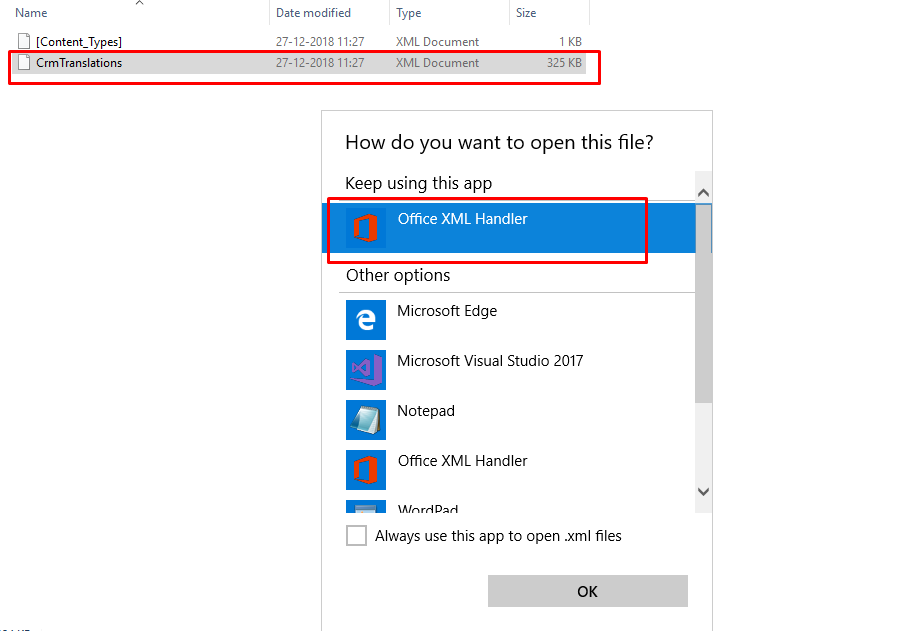
- Open the CrmTranslations.xml file in Excel
3. Now we have to make changes in CrmTranslation file.
Steps:
a. Unprotect all the sheets.
Go to Review tab –> Click on Unprotect Sheet button
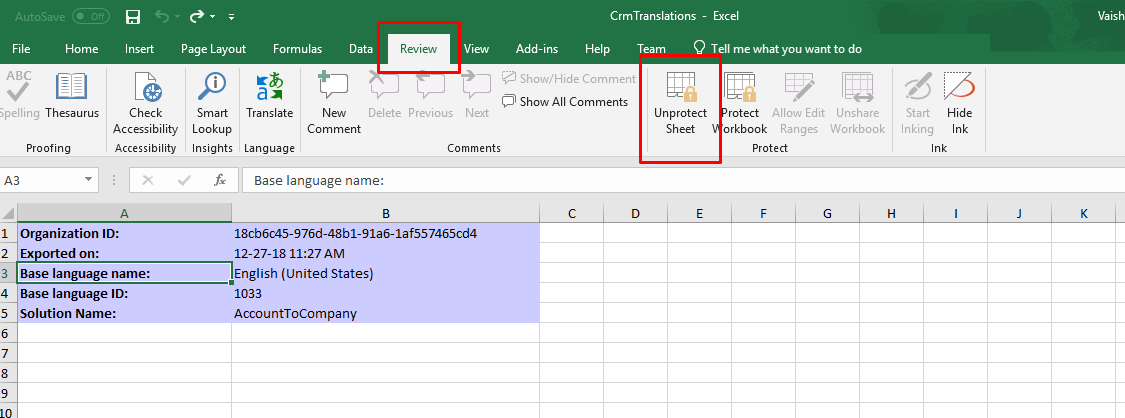
Repeat this for all the sheets.
- Information
- Display Strings
- Localized Labels
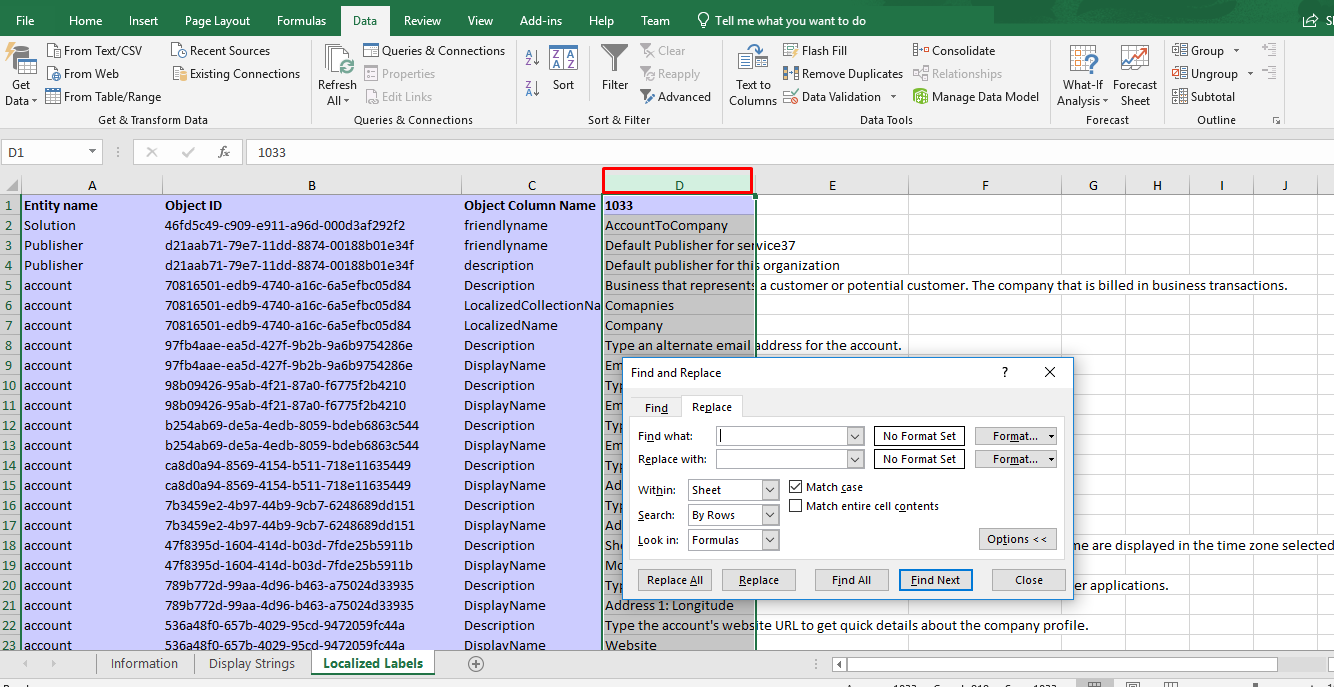
b. Go to Display Strings Sheet
- Highlight the whole column C
- Find and Replace (or press Ctrl-H)
- Open Options on the Replace window and ensure that Match Case is ticked
- You need to replace the plural names first and then the singular names.
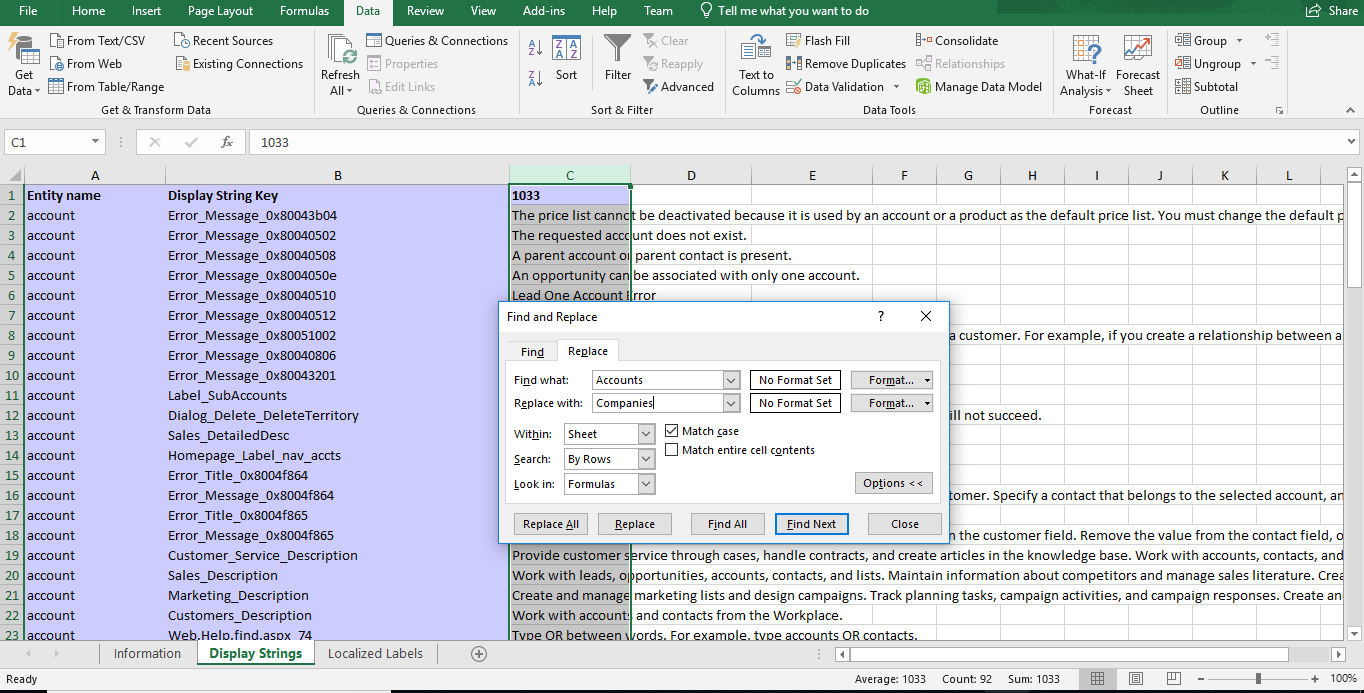
- Find – Accounts, Replace with – Companies
- Find – accounts, Replace with – companies
- Find – Account, Replace with – Company
- Find – account, Replace with – company
c. Go to Localized Label sheet.
- Highlight the whole column D and repeat the steps performed in Display Strings sheet.
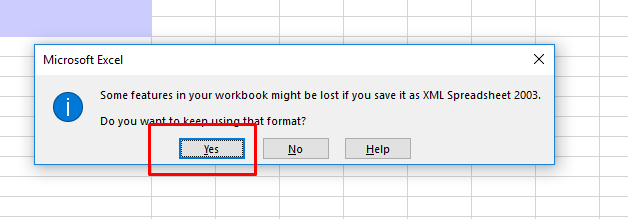
d. Save the file.
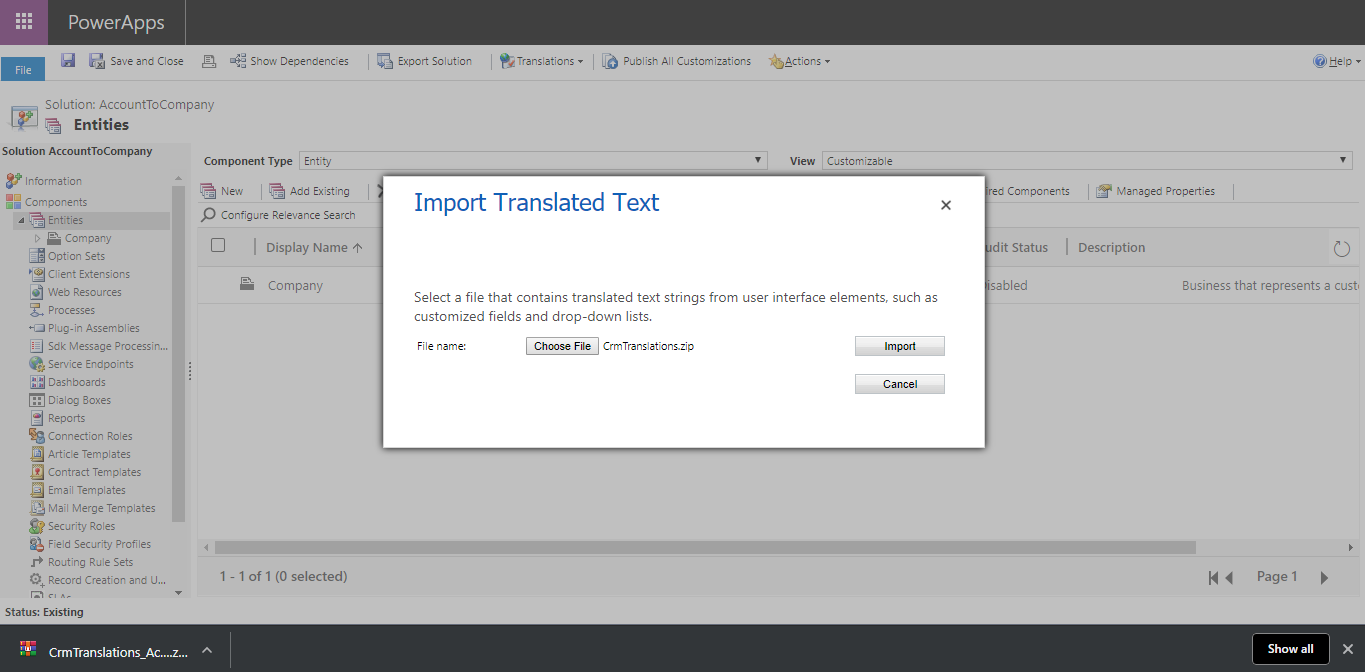
4. Import Translation File
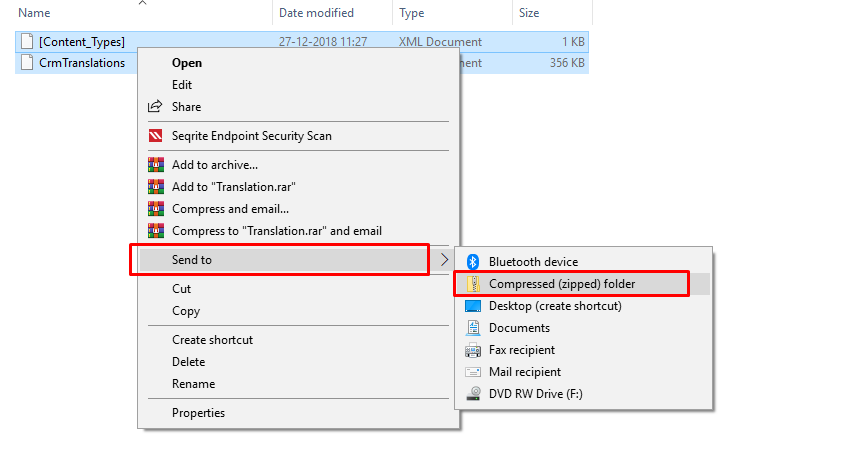
- Create .zip file.
- Make sure you select both the files and zip them rather than zip the folder.
- Go To solutions. Click on Translations -> Import Translations.
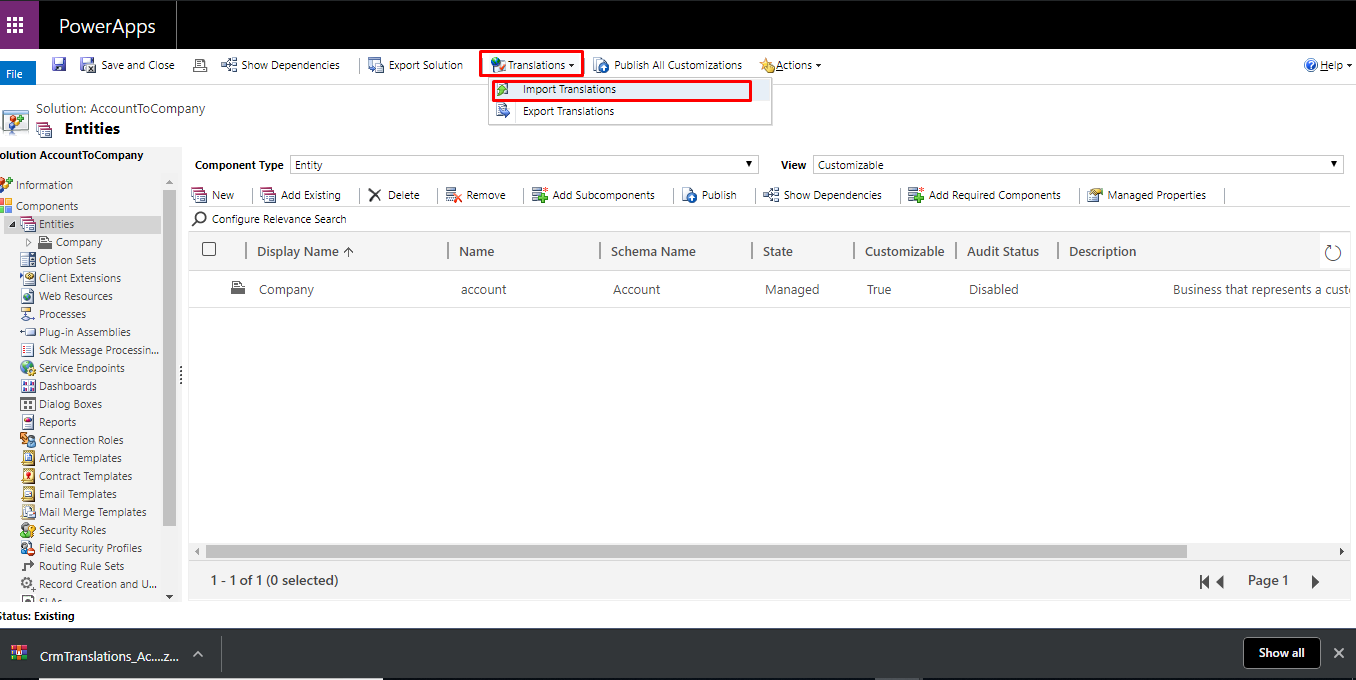
- Choose your .zip file and click import.
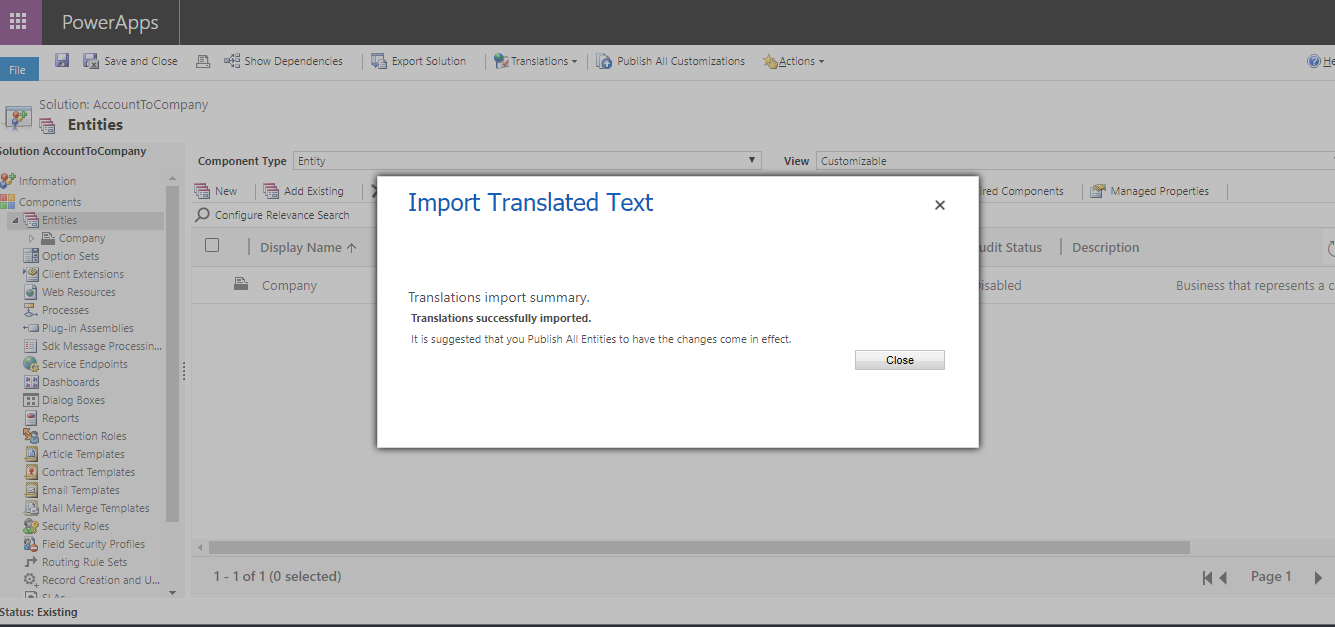
- Publish your Customization after Successful Import.
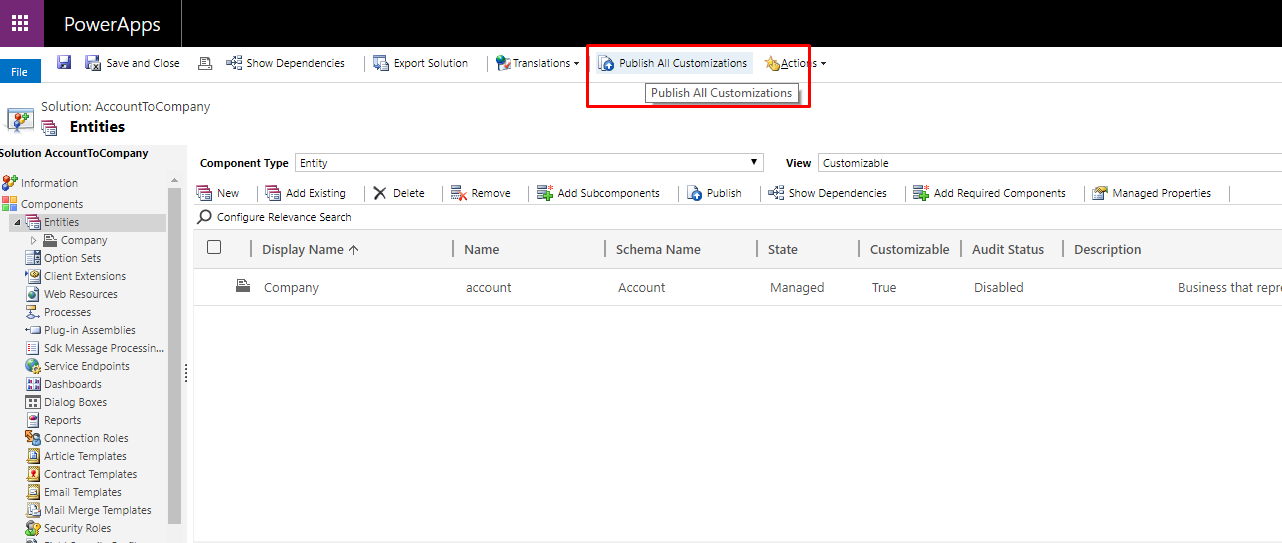
Now you can see changes Account entity is renamed as Company.