Deploying Office 365 Groups
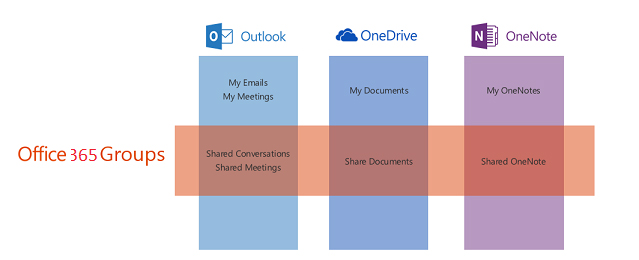
Office 365 groups are available with Dynamics CRM Online who don’t use CRM.
In simple words, Sales team don’t have access to input important input from various people. Office 365 in this case provided a collaborative location to share documents, conversations, meetings and notes.
Office 365 groups can be enabled for any entity.
Important: Users must have an Exchange mailbox setup. Also, Server-based SharePoint Integration needs to be enabled to be able to see the documents.
Provision Office 365 Groups Preview
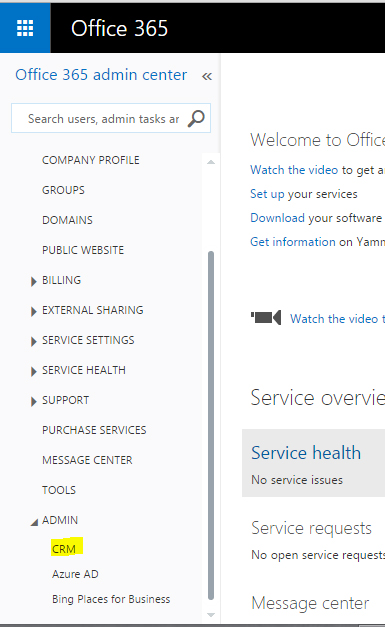
Navigate to Office 365 admin center, choose CRM as shown below.
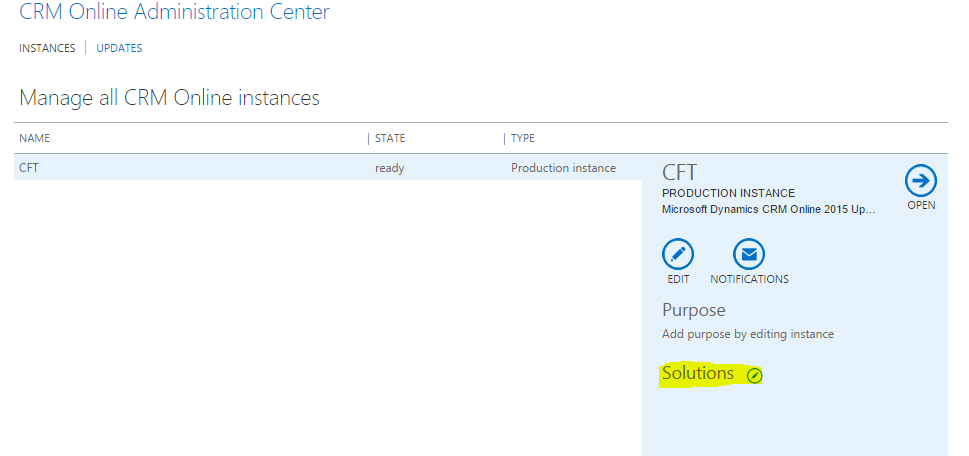
Then choose, Solutions.
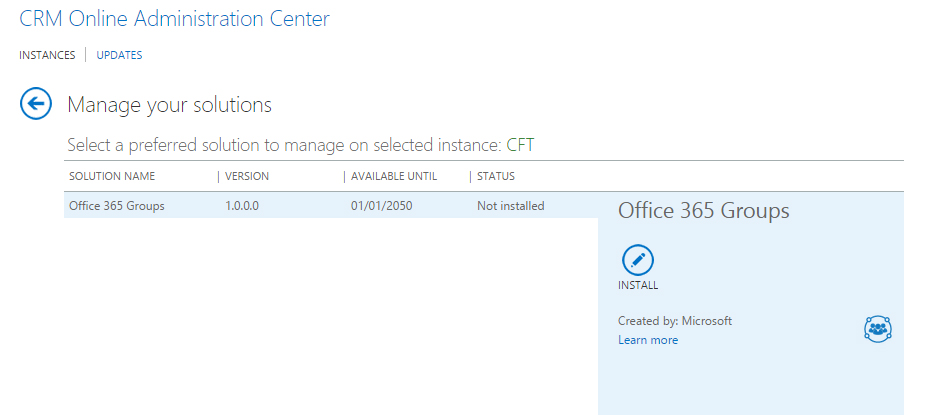
Then choose, Office 365 Groups and then choose Install.
Review the terms of service and then choose install.
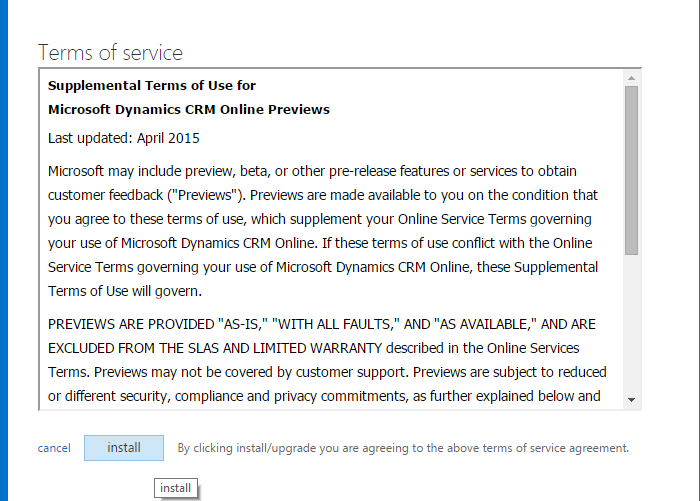
Once installation is complete, you can configure Office 365 Groups.
Check Required Privileges
The security privilege, ISV Extensions, is required to use Office 365 Groups. You can add or remove this privilege from custom or default security roles to meet your business needs.
If a user does not have this privilege, they will not be able to see the Office 365 Groups item in a record’s navigation menu.
Configure Office 365 Groups
In CRM Online, navigate to Settings > Office 365 Groups.
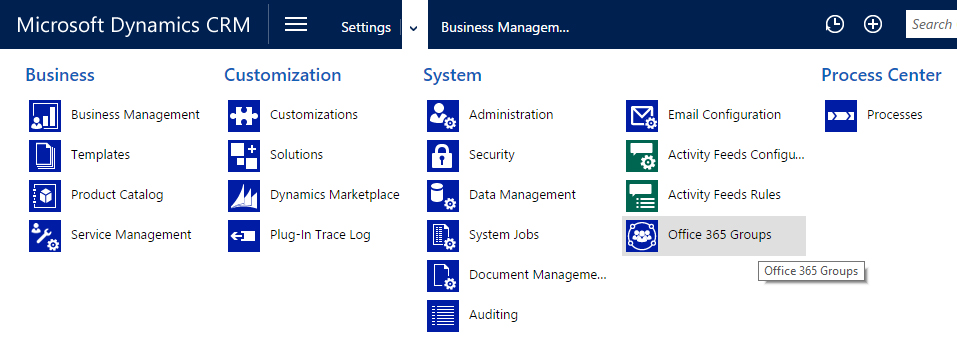
On the settings page, choose Add Configuration and choose the entity.
Auto-create can also be chosen if you wish to create O365 Group to be automatically created.
Finally, choose Publish All.
Hope this was helpful. Thank you.
