How to create a Xero Data Source in Azure Data Factory
Hello, in this blog we will understand the steps required to create Xero as a data source in Azure Data Factory which can be then used to copy data from Xero into various target systems such as Azure SQL.
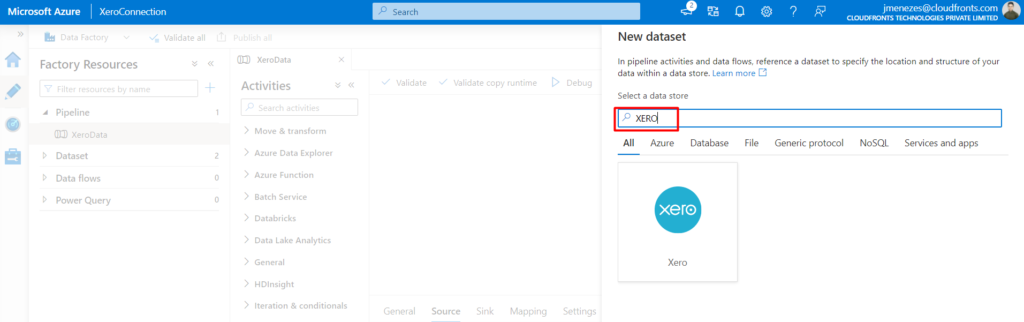
- Create a new Data Source in Azure Data Factory and search for Xero.
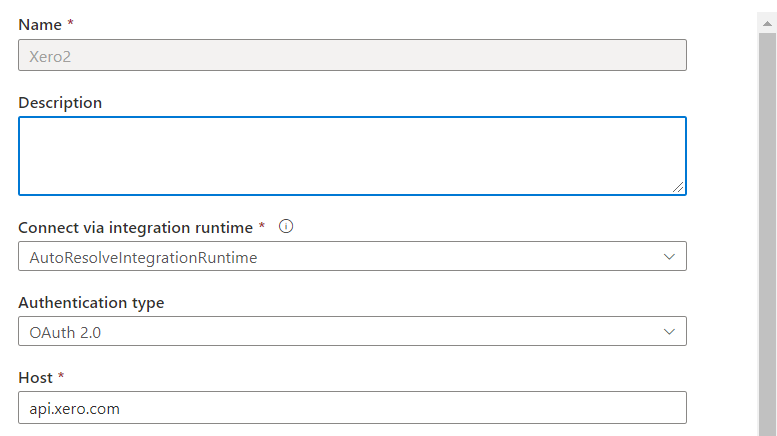
- Add the desired name and description for the data source. Select OAuth 2.0 as authentication and select the host as api.xero.com
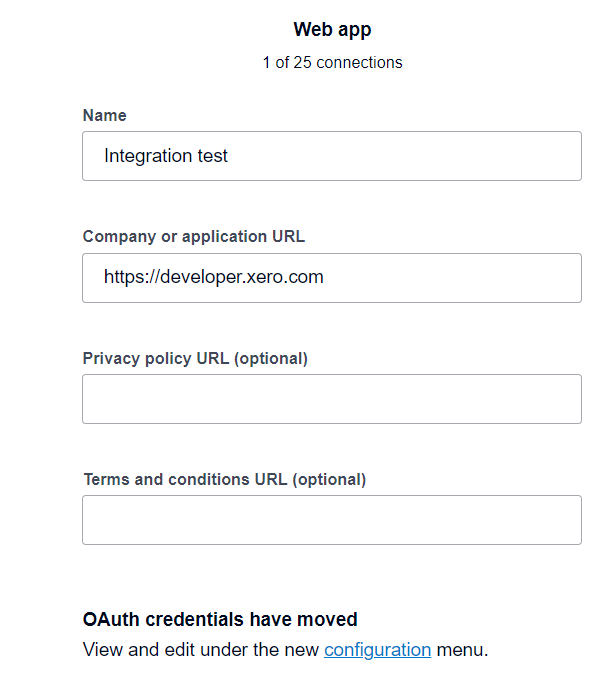
- Go to App management | Xero (https://developer.xero.com/app/manage) and create a new Web app. Enter developer.xero.com as company/application URL.
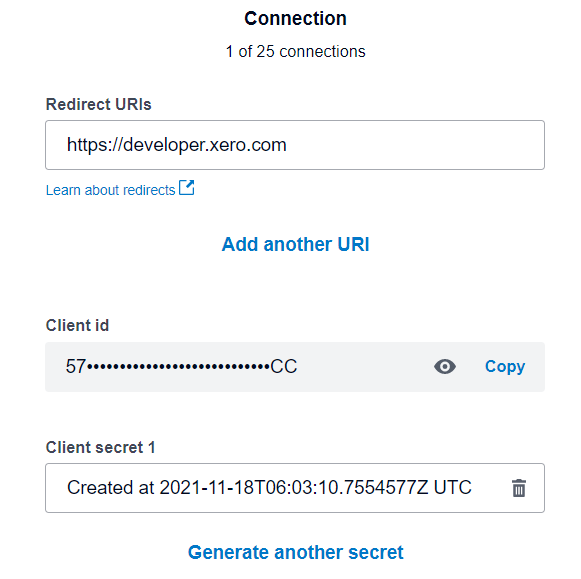
- Go to OAuth 2.0 configuration copy the client id and client secret after generating it.
- Download and install Postman windows app and import this collection in Postman Collection Web View | Postman (getpostman.com)
- Create a new environment and initialize the following variables. Client ID, Client Secret are the same that are obtained from Xero.
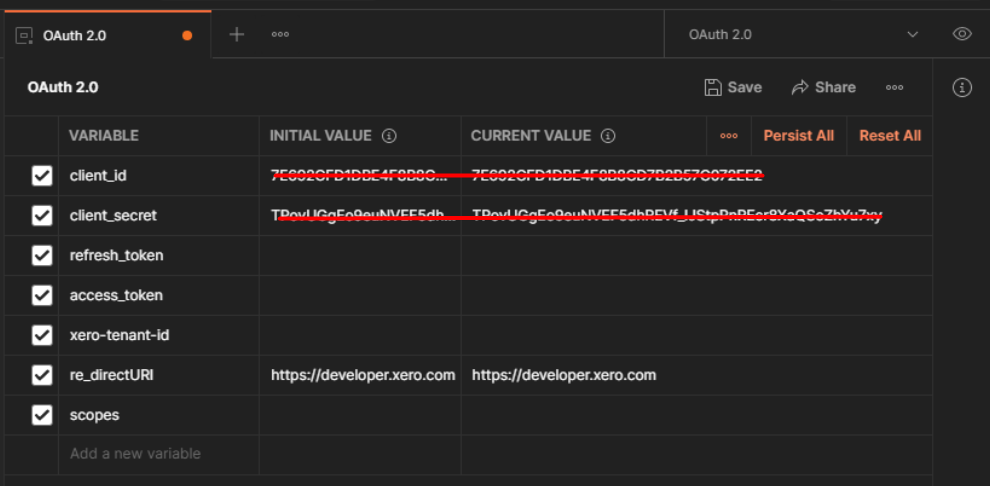
- For “scopes” variable add
offline_access accounting.transactionsas initial value and openid profile email accounting.contacts accounting.settingsas current value respectively. - Save the environment.
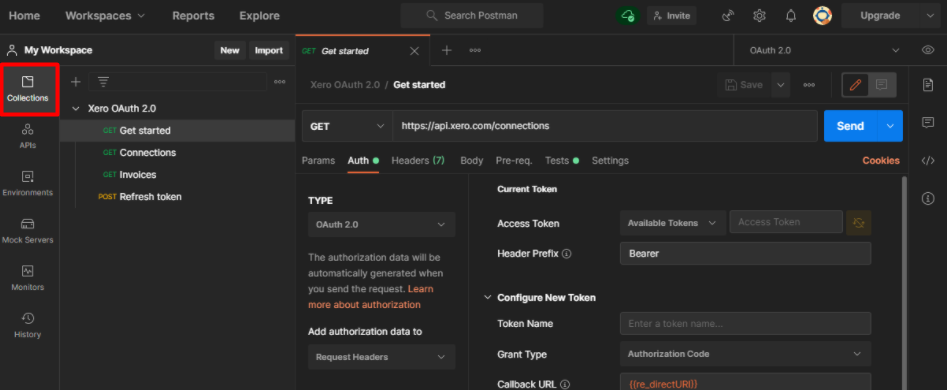
- No go to collections and select ‘Get Started’, under the Auth tab select type as OAuth 2.0
- Make sure the environment we just created is selected
- Call all the variables set in the environment by typing “{{” in their respective fields.
- Add https://login.xero.com/identity/connect/authorize to the Auth URL field
- Add https://identity.xero.com/connect/token to the Access Token Field
- Save the collection.
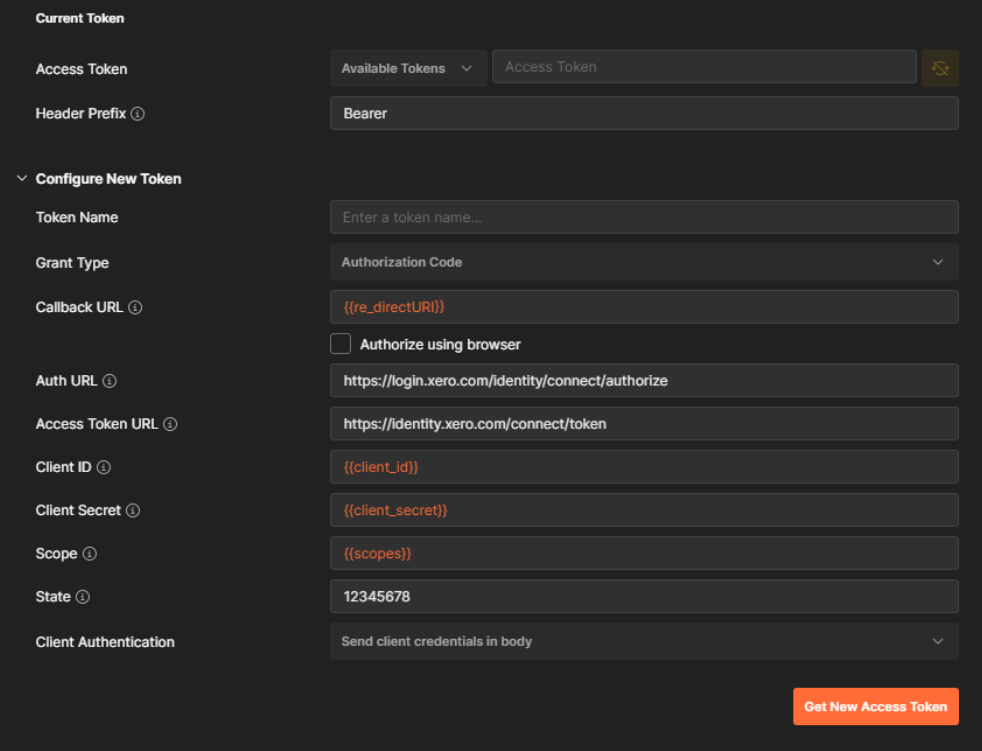
- Now After saving, click on Get new access token.
- Sign in into Xero and provide access to the organization from the pop-up window that appears
- Now select the access token which will be shown on screen, right click and select Set “your environment name” put its value in the access token variable whose value we have set before.
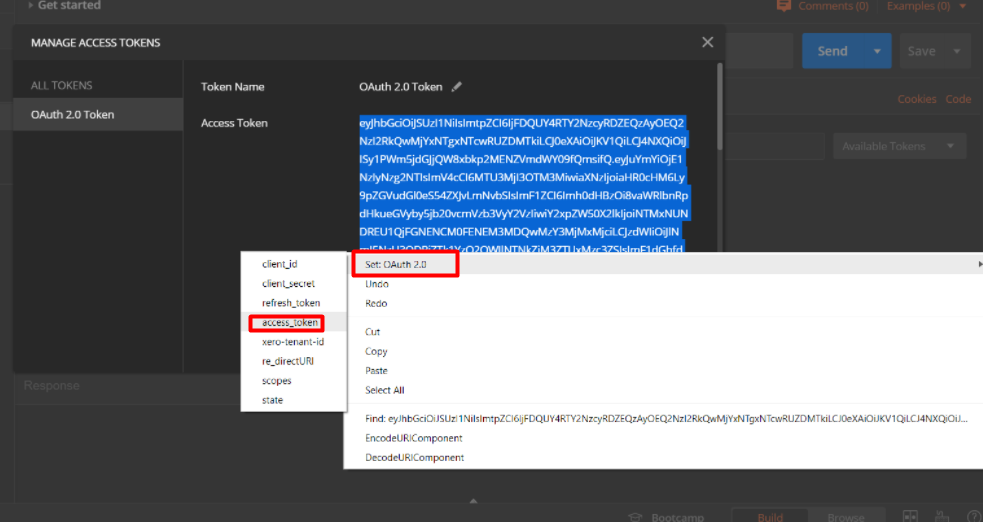
- Set value of refresh token variable using the same method and paste this refresh token in Azure data factory field as well.
- After setting Access token and refresh token, scroll to the top and click on Use this token button.
- Send the GET request to Xero API
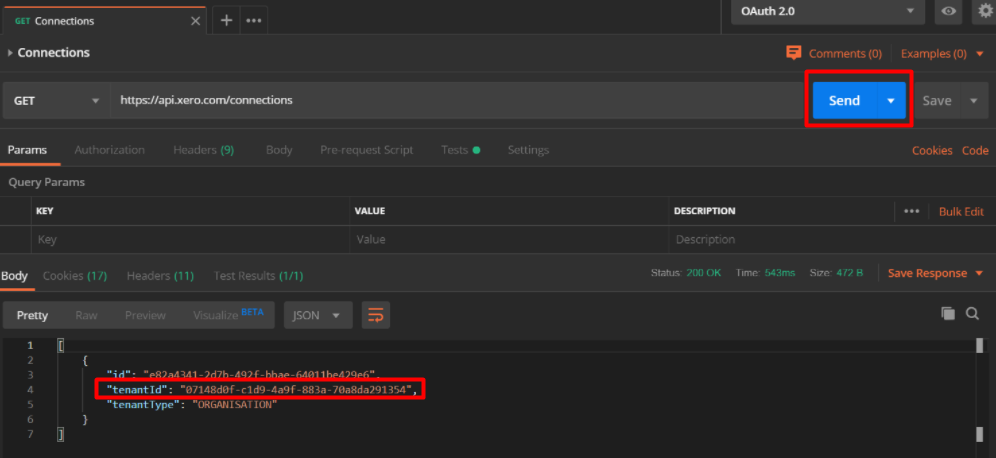
- After successful API call you will get the tenant id as well, paste this tenant id in Azure data factory.
- Make sure encrypted endpoints are enabled.
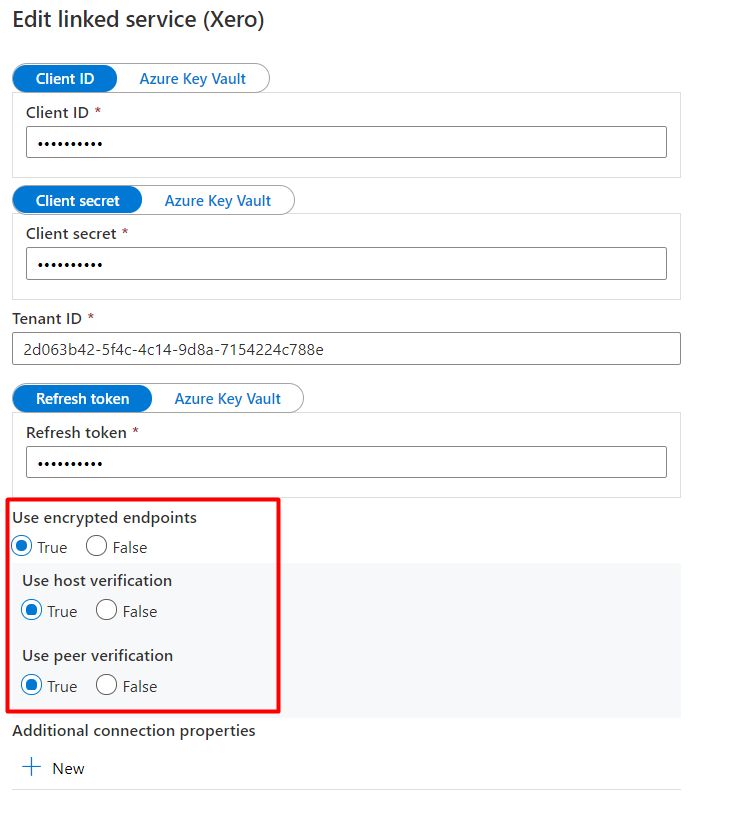
- Test the connection and after successful testing click on apply

- The Xero Connector is ready for use.

Hope this blog helped!!
