Set Up Intercompany In Business Central- Part 1
Introduction:
Intercompany Transaction is useful feature to track all transaction that is happening with the specific intercompany. Many organizations consist of more than one company, and these companies often engage in various intercompany transactions. It’s important for an organization to be able to track these transactions with ease, and Microsoft Dynamics 365 Business Central allows you to do just that. With Dynamics 365 Business Central, your organization can reduce errors, improve productivity, and post transactions across multiple subsidiary companies. Business Central makes it easy for your organization’s companies to engage with one another in the same way they would with external customers and vendors.
Steps to achieve the goal:
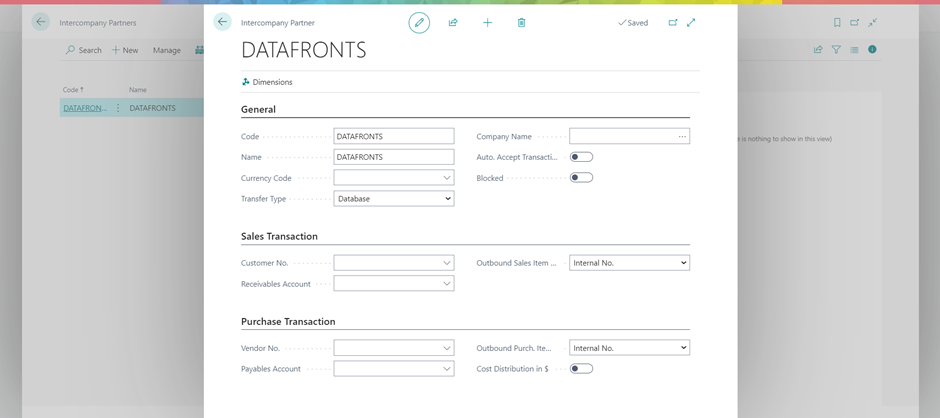
Intercompany setup
- Globally search intercompany setup
- Set the name and check the Boolean “Auto send Transactions”
the option to auto send transactions to the intercompany partner as soon as it arrives in the intercompany outbox, and not have to manually send/receive the intercompany transaction.

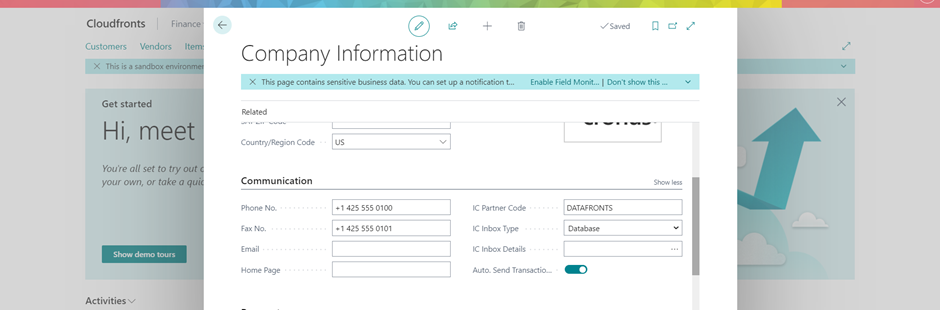
3. Go to setting icon there is option to Company information.

4. Fill in the Intercompany Partner Code, Intercompany Inbox Type. and Intercompany Inbox Details fields.
Conclusion:
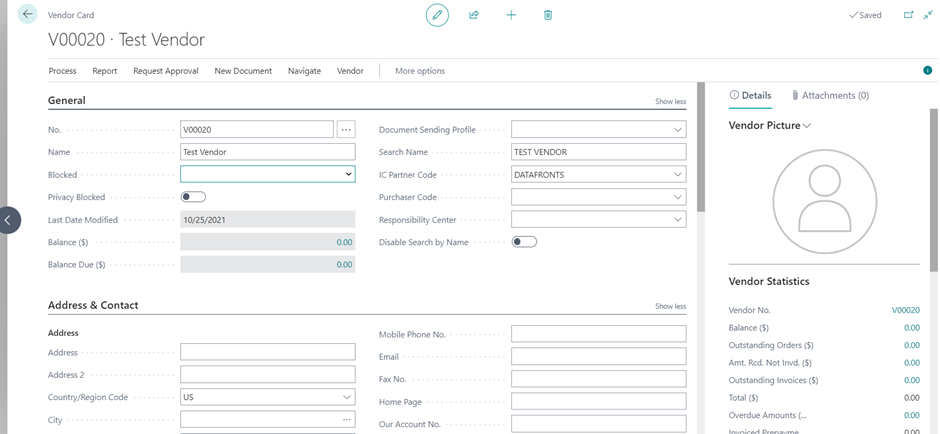
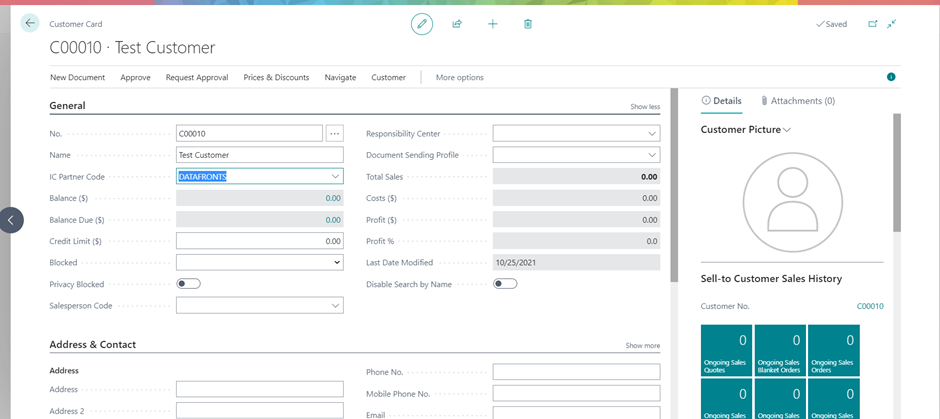
Thus we saw how we can configure Intercompany Setup and create IC customers and Vendors.
Thank you very much for reading my work. Hope you enjoyed the article!
