Azure Synapse Analytics – Part 2 – How to create a dedicated SQL pool and connect via SSMS
This is the second part of a blog, where we will learn how to create a dedicated SQL pool step by step and also see how to connect server via SSMS.
Create a dedicated SQL pool:
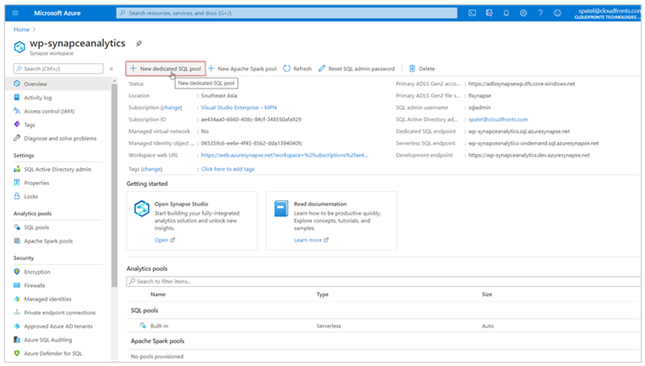
Step 1: Once your Azure Synapse workspace is ready, click on New dedicated SQL pool.
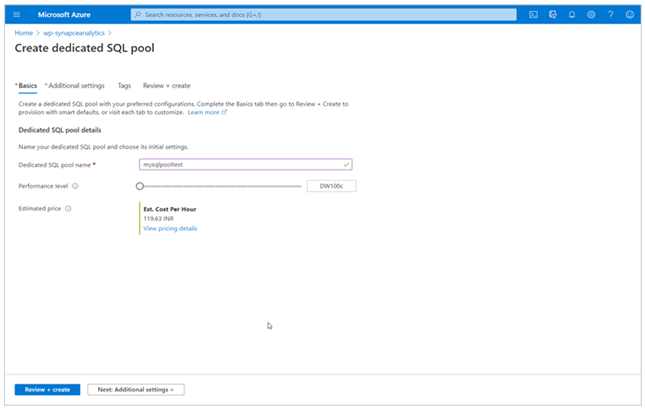
Step 2: Create a dedicated SQL pool with your preferred configuration.
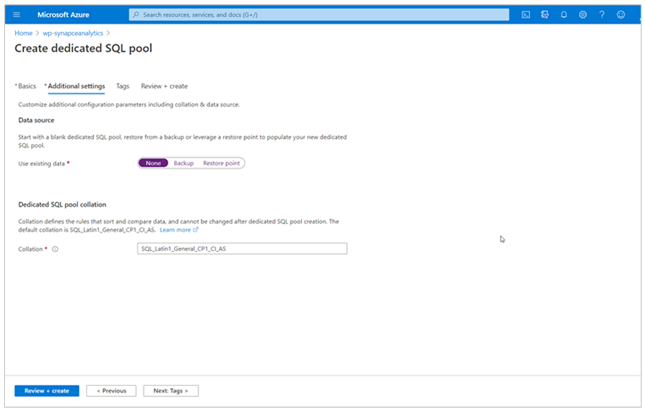
Step 3: Customize additional configuration parameters including collation & data source.
Step 4: Click on Review + create a tab to check the details.
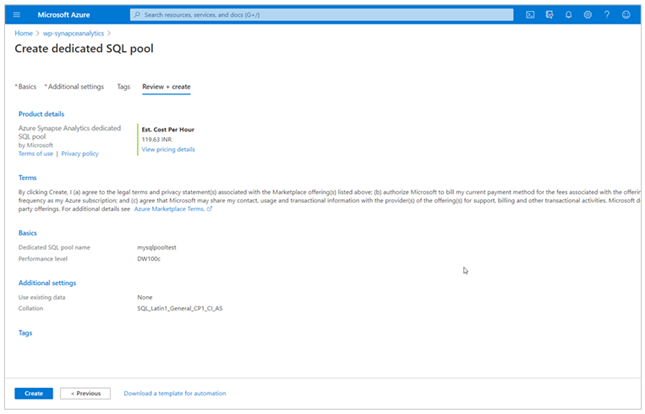
Once you click on the create button it will take few minutes to create a resource.
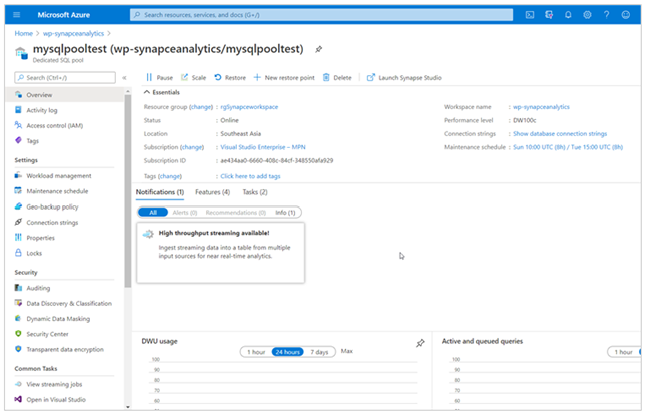
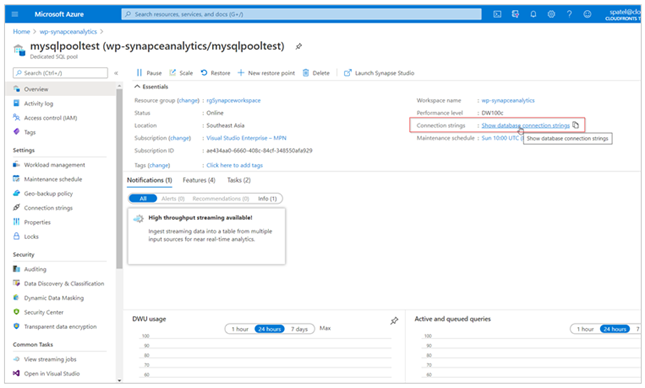
Step 5: Click on show database connection strings to know the server name, user id, and password that will help us to connect server.
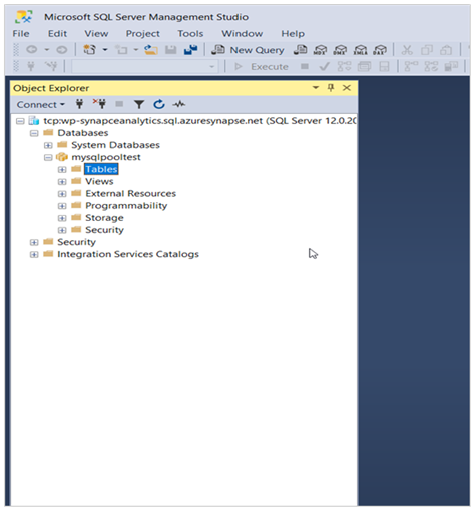
Step 6: Open SQL server management studio (SSMS) to establish a connection to your server.

Step 7: Select Connect. The object explorer window opens in SSMS.
Step 8: In Object Explorer, expand Databases. Then expand mysqlpooltest to view the objects in your new database.
Hope this will help.
