Azure Synapse Analytics – Part 1 – How do you create an Azure Synapse workspace?
In this blog, we will learn how to create an Azure Synapse workspace step by step. Below we will dive into these topics
- Overview of Azure Synapse Analytics
- Create an Azure Synapse workspace
Overview of Azure Synapse Analytics:
Azure Synapse is an integrated analytics service that accelerates time to insight across data warehouses and big data systems. Azure Synapse brings together the best of SQL technologies used in enterprise data warehousing, Spark technologies used for big data, and Pipelines for data integration and ETL/ELT.
Azure Synapse Analytics is an evolution of Azure SQL Data Warehouse. Azure SQL Data Warehouse was a massively parallel processing (MPP) cloud-based, scale-out, relational database, designed to process and store large volumes of data within the Microsoft Azure cloud platform. At its core, Azure Synapse contains the MPP, scale-out technology of Azure SQL Data Warehouse (referred to as Synapse SQL pool). However, Microsoft has added a few other features that make this a more powerful and unique data analytics solution in the market.
Azure Synapse Analytics goes beyond enabling cost-effective data management and analytics by leveraging the power and scale of the cloud: Azure Synapse will break down silos that exist today because of teams, data, and skills, and enables insights for all by integrating with Power BI and Azure Machine Learning and AI.
Create an Azure Synapse workspace:
Step 1: To create an Azure Synapse workspace, sign in to the Azure portal. In the upper-left corner of the home page, select Create a resource. In the Search the Marketplace box, enter Application insights and select and press enter
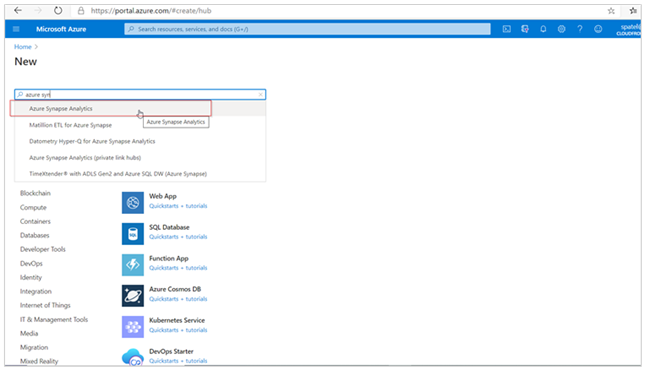
Step 2: Select Azure Synpase Analytics from the search result and click on the create button.
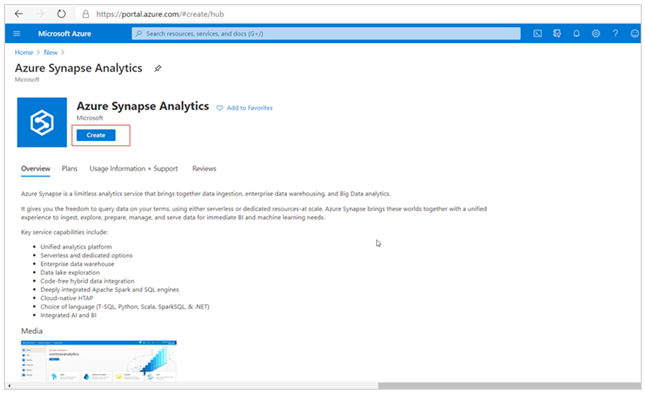
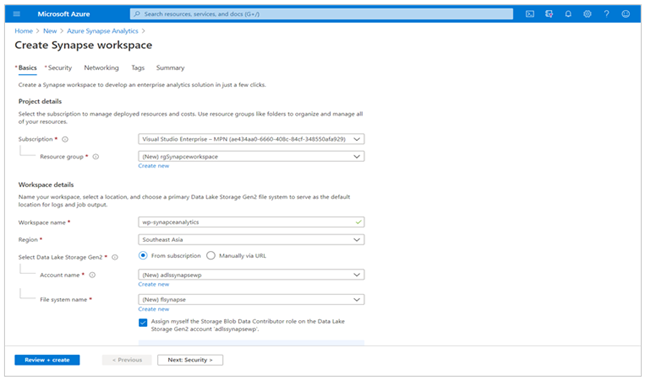
Step 3: Click on the create button and enter the following information
- Subscription
- Resource group
- Workspace name
- Region
- Details about your storage account
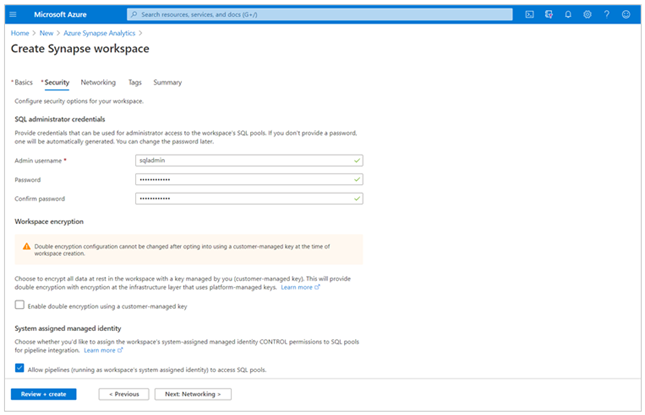
Step 4: Configure the security options of your workspace.
Step 5: Check the summary tab before click on the create button.
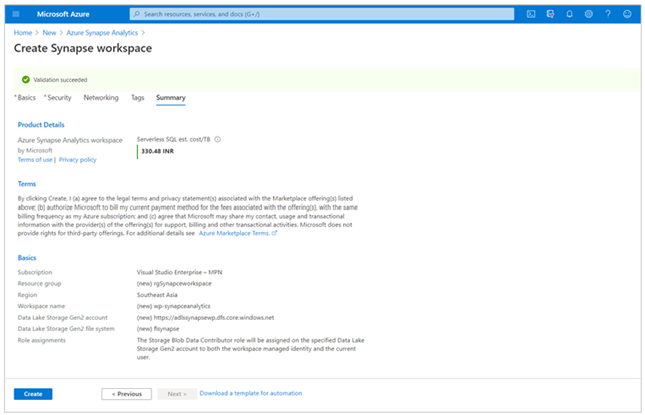
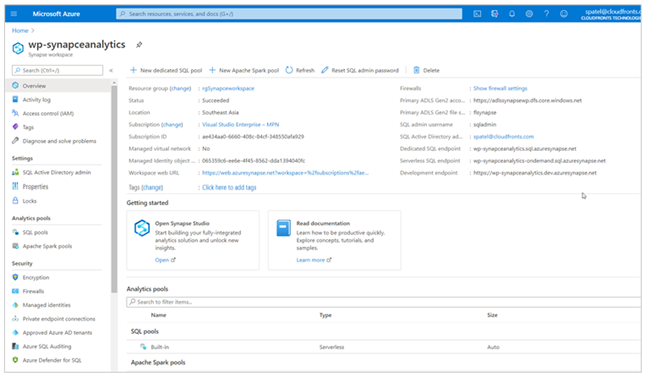
Once you click on the create button it will take 4 to 5 minutes to create a resource.
Hope this will help.
