To make the Business Central WebClient Accessible Externally
Introduction:
In this blog , I will demonstrate the use of SSL certificates to help secure connections over a wide area network (WAN), connection from the Business Central Web Server to the Business Central Server. Business Central can support the following configurations:
- Chain trust, which specifies that each certificate must belong to a hierarchy of certificates that ends in a root authority at the top of the chain.
- Peer trust, which specifies that both self-issued certificates and certificates in a trusted chain are accepted.
The implementation in this section describes the chain trust configuration, which is the more secure option.
Pre-requisites:
1. Microsoft Dynamics 365 Business Central
2. SSL Certificates
Demonstration:
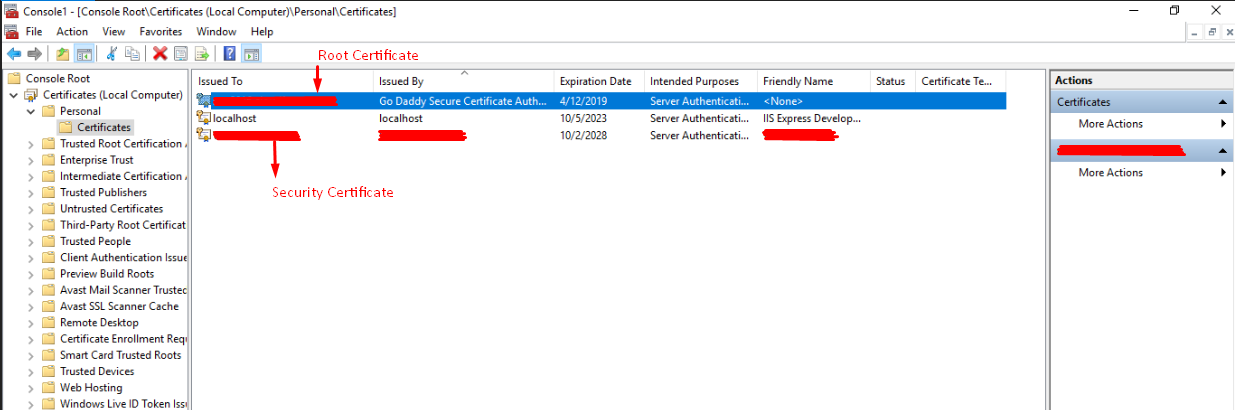
1. Obtaining Certificates: You implement chain trust by obtaining X.509 service certificates from a trusted provider. These certificates and their root certification authority (CA) certificates must be installed in the certificates store on the computer that is running Microsoft Dynamics 365 Business Central Server. The CA certificate must also be installed in the certificate store on computers that are running the Business Central Web Server so that clients can validate the server.
2. Run the Certificates Snap-in for Microsoft Management Console and Install and Configure the Certificates. (NOTE: The Server Authentication and Client Authentication purposes must be enabled.)
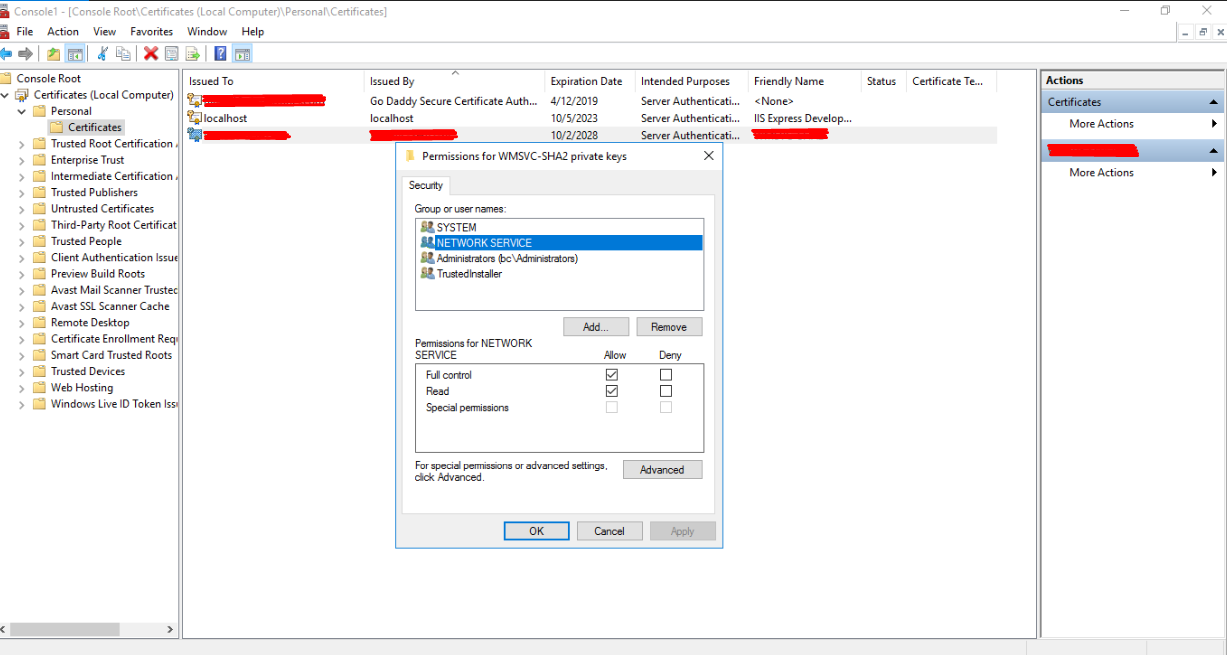
3. Grant access to the Business Central Server service account: After you have installed the root CA and the service certificate on the computer running Business Central Server, you must grant access to the service account that is associated with the server so that the service account can access the service certificate’s private key.
- In the left pane of MMC, expand the Certificates (Local Computer) node, expand the Personal node, and then select the Certificates subfolder.
- In the right pane, right-click the certificate, select All Tasks, and then choose Manage Private Keys.
- In the Permissions dialog box for the certificate, choose Add.
- In the Select Users, Computers, Service Accounts, or Groups dialog box, enter the name of the dedicated domain user account that is associated with Business Central Server, and then choose the OK button.
- In the Full Control field, select Allow, and then choose the OK button.
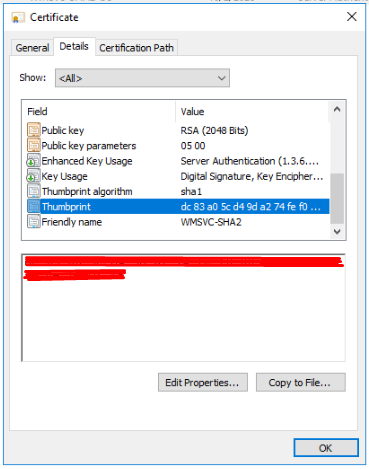
- In the right pane, select the certificate.
- In the Certificate dialog box, choose the Details tab, and then select the Thumbprint field.
- Copy the value of Thumbprint field. For example, copy the hexadecimal characters to text editor, such as Notepad. Delete all spaces from the thumbprint string. If the thumbprint is c0 d0 f2 70 95 b0 3d 43 17 e2 19 84 10 24 32 8c ef 24 87 79 then change it to c0d0f27095b03d4317e219841024328cef248779.
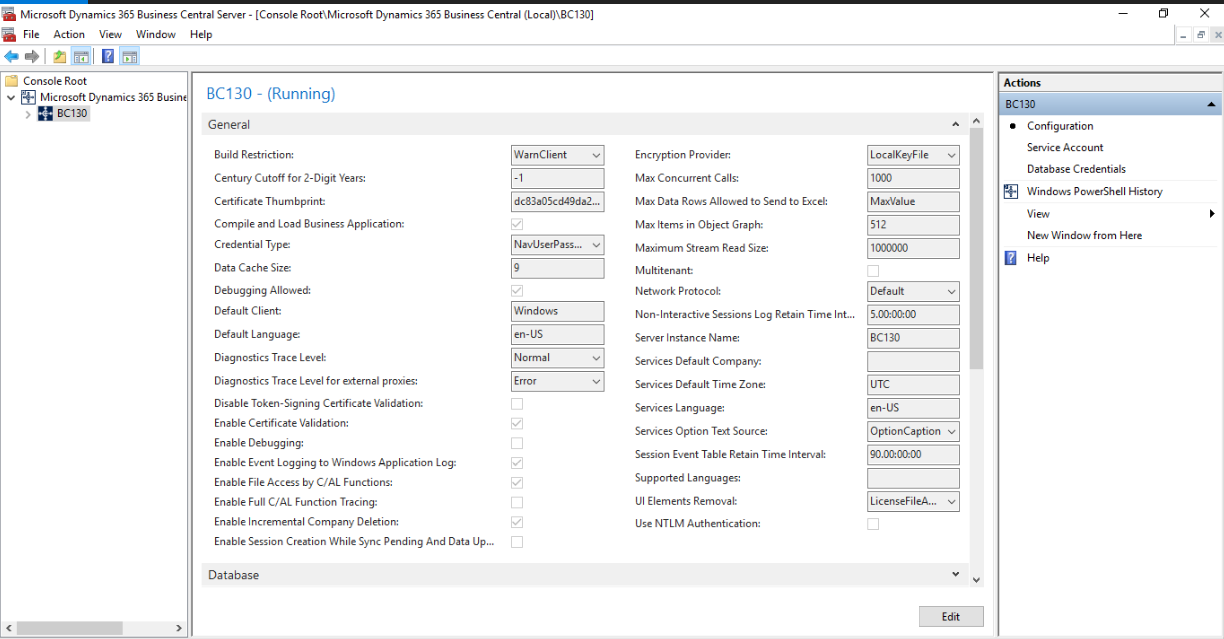
4. Configure the Business Central Server instance: Enter the service certificate thumbprint and the credential type as ‘NavUserPassword’ and restart the server.
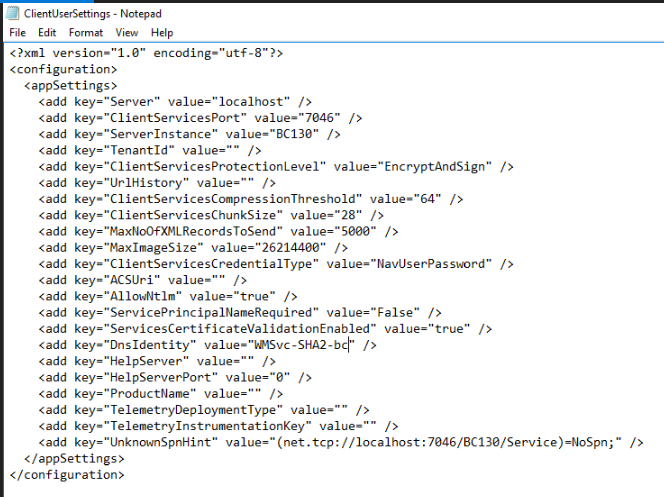
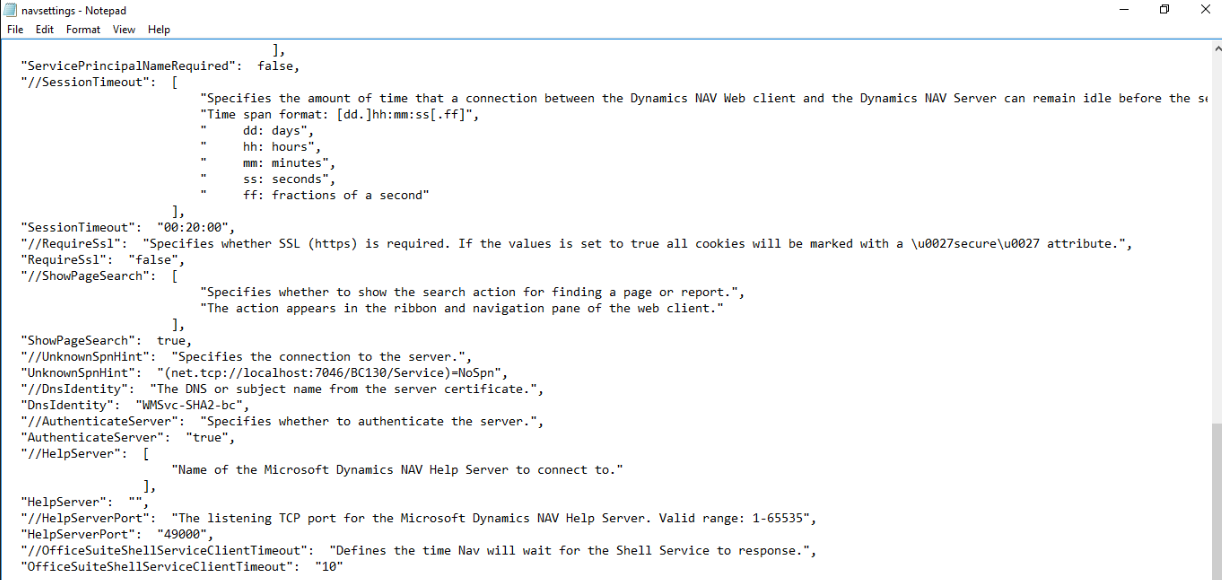
5. In the Windows Client Configuration file (ClientUserSetting.config ) and the Web Client Configuration file (NavSettings.json) make the credentials as ‘NavUserPassword’ and the DNSIdentity as the subject name of the certificate.
The location of Windows Client Configuration file is Users\<username>\AppData\RoamingLocal\Microsoft\Dynamics 365 Business Central\.
The location of Web Client Configuration file is C:\inetpub\wwwroot\BC130\navsettings.json.

6. Now go to IIS and set the bindings for https ( hostname will be the domain name of the server) and in SSL certificate select the CA Root certificate.
7. Now add the CA Root certificate in the external computer and enter the link for WebClient in the browser. (https://<Domain Name>/BC130)
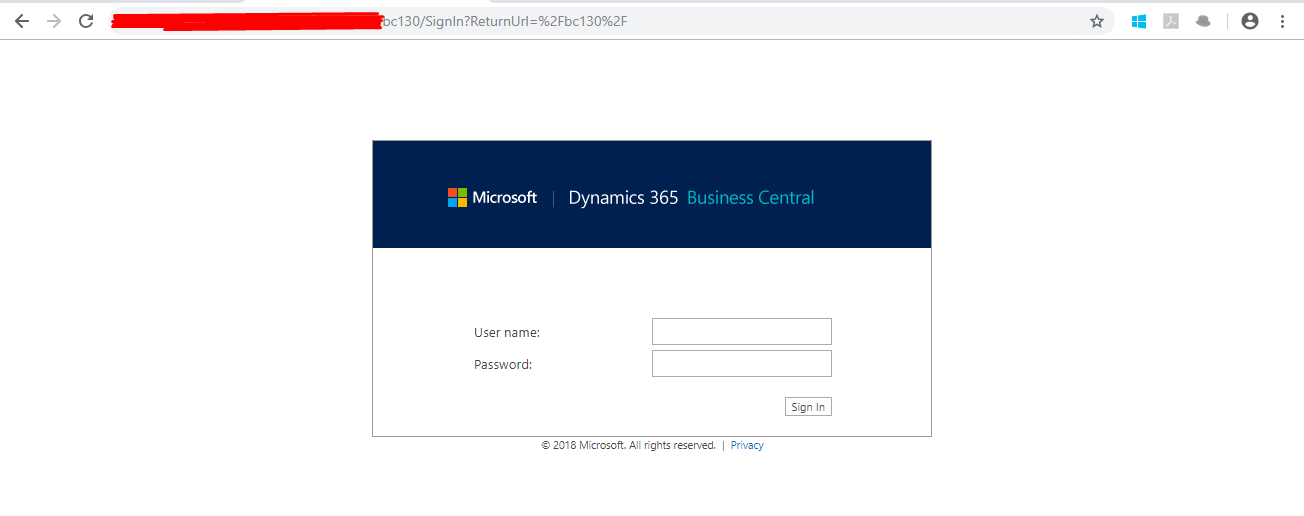

Conclusion:
Thus, we have accessed the WebClient externally using the SSL.
